manuals.online logo
Brands
  1. Home
  2. •
  3. Brands
  4. •
  5. ADTRAN
  6. •
  7. Wireless Access Point
  8. •
  9. ADTRAN Bluesocket 2020 Series User manual

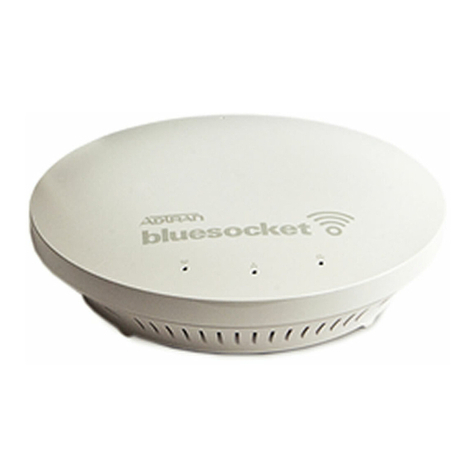
ADTRAN Bluesocket 2020 Series User manual

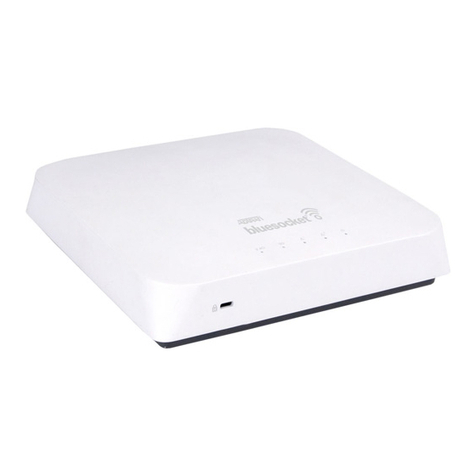
Quick Start Guide, 61700945F1-13B, February 2016 14 Copyright © 2016 ADTRAN, Inc. All Rights Reserved.
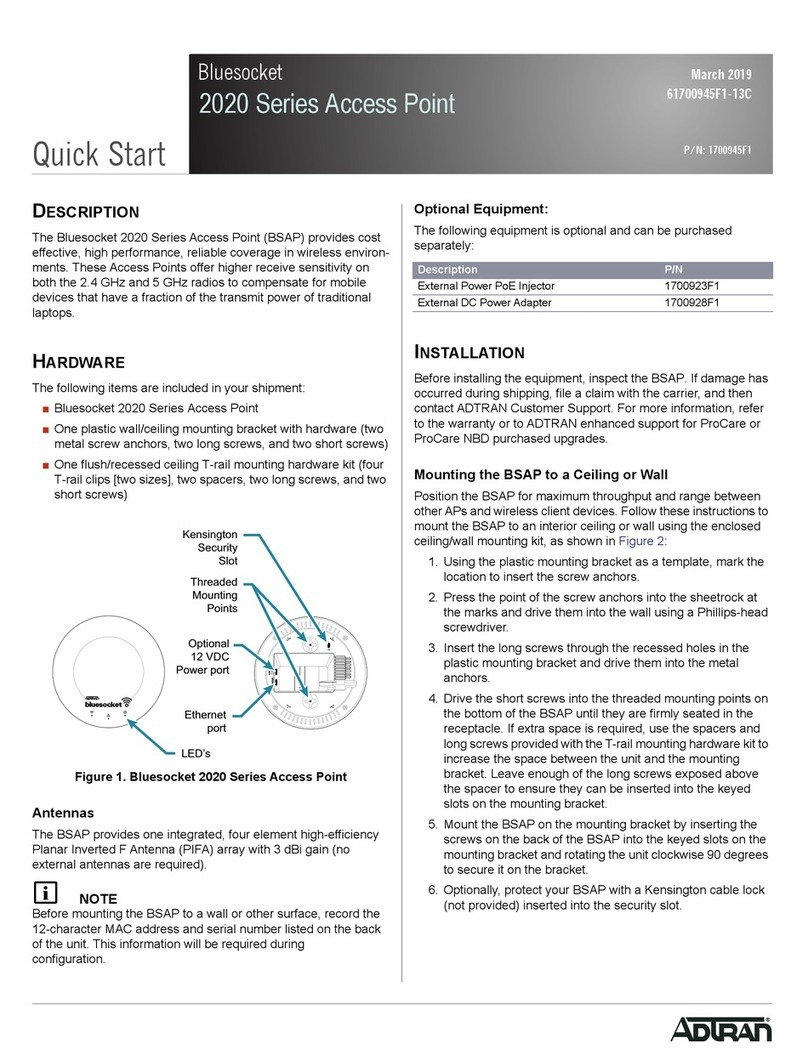
BLUESOCKET 2020 SERIES ACCESS POINT
P/N 1700945F1
HARDWARE
The following items are included in your shipment:
• Bluesocket 2020 Series Access Point (BSAP)
• One plastic wall/ceiling mounting bracket with hardware (two metal screw anchors, two long screws, two
short screws)
• One flush/recessed ceiling T-rail mounting hardware kit (four T-rail clips (two sizes), two spacers, two long
screws, two short screws)
ANTENNAS
The BSAP 2020 Series provides one integrated, four element high-efficiency Planar Inverted F Antenna (PIFA)
array with 3 dBi gain (no external antennas are required).
MOUNTING THE BSAP TO A CEILING OR WALL
BSAPs should be positioned for maximum throughput and range between other APs and wireless client
devices. Follow these instructions to mount the BSAP to an interior ceiling or wall using the enclosed ceiling/
wall mounting kit:
1. Using the plastic mounting bracket as a template, mark the location to insert the screw anchors.
2. Press the point of the screw anchors into the sheetrock at the marks and drive them into the wall using a
Phillips-head screwdriver.
3. Insert the long screws through the recessed holes in the plastic mounting bracket and drive them into the
metal anchors.
4. Drive the short screws into the metal screw receptacles on the bottom of the BSAP until they are firmly
seated in the receptacle. If extra space is required, use the spacers and long screws provided with the T-
rail mounting hardware kit to increase the space between the unit and the mounting bracket. Leave enough
of the long screws exposed above the spacer to ensure they can be inserted into the keyed slots on the
mounting bracket.
5. Mount the BSAP on the mounting bracket by inserting the screws on the back of the BSAP into the keyed
slots on the mounting bracket and rotating the unit clockwise 90 degrees to secure it on the bracket.
6. Optionally, protect your BSAP with a Kensington cable lock (not provided) inserted into the security slot.
Make a note of the 12-character MAC address and serial number listed on the back of
the BSAP 2020 Series before mounting the BSAP to a wall or other surface. This
information will be required during configuration.
Ethernet
12V DC
LEDs
Kensington Security
Slot
Optional
12 VDC
Power Port
Ethernet
Port
Mounting Screw
Receptacles
CONFIGURING THE APPLICATION
More detailed documentation for configuring the BSAP 2020 Series is provided in the vWLAN Administrator’s
Guide, available online at https://supportforums.adtran.com.
BSAP 2020 SERIES LED DESCRIPTION
FCC RADIO FREQUENCY INTERFERENCE
This device complies with Part 15 of the Federal Communications Commission (FCC) rules. The operation of
this device is subject to the following two conditions:
1. This device may not cause harmful interference.
2. This device must accept any interference received including interference that may cause undesired
operation.
THIRD-PARTY SOFTWARE
The software included in the Bluesocket 2020 Series contains copyrighted software that is licensed under the
GNU General Public License (GPL). For a list of third-party software and their licenses, go to
http://www.adtran.com/software/EULA. You can obtain the complete corresponding source code of such
software components from ADTRAN for a period of three years after our last shipment of this product by
sending a money order or check for $5 to:
ADTRAN, Inc, P.O. Box 933638, Atlanta, GA 31193-3638
Please write GPL Source for product Bluesocket 2020 Series in the memo line of your payment.
This offer is valid to anyone in receipt of this information.
BSAP State Status Ethernet Radio
Boot Loader Initialization Off Off Solid Orange
Operating System
Initialization
Solid Green Off Off
LAN Initialization Flashing Green Flashing Orange Off
Discovering vWLAN Flashing Green Flashing Green Off
Firmware Upgrade
(download)
Off Flashing Green Flashing Orange (Slow)
Firmware Upgrade (writing
or verifying)
Off Flashing Green Flashing Orange (Fast)
Firmware Upgrade
Complete
Off Flashing Green Solid Orange
Operational with No
Activity on Radios
Solid Green Flashing Green Solid Green
Operational with Activity on
Radios
Solid Green Flashing Green Flashing Green
Additional safety and regulatory guidelines are given in the document Bluesocket
Compliance Notice available online at https://supportforums.adtran.com.
2 Support - Phone: 888-423-8726 Quick Start Guide, 61700945F1-13B, February 2016 3
MOUNTING THE BSAP TO A DROPPED CEILING
The BSAP 2020 Series ships with a T-rail mounting kit to mount the BSAP on the ceiling tile separators of
standard dropped ceilings. The mounting clips come in two sizes and can be mounted to either recessed (using
the spacer) or flush dropped ceiling T-rails. BSAPs should be positioned for maximum throughput and range
between other BSAPs and wireless client devices. To mount the BSAP to a dropped ceiling:
1. Attach the appropriate size ceiling clips to the bottom cover of the BSAP using the provided short screws.
2. Once the ceiling clips are attached to the BSAP, line up the T-rail clips with an appropriately sized rail and
press the unit onto the rail until it snaps into place.
3. Optionally, protect your BSAP with a Kensington cable lock (not provided) inserted in the security slot.
SUPPLYING POWER TO THE BSAP
The BSAP 2020 Series does not have a power switch. It is powered when connected to a network device that
supplies PoE based on the IEEE 802.3af standard, an optional external PoE injector (P/N 1700923F1), or by an
optional external 1.25 amp DC power adapter (P/N 1700928F1) connected to an AC power source. The
BSAP 2020 Series is fully functional using 802.3af PoE and 802.3at PoE+. To use the external DC power
adapter, connect the adapter to the 12V DC port on the back of the unit. The DC power adapter automatically
adjusts to any voltage between 100 and 240 VAC at 50 or 60 Hz. No voltage range settings are required.
If extra space is required to accommodate recessed dropped ceiling tiles, use the
provided spacers and longer screws included in the T-rail ceiling mount kit.
Wall or Ceiling
Screw Anchor
Plastic Mounting
Bracket
Keyed Slots
Short Screws
Mounting Screw
Receptacles
Long Screws
Keyed Slots
Short Screw
Long Screws
T-rail Ceiling Clips
Spacers
Mounting Screw
Receptacles
Short Screws
T-rail Ceiling Clips
Mounting Screw
Receptacles
CONNECTING TO THE BSAP
If the BSAP is to be powered using a network device such as a switch, connect the Ethernet port of the BSAP to
the appropriate switchport. Obtain the IP address of the BSAP from the Dynamic Host Control Protocol (DHCP)
server (based on the MAC address of the BSAP). DHCP is enabled by default. You can then use a Secure Shell
(SSH) client to connect to the BSAP based on the instructions below.
If the BSAP is powered using a PoE injector, connect the Ethernet port of the BSAP to the OUT port of the PoE
injector and connect the Ethernet port of the computer to the IN port on the PoE injector. Then proceed to SSH
to the default IP address of the BSAP as instructed below.
If the BSAP is powered using the optional DC power adapter, connect the Ethernet port of the BSAP to the
Ethernet port of the computer. Then proceed to SSH to the default IP address of the BSAP as instructed below.
CONFIGURING THE BSAP WITH VWLAN AND AP DISCOVERY
The BSAP 2020 Series can be configured for use with the Bluesocket virtual wireless local area network
(vWLAN). If you have installed vWLAN, and want to use AP discovery to configure the BSAP, follow these
steps. For more information on the vWLAN and AP discover, refer to the vWLAN AP Discovery configuration
guide available online at https://supportforums.adtran.com.
1. After powering the BSAP and connecting it to the network, allow the BSAP to discover the vWLAN
appliance to receive its configuration information. This AP discovery process uses an algorithm that
attempts discovery methods in this order: static configuration, DHCP vendor option (43), Domain Naming
System (DNS) discovery, and cached vWLAN information. If no response to the discovery request is
received, the algorithm moves to the next method in the list (except when using static configuration, which
never queries the other discovery methods).
2. There are two additional network components that can be configured to facilitate AP discovery. First, an
external DHCP server can be configured to assign IP addresses to APs associated with the vWLAN. When
configuring the DHCP server, make sure to configure the Bluesocket DHCP Vendor option (43) on the
server. Second, you can configure an external DNS server to resolve the name apdiscovery to the IP
address of the vWLAN instance in the network environment.
CONFIGURING THE BSAP’S IP ADDRESS USING THE CLI
By default, DHCP is enabled on the BSAP 2020 Series. However, if you need to statically configure the IP
address or statically configure AP discovery for the BSAP, you can access the AP’s CLI using an SSH client by
following these steps:
1. Ensure that the BSAP is connected to a controlling computer (using the provided RJ-45 Ethernet cable).
2. Set your PC to a static IP address of 192.168.190.2 with a subnet mask of 255.255.255.0.
3. Next, access the BSAP’s command line interface (CLI) using an SSH client. Open an SSH connection
using the unit’s default IP address (192.168.190.1) and port 2335 connected to the LAN1 port on the
BSAP. To access the unit using vWLAN, and for more instructions about CLI configuration, refer to the
Bluesocket vWLAN Administrator’s Guide, available online at https://supportforums.adtran.com.
• If the BSAP is used in a medical environment, it must use an IEC/EN 60601-1
compliant power adapter.
• Ethernet and PoE cables are intended for intrabuilding use only. Connecting this
device directly to cables that run outside the building in which the unit is housed
will void the user's warranty and could create a fire or shock hazard.
This manual suits for next models

1

Other ADTRAN Wireless Access Point manuals

ADTRAN BSAP 6120 User manual

ADTRAN

ADTRAN BSAP 6120 User manual

ADTRAN 1287564G1 User manual

ADTRAN

ADTRAN 1287564G1 User manual

ADTRAN T400TAC Maintenance and service guide

ADTRAN

ADTRAN T400TAC Maintenance and service guide

ADTRAN BLUESOCKET 1930 User manual

ADTRAN

ADTRAN BLUESOCKET 1930 User manual

ADTRAN NetVanta 900 Series User manual

ADTRAN

ADTRAN NetVanta 900 Series User manual

ADTRAN ATLAS 550 User manual

ADTRAN

ADTRAN ATLAS 550 User manual

ADTRAN BLUESOCKET 1940 User manual

ADTRAN

ADTRAN BLUESOCKET 1940 User manual

ADTRAN BLUESOCKET 3040 User manual

ADTRAN

ADTRAN BLUESOCKET 3040 User manual

ADTRAN Bluesocket 2030 User manual

ADTRAN

ADTRAN Bluesocket 2030 User manual

ADTRAN Bluesocket 3040 User manual

ADTRAN

ADTRAN Bluesocket 3040 User manual

ADTRAN 2135 User manual

ADTRAN

ADTRAN 2135 User manual

ADTRAN BLUESOCKET 3045 User manual

ADTRAN

ADTRAN BLUESOCKET 3045 User manual

ADTRAN BLUESOCKET 1920 User manual

ADTRAN

ADTRAN BLUESOCKET 1920 User manual

ADTRAN NetVanta 150 User manual

ADTRAN

ADTRAN NetVanta 150 User manual

ADTRAN Total Access 612 User manual

ADTRAN

ADTRAN Total Access 612 User manual

ADTRAN Total Access 5004 User manual

ADTRAN

ADTRAN Total Access 5004 User manual

ADTRAN BSAP 6040 User manual

ADTRAN

ADTRAN BSAP 6040 User manual

ADTRAN NetVanta 160 User manual

ADTRAN

ADTRAN NetVanta 160 User manual

ADTRAN 1700412E1 User manual

ADTRAN

ADTRAN 1700412E1 User manual

ADTRAN Bluesocket 2020 Series User manual

ADTRAN

ADTRAN Bluesocket 2020 Series User manual

ADTRAN NetVanta 150 Series Manual

ADTRAN

ADTRAN NetVanta 150 Series Manual

ADTRAN NetVanta 950 IAD User manual

ADTRAN

ADTRAN NetVanta 950 IAD User manual

ADTRAN NetVanta 100 Series Manual

ADTRAN

ADTRAN NetVanta 100 Series Manual

ADTRAN NetVanta 160 Installation instructions

ADTRAN

ADTRAN NetVanta 160 Installation instructions

Popular Wireless Access Point manuals by other brands

Planet Networking & Communication WNAP-6305 Quick installation guide

Planet Networking & Communication

Planet Networking & Communication WNAP-6305 Quick installation guide

Samsung WEA524i Quick installation manual

Samsung

Samsung WEA524i Quick installation manual

Cisco Linksys WAP610N user guide

Cisco

Cisco Linksys WAP610N user guide

Novatel MiFi2200 Product user guide

Novatel

Novatel MiFi2200 Product user guide

Hewlett Packard Enterprise Aruba 370 Series Startup guide

Hewlett Packard Enterprise

Hewlett Packard Enterprise Aruba 370 Series Startup guide

Edimax EW-7438RPn V2 Features

Edimax

Edimax EW-7438RPn V2 Features

Fortinet FortiAP 831F quick start guide

Fortinet

Fortinet FortiAP 831F quick start guide

Edimax EW-7416APn v2 Quick install guide

Edimax

Edimax EW-7416APn v2 Quick install guide

Enable-IT 8424 user manual

Enable-IT

Enable-IT 8424 user manual

Mist AP41 Hardware installation guide

Mist

Mist AP41 Hardware installation guide

Aruba 210 Series installation guide

Aruba

Aruba 210 Series installation guide

H3C 6W100 manual

H3C

H3C 6W100 manual

Cisco Meraki MR70 installation guide

Cisco

Cisco Meraki MR70 installation guide

SMC Networks EliteConnect SMC2555W-AG2 Specifications

SMC Networks

SMC Networks EliteConnect SMC2555W-AG2 Specifications

AirTies AP-301 user manual

AirTies

AirTies AP-301 user manual

ZyXEL Communications NWA-1100 datasheet

ZyXEL Communications

ZyXEL Communications NWA-1100 datasheet

Devolo Duo Specifications

Devolo

Devolo Duo Specifications

LXE 6250 Configuration guide

LXE

LXE 6250 Configuration guide

manuals.online logo
manuals.online logoBrands
  • About & Mission
  • Contact us
  • Privacy Policy
  • Terms and Conditions

Copyright 2025 Manuals.Online. All Rights Reserved.