Launch:
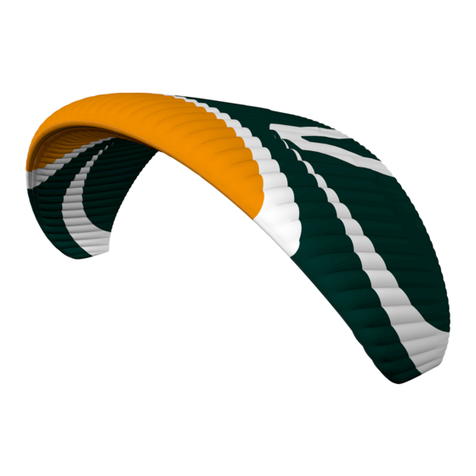
The SOL PRYMUS 2 is easy to launch. To make it easier to distinguish
between the different risers, the A-lines and A-risers are different colors.
So are the control lines and control handles.
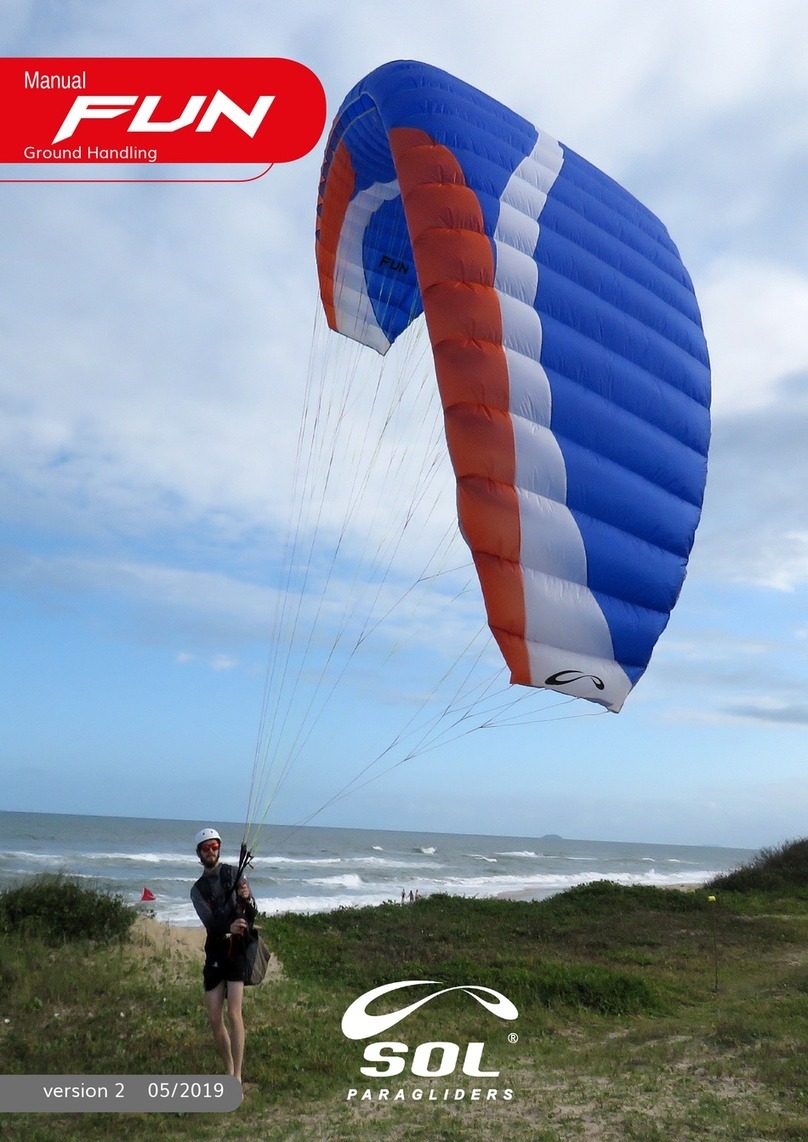
When you are ready to take off, hold the A-risers and the control handles
in your hands. Hold your arms stretched back and down as an extension
of the A-lines. Before continuing, a final check of the canopy is important.
After the initial effort of inflation, keep applying forward pressure on the
A-risers (pushing them forward not pulling down) until the pressure on the A-
risers eases. The canopy should now be directly over the pilot's head. It
is not necessary to get a running start with slack in the lines.
A good progressive run helps your SOL PRYMUS 2 will inflate evenly and
come up quickly. With the correct technique, the gliders will not “over fly”
you.
Always have a very small amount of brake applied so you can feel the
glider and possibly correct for any drift in order to keep it above the your
head. Moving your body to the center of the glider is the best method of
correction if there is sufficient room.
The pilot looks up and checks that the canopy is fully inflated with no line
tangles. Only after checking that the glider is fully inflated should the
decision be made to continue launching.
The SOL PRYMUS 2 is also easy to reverse launch. As this launch technique
can be difficult and can result in the pilot taking off with twisted risers, it
is recommended to practice the reverse launch on a training hill first.
Turns:
The SOL PRYMUS 2 is very responsive. It has exceptionally easy handling
and reacts instantly to any steering input.
A combined technique of weight shift and appropriate control line input is
the most efficient turning method for any situation. The result is a turn
that is wide and flat with minimal height loss.
32
The radius of the turn is determined by the amount of inside brake
applied and weight shift. Using some outside break in turns, after
initiating with weight shift, increases the efficiency and increases the
outside wing’s resistance to collapsing.
In case it is necessary to turn the SOL PRYMUS 2 in a confined area at slow
speeds, it is recommended to steer the canopy by releasing the brake on
the outside of the turn while applying a little more brake on the inside of
the turn.
Warning:
•Pulling one brake too hard or too fast can result in the canopy entering a flat
spin. Never turn the glider while flying at very slow speeds!
Thermaling & Soaring:
For the SOL PRYMUS 2 , minimum sink is found with a little bit of brake
pressure. Best glide is attained with no brake pressure applied. In
turbulent conditions, the SOL PRYMUS 2 should be flown with a small
amount of brake applied. This improves stability by increasing the angle
of attack of the canopy. The canopy should not rock back or surge
forward but should remain above the pilot.
The pilot should increase speed by letting the controls up when entering
a thermal (according to its strength) and should brake the canopy on
exiting. This is part of basic active flying.
When soaring, a minimum height of 50m (150ft) above ground level is
recommended for safety reasons. It is important to comply with the rules
of the air, especially when many pilots share airspace close to a hill
where last minute avoidance maneuvers are often not possible. With an
active flying style, many potential collapses of the glider can be avoided.
Landing:
The SOL PRYMUS 2 is easy to land. The final leg of the landing approach
must be into wind and not marked by steep or alternating turns since can
result in a dangerous pendulum effect near the ground.
During this final glide the paraglider should be decelerated slowly and at
approximately 1m (3ft) above the ground the pilot should "flare" the
canopy according to conditions. The glider may climb again, gaining
height, if too much brake is used.
33


