Adventure Kings Roof Top Tent User manual
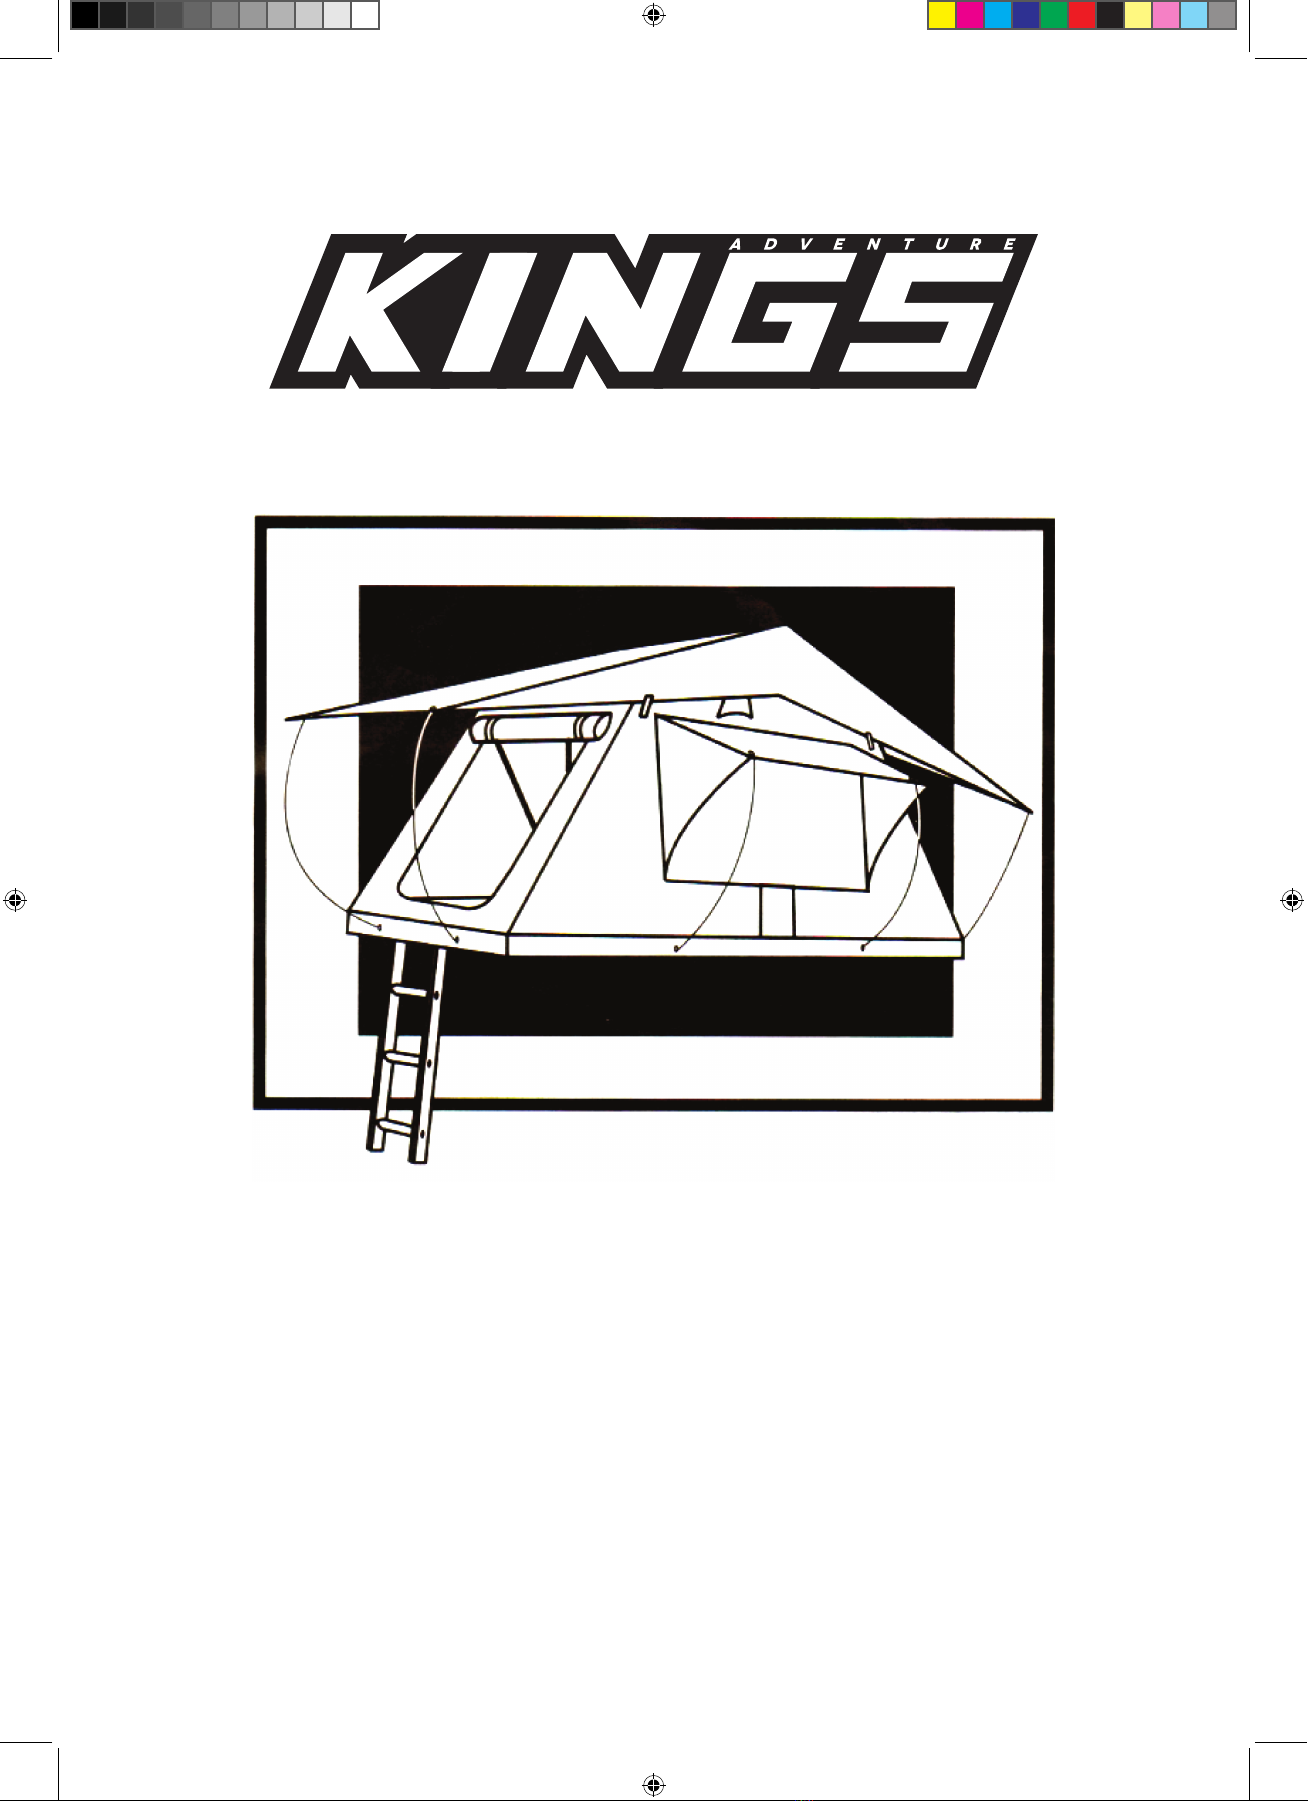
ADVENTURE KINGS
ROOF TOP TENT
www.4wdsupacentre.com.au
J001157 - Adventure Kings RTT Manual-Insert2.indd 1 7/05/2014 10:11:22 a.m.
ADVENTURE KINGS
ROOF TOP TENT
www.4wdsupacentre.com.au
J001157 - Adventure Kings RTT Manual-Insert2.indd 1 7/05/2014 10:11:22 a.m.
AK_RTT_Manual.indd 1 29/08/2014 12:24 pm

2
Warning ........................................................................................................ 3
Roof top tent hardware identification chart .................................................. 4
Tent orientation on your vehicle .................................................................... 6
Attaching mounting channels ....................................................................... 7
Attaching the ladder ...................................................................................... 9
Fitting the roof top tent to your roof rack ...................................................... 10
Closing and storage ....................................................................................... 11
Warranty ........................................................................................................ 11
Thank you for purchasing an Adventure Kings Roof Top Tent
Congratulations on your purchase of an Adventure Kings Roof Top Tent. We strive to
provide the ultimate camping experience for every tourer. Your Roof Top Tent mounts
directly to your roof rack or aftermarket roof bars. The tent opens and is fully setup
in just a few minutes. Your Roof Top Tent is made with durable materials and high
quality rip-stop fabrics that provide excellent water and wind protection.
Most of your Roof Top Tent components have been fully assembled at the factory
with the exception of attaching the mounting channels and the ladder to the base of
the tent. Tent setup is composed of unpacking, attaching mounting channels to the
base of the tent, attaching the ladder, attaching the tent cover, and then mounting
your tent onto the roof rack or aftermarket roof bars.
Please thoroughly read the instructions and warnings set forth in this manual.
Should you have any questions, please ask your Adventure Kings retailer or call our
National Customer Service line: 02 8719 3536
PLEASE READ ALL INSTRUCTIONS PRIOR TO INSTALLING
CONTENTS
Inspections: During trips regularly check that all nuts and bolts attaching your
Roof Top Tent to your vehicle are tight and in good repair.
AK_RTT_Manual.indd 2 29/08/2014 12:24 pm

3
WARNING
Improper installation or use of your Roof Top Tent may result in serious injury or
death. You will need to follow these installation instructions carefully to ensure proper
installation on your vehicle and safe use of your Roof Top Tent. Please contact your
vehicle manufacturer for specified loading capacity of your roof rack. Not all factory
roof racks or aftermarket roof bars can safely accommodate tent models.
Any elements applied on the vehicle roof changes the normal vehicle handling. The
manufacturer disclaims all responsibility in case of accidents due to improper use,
improper maintenance, or checking the tightness of the brackets regarding the
installation of the roof rack system.
For your safety and protection, ensure correct placement and angle of ladder.
DO NOT CLIMB ON LADDER UNTIL CORRECT ANGLE IS ACHIEVED (approx. 30 degrees
between ladder and ground). NOTE: If the angle of the ladder is at 90 degrees and/or
does not reach the ground, you will need a ladder extension or longer extendable
ladder (sold separately).
Adventure Kings - The wholesaler / manufacturer shall not be liable for special,
indirect incidental or consequential damages including but not limited to lost profits.
3
SAFETY WARNING
KEEP ALL FLAME AND HEAT SOURCES AWAY FROM THE TENT MATERIALS.
UNDER NO CIRCUMSTANCE SHOULD ANY NAKED FLAME SOURCES OR HEATING DEVICES
BE USED INSIDE OR NEAR THE TENT.
KEEP CAMP FIRES WELL AWAY FROM TENT.
KEEP A LOOK OUT FOR ANY AIRBORNE BURNING EMBERS THAT MAY COME
INTO CONTACT WITH THE TENT.
KEEP A FIRE EXTINGUISHER OR WATER BUCKET NEARBY.
DO NOT SMOKE WITHIN THE TENT.
DO NOT OPERATE ANY DEVICE WHICH BURNS FUEL INSIDE OF THE TENT.
KEEP EXIT CLEAR.
WARNING
Improper installation or use of your Roof Top Tent may result in serious injury or
death. You will need to follow these installation instructions carefully to ensure
proper installation on your vehicle and safe use of your Roof Top Tent. Please contact
your vehicle manufacturer for specified loading capacity of your roof rack. Not all
factory roof racks or aftermarket roof bars can safely accommodate tent models.
Any elements applied on the vehicle roof changes the normal vehicle handling. The
manufacturer disclaims all responsibility in case of accidents due to improper use,
improper maintenance, or checking the tightness of the brackets regarding the
installation of the roof rack system.
For your safety and protection, ensure correct placement and angle of ladder.
DO NOT CLIMB ON LADDER UNTIL CORRECT ANGLE IS ACHIEVED (approx. 30 degrees
between ladder and ground). NOTE: If the angle of the ladder is at 90 degrees and/
or does not reach the ground, you will need a ladder extension or longer extendable
ladder (sold separately).
Adventure Kings - The wholesaler / manufacturer shall not be liable for special,
indirect incidental or consequential damages including but not limited to lost profits.
J001157 - Adventure Kings RTT Manual-Insert2.indd 3 7/05/2014 10:11:22 a.m.
AK_RTT_Manual.indd 3 29/08/2014 12:24 pm

4
4
ROOF TOP TENT HARDWARE INDENTIFICATION CHART
Quantity Model#
Ladder Mounting Bracket
2 T050801878
55 mm Steel M8 Bolt
8 T050801879
40 mm Steel M6 Bolt
8 T050801885
16 mm Steel Bolt To Mount Ladder M6
2 T050801887
Stainless Steel Mount Plate
4 T050801880
Aluminium Slide Plate
8 T050801881
Rubber Washer To Mount Ladder
2 T050801888
J001157 - Adventure Kings RTT Manual-Insert2.indd 4 7/05/2014 10:11:30 a.m.
AK_RTT_Manual.indd 4 29/08/2014 12:24 pm

5
AK_RTT_Manual.indd 5 29/08/2014 12:24 pm

6
6
TENT ORIENTATION ON YOUR VEHICLE
There are two mounting options for the orientation of your new Roof Top Tent.
Either the Roof Top Tent will open so that the ladder extends off the back of your
vehicle, ”Rear Mounted”. Or alternatively the ladder extends off the side of your vehicle,
”Side Mounted”. Either orientation will work for larger vehicles, however, most
sedans or smaller SUVs are better suited for the side mounted option. If the
Roof Top Tent is rear mounted, the mounting channels need to be cut to match
the width of the Roof Top Tent base. We will go over this in the next section.
J001157 - Adventure Kings RTT Manual-Insert2.indd 6 7/05/2014 10:11:34 a.m.
AK_RTT_Manual.indd 6 29/08/2014 12:24 pm

7
7
ATTACHING MOUNTING CHANNELS
1. Remove the Roof Top Tent from the carton and place on a clean surface. Observe
the top surface. If it has four holes in the center area of the base, then this is the
side which will receive the mounting channels. Otherwise you are looking at the
surface which will receive the ladder. Open tent to gain entrance to interior and
remove contents.
Contents:
Ladder – 1 pce, PVC cover – 1 pce, Annex room – 1 pce, Rod for window – 6 pces,
Mounting channel – 2 pces, Mounting accessories – 1bag.
2. After removing the contents, close the Roof Top Tent, so the channel mounting
surface is facing upward, then move the cap of holes (side with 4 holes).
3. Using the four supplied 40mm Steel M6 bolt, slide your hand between the base
and mattress, and insert the bolts with washers into the pre-drilled holes.
4. Place mounting channels on exposed bolts. For side mounted orientation, ensure
the mounting channels are perpendicular to hinge side. For rear mounted
orientation, ensure the mounting channels are parallel to hinge side.
5. Slide the M6 Nylock Nut into the inner slot in the center of the mounting channels,
until they are aligned with the bolts sticking through the base. Tighten the bolts
firmly from below, using the supplied 10mm wrench. If you chose a rear mounted
orientation, you will notice that the mounting channels extend (20cm) beyond the
edges of the base. You will need to mark each channel where they extend beyond
the tent base and cut the mounting channels so they fit within the tent base. Fasten
mounting channels to base as described above.
J001157 - Adventure Kings RTT Manual-Insert2.indd 7 7/05/2014 10:11:34 a.m.
AK_RTT_Manual.indd 7 29/08/2014 12:24 pm

8
8
DIAGRAM A
40mm Steel M6 Bolt
M6 Nylock Nut
Washer
Aluminium Mounting Channel
55mm Steel M8 Bolt
Slide Plate
Steel Mount Plate
M8 Nylock Nut
J001157 - Adventure Kings RTT Manual-Insert2.indd 8 7/05/2014 10:11:36 a.m.
AK_RTT_Manual.indd 8 29/08/2014 12:24 pm

9
9
DIAGRAM C
DIAGRAM B
WARNING–DISCLAIMER
Anyelementsappliedonthevehicleroofchangesthenormalvehiclehandling.
Themanufacturerdisclaimsallresponsibilityincaseofaccidentsduetoimproperuse,wrong
Maintenance,orcheckingthetightnessofthebracketsregardingtheinstallationoftheroofrack
system.
ROOSYSTEMS–Thewholesaler/manufacturershallnotbeliableforspecial,indirectincidentalor
consequentialdamagesincludingbutnotlimitedtolostprofits.ROOSYSTEMSreservestherighttochange
design.
WARRANTY
12monthlimitedwarrantyappliestooriginalpurchaserunderthefollowingconditions.ROOSYSTEMSwill
warrantagainstmanufacturingfaultsanddefectsforaperiodof12monthsfromoriginalpurchased
date.Thiswarrantydoesnotincludedamagecausedbymould,insects,animals,children,misuse,
incorrectsetuporsetdown,weather,accidents,abuse,wearandtear.
Tomakeaclaim,pleaseensureyouretainyoursalesreceiptofpurchase.
For your safety and protection see Diagram C below for correct placement and angle
of ladder. DO NOT CLIMB ON LADDER UNTIL CORRECT ANGLE IS ACHIEVED (approx.
30 degrees between ladder and ground). NOTE: If the angle of the ladder is at 90
degrees and/or does not reach the ground, you will need a ladder extension (not
included). The ladder placed in correct position also acts as a brace for the suspended
base of your tent.
ATTACHING THE LADDER
1. Flip the tent base over.
2. Locate the pre-drilled holes at the
edge of the base and attach the
ladder bracket to the base using
40mm Steel M6 bolt, washers, and
nylock nuts.
J001157 - Adventure Kings RTT Manual-Insert2.indd 9 7/05/2014 10:11:36 a.m.
AK_RTT_Manual.indd 9 29/08/2014 12:24 pm

10
10
FITTING THE ROOF TOP TENT TO YOUR ROOF RACK
1. Place the Roof Top Tent on top of your vehicle’s roof rack system
(minimum 2 persons required).
2. Place 55mm Steel M8 bolt into the slide plates. Slide the plates and bolts into the
mounting channel. You will need to lift a Roof Top Tent side, so as to have one of
the bolts on the inside of the roof rack bar.
3. Inspect the position of Roof Top Tent to ensure it is centered on the roof rack and
positioned to open the desired side.
DIAGRAM D
4. Attach the Roof Top Tent to your roof rack at the four points where the rack and
mounting channels cross. Tighten all eight bolts securely. It is important that you
check all the mounting bolts and brackets periodically to ensure they are securely
fastened to your base and roof rack or after-market roof bars.
5. After ensuring the Roof Top Tent is positioned correctly, and all eight bolts are
tightened securely, insert the rubber end caps into the ends of the mounting
channel (this may require light taps from a hammer).
Roof Top Tent Base
Mounting Channel
Slide Plate
55mm Steel M8 Bolt
Steel Mount Plate
M8 Nylock Nut
After-Market Roof Rack Bars
J001157 - Adventure Kings RTT Manual-Insert2.indd 10 7/05/2014 10:11:37 a.m.
AK_RTT_Manual.indd 10 29/08/2014 12:24 pm

2
Adventure Kings Roof Top
RTT Manual.indd 2 11/01/2017 9:29 am

1
Adventure Kings Roof Top
12 month limited warranty applies to original purchaser under the following
conditions. Adventure Kings will warrant against manufacturing faults and defects for
a period of 12 months from original purchased date. This warranty does not include
damage caused by mould, insects, animals, children, misuse, incorrect set up or set
down, weather, accidents, abuse, wear and tear. To make a claim, please ensure you
retain your sales receipt of purchase.
Adventure Kings reserves the right to vary the product specifications and features.
Our goods come with guarantees that cannot be excluded under the Australian
Consumer Law. You are entitled to a replacement or refund for a major failure and
for compensation for any other reasonably foreseeable loss or damage. You are also
entitled to have the goods repaired or replaced if the goods fail to be of acceptable
quality and the failure does not amount to a major failure.
TO MAKE A CLAIM UNDER THIS WARRANTY PLEASE CALL
1800 88 39 64
12 MONTH LIMITED
WARRANTY
OUTDOOR SUPACENTRE PTY LTD
2 Stanley St Silverwater NSW, 2128
PHONE: 1800 88 39 64
www.4wdsupacentre.com.au
RTT Manual.indd 1 11/01/2017 9:29 am

12
www.4wdsupacentre.com.au
J001157 - Adventure Kings RTT Manual-Insert2.indd 12 7/05/2014 10:11:37 a.m.
AK_RTT_Manual.indd 12 29/08/2014 12:24 pm
Table of contents
Other Adventure Kings Tent manuals