5. Peg out the four corners of
the inner tent. The peg points
should be pegged through the
webbing loop rather than the
eyelet.
2x
2x
4. Insert the end of each of the short
BLACK poles into the eyelets above the
door and the rear window. Attach the
c-clips above the side windows.
7. Attach the base of the fly by
connecting the side release buckles
at each corner of the tent. Peg the
remaining elastic peg loops. Ensure
the door is closed when aligning the
front peg point.
8. It is recommended that guy
ropes are pegged out at all times
and windows are opened whenever
possible to allow adequate
ventilation.
Insert pegs at a 45oangle.
3. Thread the RED coded poles through
the RED trimmed pole sleeves that run
diagonally across the centre of the tent.
Insert the ends of the poles into the
eyelets located below each pole sleeve.
Attach the c-clips around the poles.
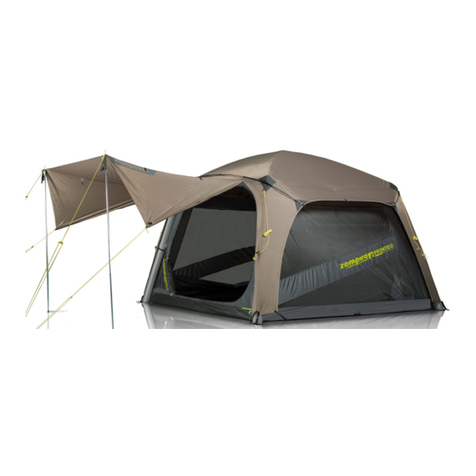
1. Clear your site making sure there are no
sharp objects where you are going to pitch
your tent. Try to get a site that is as flat as
possible. Spread out the inner tent, the round
door is located at the front.
2. Assemble the 4 pole sections.
Ensure that the poles do not snap
together. Ensure the pole does not
snap together. It is important that
the poles are fully inserted into the
ferrules. If the ferrules do not
connect together correctly they can
cause damage when tensioned.
6. Pull the fly over the inner tent. The
Zempire Logo should be at the front
of the tent. Connect the Velcro loops
inside the fly around the cut-outs on
the corresponding pole sleeve.
3
EQUIPMENT
CAMPING
