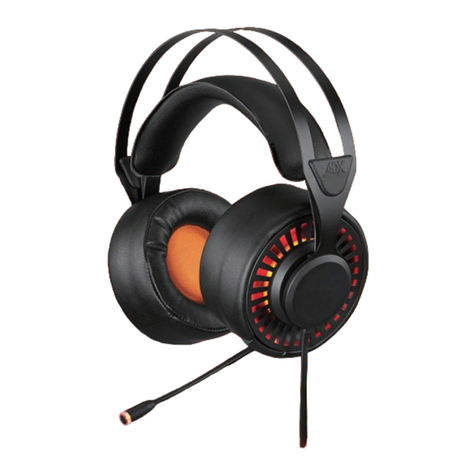
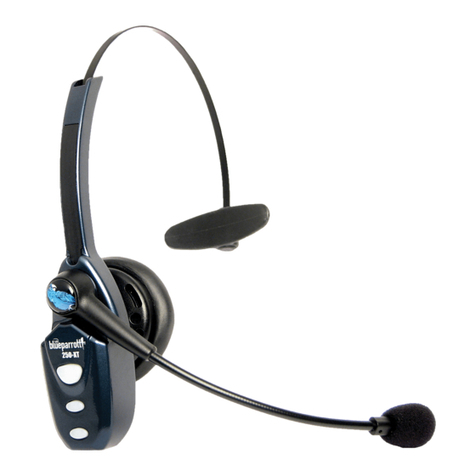
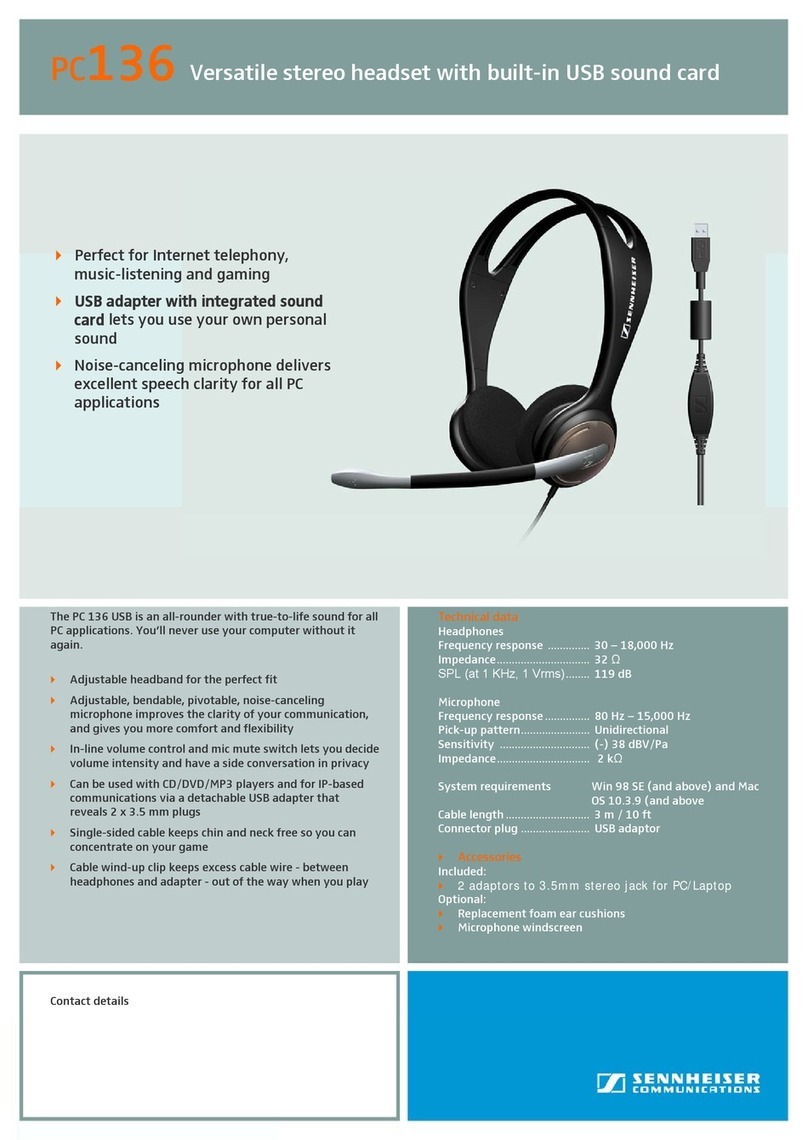
ADX FIRESTORM H03 User manual

FIRESTORM: H03
VIRTUAL 7.1 GAMING HEADSET
INSTRUCTION MANUAL
ADXH0318

3
Contents
Safety Warnings.................................................................4
Unpacking..........................................................................5
Product Overview..............................................................5
Connections .......................................................................6
Connections .......................................................................7
Call Remote Functions.......................................................8
System Requirements .......................................................9
Software Installation.........................................................9
User Interface.................................................................. 10
User Interface.................................................................. 11
Speaker Setting .............................................................. 11
Mic Setting ...................................................................... 16
Hints and Tips.................................................................. 18
Specications.................................................................. 19

4
Safety Warnings
• For trac safety, do not use earphones while driving or
cycling.
• Listening to loud sounds for prolonged periods of time
may permanently damage your hearing.
• Before putting on earphones, turn the volume
down then put the earphones on and slowly
increase the volume until you reach a comfortable
listening level.
Thank you for purchasing your new
product.
We recommend that you spend some time reading
this instruction manual in order that you fully
understand all the operational features it oers.
You will also nd some hints and tips to help you
resolve any issues.
Read all the safety instructions carefully before
use and keep this instruction manual for future
reference.

5
Product Overview
Headset
Microphone
on/o button
Answer call
button
Volume
control
Microphone
Unpacking
Remove all items from the packaging. Retain the
packaging. If you dispose of it please do so according to
local regulations.
The following items are included:
• Main Unit
• USB Virtual 7.1 sound card x 1
• Extension cable x 1
• Mobile/Mac® cable connector x 1
• Setup Disc x 1
• Instruction Manual

6
Connections
Computer
Computer
Other
headphones
USB Virtual 7.1
Sound Card
USB Virtual 7.1
Sound Card
Virtual 7.1 sound card also supports other headphones
with 3.5mm audio/mic connection.
Using virtual 7.1 sound card to provide 7.1 surround sound
experience.

7
Connections
Moblie Device /
PS4 Controller
cable connector
Dierent cable connectors with 3.5mm plugs may apply for
dierent devices.
On the headphones, LED will not light up since
cable connectors has no enough power to
support.

8
Call Remote Functions
• Not all functions are available, depending on
your operating system.
• Long-term exposure to loud music may cause
hearing damage. It is best to avoid extreme
volume when using earphones, especially for
extended periods of time.
• When the microphone is muted, the hand free
function will also disable.
To Press the Answer Call Button
Phone Calls
Answer a call Once
End a call Once
Reject a call Hold 2 seconds then release.

9
3. Connect the headphones with Virtual 7.1 sound card.
4. Follow the installation instruction to complete the
installation.
5. Choose ADX ADXH0318 Gaming Headset.exe from
the desktop to start the software.
System Requirements
Operating Systems: Microsoft® Windows® 7 / 8 / 10
Hardware: 1 available USB port
CD rom for gaming software installation
Software Installation
1. Insert the provided Setup Disc into the computer’s CD
rom.
2. It will auto run the setup software, otherwise choose
Setup.exe from your CD drive.
The software is not available for Windows Vista®
& MAC OS.

10
Playback Out In
EQ KS SF
EM VF
VSS SMX
Speakers Out
44.1 KHz
2
Capture
Mic In
Show System Tray Icon :
Application Setting
Speakers
Mic
UI Transparent :
Don’t show start up message :
OK Cancel Apply
User Interface
Choose ADX ADXH0318 Gaming Headset.exe from the
desktop to start the software.
1. Software Information.
2. Setting options.
3. Minimise the software.
4. Exit the software.
5. Enabled feature will be highlighted.
6. Switch between Status and Prole panel.
7. Adjust the volume.
8. Mute or restore the sound.
9. “Show System Tray Icon” option.
10. Adjust UI Transparent level.
11. “Don’t show start up message” option.
12. Save the current setting and exit
13. Cancel setting and exit.
14. Save the current setting.
5
9
10
11
12 13 14
1 2
3 4
6 7 8

11
Open
Volume Control
Window Media Player
Sound Recorder
Multimedi Preperties
Settings
Exit
10:00
1/10/2014
Playback
Speakers
Out In
EQ KS SF
EM VF
VSS SMX
Speakers Out
44.1 KHz
2
Capture
Mic In
Volume Control
Master
8.00 dB
Front
-7.00 dB
-7.00
Mic
Volume Control
Sample Rate
Equalizer
Environment Effects
7.1 Virtual Speaker Shifter
Xear SingFX
Xear Surround Max
RL
Speaker Setting
Right click on to show a speaker menu.
1. Volume Control
2. Sample Rate
3. Equalizer
4. Environment Eects
5. Virtual Speaker Shifter
6. Xear SingFX
7. Xear Surround Max
User Interface
Right click the icon from the system tray will pop up a
menu that links to Windows default software.
1. Open the headset software.
2. Open the default Windows Volume Control.
3. Open the default Windows Media Player.
4. Open the default Windows Sound Recorder.
5. Open the default Windows Multimedia Properties.
6. Open the headset software Settings.
7. Exit the headset software.
1
2
5
6
7
4
3
1
2
3
4
5
6
7

12
Playback
Speakers
Out In
EQ KS SF
EM VF
VSS SMX
Speakers Out
44.1 KHz
2
Capture
Mic In
Volume Control
Master
8.00 dB
Front
-7.00 dB
-7.00
Mic
RL
1. Volume Control
1
2
5
4
3
1. Adjust the volume.
2. Mute or restore the
sound.
3. Adjust the left or right
front speaker volume
individually.
4. Lock the left and right
speaker to adjust at once.
5. Range of volume in dB is
between -37.00 and 0.00.
Playback
Speakers
Out In
EQ KS SF
EM VF
VSS SMX
Speakers Out
44.1 KHz
2
Capture
Mic In
Sample Rate
Mic
44.1 KHz 48 KHz
2. Sample Rate
1. Choose a dierent audio sample rate of your choice.
1

13
Playback
Speakers
Out In
EQ KS SF
EM VF
VSS SMX
Speakers Out
44.1 KHz
2
Capture
Mic In
Environment Effects
Mic
Enable Environment Effects
Environment
Concert Hall
Room Size
4. Environment Eects3. Equalizer
1. Enable/Disable Equalizer
2. Customise the EQ
setting.
3. Choose a sound eect
mode of your choice.
1. Enable/Disable Environment Eects.
2. Adjust environment eect.
3. Adjust room size eect.
4. Select saved EQ prole.
5. Input preset name.
6. Save a current EQ setting.
7. Delete a selected setting.
1
2
3
Playback
Speakers
Out In
EQ KS SF
EM VF
VSS SMX
Speakers Out
44.1 KHz
2
Capture
Mic In
Equalizer
Mic
Enable Equalizer
+20dB
-20dB
0 dB
30
Dance
60 120 250 500 1K 2K 4K 8K 16K
SoftRock
Bass
Rap
Rock
Classic
Metal
Live
Opera
Jazz Manual
Treble
Default
*Please input preset name...*
1
2
3
5
4
6 7

14
L
Ls
Lb
Rb
Rs
R
CW
Playback
Speakers
Out In
EQ KS SF
EM VF
VSS SMX
Speakers Out
44.1 KHz
2
Capture
Mic In
7.1 Virtual Speaker Shifter
Mic
Enable 7.1 Virtual Speaker Shifter
L -4 dB
R -4 dB
LS -4 dB
RS -4 dB
Lb -4 dB
Rb -4 dB
C -4 dB
W -4 dB
5. Virtual Speaker Shifter
Allows for personal calibration to t for your ears, enabling
you to congure to your perfect individual setting.
1. Enable/Disable Virtual Speaker Shifter.
2. Rotate Clockwise.
3. Rotate Counter Clockwise.
4. Manual Rotate.
5. Manual Shifter.
6. Reset to default hearing.
7. Adjust the speaker hearing position.
8. Adjust dB levelling.
1
2
3
4
5
6
7
8
L: Left speaker
R: Right speaker
Ls: Side Left
Rs: Side Right
Lb: Back Left
Rb: Back Right
c: Centre speaker
w: Woofer

15
Playback
Speakers
Out In
EQ KS SF
EM VF
VSS SMX
Speakers Out
44.1 KHz
2
Capture
Mic In
Xear SingFX
Mic
Enable Key Shifting
Pitch Down Pitch Up
0
Enable Vocal Fading
Voice No Voice
50
6. Xear SingFX 7. Xear Surround Max
1. Enable/Disable Enable Key Shifting feature and adjust
the Pitch level.
2. Enable/Disable Enable Vocal Fading feature and adjust
the voice fading level.
3. Press to return to default setting.
When Xear Surround Max is enabled, contents being
played by the front left and right virtual speakers will be
cloned to all side and back speakers.
Xear Surround Max can be enabled when Speaker Shift
or Real Multi-Channel Output setting is turned on.
1
2
3
Playback
Speakers
Out In
EQ KS SF
EM VF
VSS SMX
Speakers Out
44.1 KHz
2
Capture
Mic In
Xear Surround Max
Mic
Enable Xear Surround Max

16
Playback
Speakers
Out In
EQ KS SF
EM VF
VSS SMX
Speakers Out
44.1 KHz
2
Capture
Mic In
Volume Control
Mic-In
8.00 dB
Monitor
-7.00 dB
Mic
Playback Out In
EQ KS SF
EM VF
VSS SMX
Speakers Out
44.1 KHz
2
Capture
Mic In
Volume Control
Mic-In
8.00 dB
Monitor
-7.00 dB
Speakers
Mic
Volume Control
Sample Rate
Xear SingFX
Microphone Boost
1. Volume Control
Mic Setting
Right click on to show microphone menu.
1. Volume Control
2. Sample Rate
3. Xear SingFX
4. Microphone Boost
2
3
4
1
1. Adjust the microphone
volume.
2. Listen to your own voice
when using microphone
to speak.
3. Mute or restore the
microphone.
4. Range of volume in dB is
between -37.00 and 0.00.
1
23
4

17
Playback
Speakers
Out In
EQ KS SF
EM VF
VSS SMX
Speakers Out
44.1 KHz
2
Capture
Mic In
Xear SingFX
Mic
Microphone Echo
DefaultLow High
Magic Voice
Playback
Speakers
Out In
EQ KS SF
EM VF
VSS SMX
Speakers Out
44.1 KHz
2
Capture
Mic In
Sample Rate
Mic
44.1 KHz 48 KHz
3. Xear SingFX
1. Enable/Disable Microphone Echo feature and adjust
the echo level.
2. Press to return to default setting.
3. Choose a Magic Voice of your choice.
2. Sample Rate
1. Choose a dierent audio sample rate of your choice.
1
1
3
2

18
4. Microphone Boost
1. Enable Microphone Boost to improve the quality of
your audio recordings.
Playback
Speakers
Out In
EQ KS SF
EM VF
VSS SMX
Speakers Out
44.1 KHz
2
Capture
Mic In
Microphone Boost
Mic
Ensble Microphone Boost
1
Hints and Tips
Make sure the USB plug is fully plugged into a USB port and
the computer is on or try to use a dierent USB port.
If the software is not working properly, uninstall it and then
reboot the computer. Re-install the software.

19
Headset
Frequency response Headset: 20Hz - 20kHz
Microphone: 100Hz - 10kHz
Impedance Headset: 32Ω
Microphone: ≤2.2KΩ
Dimensions (W x D x H) 210 x 90 x 210 mm
Net Weight 340 g
Virtual 7.1 Sound Card
Power Supplier Input: DC 5V 120mAh
Dimensions (W x D x H) 61.3 x 157 x 17.5 mm
Net Weight 27 g
Features and specications are subject to change without
prior notice.
Specications

20
The symbol on the product or its packaging indicates that
this product must not be disposed of with your other
household waste. Instead, it is your responsibility to
dispose of your waste equipment by handing it over to a
designated collection point for the recycling of waste
electrical and electronic equipment. The separate
collection and recycling of your waste equipment at the
time of disposal will help conserve natural resources and
ensure that it is recycled in a manner that protects human
health and the environment.
For more information about where you can drop o your
waste for recycling, please contact your local authority, or
where you purchased your product.
Windows is a registered trademark of Microsoft Corporation in the
United States and other countries.
All trademarks are the property of their respective owners and all
rights are acknowledged.
For general information about this appliance and
handy hints and tips, please visit:
www.TeamKnowhow.com/discover
or call 0344 561 1234
Visit Partmaster.co.uk today for the easiest way to buy electrical
spares and accessories. With over 1 million spares and accessories
available we can deliver direct to your door the very next day. Visit
www.partmaster.co.uk or call 0344 800 3456 (UK customers only).
Calls charged at National Rate.

IB-ADXH0318-180720V1
DSG Retail Ltd. (co. no. 504877)
1 Portal Way, London, W3 6RS, UK
This manual suits for next models
1
Table of contents
Other ADX Headset manuals
