AEG VAMPYR CE Series User manual

VAMPYR® CE . . .
Bodenstaubsauger
Vacuum Floor Cleaner
Aspirateur-traîneau
Bodemsto zuiger
Aspirapolvere
Aspirador de polvo para suelos
Aspirador de pó para chão
Golvdammsugare
Støvsuger
Gulvstøvsuger
Lattiamallin pölynimuri
Podlahový vysavaè
Fekvporszívó
Odkurzacz pod¢ogowy
H𪸽¼¯¸¢ÿ ÷¸³õªÿ å¦õ¢å¾
Íàïîëüíûé ïûëåñîñ
Gebrauchsanweisung
Operating Instructions
Mode demploi
Gebruiksaanwijzing
Istruzioni per luso
Instrucciones para el uso
Instruções de utilização
Bruksanvisning
Brugsanvisning
Bruksanvisning
Käyttöohje
Návod k pou¤ití
Használati útmutató
Instrukcja obs¢ugi
å®ã¥ªÿ ¿¼±÷®ÿ
Èíñòðóêöèÿ ïî ýêñïëóàòàöèè
949087.book Seite 1 Montag, 22. Januar 2001 10:00 10

10
A = Button to Open the
Paper Filter Compartment
B = Power Regulation *
C = Accessories Compartment
D = On/O Button
E = Parking Rail
F = Filter Replacement Indicator
G = Cable Rewind Button
H = Tool Rail
I = Nozzle
J = Carrying Handle
K = Hose Release Button
L = Suction Tube/Telescopic Tube*
M= Handle
N = Suction Hose
*depending on model
949087.book Seite 10 Montag, 22. Januar 2001 10:00 10

11
Contents
Appliance Description. . . . . . . . . . . . . . . . . . . .10
Before Using for the First Time . . . . . . . . . . .11
Protecting the Environment . . . . . . . . . . . . . .11
User Safety Instructions. . . . . . . . . . . . . . . . . .11
Making the Vacuum Cleaner eady for Use12
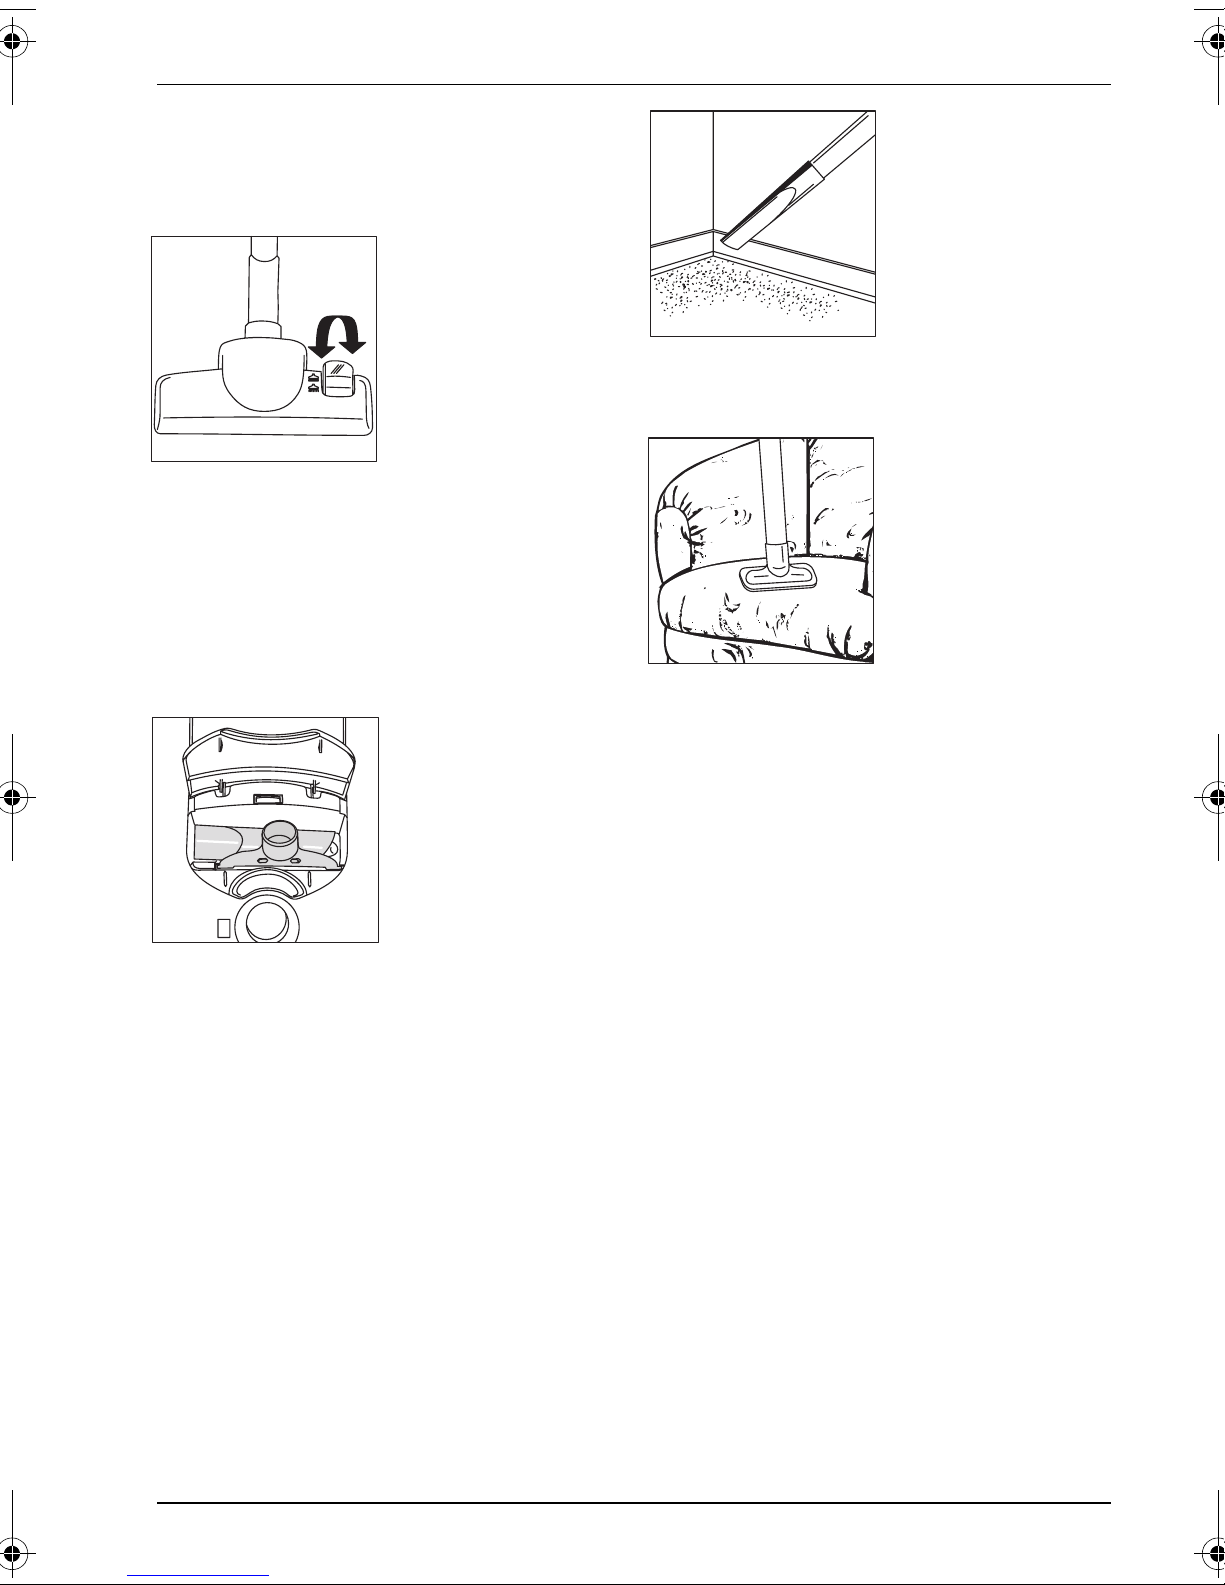
Using the Nozzles . . . . . . . . . . . . . . . . . . . . . . .13
Switching On . . . . . . . . . . . . . . . . . . . . . . . . . . .14
Maintenance and Cleaning . . . . . . . . . . . . . . .14
Paper Filter. . . . . . . . . . . . . . . . . . . . . . . . . . . . .15
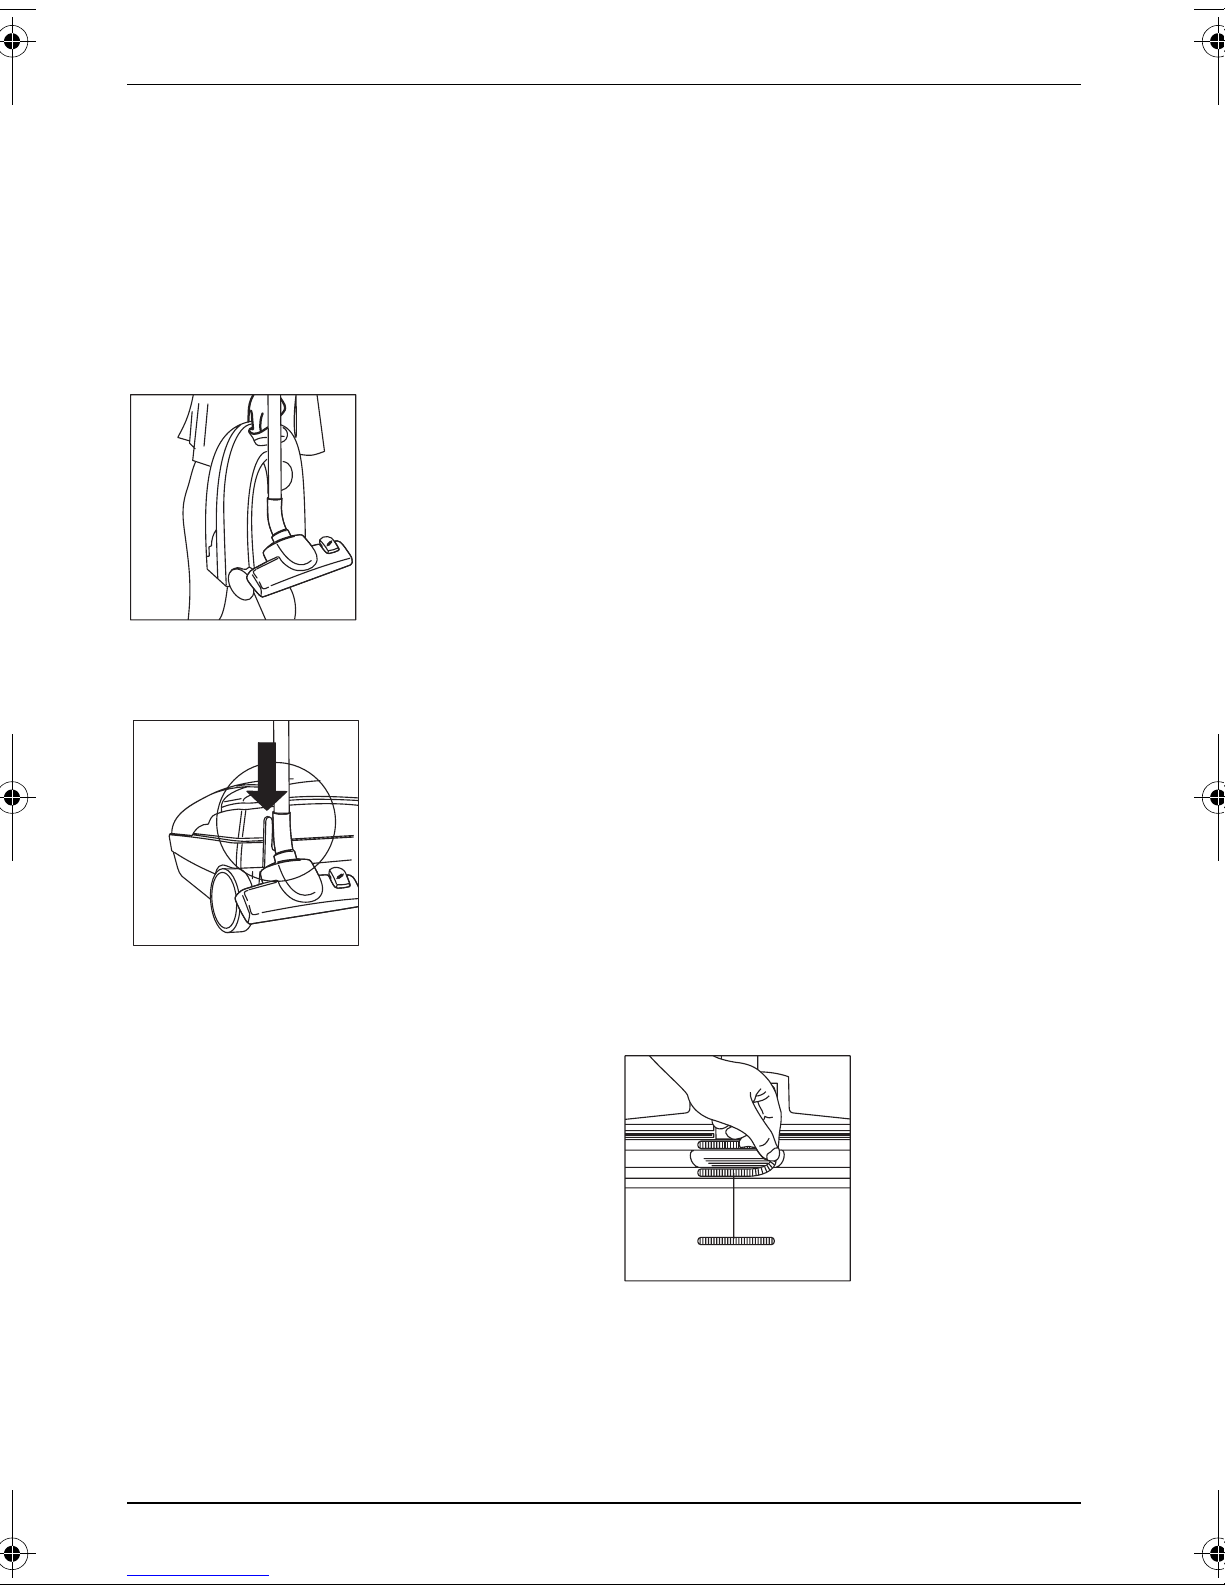
Carrying and Storage . . . . . . . . . . . . . . . . . . . .16
What to do, if . . . . . . . . . . . . . . . . . . . . . . . . . .16
Additional Accessories . . . . . . . . . . . . . . . . . . .17
AEG Customer Service in Europe . . . . . . . . 135
Before Using for the First Time
Please read all the ollowing in ormation
care ully. It provides important instructions on
appliance sa ety, operation and maintenance.
Keep these operating instructions in a sa e place
and pass them on to any subsequent owners.
Protecting the Environment
Do not simply throw away packaging material
and old appliances.
Equipment Packaging:
The cardboard packaging can be deposited in
the waste paper collection.
Deposit the recyclable polyethylene (PE) bag
at a PE collection point.
ecycling the Appliance at the End of its Life:
The plastic components all carry a material
identi ication marking so that, like the other
materials, they can be recycled at the end o
the li e o the appliance.
Please inquire with your local authority about
your local recycling centre.
Safety Instructions
; This device complies with the ollowing EU
Directives: 73/23/EWG dated 19 Feb. 1973
Low Voltage Directive 89/336/EWG dated
3 May 1989 (including Directive Amendment
92/31/EWG) EMC Directive.
Only connect the appliance to 220/230 V AC.
The electric circuit or the socket used must
have at least a 10 A use.
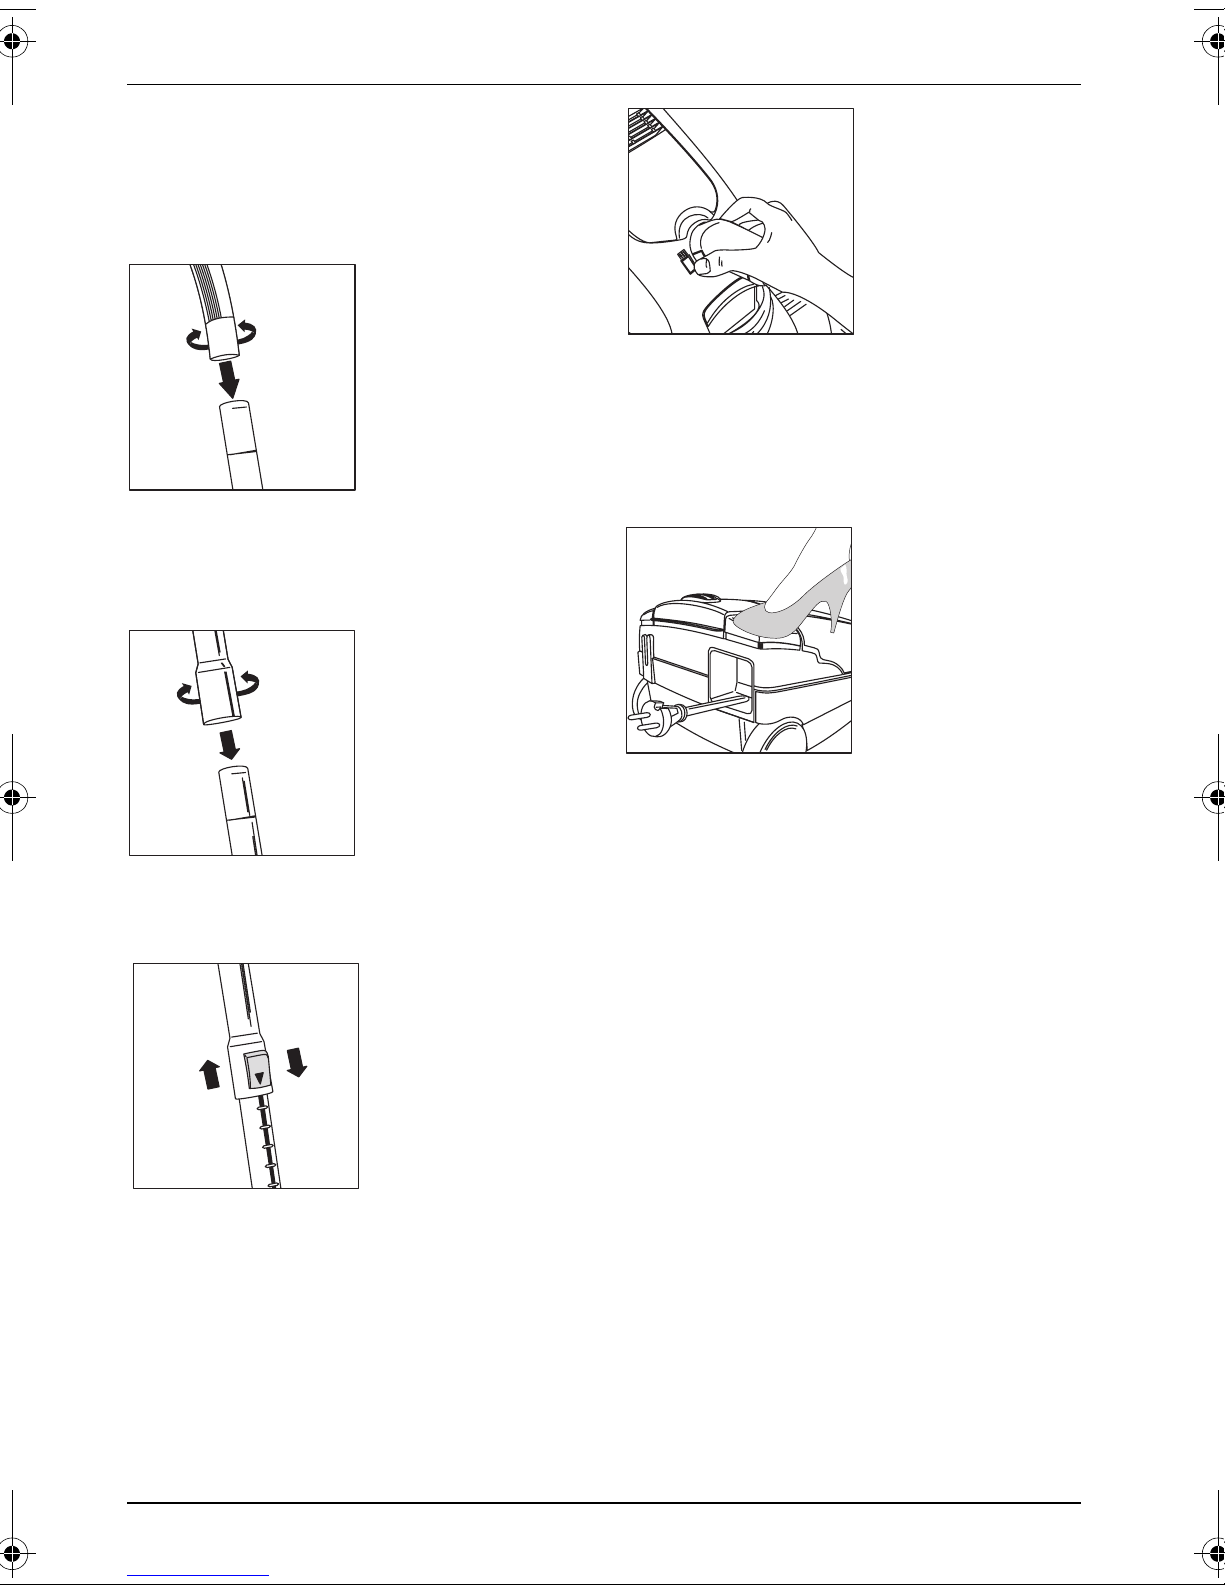
Never remove the mains plug rom the socket
by pulling on the cable.
Do not use the appliance i :
the cable is damaged.
the housing shows visible signs o damage.
Avoid pulling the appliance or suction brush
over the mains lead. The insulation could be
damaged.
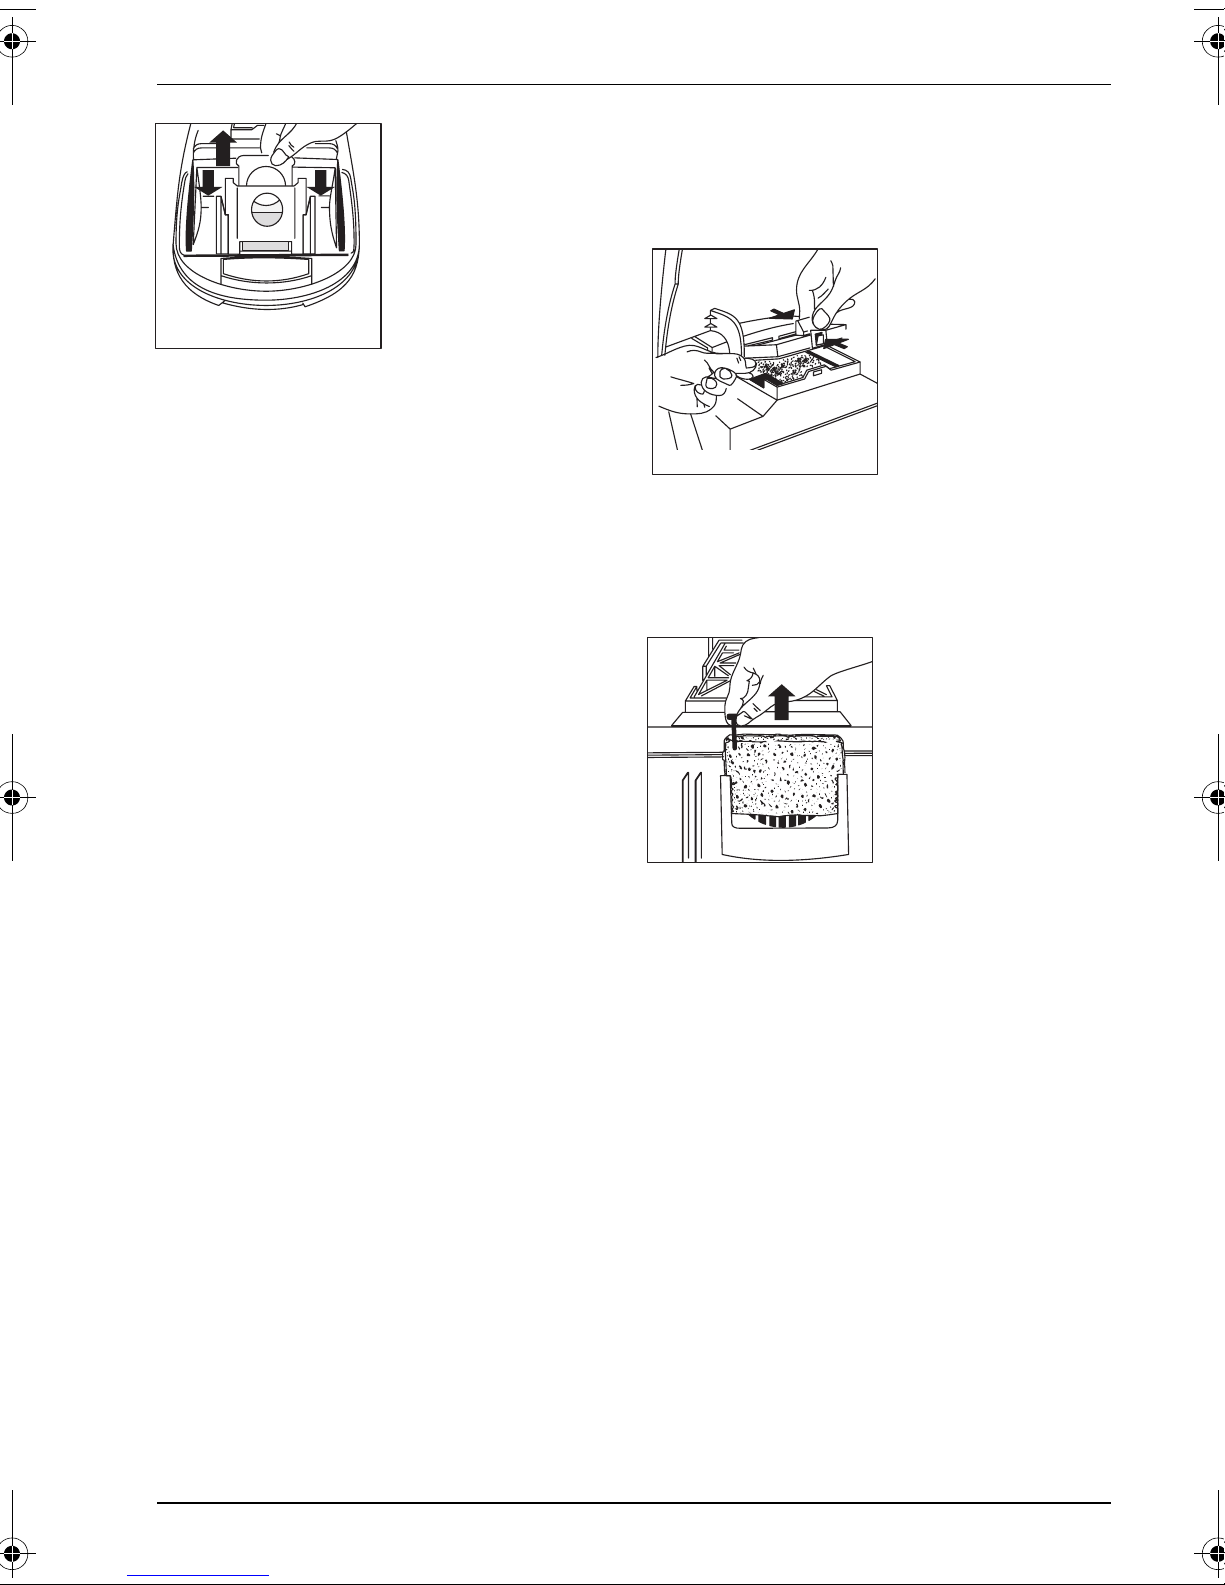
The cover cannot be closed if a paper filter
is not inserted. Please do not use force!
Always ensure that a paper ilter as well as a
MICROFILTER and a motor protection ilter
are inserted.
This vacuum cleaner may only be used or
vacuuming dry materials in households. Peo-
ple and animals must not be vacuumed with
appliance.
Keep children away rom electrical appliances.
The manu acturer shall not be liable or any
damage that may be caused by improper use
or operation.
Leave wet shampooed carpets to completely
dry. Never vacuum liquids with the vacuum
cleaner otherwise the vacuum cleaner will
be damaged. Furthermore, electric shock pro-
tection may be impaired.
Under no circumstances should the appliance
be used to vacuum matches, glowing ashes or
cigarette ends. Avoid vacuuming hard, sharp
objects as they may damage the appliance or
the paper ilter.
Do not expose the appliance to weather,
moisture or heat.
In the event o a cable de ect, the entire cable
roller should be replaced by AEG customer
service or an authorised repair shop.
Repairs to electrical appliances may only be
per ormed by quali ied service engineers.
Improper repairs may lead to serious hazards
or the user.
There ore i your applance needs repairing,
please contact your retailer or AEG customer
service.
949087.book Seite 11 Montag, 22. Januar 2001 10:00 10

12
Making the Vacuum Cleaner
eady for Use
The accessories can be connected by pressing
together and turning, and separated by pulling
and turning:
Connect Together the Suction Hose and
Suction Tube.
Firmly connect the suction tube handle to the
suction tube.
Connect the Suction Tubes Together
(depending on model)
Connect the two tubes together.
Adjust the Telescopic Tube
(depending on model)
Push down the button on the tube and adjust
the tube to the desired working position.
Connect the Suction Hose
Plug the suction hose connector into the suc-
tion inlet. The connector clips into place and is
ree to rotate.
Press the release button and pull out the con-
nector in order to remove the suction hose.
Mains Connection/Cable ewind
The mains cable is stored in the cable compart-
ment. Pull out the cable and plug into a mains
socket.
Unplug rom the mains socket. Press the oot
button, the cable is automatically rewound a ter
vacuuming.
949087.book Seite 12 Montag, 22. Januar 2001 10:00 10

13
Using the Nozzles
The nozzles are connected to the suction tube
by pressing and turning, and removed by pulling
and turning.
Using the VA IO 500 Floor Nozzle
For daily care o carpets and hard loors. The
loor nozzle is manually adjustable. Extended
brushes or smooth loors, retracted brushes or
carpets.
See additional accessories or special loor noz-
zles.
Crevice and Upholstery Nozzle Stored in the
Appliance
To meet individual cleaning requirements two
accessories are included with the appliance,
these are stored in an integrated accessories
compartment.
Open the lid o the accessories compartment
upwards at the recessed handle.
The nozzles can be itted to both the suction
tube and the suction hose handle as required.
Crevice Nozzle
For vacuuming crevices, gaps and corners.
Upholstery Nozzle
For vacuum cleaning all upholstered urniture,
mattresses, etc.
The thread li ting strips on the nozzle even pick
up thread and lint.
949087.book Seite 13 Montag, 22. Januar 2001 10:00 10

14
Switching On
Switch On and Off
The appliance is switched on and o by
pressing the On/O button.
Power egulation*:
Power egulation otary egulator
The suction power can be adjusted to suit the
speci ic situation using the electronic power
regulator.
Output control, Mega-Power
A Switching on and
off.
Switch on you vacuum
cleaner with the power
adjustment wheel by
turning the power
adjustment wheel in the
direction o the arrow
º max. The operating lamp indicates that the
vacuum cleaner is connected to the mains volt-
age and is ready or operation.
B Suction power adjustment.
With the power adjustment wheel you can set
the power o your vacuum cleaner to the opti-
mum value or the relevant cleaning work.
NOTE: I the power adjustment wheel is turned
ully to the right, this setting gives you a strong
suction, economical power setting or most
cleaning work.
C Mega-Power button.
Press the Mega-Power button or cleaning work
which requires a particularly high suction
power. The vacuum cleaner then runs at maxi-
mum power. The Mega-Power indicator lamp
lights up or as long as the Mega-Power stage is
activated. In this power stage, the adjustment
wheel only has the unction o the on / o
switch. Power adjustment is not possible in this
stage.
Maintenance and Cleaning
Be sure that the appliance is turned o and that
the mains plug has been removed rom the
socket be ore per orming maintenance or clean-
ing.
Changing the Paper Filter
The paper ilter must be replaced i the window
on the ilter replacement indicator is completely
red when the appliance is operating at maxi-
mum power and the nozzle is raised rom the
loor.
The paper ilter should be replaced even i it
does not appear to be ull because ine dust can
block the pores in the sur ace o the ilter.
The cover can be opened by pressing the button
and olding back until it locks.
*depending on model
949087.book Seite 14 Montag, 22. Januar 2001 10:00 10

15
Hygiene ilter replacement: When removing the
ull ilter bag, pull the closing tab to automati-
cally close the bag. During this process you must
overcome slight resistance when pulling the tab.
Full dust bags with normal household dust may
be disposed o with household rubbish.
Insert the new paper ilter in the guide rails and
slide down to the lower stop (note marking),
only then can the lid be closed. I a paper ilter
is not placed in the appliance, the lid cannot be
closed. Please do not use orce!
Changing the Microfilter
We recommend replacing the microfilter on
every i th paper ilter replacement, at the latest
when the dust level indicator is completely red
with a clean dust bag and the nozzle raised.
Open the lid and old back until it locks. Remove
the used micro ilter (Figure) by the tab and dis-
pose o with household rubbish. Insert the new
micro ilter.
Motor Protection Filter
The motor protection ilter is a permanent ilter
and does not have to be regularly replaced.
The only exception is if the paper filter has
been damaged and the motor protection fil-
ter soiled: remove the motor protection ilter,
clean (only tap out) and re it.
Insert new paper ilter.
Cleaning
Use a damp cloth to wipe o the housing and
paper ilter compartment as required. Do not
use solvents or scourers. Clean the loor nozzle
and the brush holder periodically using the
crevice nozzle.
949087.book Seite 15 Montag, 22. Januar 2001 10:00 10

16
Paper Filter
VAMPY CE...
TE No. 900.087.600
ET No. 668.901.268
Paper Filter Size 28
Microfilter
ET No. 668 100 151
Carrying and Storage
To make the appliance easier to store and carry,
slide the loor nozzle into the tool rail.
Parking System
For storing the suction tube and nozzle during
short pauses in use. The bracket on the nozzle is
slid into the parking rail on the appliance.
What to do, if ...
... the nozzle is hard to push
Turn down the power. Cleaning per ormance
will not be a ected in this case.
... the motor thermal overload protection
device triggers
I the motor becomes overloaded, e.g. as the
result o the ilter bag being ull or a blocked
accessory, the thermal overload protection
device will shut down the motor. Turn o the
appliance, unplug rom the mains, and allow the
motor to cool down.
Check paper ilter bag, suction tube and suction
hose, remove any blockage.
The appliance can be turned on again a ter
approximately 30 minutes.
... the fuse has blown
The use may blow i you use other high power
electrical appliances on the same electrical cir-
cuit at the same time as the vacuum cleaner is
in use.
This may be prevented by setting the electronic
power regulator to minimum be ore turning on
the appliance and increasing the power setting
a ter switching on.
Your vacuum cleaner is equipped with an
electronic soft start controller that reduces
the start up current of the motor, this avoids
the mains fuse blowing under normal circum-
stances. As a result, at the lowest power set-
ting the appliance may have a start delay of
approx. 4 seconds.
... the thread lifters are worn
I the thread li ters on the suction inlet are worn
or matted, you can replace them with new
thread li ters.
You can order new thread li ters rom AEG cus-
tomer service under ET No. 668 901 690.
949087.book Seite 16 Montag, 22. Januar 2001 10:00 10

17
... the lid jumps out o its hinge
I the housing lid jumps out o its hinge due to
being opened too ar, place it back on the hous-
ing and press until it snaps back into place.
Additional Accessories
OTOSOFT 1200 Turbo Brush
The ROTOSOFT 1200 makes the care o carpets
and smooth loors easier. The rotary motion o
the brushes loosens matted areas o short pile
carpets and improves their appearance.
Special Nozzle
For special care o parquet, tiles and hard loors.
Furniture Brush with Knuckle Joint
For vacuuming delicate materials and objects.
Only available rom customer service.
adiator Brush
For cleaning radiators, narrow shelves or gaps.
Attach to crevice nozzle.
949087.book Seite 17 Montag, 22. Januar 2001 10:00 10
Other manuals for VAMPYR CE Series
2
Other AEG Vacuum Cleaner manuals

AEG
AEG VX8-3-DB-M User manual

AEG
AEG CX8 X POWER User manual

AEG
AEG JETMAXX User manual

AEG
AEG UltraCaptic User manual

AEG
AEG vivacontrol User manual

AEG
AEG AP 250 ECP User manual

AEG
AEG erhorapido 10,8V User manual

AEG
AEG HX6-8IW User manual

AEG
AEG Vampyr 5 Compact Series User manual

AEG
AEG Classic Silence OKO User manual

AEG
AEG SMART 300 User manual

AEG
AEG Ergorapido User manual

AEG
AEG Vampyr TC Electronic Series User manual

AEG
AEG VX4 User manual

AEG
AEG VAMPYR CE... User manual

AEG
AEG Vampyr TC Electronic Series User manual

AEG
AEG Z6160 User manual

AEG
AEG PRO User manual

AEG
AEG RX9 X 3D Vision User manual

AEG
AEG LX8 X FLEXIBILITY User manual