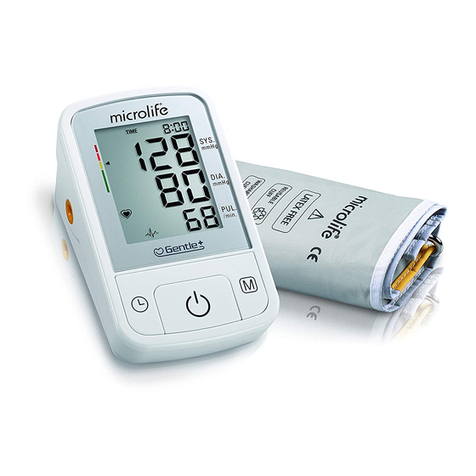
Aesfee AF-2018 User manual

Please read the product manual before using, and keep it far future use.
Aesfee
Electronic Blood Pressure Monitor
UserManual
Model No: AF-2018
(Upper Arm type) .

CONTENTS
English User
Manual. 1-
14
Mode d'emploi en francais
(French)
15-28
Deutschsprachliches Benutzerhandbuch
(Germany) ..........•......29-43
Manual de usuario
(Spanish) ..44-58
Manuale Italiano
(Italy) 59-73

Thank you for purchasing the Aesfee AF-2018 Upper Arm Blood
Pressure Monitor.
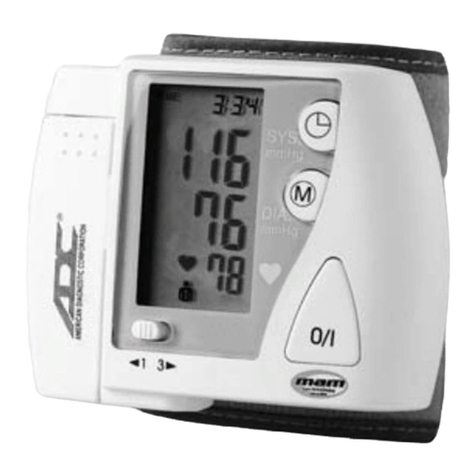
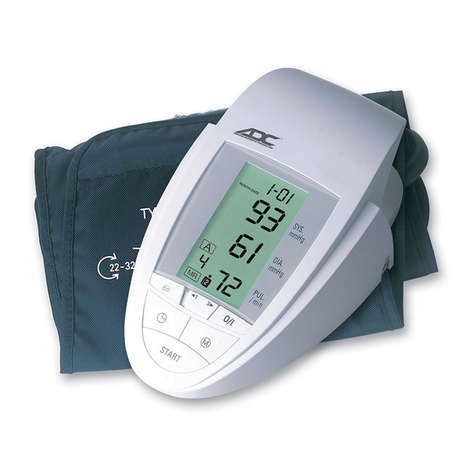
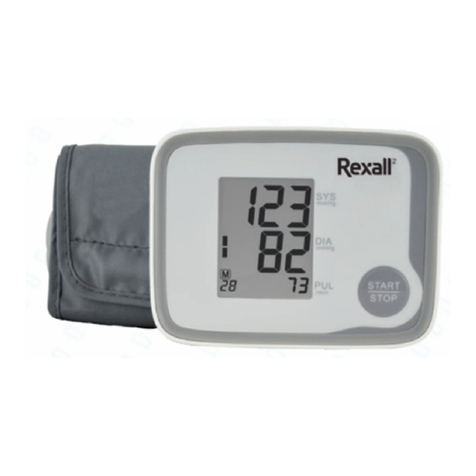
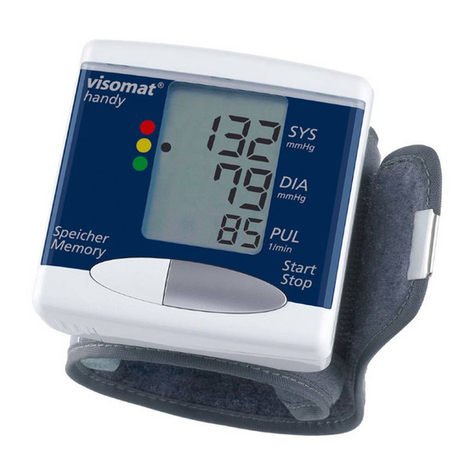
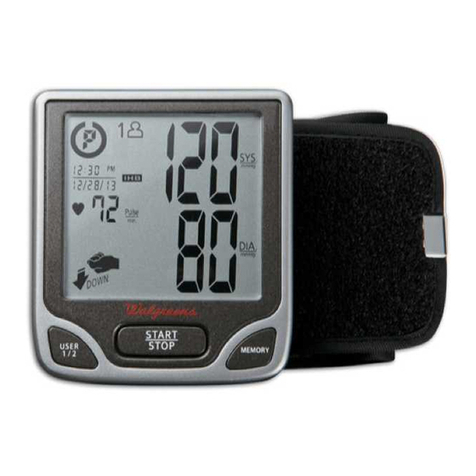
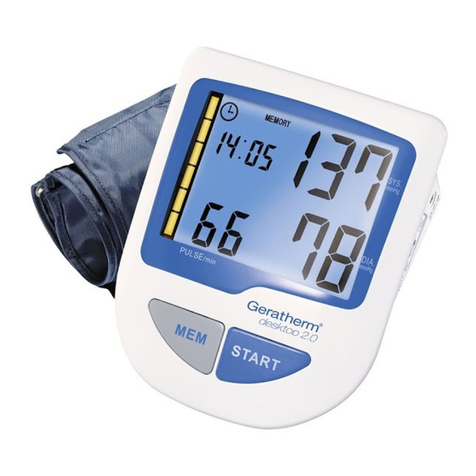
The Aesfee AF-2018 is a fully automatic blood pressure monitor,
operating on the oscillometric principle. It measures your blood pressure
and pulse rate simply and quickly.
The monitor stores measurement results for two individual users (up to 99
readings per person). Built-in lithium battery for operation, and Micro USB
port for charging, you can charge it by any DC 5V USBports such as USB
charger, PC/Laptop, PowerBank ...
Please read this instruction manual thoroughly before using the unit. For
specific information about your own blood pressure, CONSULTYOURDOCTOR.
Consult your dactor during pregnancy, arrhythmia and arteriosclerosis.
Use the unit only to store the designated users measurement results.
Please read this section carefully before using the unit.
Caution:
(General Usage)
• Always consult your doctor. You should never stop or change the dosage
of medication prescribed by your doctor.
• Do not leave the unit unattended with infants or persons who cannot
express their consent.
• Do not use the unit for any purpose other than measuring blood pressure.
• Use only the approved arm cuff for this unit. Use of other arm cuffs may
result in incorrect measurement results.
• Do not disassemble the unit or arm cuff.
• Make sure that the air tube is not wrapped around other parts of your
body when taking measurements at night. Thiscould result in injury when
the air pressure in the air tube is increased.
• Do not wrap the arm cuff tightly when taking measurements at night.
Thiscould result in injury.
• Do not use a cellular phone near the unit. Thismay result in incorrect
operation of the unit.
• Do not operate unit in a moving vehicle (car, airplane).
• Do not use the USBcable to connect this unit when taking measurements.
• Do not inflate the arm cuff when it is not wrapped around your arm.
o
• Do not wash the arm cuff or immerse it in water .
• Do not take measurements after bathing, drinking alcohol, smoking,
exercising or eating.
Ontology
@
Air Jock
®
Air Plug
©
Air Tube
@
Arm Cuff
®
Display Screen
®USB Charging Port
©Memory Button
®
Switch Button
CD
Setting Button
Q)
Blood Pressure Level Indication
®Time Icon
CD
Low Battery Symbol
@
High Pressure Yalue(Systolic Pressure)
®
low Pressure Value(Diastolic Pressure)
@Number of User Groups
®Average Icon
@Memory Icon
®Number of Memory Groups
®
Heartbeat Icon
CD
Pulse Rate Display
• When the battery level is low and symbol' ~ ,
js
displayed, please
stop measuring.
• Charge the monitor with 5V output voltage, the charging cable was
included in the package.
• It will take 1 hour for the monitor to be full charged. Last up to 300
measure times, standby time up to half a year.

v n If the batt ry is law, the previously measured blood pressure value
will stili be stored.
•e
1.
Setting the blood pressure monitor
Check current se"'ng:
Press the S button" 0" to view the curren I settings such as time, date, user
group number, blood pressure unit (kPa or mmHg)
To make use of the memory and average values functions:
,et the unit to the correct date, time, user group and blood pressure unit
ietore
taking a measurement for the first time.
1 Se"'ng the User Group
'ess and hold the S button" 0" for 3 seconds while the unit isturned off,
.ne Current user group icon
lJ.
will flash on the display
• PressM button "8" to switch user group
• PressSwitch button
"@"
to save the setting and shut down.
1.2 Se"ing the data and time
1.)Pressand hold the S button "0 "for 3 seconds while the unit is turned off,
The user group icon will flash on the display.
2.) Pressthe S button "0" again, the year digits0 2017will flash on the display.
3.) Pressthe M button "8"to advance the digits one at a time.
4.) Pressthe S button "0" to confirm the setting when the desired number
appears on the display.
The year is set and the month digits01/09 flash on the display.
5.) Repeat steps 3 and 4 to set the month,
The month isset and the day digits01/09 flash on the display.
6.) Repeat steps 3 and 4 to set the day.
The day is set and the hour digits018:59 flash on the display.
7.) Repeat steps 3 and 4 to set the hour.
The hour isset and the minutes digits018:59 flash on the display.
8.) Repeat steps 3 and 4 to set the minutes.
The minutes settings is set.
The unit automatically turns itself off after the minute setting has been set.
1.3 Se"ing the blood pressure unit
The default blood pressure display unit is in mmHg, and if you want to use
kPa, please follow the steps below:
• Pressand hold the Switch button"
@ "
for 6 seconds while the unit is turned
off until "kPa" appear on the display.
• PressSwitch button to save the setting and shut down.
The blood pressure unit will appear as kPa in your next measurement .
2. How to Sit Correctly When Taking a Measurement
You can take a measurement on either your left or right arm.
Notes:
• Measurements should be taken in a quiet place and you should be in
a relaxed, seated position. Make sure that the room is not too hot or cold.
• Do not take measurement after bathing, drinking alcohol, or exercising.
• Do not move or talk during measurement.
Remove tight fitting clothing from
your upper arm, and any thick
clothing such as a sweater.
Do not place the cuff over thick
clothes and do not roll up your
sleeve
if it
is too tight.
The gop between the
choir and the top 01 the
table should be between
25cm to 30cm.
Notes:
• Correct posture during measurement is necessary to get accurate results.
• You should also try to measure your blood pressure at the same time each
day. (Within 1 hour after waking up isrecommended.)

Incorrect Posture
• Arched back (leaning lorwards),
• Sitting cross-legged,
• Sitting on a sola or at a low table
so that you tend to lean forward,
rr. \
-V~---~-., '.•
L ~ ,
-------
These situations could lead to higher
blood pressure values due to strain or
the arm cull being lower than the
heart,
II the arm cuff is at a lower position than your heart use cushions etc" to
adjust the height of your arm,
Be sure to wrap the arm culf correctly so that you get accurate results,
Measurements can be taken in light clothing, However, please remove thick
clothes, 'such as sweaters, before taking a reading,
3. Applying the Arm Cuff
You can wrap the cuff either on your right or left arm,
~
\,
~
~-:.::=====
• Remove tight-litting clothing from your upper
arm,
• Do not place the cufl over thick clothes and
do not roll up your sleeve if it istoo tight,
• Insert the air plug into the air jack (on the left
side
01
thedevice)
The cuff must be fully deflated when it is inserted
into the air jack,
• Sitin a chair with your feet flat on the floor and place your armon a table so
that the cuff will be at the same level as your heart,
• Hold the grip on the cuff securely with your
hand,
• Turn the palm of your hand upward,
• Apply the cuff to your upper arm so that the blue strip is centred
on the middle of your inner arm and points down the inside
01
the arm, The air tube should run down the inside
01
your
forearm and be in line with your middle finger,
The bottom
01
the cufl should be approximately 1 to 2 cm
above the elbow,
Blue strip
Bottom edge 1 to 2 em
II
Air tube

o
When the cuff
IS
positioned correctly,
close the fabric fastener FIRMLY
Notes:
o
Make certain the cuff fits snugly around yo
o
The cuff should make good contact with your skin. You should
be able to fit your index finger between the cuff and your arm
easily, so you can pull the cuff off and on.
o
Make sure that there are no kinks in the air tubing.
Taking measurements on the right arm
Please note the following points when
applying the cuff to your right arm. Apply the
cuff so that the air tube is at the side of your
elbow.
Notes:
o
Be careful not to rest your arm on the air
tube, or otherwise restrict the flow of air to
the cuff.
o
Apply the arm cuff so that no part of the
cuff is positioned over the elbow joint. The
cuff should be 1 to 2 cm above the elbow.
o
If used 2 times per day, the cuff will last for 3 years.
o
The blood pressure can differ between the right arm and the left arm,
and therefore also the measured blood pressure values can be
different. Aesfee recommends to always use the same arm for
measurement. If the values between the two arms differ substantially,
please check with your physician which arm to use for your
measurement.
1. Measurement of Blood Pressure
1.1 Automatic Test
Pressthe Switch button, the arm cuff will start to inflate, do not move or
lalk during measurement.(lf mmHg appears on the screen, the measurement
unit is mmHg, or kPa.)
(!)14lT3 (914113 @(914113
I.)
P
II.
I.)
120
11
Q
-+
110
-+
80
~"
~"
I~,
70
•
Early display
Automatically
charging
When oir is slowly
exbcvsted.vctoe on
the display screen
drops/meanwhile
heartbeat diagram
(heart shape) is
flickering
After finishing
measuring/the
blood pressure
monitor
automatically
exhausts air and
displays blood
pressure value
and pulse rate.
1.2 View and Delete Memory
The unit is designed to store the blood pressure and the pulse rate in
Ihe memory for two people (user 1 and user 2) every time a measurement
iscompleted.
The unit automatically stores up to 99 sets of measurement values (blood
pressure and pulse rate) for each user (1 and 2).
When 99 sets of measurement values are stored, the oldest record isdeleted
10
save the most recent values.
• View the records
Pressthe "8" button to display the most recent set of individual measurement
values on the screen. The values are displayed from the most recent to the
oldest. the first display is average value of the last three times of
measurement.
Pressthe "8" button again the result from the most recent measurement is
displayed. Pressthe "8" button repeatedly to cycle through the previous
measurement results.
average value measured value measured value measured value
-+ .
for the 3 times for the
i
st time for the 2nd time for the 3d time

• Delete UserGroup Memory
The values stored in the memory are deleted by user ID.
You cannot partially delete values stored in the memory. All values for the
user you select will be deleted.
• Select your ID (lor
2).
• Pressthe M button first to view mode.
• PressS button until" DEL" is displayed at the right corner of the screen,
then PressM button again all the values will be deleted.
Delete All Memory
Press" 8" button while the unit isturned off, then press three button
(8
+
0)
+@)
simultaneously, release all button after the screen flicker
all values will be deleted.
Abnormal phenomenon Cause
Faulttreatment method
Position of arm cuff is not Keep correct posture
kept consistent with height during measurement.
of heart.
Moving or talking during Keep silent and do not
Measured value istoo
measurement. talk during measurement.
high or too low.
Arm and shoulder muscles Stay relaxed and
are tensed. measure again.
Arm cuff istoo loose or
Wrap the arm cuff
too tight.
correctly.
Blood pressure value
Blood pressure value will chonge at
measured each time is
different measuring times, and with
Measuring posture is wrong.
different postures and degrees of
different (reading too low
reicxonon. Toke a deep breath
or too high).
before measuring 10 keep your
body relaxed
Shutdown during Low battery. Charge the product.
measurement.
No response when Low battery. Charge the product.
starting.
• LCD Trror Tip and Corresponding Cause(table 1)
LCDerror tip Couse
"Er 1"
Make sure the gas in the arm cuff was out; Don't press
the belt when measuring.
"Er2"
Don't move when measuring.
"Er3"
Abnormal test result. Please test again.
"Er4"
Belt was loose or air leak.
"Er 5"
Trachea was stuck.
"Er6"
Too big interference.
"Er 7"
Pressure beyond limit.
• Blood Pressure Warning Strip Illustration (table
2)
LCD High pressure Low pressure
Severe
;'180 ;'110
Moderate
160-179 100-109
Mild
140-159 90-99
Normal or High
130-139 85-89
Normal
120-129 80-84
Best
,,119 ,,79

Q&A
Q: What is blood pressure?
A: Blood pressure indicates the pressure borne by arterial vascular walls when
the blood flows through the arterial vascular walls. During cardiac cycle,
the blood pressure of the arterial vascular walls changes constantly.
o
The highest pressure during cardiac cycle is called high pressure value
(systolic pressure); the lowest pressure is called low pressure value (diastolic
pressure).
o
The high and low pressure values are a necessary basis for diagnosis of
blood pressure conditions of patients by doctors.
Q: What is irregular pulse wave?
A: Irregular pulse wave indicates instantaneous heartbeat rhythm is detected
to exceed 25% out of the range of average heartbeat rhythm when the
blood pressure monitor is used for measuring high and low pressure values.
If there is irregular pulse wave, please consult a doctor.
Q:
What is arrhythmia?
A: Arrhythmia indicates abnormal heartbeat rhythm due to flaws in the
bioelectric system that drives the heart. The classic symptoms are:
o
Palpitations (a feeling of skipped heart beats, fluttering or "flip-flops," or
feeling that your heart is "running away").
o
Pounding in your chest.
oDizziness or feeling light-headed.
oFainting.
oShortness of breath.
o
Chest discomfort.
o
Weakness or fatigue (feeling very tired).
Q:Why it is good to measureblood pressureat home?
A: Your blood pressure will be affected by body movement, anxious motion
,md different time periods in the day. A single measuring result cannot show
.rccorote signs of blood pressure change. Therefore, it is the best to measure
I
ilooo
pressure at the same time of each day to obtain accurate signs of
blood
pressure change. Usually blood pressure measured in the morning is
lolalively low, and gradually rises from afternoon to the night. Additionally,
blood pressure is relatively low in summer, and relatively high in winter.
A
j
diffrernt times of a day, blood pressure change of the same people isalso relotively
rorpe, only the blood pressure measured at the same time of a day can be compared,
ono more rational monitored blood pressure value can be obtained,
mmHg
200 Change of blood pressure of adult in a day
150
Systolic pressure
Diastolic pressure
100
75
50 Get up Work Get off Rest
7:00 12:00 18:00 24:00
Classification of Blood Pressure by World Health Organization
[he World Health Organization (WHO) made classifications of blood pressure
as shown in the following diagram.
Thistable displays blood pressure measurements of different people at
different postures in hospital outpatient departments as the standard.
Notes:
Low blood pressure has no definition. Generally people whose high pressure
value is not up to 100mmHg (13.3kPa) are called hypotensive.
Systolic pressure

180
160
High 140
pressure
130
120
Ideal blood
pressure
( target value)
80 85 90 100 110
Low pressure
Display mode: LCD digital display screen
• Measuring mode: depressurization type oscillometric method
for measurement
• Power supply: 800mAh lithium battery
Measurement range: (0-280)mmHg/(0-37.3)kPa(blood pressure)
(40-195)times/min(pulse rate)
• Accuracy: ±3mmHg/±0.4kPa(blood pressure); ±5%(pulse rate)
• Air charging mode: automatic charging
• Air leakage device: air relief valve
• Quick air leakage: electronic air release valve
• Result display: high pressure/low pressure/pulse
• Unit conversion: conversion of blood pressure value unit mmHg/kPa
(default unit when start is mmHg)
• Number of memory groups: Double 99 memory groups
• Low battery inspection: LCD displays symbol'
QZJ'
to indicate low
battery
• WHO tip: blood pressure warning strip is used to indicate blood pressure
and health status, see table 2 for details
• Error tip: see table 1 for details
• Alillylhmia tip: LCD displays' • 'flickering to indicate arrhythmia
• Alilomatic shutdown function: outomatic shutdown in one minute when
11,0,8
isno operation
• W,
1I
king conditions:
I I)
I nvirorimerit temperature: 5-40 degrees celsius;
I,) I<olalive humidity: lS%-80%RH;
, ) Almospheric pressure: 80kPa -lOSkPa.

Aesfee International Limited
Add:5/F,Building A,Longcheng Industrial Zone,No.39 Longguan
West Road,Longhua District,Shenzhen,518000,China
Made in China
Table of contents


