AFRISO CAVIUS ASD 10 User manual

Version: 09.2019.0
ID: 900.000.0801
Lindenstraße 20
74363 Güglingen
Telefon+49 7135 102-0
Service+49 7135-102-211
Telefax +49 7135-102-147
www.afriso.com
Copyright 2019 AFRISO-EURO-INDEX GmbH.All rights reserved.
18
EN14604:2005 + AC:2008 DoP.: 2301-002
Operating
instructions
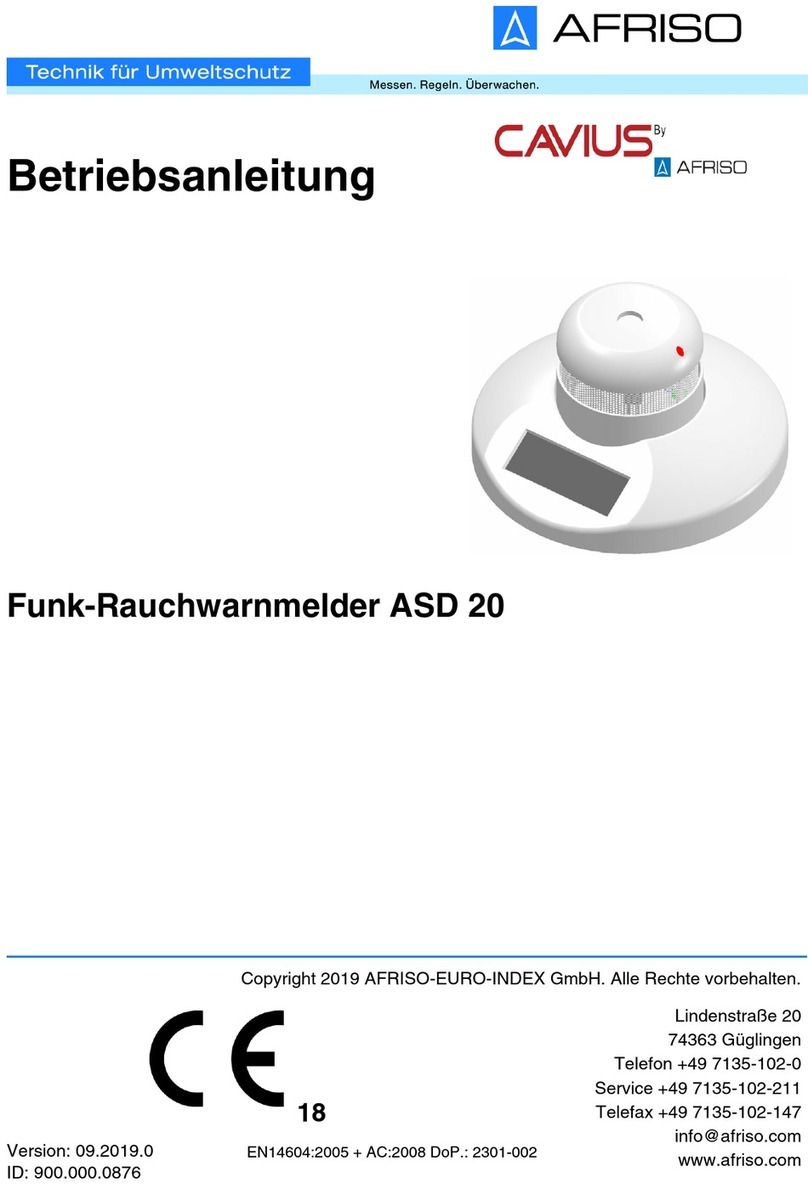
Wireless smoke alarm ASD 10

2
About these operating instructions
EN
Wireless smoke alarm ASD 10
1 About these operating instructions
These operating instructions describe the "wireless smoke alarm ASD 10"
(also referred to as "product" in these operating instructions). These operat-
ing instructions are part of the product.
• You may only use the product if you have fully read and understood these
operating instructions.
• Verify that these operating instructions are always accessible for any type
of work performed on or with the product.
• Pass these operating instructions as well as all other product-related doc-
uments on to all owners of the product.
• If you feel that these operating instructions contain errors, inconsisten-
cies, ambiguities or other issues, contact the manufacturer prior to using
the product.
There operating instructions are protected by copyright and may only be
used as provided for by the corresponding copyright legislation. We reserve
the right to modifications.
The manufacturer shall not be liable in any form whatsoever for direct or con-
sequential damage resulting from failure to observe these operating instruc-
tions or from failure to comply with directives, regulations and standards and
any other statutory requirements applicable at the installation site of the prod-
uct.

3
Information on safety
EN
Wireless smoke alarm ASD 10
2 Information on safety
2.1 Safety messages and hazard categories
These operating instructions contain safety messages to alert you to poten-
tial hazards and risks. In addition to the instructions provided in these oper-
ating instructions, you must comply with all directives, standards and safety
regulations applicable at the installation site of the product. Verify that you are
familiar with all directives, standards and safety regulations and ensure com-
pliance with them prior to using the product.
Safety messages in these operating instructions are highlighted with warning
symbols and warning words. Depending on the severity of a hazard, the
safety messages are classified according to different hazard categories.
In addition, the following symbols are used in these operating instructions:
CAUTION
CAUTION indicates a hazardous situation, which, if not avoided, can result
in injury or equipment damage.
NOTICE
NOTICE indicates a hazardous situation, which, if not avoided, can
result in equipment damage.
This is the general safety alert symbol. It alerts to injury haz-
ards or equipment damage. Comply with all safety instruc-
tions in conjunction with this symbol to help avoid possible
death, injury or equipment damage.

4
Information on safety
EN
Wireless smoke alarm ASD 10
2.2 Intended use
The product may only be used for the detection of smoke caused by fire in
private rooms and recreation vehicles. The product may also be used in rec-
reation vehicles. The sensor head smoke alarm ASD can only be operated in
conjunction with the wireless mounting base ASD 10.
Any use other than the application explicitly permitted in these operating
instructions is not permitted and causes hazards.
The product may only be used indoors:
• Bedrooms, living room, workrooms
• Children's rooms
• Lounges, hallways and escape ways
• Recreation vehicles
Verify that the product is suitable for the application planned by you prior to
using the product. In doing so, take into account at least the following:
• All directives, standards and safety regulations applicable at the installa-
tion site of the product
• All conditions and data specified for the product
• The conditions of the planned application
In addition, perform a risk assessment in view of the planned application,
according to an approved risk assessment method, and implement the
appropriate safety measures, based on the results of the risk assessment.
Take into account the consequences of installing or integrating the product
into a system or a plant.
When using the product, perform all work and all other activities in conjunc-
tion with the product in compliance with the conditions specified in the oper-
ating instructions and on the nameplate, as well as with all directives, stand-
ards and safety regulations applicable at the installation site of the product.

5
Information on safety
EN
Wireless smoke alarm ASD 10
2.3 Predictable incorrect application
The product must never be used in the following cases and for the following
purposes:
• Bathrooms, shower rooms, kitchens and other rooms which are subject to
the formation smoke or vapour
• Garages, workshops and areas which are subject to the formation of dust,
dirt or flue gases
• At temperatures below 0 °C or above 40 °C
• In the top area of pointed ceilings / gables since smoke-free air can collect
in such areas in the case of fire
• In the vicinity of heat-producing appliances or open fireplaces
• In the vicinity or heating systems and air conditioning systems
• In rooms with a ceiling height exceeding 6 m
• Hazardous area (EX)
- If the product is operated in hazardous areas, sparks may cause defla-
grations, fires or explosions
2.4 Qualification of personnel
Only persons who are familiar with and understand the contents of these
operating instructions and all other pertinent product documentation are
authorized to work on and with this product.
2.5 Personal protective equipment
Always wear the required personal protective equipment. When performing
work on and with the product, take into account that hazards may be present
at the installation site which do not directly result from the product itself.
2.6 Modifications to the product
Only perform work on and with the product which is explicitly described in
these operating instructions. Do not make any modifications to the product
which are not described in these operating instructions.

6
Transport and storage
EN
Wireless smoke alarm ASD 10
3 Transport and storage
The product may be damaged as a result of improper transport or storage.
NOTICE
DAMAGE TO THE PRODUCT
• Verify compliance with the specified ambient conditions during transport or
storage of the product.
• Use the original packaging when transporting the product.
• Store the product in a clean and dry environment.
• Verify that the product is protected against shocks and impact during trans-
port and storage.
Failure to follow these instructions can result in equipment damage.

7
Product description
EN
Wireless smoke alarm ASD 10
4 Product description
4.1 Overview
A. Sensor head smoke alarm
ASD
B. Pushbutton (test button)
C. red LED
D. Wireless mounting base
ASD 10
E. Solar cell
F. Cover/holder
G. Fixing holes
A
D
E
C
B
F
G

8
Product description
EN
Wireless smoke alarm ASD 10
4.2 Dimensions
H. LRN pushbutton
I. Antenna
J. Battery compartment for
optional lithium battery
J
I
H
Ø 40 mm
Ø 86 mm
22 mm
48 mm

9
Product description
EN
Wireless smoke alarm ASD 10
4.3 Function
The sensor head smoke alarm ASD can only be operated in conjunction with
the wireless mounting base ASD 10.
A solar cell generates the required energy. A lithium battery (optional) must
be inserted into the wireless mounting base ASD 10 for use in darker envi-
ronments.
The product transmits the following information via ® wireless:
• State alarm/no alarm (cyclically)
• State transition (immediately)
• Ambient temperature (cyclically)
Each product has a unique ID. If multiple products are used, the recipient can
distinguish them based on this ID.
4.4 Approvals, conformities, certifications
The product complies with:
• EMC Directive (2014/30/EU)
• Low Voltage Directive (2014/35/EU)
• Radio Equipment Directive, RED (2014/53/EU)
• RoHS Directive (2011/65/EU)
• Ecodesign Directive (2009/125/EC)

10
Product description
EN
Wireless smoke alarm ASD 10
4.5 Technical specifications
4.5.1 Wireless mounting base ASD 10
Parameter Value
General specifications
Dimensions (Ø W x H) 86 x 22 mm
Weight 38 g
Housing material PC/ABS
Colour White, similar to RAL 9003
Measuring range Temperature: 0/+40 °C
Accuracy Temperature: ±1K
Operating temperature range
Ambient 0/+40 °C
Storage -20/+60 °C
Maximum humidity 90 % (non-condensing)
Supply voltage
Via solar cell Energy harvesting
Via lithium battery (optional) DC 3.6 V ½ AA
Electrical safety
Protection class III (EN 60730-1; SELV)
Degree of protection IP 30 (EN 60529)
Electromagnetic compatibility (EMC) (2014/30/EU)
Applied standards EN 301489-3:V1.6.1
EN 301489-1:V1.9.2
EN 300220-1:V2.4.1
EN 300220-2:V2.4.1
Low Voltage Directive (2014/35/EU)
Applied standard EN 60950-1:2006+A11:2009+
A1:2010+A12+2011+A2:2013

11
Product description
EN
Wireless smoke alarm ASD 10
4.5.2 Sensor head smoke alarm ASD
Parameter Value
Radio Equipment Directive, RED (2014/53/EU)
Applied standard EN 301489-3:V1.6.1
EN 61000-3-2:2013
EN 61000-3-3:2013
EN 300220-2:V3.1.1
EN 60950-1:2006 + A11:2009
+A1:2010 + A12:2011
+ A2:2013
EN 62479:2010
EnOcean® wireless
Frequency 868.3 MHz
Transmission power Max. 10 mW
Range See chapter "Information on
EnOcean® wireless"
EnOcean Equipment Profile (EEP) A5-30-03
Parameter Value
Dimensions (ø W x H) 40 x 43 mm
Operating temperature 4/38 °C
Maximum humidity 90 % (non-condensing)
Storage -20/+60 °C
Smoke alarm type Optical
Application area Private apartments/houses/
recreation vehicles
Battery Lithium, 3 V, 1.6 Ah
(not replaceable)
Service life 10 years with normal operation
(1 test per week)

12
Product description
EN
Wireless smoke alarm ASD 10
State indication
Low Battery
A short acoustic signal sounds
and the red LED flashes every
48
seconds.
- When this acoustic signal
starts, the smoke alarm
ASD can be operated for
another 30 days or 4 min-
utes in the case of an
alarm.
Normal operation The red LED flashes every 48
seconds.
Alarm - 3 subsequent alarm sounds
- red LED flashes every 0.5 sec-
onds
Sound pressure of alarm 85 dB
LED
Alarm
Increased sampling rate
Normal mode
Flashes every 0.5 seconds
Flashes every 2 seconds
Flashes every 48 seconds
Pushbutton
During normal operation
In case of an alarm
Function test: Signal sounds
and red LED flashes
Pressing the pushbutton mutes
the alarm sound for 10 minutes.
Approval CNPP, AFNOR
EN 14604:2005, EN 60065
Notified body: 0333
VdS pending
RoHS, Reach
Parameter Value

13
Mounting
EN
Wireless smoke alarm ASD 10
5 Mounting
Mount the product to the ceiling, if possible in the middle of the room.
5.1 Preparing mounting
Ensure that the product is mounted with a distance of at least 50 cm from
the wall, a joist or from other objects.
If you intend to mount multiple products, start by creating a mounting plan
with the appropriate mounting locations. Then label the products with
numbers or the corresponding mounting location to help avoid confusion
of mounting locations.
Prior to mounting, verify that the solar-operated energy storage module of
the wireless mounting base ASD 10 has been charged.
- Regular daylight is sufficient for charging the energy storage module.
- Exposure to direct sunlight reduces the charging time.
Verify that the solar cell of the wireless mounting base ASD 10 is mounted
facing towards the light source.
5.2 Teaching in
Verify that the wireless mounting base ASD 10 is in the vicinity of the
AFRISOhome gateway.
Verify that the AFRISOhome gateway is in "Learn" mode. See the operat-
ing instructions of the AFRISOhome gateway for information detailed
information.
NOTICE
ELECTROSTATIC DISCHARGE
• Always earth yourself before touching electronic components, for example,
the LRN key.
Failure to follow these instructions can result in equipment damage.

14
Mounting
EN
Wireless smoke alarm ASD 10
5.3 Mounting the wireless mounting base ASD 10
Verify that the mounting position of the wireless mounting base ASD 10
conforms to the mounting plan.
Verify that a lithium battery (option) is used if the wireless mounting base
ASD 10 is used in darker environments.
1. Choose an installation site without direct exposure to sunlight.
- Direct sunlight causes incorrect temperature values.
1. Press the LRN pushbutton (A) of
the wireless mounting base
ASD 10 with an object that is not
pointed and not conductive.
- The wireless mounting base
ASD 10 sends a Learn telegram
(LRNTEL) to the AFRISOhome
gateway.
- The wireless mounting base
ASD 10 is now connected to the
AFRISOhome gateway.
2. Turn (bayonet joint) the
cover/holder from the
housing (wireless mount-
ing base ASD 10).
A

15
Mounting
EN
Wireless smoke alarm ASD 10
5.4 Screwing in the sensor head smoke alarm ASD
3. Mount the cover/holder
with the enclosed mount-
ing material (screws and
dowels).
4. Turn (bayonet joint) the
wireless mounting base
ASD 10 (A) onto the
cover/holder.
1. Remove the label (A) with
the CE mark from the sen-
sor head smoke alarm
ASD.
- The operation of the
product may be influ-
enced if you do not
remove the label.
2. Keep the label, for exam-
ple, by sticking it into the
operating instructions.
A
A

16
Mounting
EN
Wireless smoke alarm ASD 10
NOTICE
INCORRECT HANDLING DURING SCREWING IN
The pushbutton (test button) may be damaged when you screw it in.
• When screwing the sensor head smoke alarm into the wireless mounting
base ASD 10, make sure not to touch the pushbutton (test button) of the
smoke alarm ASD.
Failure to follow these instructions can result in equipment damage.
1. When screwing the sen-
sor head smoke
alarm ASD into the wire-
less mounting base
ASD 10, hold it at the
upper third.

17
Mounting
EN
Wireless smoke alarm ASD 10
2. Fit the sensor head smoke
alarm ASD (B) into the
wireless mounting base
ASD 10 (D).
Consider the coding fins
(C) at the sensor head
smoke alarm ASD and at
the wireless mounting
base ASD 10 when doing
so.
3. Turn the sensor head
smoke alarm ASD (F) into
the wireless mounting
base ASD 10 (E) (clock-
wise).
- The sensor head smoke
alarm ASD must snap in
with a click (bayonet
joint).
The product is ready for oper-
ation.
B
C
D
F
E

18
Commissioning
EN
Wireless smoke alarm ASD 10
6 Commissioning
Verify that the solar-operated energy storage module of the wireless
mounting base ASD 10 has been charged.
6.1 Function test
CAUTION
LOUD ALARM SOUND
The smoke alarm ASD generates a very loud and sharp alarm sound.
• Keep a minimum distance of 50 cm during the function test.
Failure to follow these instructions can result in injury.
NOTICE
INCORRECT OPERATION
• Verify that the pushbutton of the smoke alarm is not pressed with pointed
objects.
Failure to follow these instructions can result in equipment damage.

19
Commissioning
EN
Wireless smoke alarm ASD 10
If the AFRISOhome app on your smartphone/tablet does not show a state
transition, check the wireless connection (see chapter ""Troubleshooting"").
1. Press the pushbutton (test
button) of the smoke
alarm ASD (A).
- The audible alarm
sounds.
- The red LED (B) flashes
twice.
- The AFRISOhome app
on your smartphone/tab-
let shows that the state
of the product has
changed.
B
A

20
Maintenance
EN
Wireless smoke alarm ASD 10
7 Maintenance
7.1 Maintenance intervals
1. Perform a function test every three months (see chapter ""Function test"").
2. Clean the product every three months (see "Maintenance activities").
7.2 Maintenance activities
• Visual inspection for damage.
• Visual inspection of the smoke inlet for cleanliness (no dust).
• Vacuum the product.
• Clean the product with a wet cloth (do not open the filter insert).
7.2.1 Replacing the sensor head smoke alarm ASD
1. Loosen the bayonet joint between the sensor head smoke alarm ASD
and the wireless mounting base ASD 10.
2. Dispose of the sensor head smoke alarm ASD, see chapter "Decom-
missioning, disposal".
3. Remove the label with the CE mark from the new sensor head smoke
alarm ASD and keep it.
4. Turn the new sensor head smoke alarm ASD into the wireless mounting
base ASD 10 (clockwise).
- The sensor head smoke alarm ASD must snap in with a click (bayonet
joint).
Table of contents
Other AFRISO Smoke Alarm manuals
Popular Smoke Alarm manuals by other brands

System Sensor
System Sensor i3 Series Installation and maintenance instructions

Smoky Mountain
Smoky Mountain 3495GLA Assembly and owner's manual

FireAngel
FireAngel LSI-601 user manual

Trox
Trox EK-JZ Installation and operating manual

Fire-Lite Alarms
Fire-Lite Alarms BG-12LXSP manual

Ezviz
Ezviz CS-T4-B quick start guide