8
CUSTOMIZING YOUR MONITOR
This section covers the LCD monitor’s On-Screen Display (OSD), and front panel control
buttons.
Adjusting the Monitor’s Display
The LCD monitor features an intuitive, menu-driven, OSD. You can access the OSD any
time that the PC is powered up. If the PC is in a power saving mode, or is powered
down, the OSD is inaccessible.
The OSD system provides a full range of customizable tools to optimize your display.
Important! While full customization is available, we strongly recommend
using the AUTO settings, which are preset to fully optimize your
monitor’s performance. Simply press the AUTO button to
engage the AUTO settings. It is also recommended that you
execute the AUTO function following any change made to your
computer display properties.
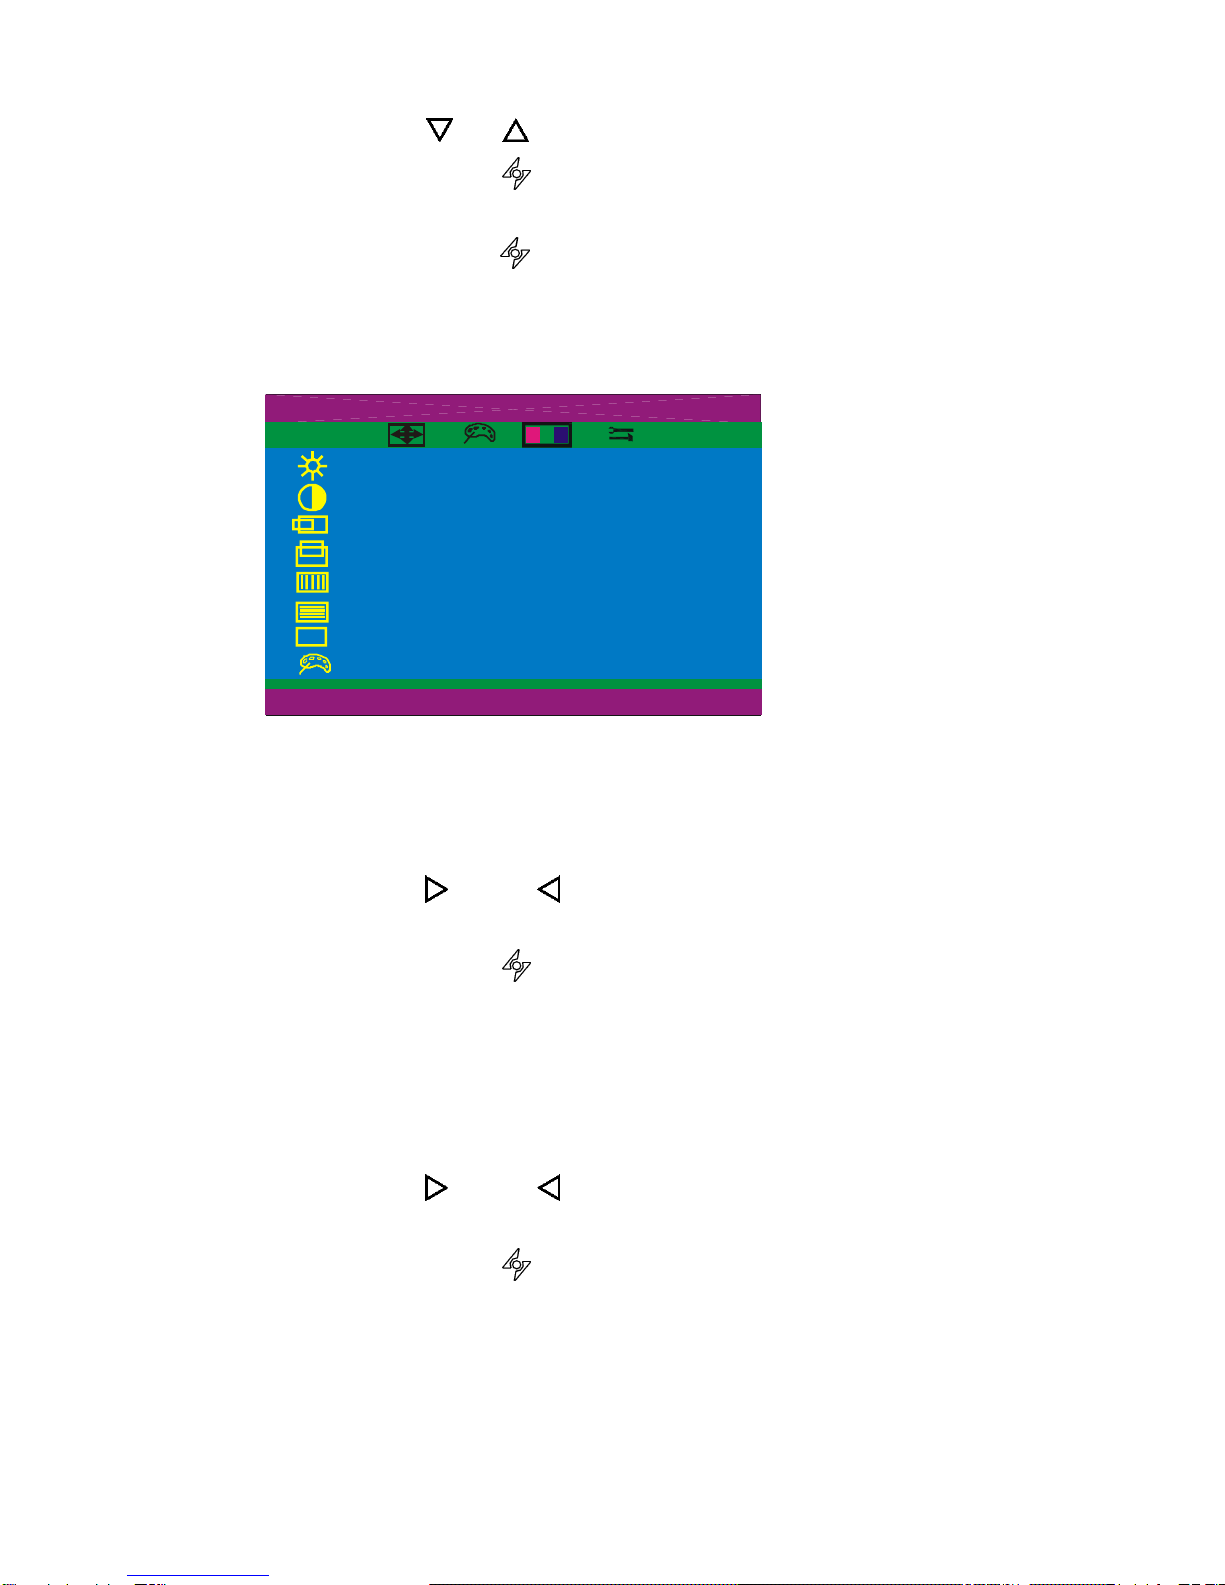
Working with OSD Groups
1. Press any of the UP, DOWN, LEFT, or RIGHT buttonsto open the OSD window.
OSD functions are divided into four Groups. Icons representing these
groups appear across the top of the OSD display. From left to right,
the OSD Groups are:
Display Adjust
Color Temperature
OSD Adjust
Misc Adjust (miscellaneous adjust)
2. To select an OSD Group, with the OSD window open, press the DOWN or UP
buttons until the desired Group’s icon is highlighted and that Group’s setting
items are listed.
3. Press the RIGHT or LEFT button once to enter the setting menu Group.
4. Use the DOWN or UP buttons to select the desired setting from the Group’s
displayed menu.
5. With the setting selected, use the RIGHT or LEFT buttons to change the
settings as listed under each setting in the following section.