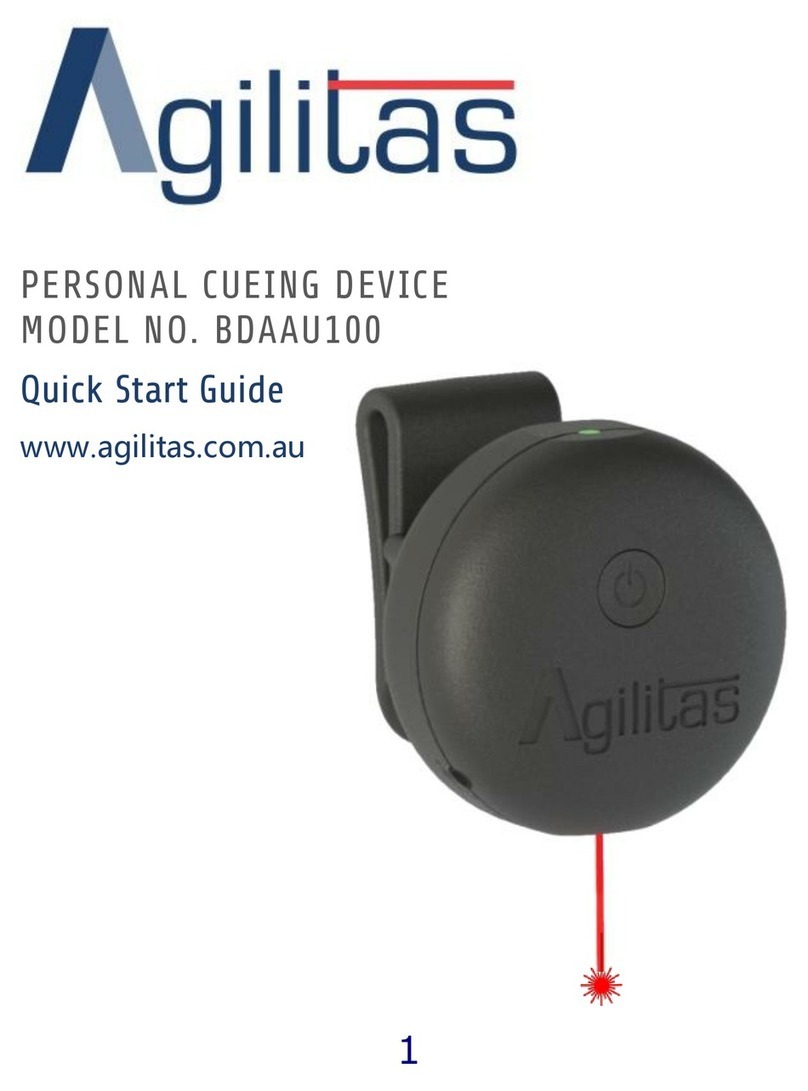
Agilitas BDAAU200 User manual

PERSONAL CUEING DEVICE
MODEL NO. BDAAU200
User Guide
www.agilitas.com.au

INSTRUCTION MANUAL –BDAAU200 –PAGE 3
SAFETY INFOR MATI ON
Please read and keep these instructions.
This product uses a Class 2
visible laser to generate a red
light visual cue. The laser beam
is 635 nm with beam strength of
< 1 mW, which conforms to
AS/NZS IEC 60825.1:2011
“Safety of laser products”.
Do not stare into the laser
light beam.
Caution –Use of controls,
adjustments or procedures other than those
specified in this manual may result in hazardous
radiation exposure.
There are no user-serviceable parts inside Agilitas.
To reduce the risk of electric shock, do not open
the product.
Agilitas contains a rechargeable lithium-ion battery.
Do not replace battery.
Do not discard battery.

PAGE 4 –INSTRUCTION MANUAL –BDAAU200
Please consider the environment by disposing of
this product at your local recycling facility.
Alternatively, the product may be returned to Bright
Devices Pty Ltd free of charge. Please contact Bright
Devices Pty Ltd if you require further information.
Do not place this product near water or heat
sources.
Do not insert objects or spill liquid into this product
through openings as this could result in the risk of
fire or electric shock.
Only use attachments and accessories specified by
the manufacturer.

INSTRUCTION MANUAL –BDAAU200 –PAGE 5
DEVICE INFORMATION
Agilitas is a personal cueing device
designed for use by persons who
experience Freezing of Gait or similar
movement disorders. The device clips
to your belt or waistband and monitors
your movements.
When it detects a Freezing episode, it
projects a visual cue in the form of a
bright red flashing laser dot on the
ground in front of you, to prompt the
resumption of normal gait.
For more information, visit
www.agilitas.com.au

PAGE 6 –INSTRUCTION MANUAL –BDAAU200
FEATURES
Indicator
light
Power button
Belt clip
Locking nut
Charging port
DC/USB cable
Laser aperture
Tap here

INSTRUCTION MANUAL –BDAAU200 –PAGE 7
POWERING ON/OFF
To turn Agilitas on
press and hold the
power button for 1
to 2 seconds. The
indicator light will
turn green for 1
second, and then
flash intermittently.
To turn off Agilitas,
press and hold the
power button for 2
seconds. The
indicator light will
turn red and Agilitas
will turn off.

PAGE 8 –INSTRUCTION MANUAL –BDAAU200
SETUP
1. Use the belt clip to attach Agilitas to your
belt or waistband. It is recommended that
it be placed adjacent to your hip on either
side as shown below.
2. Tap the side of Agilitas to temporarily
activate the laser cue. The laser cue is a
red light in the shape of a dot, emitted
from the laser aperture and able to be
directed over several metres.
1
2

INSTRUCTION MANUAL –BDAAU200 –PAGE 9
3. Adjust the position and orientation of
Agilitas so that the laser cue appears on
the ground 2 to 3 metres in front of you,
or to your preference. The locking nut
can be used to tighten or loosen the swivel
adjustment.
3
2-3 metres

PAGE 10 –INSTRUCTION MANUAL –BDAAU200
4. Repeat steps 2 and 3 until the laser cue is
appropriately positioned. Your Agilitas is
ready for use.

INSTRUCTION MANUAL –BDAAU200 –PAGE 11
OPERATION
Agilitas may be operated in two modes:
1. AUTOMATIC MODE: Agilitas will detect
Freezing episodes and provide the cue
automatically. This means that the laser light
will turn on when you begin to Freeze, without
you having to do anything. The cue will
remain as long as Freezing continues, and will
turn off 5 seconds after the Freeze has
ceased.
To temporarily turn on the laser, tap once on
the side of Agilitas with a single sharp motion
using the tip of the finger. After 5 seconds,
Agilitas will return to automatic mode. This
function is useful when you need to get
moving after standing still, or for adjusting the
position of the laser cue.
2. CONSTANT MODE: ‘Click’ the power button
once to turn on the laser cue permanently.
The green indicator light will remain
illuminated. This mode is excellent for

PAGE 12 –INSTRUCTION MANUAL –BDAAU200
providing a continuous cue in obstacle-filled
areas such as found in the home. ‘Click’ the
power button again to change back to
automatic mode.

SLEEP MODE
Agilitas has an in built sleep mode that will switch
off the indicator light and laser cue after more
than 30 seconds of inactivity. Once you begin
moving again or if you single tap the side of the
device, the laser cue and indicator light will come
back on. This conserves battery when you are not
active but still wearing the device. I.e. when seated
or lying down.

SENSITIVITY ADJUSTMENT
As gait differs between people, Agilitas allows you
to change the sensitivity at which it activates
automatic cues. There are 4 different sensitivity
levels available. By default, your Agilitas is shipped
with the most sensitive setting active (level 4). To
change the sensitivity of your Agilitas, follow these
steps:
1. Ensure Agilitas is switched off. If the green
indicator light is flashing, turn off Agilitas by
pressing and holding the power button for 2
seconds until the indicator light turns red.

INSTRUCTION MANUAL –BDAAU200 –PAGE 15
2. Press and hold the
power button for 5
seconds: first the
green indicator
light will turn on
before changing to an
orange light after 5
seconds, indicating
the button can be
released to enter
sensitivity adjust
mode.
When you release the
button, both the
green indicator light
and the laser cue will
rapidly flash between
1 and 4 times. The
number of flashes
indicates the current
sensitivity level.

PAGE 16 –INSTRUCTION MANUAL –BDAAU200
3. To cycle through the sensitivity levels, ‘click’
the power button. The next sensitivity level
will be activated, and the number of rapid
flashes by the green indicator light and
laser cue will change. Level 1 (1 flash) is the
least sensitive and level 4 (4 flashes) is the
most sensitive.
4. Repeat step 3 until the desired sensitivity level
is selected.

INSTRUCTION MANUAL –BDAAU200 –PAGE 17
5. To complete the sensitivity adjustment, press
the power button for 2 seconds until the
indicator light turns red and the Agilitas
turns off. The new sensitivity level will be
active once the device is turned on again.

PAGE 18 –INSTRUCTION MANUAL –BDAAU200
CHARGING
The indicator light will
turn orange and flash
on and off when the
Agilitas battery power is
low. Battery life depends
on usage and the age of
the battery.
To recharge Agilitas, first plug the included cable
into the charging port.

INSTRUCTION MANUAL –BDAAU200 –PAGE 19
Connect the other end to the
supplied Mains Voltage
charger. Alternatively use a
powered USB port, for
example on a computer or
mobile phone charger.
While the device is charging
the indicator light will be
red. Once the battery is
fully charged this light will
switch off. A full charge will
take approximately 4 to 5
hours.
Agilitas can be charged while on or off although it
is recommended that it be turned off before
charging as the device will charge faster.
It is recommended that your Agilitas be
recharged each night after daily use, to ensure
that it is fully charged and to maximise battery
life.

PAGE 20 –INSTRUCTION MANUAL –BDAAU200
HINT: Inbuilt over-charge protection allows Agilitas
to be left on charge overnight even if full charge
has been achieved.
Table of contents
Other Agilitas Medical Equipment manuals
Popular Medical Equipment manuals by other brands
DATREND Systems
DATREND Systems Oxitest Plus 7 operating manual
Orliman
Orliman STOMAMED COL-245 manual
Brainlab
Brainlab Buzz Navigation System and Technical User Guide
Mangar
Mangar Luxury AB0026 Fitting and User Instructions
Seers Medical
Seers Medical ST7700 operating instructions
Stryker
Stryker SDC Ultra user guide

