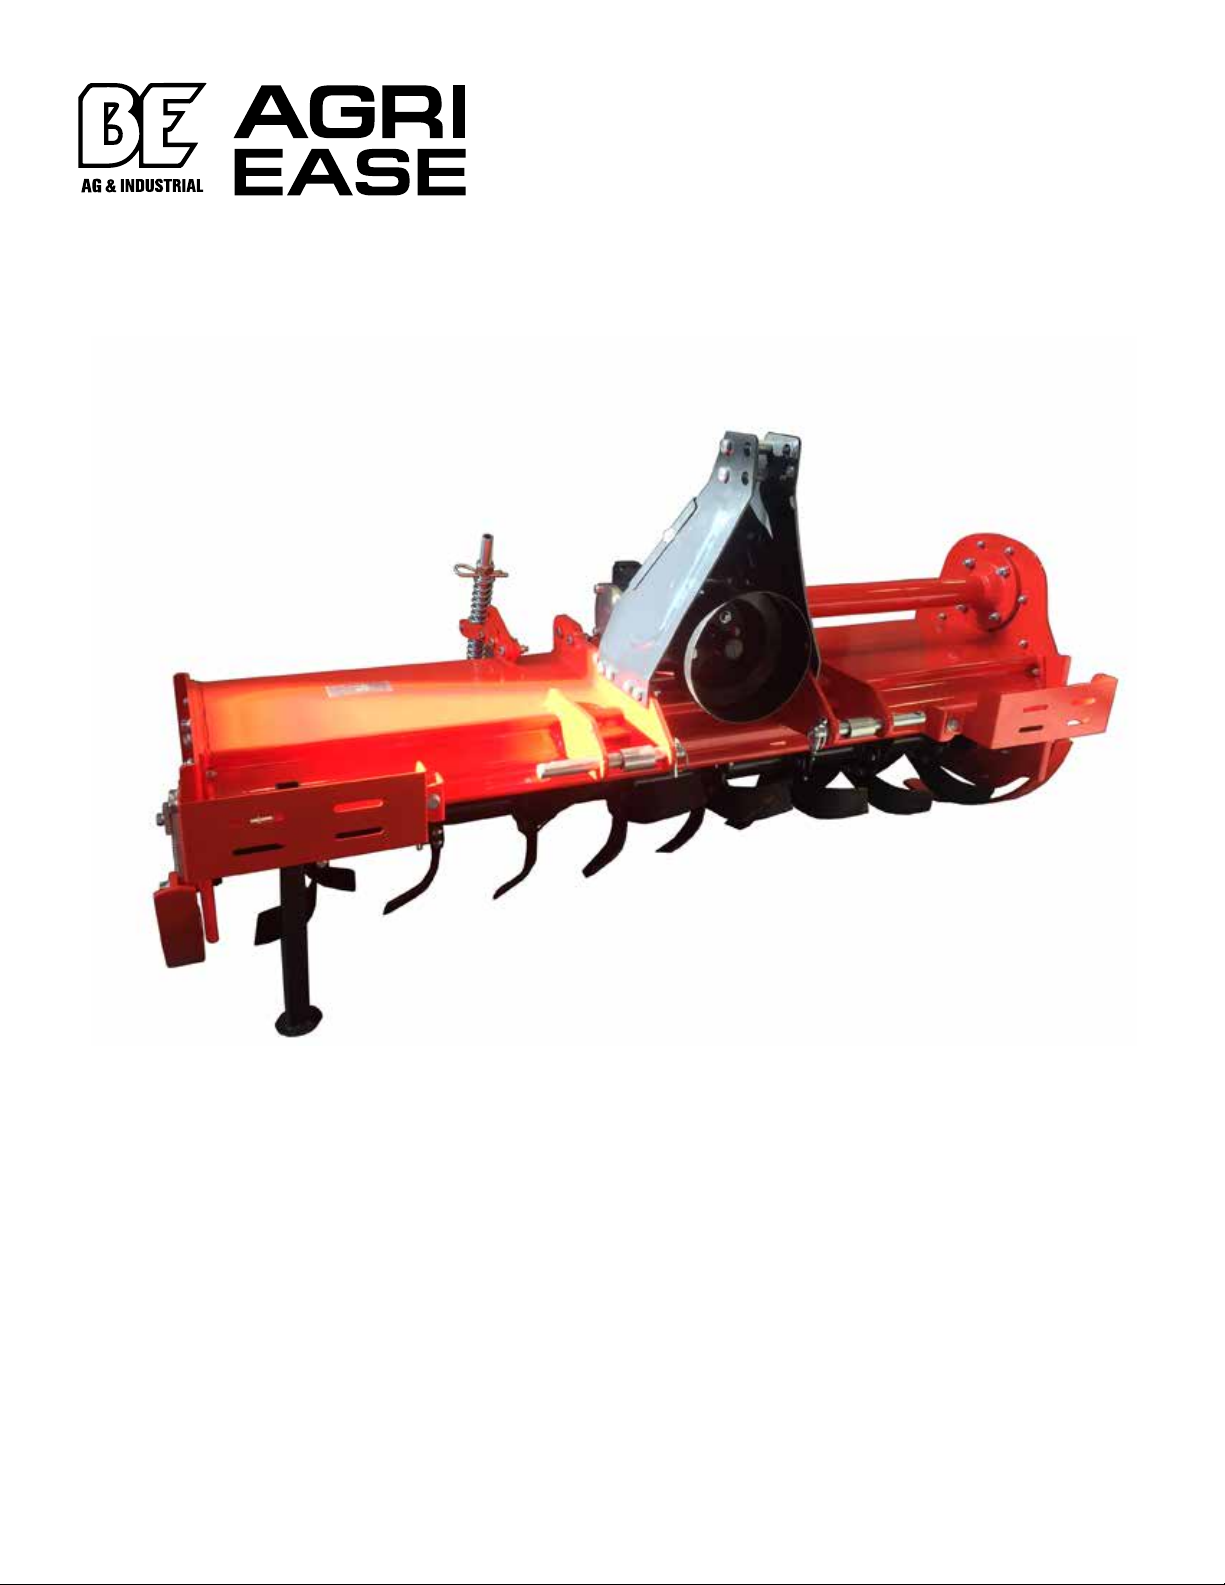
AGRI EASE BE-FTL User manual

Owner’s Manual
ASSEMBLY & OPERATING INSTRUCTIONS
Purchase Date_________Model NO. __________ Serial NO._____________
Dealer__________________________________________________________
BE-FTL
ROTARY TILLERS

2
All implements with moving parts are potentially hazardous. There is no substitute for a cautious, safe-minded
operator who recognizes the potential hazards and follows reasonable safety practices. The manufacturer has
designed this implement to be used with all its safety equipment properly attached to minimize the chance of accidents.
BEFORE YOU START
Read the safety messages on the implement and shown in your manual.
Observe the rules of safety and common sense!
CAREFULLY READ EACH WARNING MESSAGE THAT FOLLOWS. FAILURE TO UNDERSTAND AND OBEY
A SAFETY WARNING, OR RECOGNIZE A SAFETY HAZARD, COULD RESULT IN AN INJURY OR DEATH
TO YOU OR OTHERS AROUND YOU. THE OPERATOR IS ULTIMATELY RESPONSIBLE FOR THE SAFETY
OF HIMSELF, AS WELL AS OTHERS, IN THE OPERATING AREA OF THE ROTARY TILLER.
UNDERSTAND SIGNAL WORDS
DANGER and WARNING safety signs are located near the specific hazard.
CAUTION safety signs list general precautions.
IMPORTANT SAFETY INFORMATION
Working with unfamiliar equipment can lead to careless injuries. Read this manual, and the manual for your tractor,
before assembly or operating, to acquaint yourself with the machines.
It is the implement owner’s responsibility, if this machine is used by any person other than yourself, is loaned or
rented, to make certain that the operator, prior to operating:
1. Reads and understands the operator’s manuals.
2. Is instructed in safe and proper use.
3. The use of this equipment is subject to certain hazards which cannot be protected against by mechanical
means or product design.
4. All operators of this equipment must read and understand this entire manual, paying particular attention to
safety and operating instructions, prior to using. If there is something in this manual you do not understand,
ask your supervisor, or your dealer, to explain it to you.
Most accidents occur because of neglect or carelessness. Keep all helpers and bystanders twenty-five feet (25’)
from an operating rotary tiller. Only properly trained people should operate this machine. It is recommended
the tractor be equipped with a Rollover Protection System (ROPS) and a seat belt that is used. Always stop
the tractor, set brake, shut off the tractor engine and remove the tractor key, and lower implement to the ground
before dismounting tractor. Never leave equipment unattended with the tractor running.
Please remember it is important that you read and heed the safety signs on the rotary tiller, and the safety rules
set forth. Clean or replace all safety signs if they cannot be clearly read and understood. They are there for your
safety as well as the safety of others. The safe use of this machine is strictly up to you, the operator.
WARNINGS

3
SAFETY PRECAUTIONS
MOST ACCIDENTS OCCUR BECAUSE OF NEGLECT OR CARELESSNESS. AVOID NEEDLESS ACCIDENTS
BY FOLLOWING ALL OF THE SAFETY PRECAUTIONS LISTED BELOW.
• Machinery should be operated only by those who are responsible and are authorized to do so. Stop the engine,
lower all equipment, lock the brakes, and remove the ignition key before dis-mounting from the tractor.
• Never stand between tractor and implement while tractor is being backed to hitch. Loose fitting clothing should
not be worn, to avoid catching on various parts.
• Detach implement in area where children normally do not play.
• When performing adjustments or maintenance on an implement, first lower it to the ground or block it securely at
a workable height. Only a qualified operator should be permitted on tractor when in operation; no riders allowed.
Make certain everyone is in the clear before starting tractor or raising or lowering equipment. Operate the tractor
and implement only while seated in the driver’s seat. Reduce speed when transporting mounted implements to
avoid bouncing and momentary loss of steering control.
• A heavy load can cause instability of the tractor.
• Use extreme care during road travel. Slow down on turns and watch out for bumps. Tractor may need front coun-
ter-weights to counter-balance the weight of the implement.
• Reduce speed on hillsides or curves so there is no danger of tipping.
• Avoid driving too close to the edge of ditches or creeks.
• Do not transport implement on public roads without reflectors and slow moving vehicle emblem in daylight and
with approved warning lights at night and other periods of poor visibility.
• Due to the width of some implements, use extra caution on highways, farm roads, and when approaching gates.
• Always be sure the implement is in the proper position for transport.
• Keep alert and watch the front as well as the rear when working with the implement.
TABLE OF RECOMMENDED LUBRICANTS
AGIP ESSO IP SHELL
Gearbox and side
transmission oil BLASIA 460 GEAR OIL EP320 OIL 460 OIL 460
Grease GRMU3 E.P.3 GR3 R3
Add the recommended
lubricants in the gear box
Add the recommended
lubricants in the chain case

4
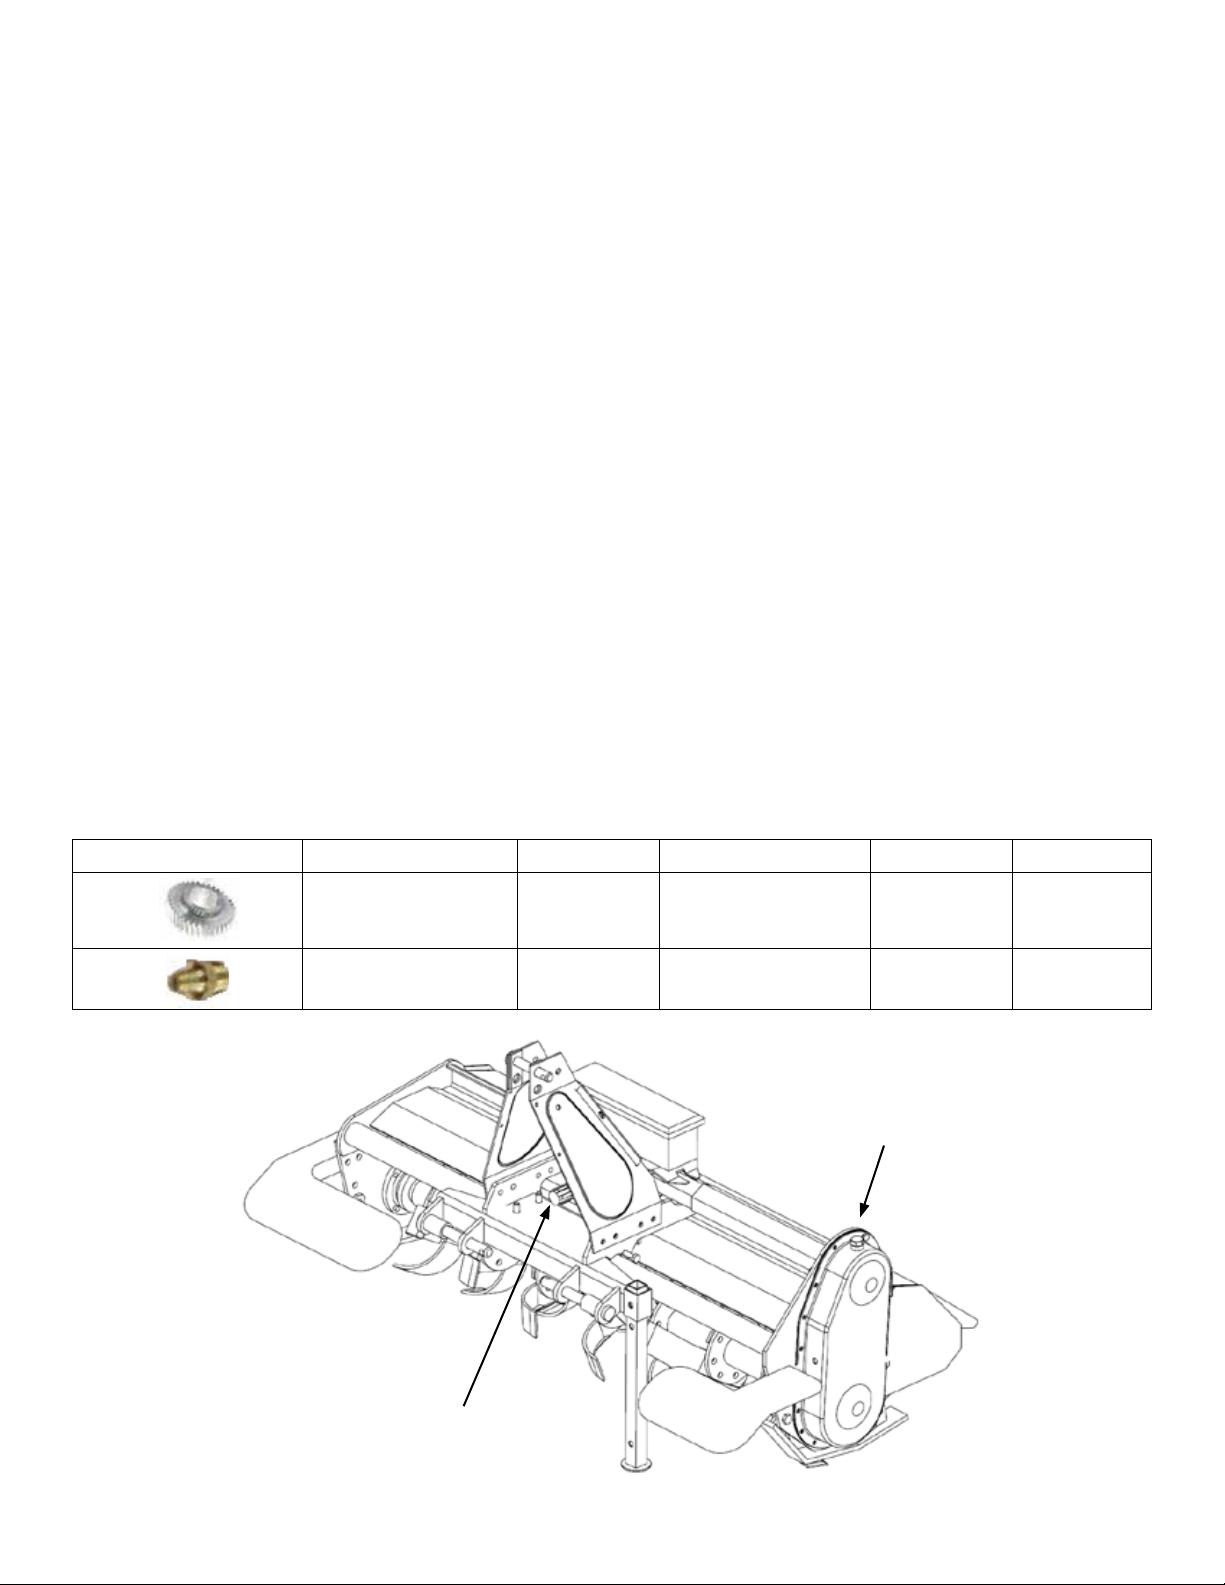
WHEN ORDERING REPAIR PARTS, ALWAYS GIVE THE FOLLOWING INFORMATION:
1. PART NUMBER
2. PART DESCRIPTION
3. MODEL NUMBER & SERIAL NUMBER
4. NAME OF ITEM
SAFETY INFORMATION
• All equipment is potentially hazardous. There is no substitute for a cautious, safe-minded operator who
recognizes potential hazards and follows reasonable safety practices.
• When the use of hand tools is required to perform any part of assembly, installation, adjustment, maintaining,
repairing, removal, or moving the implement, be sure the tools used are designed and recommended by
the tool manufacturer for that specific task.
• Personal protection equipment including safety glasses, safety shoes, and gloves are recommended during
assembly, installation, operation, adjustment, maintaining, repairing, removal, or moving the rotary tiller.
• Always use two people to handle heavy, unwieldy components during assembly, installation, removal,
or moving the rotary tiller.
• Never place any part of your body where it would be in danger if movement should occur during assembly,
installation, operation, maintaining, repairing, removal, or moving the implement.
• Never place yourself between the tractor and implement while implement is in operation.
• Do not work under a raised implement unless it is securely blocked or held in position. Do not depend on
the tractor hydraulic system to hold the implement in place.
• A heavy load can cause instability of the tractor. Use extreme care during travel. Slow down on turns
and watch out for bumps. The tractor may need front counter-weights to counter-balance the weight of
the implement.
• Never use alcoholic beverages or drugs which can hinder alertness or coordination while operating this
equipment. Consult your doctor about operating this machine while taking prescription medications.
• Do not allow others to ride on the tractor with an operator. Riders are subject to injury such as being
struck by foreign objects or being thrown off. Riders obstruct the operator’s view resulting in unsafe
operation. Never allow anyone to ride on the implement!
• Before you operate the rotary tiller, check over all pins, bolts and connections to be sure all are securely
in place. Replace any damaged or worn parts immediately.
• Do not allow anyone who is not familiar with the safety rules and operation instructions to use this
rotary tiller. Never allow children to operate or be around equipment.
• Use stabilizer bars, adjustable sway chains, or sway blocks on your tractor lift arms to keep the rotary
tiller from swinging side to side. Adjust as tightly as practical for best performance.
• Keep alert and watch the front as well as the rear when working with the implement.
• When maneuvering close to buildings or passing through narrow areas, be sure to allow sufficient
clearance for the implement.
• Do not operate close to ditches or creeks. Slow down when operating over rough ground.
• Always be sure the implement is in the fully raised position when in transport.
• When adjusting the assembly, be sure that your feet are never under the rotary tiller.
• Use extreme caution when backfilling deep holes or trenches.
• Be careful to avoid catching the rotary tiller on stumps or other immovable objects.
• Use care when working on slopes.
• Avoid excessive speed during operation.
• Make adjustments only when the implement is attached to the tractor.
• Do not use the rotary tiller in a reverse position, use extra care. Do not ram rotary tiller into piles of
dirt. Tractor lift arms and the rotary tiller are not built to take high impact loads in this position. Ramming
backwards can also dislodge operator from seat and/or tractor controls, resulting in possible serious
injury or death.
• Always ease the tractor into the load. It may be necessary to reposition and take less “bite” on the
material to move it safely.
• Watch for and avoid hidden obstructions, i.e., buried pipes, rocks, concrete piers, uneven concrete
slabs, stumps, etc., when operating.

5
•When assembling the top of the 3 point hitch, keep all of the hardware loose until it’s mounted. Tighten
the bottom 8 12 mm bolts first, then the top 2 12mm bolts, and the 2 8mm bolts that hold the cover plate
last.
•When installing the tailgate, the bolts for the pins are already on the machine. They simply need to be
loosened and pulled out.
•When installing the side guards beside the tailgate, the bolt head must be inside the tiller case and nuts
must be on the outside or the blades will hit the bolt.
•In the picture of the gearbox, the wrench is on the breather cap and the Allen key is on the oil level plug.
Fill from the breather hole.
•In the picture of the oil bath chain cover, there’s a 10 mm plug near the bottom, above the drain plug.
This is the oil level mark. Fill from the breather hole at the top.

6

7
•When assembling the top of the 3 point hitch, keep all of the hardware loose until it’s mounted. Tighten
the bottom 8 12 mm bolts first, then the top 2 12mm bolts, and the 2 8mm bolts that hold the cover plate
last.

8
•When assembling the top of the 3 point hitch, keep all of the hardware loose until it’s mounted. Tighten
the bottom 8 12 mm bolts first, then the top 2 12mm bolts, and the 2 8mm bolts that hold the cover plate
last.

9
•When assembling the top of the 3 point hitch, keep all of the hardware loose until it’s mounted. Tighten
the bottom 8 12 mm bolts first, then the top 2 12mm bolts, and the 2 8mm bolts that hold the cover plate
last.

10

11
•When assembling the top of the 3 point hitch, keep all of the hardware loose until it’s mounted. Tighten
the bottom 8 12 mm bolts first, then the top 2 12mm bolts, and the 2 8mm bolts that hold the cover plate
last.

12
•When assembling the top of the 3 point hitch, keep all of the hardware loose until it’s mounted. Tighten
the bottom 8 12 mm bolts first, then the top 2 12mm bolts, and the 2 8mm bolts that hold the cover plate
last.

13
•When assembling the top of the 3 point hitch, keep all of the hardware loose until it’s mounted. Tighten
the bottom 8 12 mm bolts first, then the top 2 12mm bolts, and the 2 8mm bolts that hold the cover plate
last.

14

15

16

17

18

19

20
Table of contents
Popular Industrial Equipment manuals by other brands

Asyst Technologies
Asyst Technologies VersaPort 2200 Technical manual

SMC Networks
SMC Networks REA Series Operation manual

SCHUNK
SCHUNK VERO-S NSE mikro 49-13 Translation of original operating manual

REMS
REMS Unimat 75 operating instructions

Sundstrom
Sundstrom SR 507 Instructions for use

ELCOM
ELCOM TLM 2000 User manual & maintenance guide