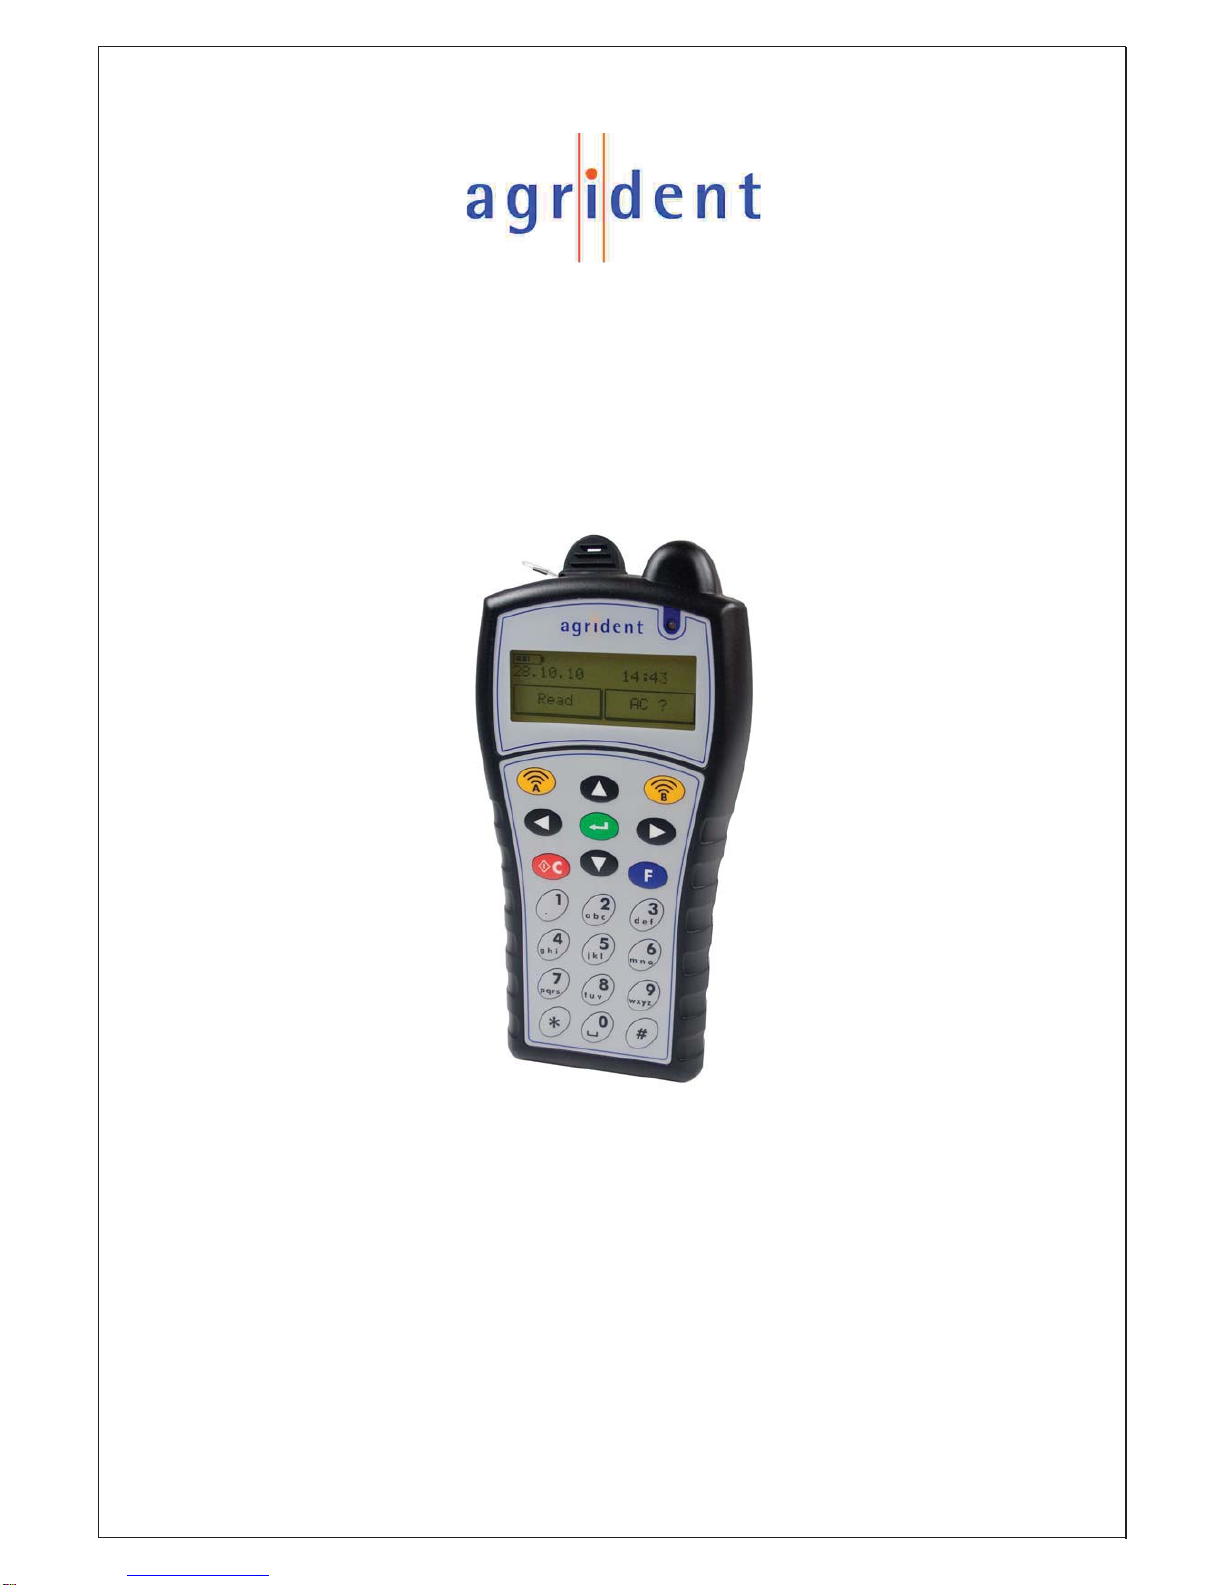
APR500 – Classic Mode
16.10.2014 Page 3 of 46
Contents
1.Introduction.........................................................................................................5
1.1Features..........................................................................................................5
1.2APR500 Kit......................................................................................................6
2.Optional accessories...........................................................................................7
2.1APC510 RS232 cable .....................................................................................7
2.2ACC500 car charger........................................................................................7
2.3AEA580 external antenna ...............................................................................7
2.4AMA060 and AMA090 mountable antennas ...................................................7
3.Security Advice...................................................................................................8
4.Basic Operations of the APR500 ........................................................................8
4.1Keys of Operation............................................................................................8
4.2Getting Started................................................................................................9
4.3Main Screen and Acoustic Signals................................................................11
4.4Navigating through the menus.......................................................................12
4.5Communication interfaces of the APR500.....................................................13
4.6Battery management.....................................................................................15
5.Advanced Features of the APR500...................................................................16
5.1Alias ..............................................................................................................16
5.2Action Codes.................................................................................................18
5.3Weight from Scale.........................................................................................20
5.4Group Separator............................................................................................21
5.5Speed Mode..................................................................................................21
5.6Race Mode....................................................................................................21
6.The APR500 main menu...................................................................................22
6.1Operation menu.............................................................................................23
6.2Speed Mode menu........................................................................................27
6.3Race Mode menu..........................................................................................27
6.4Data menu.....................................................................................................28
6.5Setup Menu...................................................................................................31
6.6Bluetooth Menu.............................................................................................37
6.7Menu Structure and Factory Defaults............................................................38
7.Technical Data..................................................................................................40
8.Safety and Care................................................................................................41