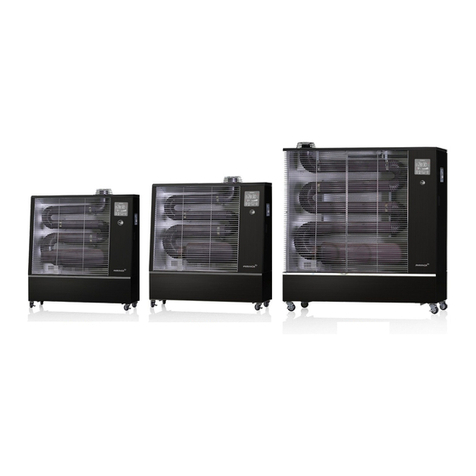
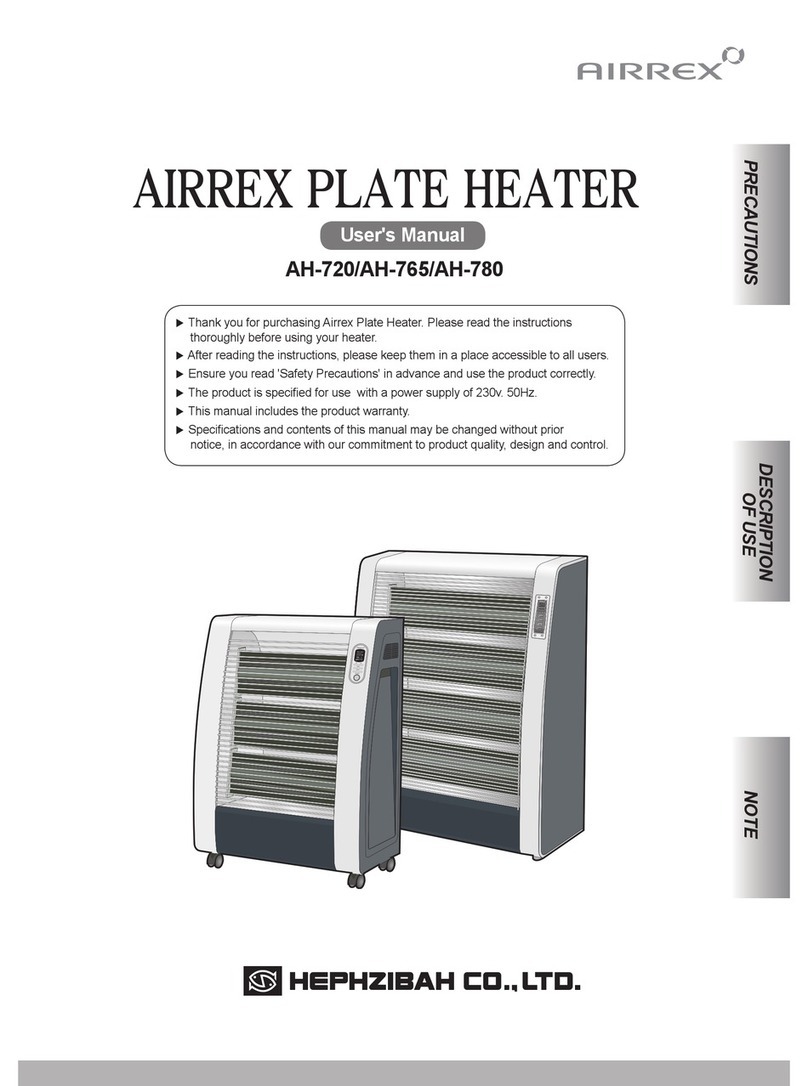
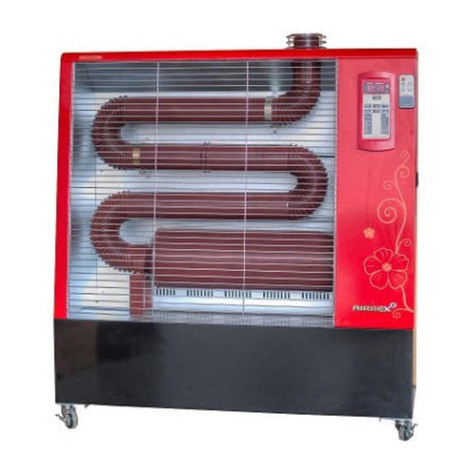
Airrex AH-720 User manual

User guide
■ Thank you for purchasing an Airrex infrared heater! Please read these instructions before
using your heater.
■ After you have read the instructions, keep them close to the heater and available to all users.
■ Remember to read the Safety Instructions chapter before using the device – only use the
device as instructed.
■ This device uses 230 V/50 Hz mains power.
■ This guide also includes the terms of the product’s warranty.
■ The content and specifications of this guide may be changed without prior notice in
accordance with our commitment to the product’s quality, design, and supervision.
■ The latest version of this guide is available at rexnordic.eu/user-manuals/
AIRREX AH-720 INFRARED HEATER
SUOMI SVENSKA NORSK DANSK NEDERLANDS DEUTSCHENGLISH FRANÇAIS POLSZCZYZNA ROMÂNĂ

2
Table of contents
Prohibited.
■ Symbol legend
Description of the correct course of action.
Safety instructions
■ Specifications
■ Safety instructions
■ Precautions for installation and use , ,
· PRECAUTIONS FOR INSTALLATION 5
· INSTALLATION 6
■ Construction and component names DEVICE
BODY 6
· DISPLAY AND CONTROL PANEL 7
· REMOTE CONTROLLER, BATTERY CHANGE
INSTRUCTIONS 7
■ Device operation 8
· HOW TO START AND STOP 8
· AUTOMATIC MODE 8
· MANUAL MODE 8
· TIMER 9
· TURNING OFF THE HEATER 9
· FAN ON/OFF 9
■ Safety device status information
■ Storage instructions
■ Troubleshooting
■ Warranty
Once you have read this user guide, keep it available
to all users at all times.
Specifications
Model number
Heating
capacity (BTU/h;
BTU = British
Thermal Unit)
Power
consumption
(kW)
Heated surface
area (m2) Power supply
Current draw
(A)
Dimensions (in
mm; W × L × H) Weight (kg)
AH-720 9,200 2.8 17–20 230 V, 50 Hz,
1-phase Max. 12.8 540 × 290 ×
800 15
Safety devices Overheating protection, conductance protection, temperature limit switch, and deviation
detector
Control method Digital Micom control and remote control
Control functions Timer function (ON-Timer; AH-720), automatic and manual operating mode, four-step heat
output adjustment, fan on/off switch, indoor temperature adjustment, deviation detection,
and operating mode indication
* The construction and specifications of this product may be changed without prior notice to improve its quality and efficiency.

3
▶Once you have read this user guide, keep it available to all users at all times.
WARNING
Check that the rating of the
socket’s residual current
device (RCD) or fuse is
sufficient – an improper RCD
may cause damage or a fire.
Never remove the plug from
the socket by pulling on the
power cord. Never touch the
plug with wet hands (risk of
lethal electric shock and/or
fire).
Do not add extensions to the
power cord (risk of damage or
fire).
Ensure that the device is
properly earthed through the
mains.
Always turn off the device with
its ON/OFF switches, never by
unplugging it or using the
RCD.
Never handle, use, or store
any flammable liquids or gases
near the device (risk of fire or
explosion).
Never place any items on top
of the heater.
Keep the socket that the device
is plugged into free from
overload from other devices.
Connect the device to a 16
A/230 V socket outlet to
ensure fire safety and
prevent electric shocks.
Before you connect the device
to the mains, clean any dust
from the plug and the socket.
Never use the device if its plug
or cord is damaged or the socket
is loose – these conditions may
cause an electric shock, short
circuit, or fire.
yli
230 V
Always grip the plug firmly
when plugging it into or
unplugging it from a socket.
Never kink the power cord or
place a heavy weight on it (risk
of electric shock or fire).
Never place the device close
to combustible materials
such as curtains or rugs (risk
of fire).
Never insert your hand or any
objects inside the body of the
device. Never touch the device
immediately after use (risk of
burns, electric shock, or fire).

4
Never move the device while it
is operating. Before touching the
device, turn it off and let it cool
down.
Only use the device for its
intended purpose. This device
may not be used to dry clothes
or keep animals or plants warm,
for example.
Turn off the device if you go to
bed, take a nap, or leave the
location where the device is
used.
The protective grille does not offer
perfect protection for children or
other curious bystanders.
The device must be monitored
closely during use.
Never place this device in a
bathroom or shower room or
close to a pool or other water
source – excessive moisture
may result in lethal electric
shock or current leakage.
Keep the heater away from
socket outlets (risk of fire).
▶Once you have read this user guide, keep it available to all users at all times.
Protect the device from water –
never leave it out in the rain or
expose it to splashes during
cleaning as this may result in a
fire or electric shock.
Never attempt to clean the
device by spraying it with
water or using a solvent or a
flammable liquid as this may
result in electric shock.
If the power card is damaged,
it must be replaced by a
professional electrician (risk
of electric shock or fire).
WARNING

5
The heater must be placed on a smooth and
level surface for use.
During lightning and thunderstorms, the device
must be turned off and it must be unplugged. If
the device is not used for an extended period of
time, unplug it.
Make no attempt to dismantle or repair the
device. Never hit or damage the device.
Store the device indoors in a dry space
(moderate humidity and temperature).
Keep the heater away from other electrical
devices in the home as high temperatures
may damage them.
Before cleaning, let the device cool down and
unplug it.
▶Once you have read this user guide, keep it available to all users at all times.
PRECAUTIONS FOR INSTALLATION
Install the device in a location where the user is
always present and bring in a fire extinguisher.
Do not install the device in a hot location.
▶Once you have read this user guide, keep it available
to all users at all times.
NOTICE

6
▶Keep all packaging materials. They will be needed for the heater’s long-term maintenance.
INSTALLATION
▶At a minimum, leave a
gap of 20 centimetres
behind and to either
side of the device’s
body panels.
Keep at least 1.5
metres of open space
above the device.
Keep at least 1.5
metres in front of the
heater clear of
obstacles.
▶Use the device in a location with easy access to
socket outlets and proper ventilation.
▶Never add extra connectors to the power cord.
Only connect the device to the mains.
Long-wave infrared radiator
DEVICE BODY
Construction and component names
▶The appearance of the device may be changed without prior notice to improve the device’s properties.
Power switch
Fuse holder
Room temperature
sensor
Power cord
Protective grille
Control panel
Handle
Side reflector
Rear reflector
Bottom reflector
Fan
Wheel

7
DISPLAY AND CONTROL PANEL
1. Remote control receiver
2. LED display
The display shows the temperature and indicates
abnormal operation, among other things.
3. Temperature adjustment button
This button adjusts the temperature and heat output.
4. Selector button for automatic or manual mode
This button selects between the automatic and manual
operating mode.
5. FAN button
This button starts (ON) and stops (OFF) the fan.
6. Timer ON button
This button starts the timer.
7. Start/stop button
This button turns the heater ON or OFF.
2.
3.
5.
6.
7.
1.
4.
REMOTE CONTROLLER
■ Point the remote controller towards the receiver.
■ The remote controller may be limited to close range in bright
lighting or sunlight. In this case, bring the remote controller in
front of the control panel.
■The device sounds a beep when you select a function with the
remote controller.
■ If the remote controller is not used for an extended period of time,
remove its batteries to prevent current leakage and damage.
■Protect the remote controller from water and other liquids.
■ The remote controller has an internal magnet so you can attach it
to a side panel.
This button
adjusts the
temperature
and heat
output.
Start/stop button
Fan adjustment
button
Selector button
for automatic or
manual mode
1. OPENING THE BATTERY COMPARTMENT
Press lightly on the indicated area (1) and slide the lid in the
direction of the arrow.
2. REPLACING BATTERIES
Remove the old batteries and install the new batteries.
Check the batteries for correct orientation. The poles (+/-) of
both batteries must match the compartment’s markings.
3. CLOSING THE BATTERY COMPARTMENT
Slide the compartment’s lid until it snaps into place.
1

8
Device operation
AUTOMATIC MODE
3. Adjust the temperature with the temperature
adjustment button. The temperature setting can be
adjusted between 10 ℃ and 32 ℃. The device adjusts
its heat output automatically according to the
temperature setting.
1. Start the heater by
pressing the start/stop
button.
2. Select the automatic
operating mode by
pressing the AUTO button.
The AUTO indicator
appears.
1. Start the heater by
pressing the start/stop
button.
HOW TO START AND STOP
2. The heater turns on and starts to operate,
sounding a beep.
Repeat
3. To stop the heater, press the
start/stop button again.
MANUAL MODE
2. Select the manual operating mode by
pressing the AUTO button. The AUTO
indicator disappears.
3. Select the heat output setting by
pressing the temperature
adjustment button.
The selected heat output setting is
used regardless of the temperature.
1. Start the heater by
pressing the start/stop
button.

9
TIMER
▶Cancelling the setting
1. Hold down the Timer ON button for
one second.
2. The starting delay is cancelled
automatically if you press the start/
stop button.
2. If the heater remains unsupervised for an extended
period of time, turn it off and unplug the power cord.
TURNING OFF THE HEATER
1. Press the start/stop button while the heater is on
to immediately stop the heating.
1. Press the Timer ON button
while the heater is off.
2. Set the starting delay by pressing the up
and down arrows, ▲▼.
You can set the device to start in 1–24
hours.
▶Wait three seconds for the setting to be
saved and for the icon “ “ to appear.
FAN ON/OFF
1. To start the fan, press the FAN button while the
heater is operating. The “ “ icon appears.
2. To stop the fan, press the FAN button while the fan is
on. The “ “ icon disappears.

10
COMPONENTS
▶Overheat – internal temperature monitoring device
■ If the current temperature (indoor temperature) exceeds
43 °C, the display shows error code E2 and the heater
will stop all functions.
▶Temperature sensor indicates deviation, error code E1
■ If the current temperature (indoor temperature) sensor
malfunctions, the display shows error code E1 and
the heater will stop all functions.
▶Note!
■ Once the cause of the error has been removed, the device will turn on automatically.
■ To stop the beeps, press the start/stop button.
Safety device status information
If the heater suffers a power surge
or abnormally high voltage, power
will be disconnected by the fuse and
RCD.
The device turns off automatically if the
indoor temperature exceeds 43 °C.
SAFETY DEVICES
If the device overheats or experiences
abnormally high internal temperatures,
it turns off automatically.
■ You may resume normal use after
the heater has cooled down.
If the heater falls over or suffers a heavy blow, it turns
off automatically.
■ Once you have inspected the heater for damage,
you may turn it on and resume normal use.
The device tuns off automatically during a power outage.
You can resume operation by pressing the start/stop
button.
Airrex heaters include various safety devices that can prevent fires.
If the heater malfunctions, one of the safety devices is triggered and the heater turns off automatically.

11
Troubleshooting
Warranty
Problem Solution
▶Does the electrical connection work?
▶Check that the device is plugged in.
(AH-720)
▶Is the fuse intact?
▶Check that power is supplied.
▶Plug in the device and then turn it on again.
▶Replace the fuse.
The device
is
inoperable.
Storage instructions
▶Precautions for inspection and handling
Turn off the heater and wait for it to cool down before touching it.
Do not remove parts from the device if you intend to use it. This impairs the functioning of any devices that use safety switches.
● Unplug the device. ● Check that the body of the device is clean
and dry.
The more an AIRREX HEATER is used, the more reliable it will be, the longer it will last, and the more comfortable it will be to
use. We manufacture our devices according to strict quality control principles that include inspections during and after production
as well as a demanding reliability test.
Should you encounter an issue regardless, please contact the device’s seller or importer. If the issue was caused by a
manufacturing defect or error, the repairs will be free of charge during the warranty period under the following terms:
1. The warranty period is 12 months from the date of first purchase.
2. If the issue was caused by user error, improper operation, poor handling, or damage, all repairs are subject to a charge.
3. The receipt of sale must be sent with the device.
4. Fill out the form below and keep this warranty certificate in a safe place.
5. The customer is responsible for the cost of shipping the device to the seller. Keep the original packaging to make the device
easier to return. The seller is responsible for the cost of returning the device to the customer (if the warranty claim was valid).
(Granted only to the user who purchased the heater as new.)

Manufacturer HEPHZIBAH CO., LTD.
(Juan-dong) 86, Gilpa-ro
71beon-gil, Michuhol-gu,
Incheon, Korea
Tel. +82 32 509 5834
Fax +82 32 502 5519
Website: www.airrex.co.kr
Importer Rex Nordic Oy
Mustanlähteentie 24 A
07230 Monninkylä
Finland
Email: [email protected]
Website: www.rexnordic.com
Other manuals for AH-720
1
Table of contents
Other Airrex Heater manuals
Popular Heater manuals by other brands

Shizouka Seiki
Shizouka Seiki val6 daystar owner's manual

Ravanson
Ravanson HH-01 user manual

Aim
Aim AHH4 user manual

Hyundai
Hyundai H-HV20-10-UI3324 Instruction manual & warranty card

ASKOMA
ASKOMA ASKOHEAT-FO AHFOR-BI-A Series Fitting instructions, user manual and service

Warmtech
Warmtech WTCAC50R Original instructions