manuals.online logo
Brands
  1. Home
  2. •
  3. Brands
  4. •
  5. AIVO NETWORKS
  6. •
  7. Network Hardware
  8. •
  9. AIVO NETWORKS ANCP3005Q User manual

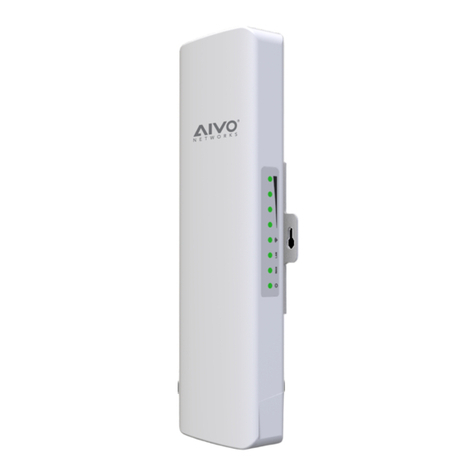
AIVO NETWORKS ANCP3005Q User manual

AIVO ANCP3005Q Bridge
Configuration Quick Guide
To configure a pair of ANCP3005Q
CPEs for a wireless bridge mode, you
will need to configure one of the
ANCP3005Q as a bridge AP and one
as a bridge Station->Client Site.
To begin this process, plug in one of
the PoE injector power supplies to an
electrical outlet and run a network
cable from the PoE port on it to the
WAN port on the CPE. After 2-3
minute of being powered, the
ANCP3005Q should now be ready for
configuration.
You can configure the device using
either a wireless or wired connection.
For wireless, you can use either a
mobile phone, tablet or laptop with
5.8GHz wireless and scan for an open
network named:
AIVO_XXXXX
Find this network and connect to it.
AIVO ANCP3005Q Bridge
Configuration Quick Guide
If you are going to connect to the
ANCP3005Q using a wired
connection, take another network
cable and plug it into the LAN port on
the ANCP3005Q CPE and plug the
other end into your laptop/computer to
begin programming.
Using a web browser on your mobile
device or laptop, navigate to the
following default IP address:
http://192.168.10.1
Once you are able to access the
ANCP3005Q CPE with the default IP
address, type in the default password
and click on Login
Default password: admin
Click on the Wizard tab on the left
hand side (or on the link titled
Wizard on a mobile browser) and
then click on image labeled
Bridge, which will begin the bridge
configuration.
Next, click on the image titled
Access Point.
When configuring the IP address for
bridge mode, you aren’t required to
match the IP address of both of the
ANCP3005Q CPEs to match your
network. The bridge setup will work
either way. If you want to be able to
log into them though from the main
network though, then you can give
each one an address that matches
your existing network configuration. If
not, you can just leave them with the
default addresses in the boxes to the
right.
Click on the Next button when you
are finished with assigning the IP
address.
For the first ANCP3005Q CPE, you will
need to create a wireless network for the
two CPEs to communicate on. You can
name this network (SSID) whatever you
want. Also you will need to choose a
password for it that has anywhere from
8-32 characters. Leave all other settings
as default, but for the Launch Range
setting, make sure you match it as close
as possible to the actual distance you
will be placing apart the two CPEs. This
helps adjust the signal strength to get the
best performance and speeds.
When you are done creating an SSID
name and password, and also adjusting
the slider for the correct distance, click
on the Next button to continue.
After configuring the settings for the
bridge AP, you will be taken to the
confirmation page. Click on the Finish
button and the ANCP3005Q CPE will
save the settings and restart.
If successful, you will see the
following page, which should display
the SSID you created, along with
other information. You should also
see that the first ANCP3005Q CPE is
configured in the AP mode.
At this point, we recommend leaving
the first ANCP3005Q CPE plugged
into the PoE injector. Just unplug the
network cable that was plugged into
the LAN port on the CPE, since we
will need it to configure the second
ANCP3005Q CPE.
For the second ANCP3005Q CPE,
you will need to use the PoE injector
that came with it and plug all network
cables in the same configuration that
you did with the first ANCP3005Q
CPE. Use the same IP address below
to access the second ANCP3005Q
CPE:
http://192.168.10.1
When you are able to access the web
interface, log in using the default
password of admin and you will be
taken to the configuration page. From
here, select the Wizard and then
select Bridge mode.
After selecting the Bridge mode,
click on the image labeled Station.
For the second ANCP3005Q CPE,
when configuring the bridge in
Station mode, you have two options.
When wanting to add a single camera
or multiple cameras to add to an NVR
or DVR, make sure you select the
Client Site mode.
For this second ANCP3005Q CPE,
you will need to change the IP
address, since it can’t be the same
IP as the first ANCP3005Q CPE.
Doing so will create a conflict and
the CPEs will not operate
correctly.
For example, if the IP address you
configured for the first CPE was
192.168.10.1, you can just assign
this IP address as 192.168.10.2.
In the Gateway field, make sure it
matches the same IP scheme as
the IP address you chose. The
wizard will try to fill this in for you,
but just make sure it will match
whatever IP scheme you chose.
For the DNS field, you can leave
this blank.
When you have confirmed all
values, click on the Next button.
On this page is where you can add
the information for the SSID you
created in the first ANCP3005Q
CPE. The easiest way to do this is
to click on the Scan button, and as
long as the first CPE is still plugged
into power, you should be able to
scan for and add that SSID/network.
A window will pop up and display a
list of nearby wireless networks. Try
to find the one that you created on
the first CPE and when you find it,
click on the Operate icon. This will
make sure the correct network
information is entered.
Once you have added the correct
SSID name, make sure to enter in
the correct password you created.
Also make sure to modify the Launch
Range slider to the closest distance
your CPEs will be apart. After
reviewing all information, click on the
Next button.
After reviewing all the information on
this page and confirming that it is
correct, click on the Finish button to
save and apply all changes.
You will see this screen while the
second CPE is saving and applying
the settings. The CPE will reboot
itself once all settings have been
applied.
Once rebooted, you should see the
following information/status screen.
Just make sure that the SSID of the
first CPE is listed there and also that
the Link Status states that the two
CPEs are linked.
If you see that the two CPEs are
linked, they are now ready to be
installed.
In normal operation, you will just run
one network cable from the PoE port
on the the power injector for each CPE
to power the antennas.
On the NVR side, you will then connect
one network cable into the LAN port on
the PoE injector and then the other end
either into the router/modem or into
one of the ports on the back of the
NVR.
On the camera(s) side, if you are going
to be connecting more than one
camera to the ANCP3005Q, you will
need to connect one network cable to
the LAN port on the power injector and
the other side into a PoE switch for the
cameras.

Other manuals for ANCP3005Q

1

Other AIVO NETWORKS Network Hardware manuals

AIVO NETWORKS ANCP3005Q User manual

AIVO NETWORKS

AIVO NETWORKS ANCP3005Q User manual

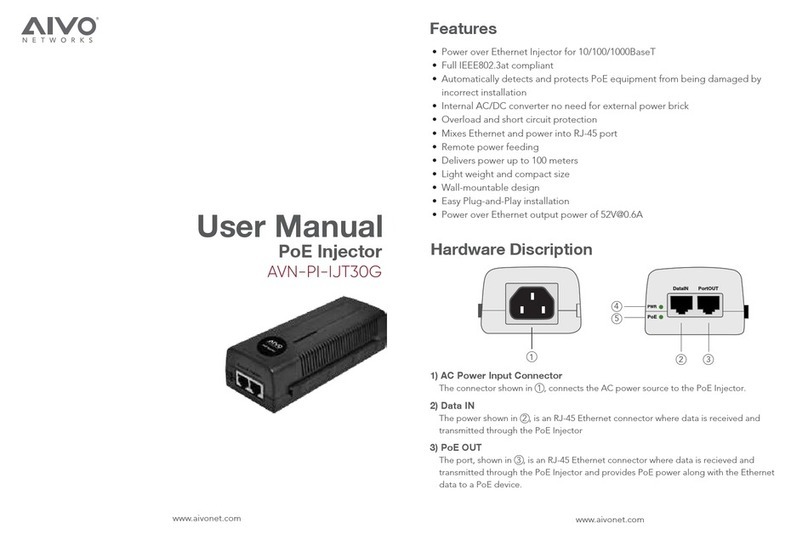
AIVO NETWORKS AVN-PI-IJT30G User manual

AIVO NETWORKS

AIVO NETWORKS AVN-PI-IJT30G User manual

Popular Network Hardware manuals by other brands

Anywave PA-25W user manual

Anywave

Anywave PA-25W user manual

Banner SureCross DX80 manual

Banner

Banner SureCross DX80 manual

WIN Enterprises PL-80480 user manual

WIN Enterprises

WIN Enterprises PL-80480 user manual

Idis DR-1204P installation manual

Idis

Idis DR-1204P installation manual

Dataprobe iPIO-8 quick start guide

Dataprobe

Dataprobe iPIO-8 quick start guide

Nvidia BlueField-2 InfiniBand/VPI DPU user guide

Nvidia

Nvidia BlueField-2 InfiniBand/VPI DPU user guide

OpenEye OE3-XNVR08 Hardware manual

OpenEye

OpenEye OE3-XNVR08 Hardware manual

AndyMark iAMdriver quick start guide

AndyMark

AndyMark iAMdriver quick start guide

AT&T Genie 2 P Activation & Equipment Return Instructions

AT&T

AT&T Genie 2 P Activation & Equipment Return Instructions

Sun Microsystems StorEdge 3000 Series Installation, operation and service manual

Sun Microsystems

Sun Microsystems StorEdge 3000 Series Installation, operation and service manual

DEWESOFT NEMOSENSE Technical reference manual

DEWESOFT

DEWESOFT NEMOSENSE Technical reference manual

WIN Enterprises PL-83230 user manual

WIN Enterprises

WIN Enterprises PL-83230 user manual

Zhone LCM install guide

Zhone

Zhone LCM install guide

Dahua NVR4104-P-4KS2 user manual

Dahua

Dahua NVR4104-P-4KS2 user manual

ADC HiGain HLU-231 LIST 8D Quick installation

ADC

ADC HiGain HLU-231 LIST 8D Quick installation

Plus 5032 user manual

Plus

Plus 5032 user manual

Tomar Strobecom II 4140 user guide

Tomar

Tomar Strobecom II 4140 user guide

TelcoBridges Tmedia TMG5800 Quick installation guide

TelcoBridges

TelcoBridges Tmedia TMG5800 Quick installation guide

manuals.online logo
manuals.online logoBrands
  • About & Mission
  • Contact us
  • Privacy Policy
  • Terms and Conditions

Copyright 2025 Manuals.Online. All Rights Reserved.