Electric
Power
1
Power
sources
—
Connect
this
unit
only
to
power
sources
specified
in
the
Operating
Instructions,
and
as
marked
on
the
unit.
;
2
AC
power
cord
-
When
disconnecting
the
AC
power
cord,
pull
it
out
by
the
AC
power
plug.
Do
not
pull
the
cord
itself.
-
Never
handle
the
AC
power
plug
with
wet
hands,
as
this
could
result
in
fire
or
shock.
-
Power
cords
should
be
firmly
secured
to
avoid
being
severely
bent,
pinched,
or
walked
upon.
Pay
particular
attention
to
the
cord
from
the
unit
to
the
power
socket.
-
Avoid
overloading
AC
power
plugs
and
extension
cords
beyond
their
capacity,
as
this
could
result
in
fire
or
shock.
3
When
not
in
use
—
Unplug
the
AC
power
cord
from
the
AC
socket
if
the
unit
will
not
be
used
for
several
months
or
more.
When
the
cord
is
plugged
in,
a
small
amount
of
current
continues
to
flow
to
the
unit,
even
when
the
power
is
turned
off.
Maintenance
Clean
the
unit
only
as
recommended
in
the
Operating
Instructions.
Damage
Requiring
Service
Have
the
units
serviced
by
a
qualified
service
technician
if:
-
The
AC
power
cord
or
plug
has
been
damaged
-
Foreign
objects
or
liquid
have
got
inside
the
unit
-
The
unit
has
been
exposed
to
rain
or
water
-
The
unit
does
not
seem
to
operate
normally
-
The
unit
exhibits
a
marked
change
in
performance
-
The
unit
has
been
dropped,
or
the
cabinet
has
been
damaged
DO
NOT
ATTEMPT
TO
SERVICE
THE
UNIT
YOURSELF.
Welcome
ta
the
pbiwa
Stenea
System
Congratulations
on
your
purchase
of
an
Aiwa
Stereo
System.
To
optimize
the
performance
of
this
system,
please
take
the
time
to
read
through
these
Operating
Instructions
and
become
familiar
with
the
operating
procedures.
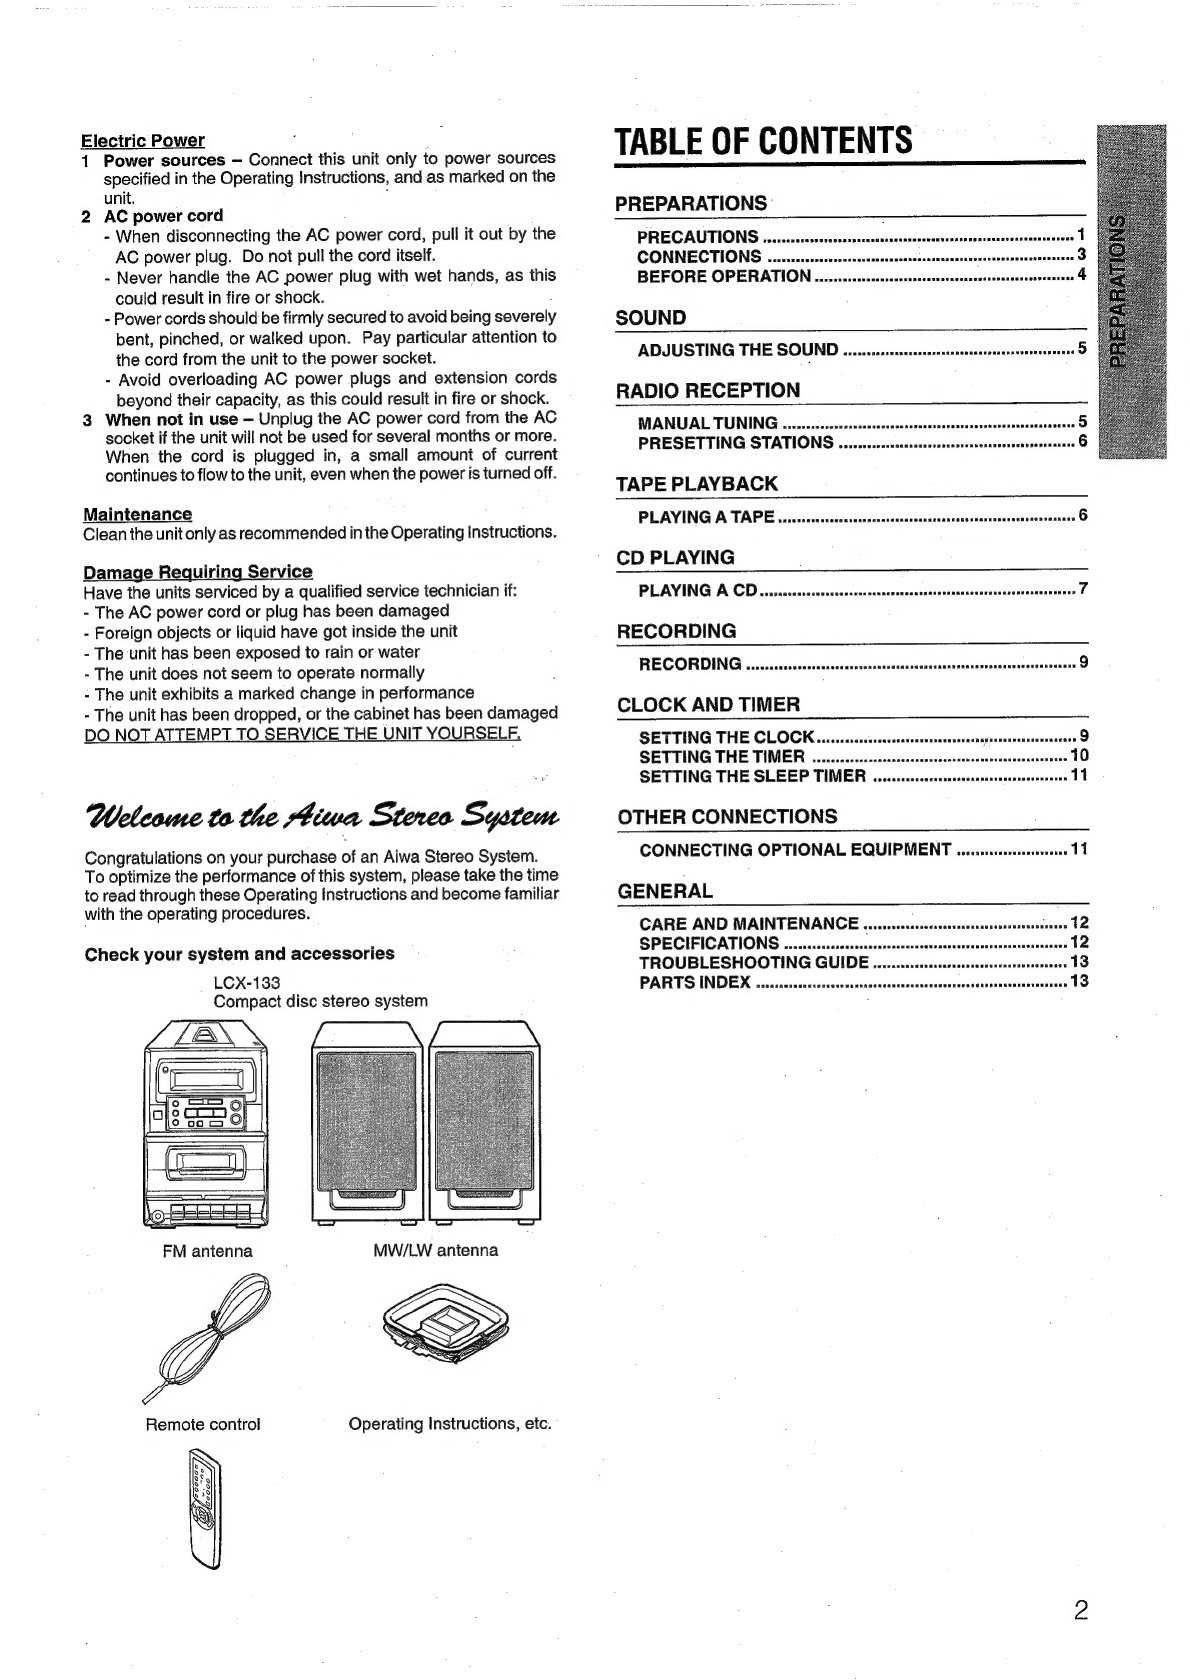
Check
your
system
and
accessories
LCX-133
Compact
disc
stereo
system
FM
antenna
F
Remote
control
Operating
Instructions,
etc.
TABLE
OF
CONTENTS
PREPARATIONS
PRECAUTIONS
CONNECTIONS
we
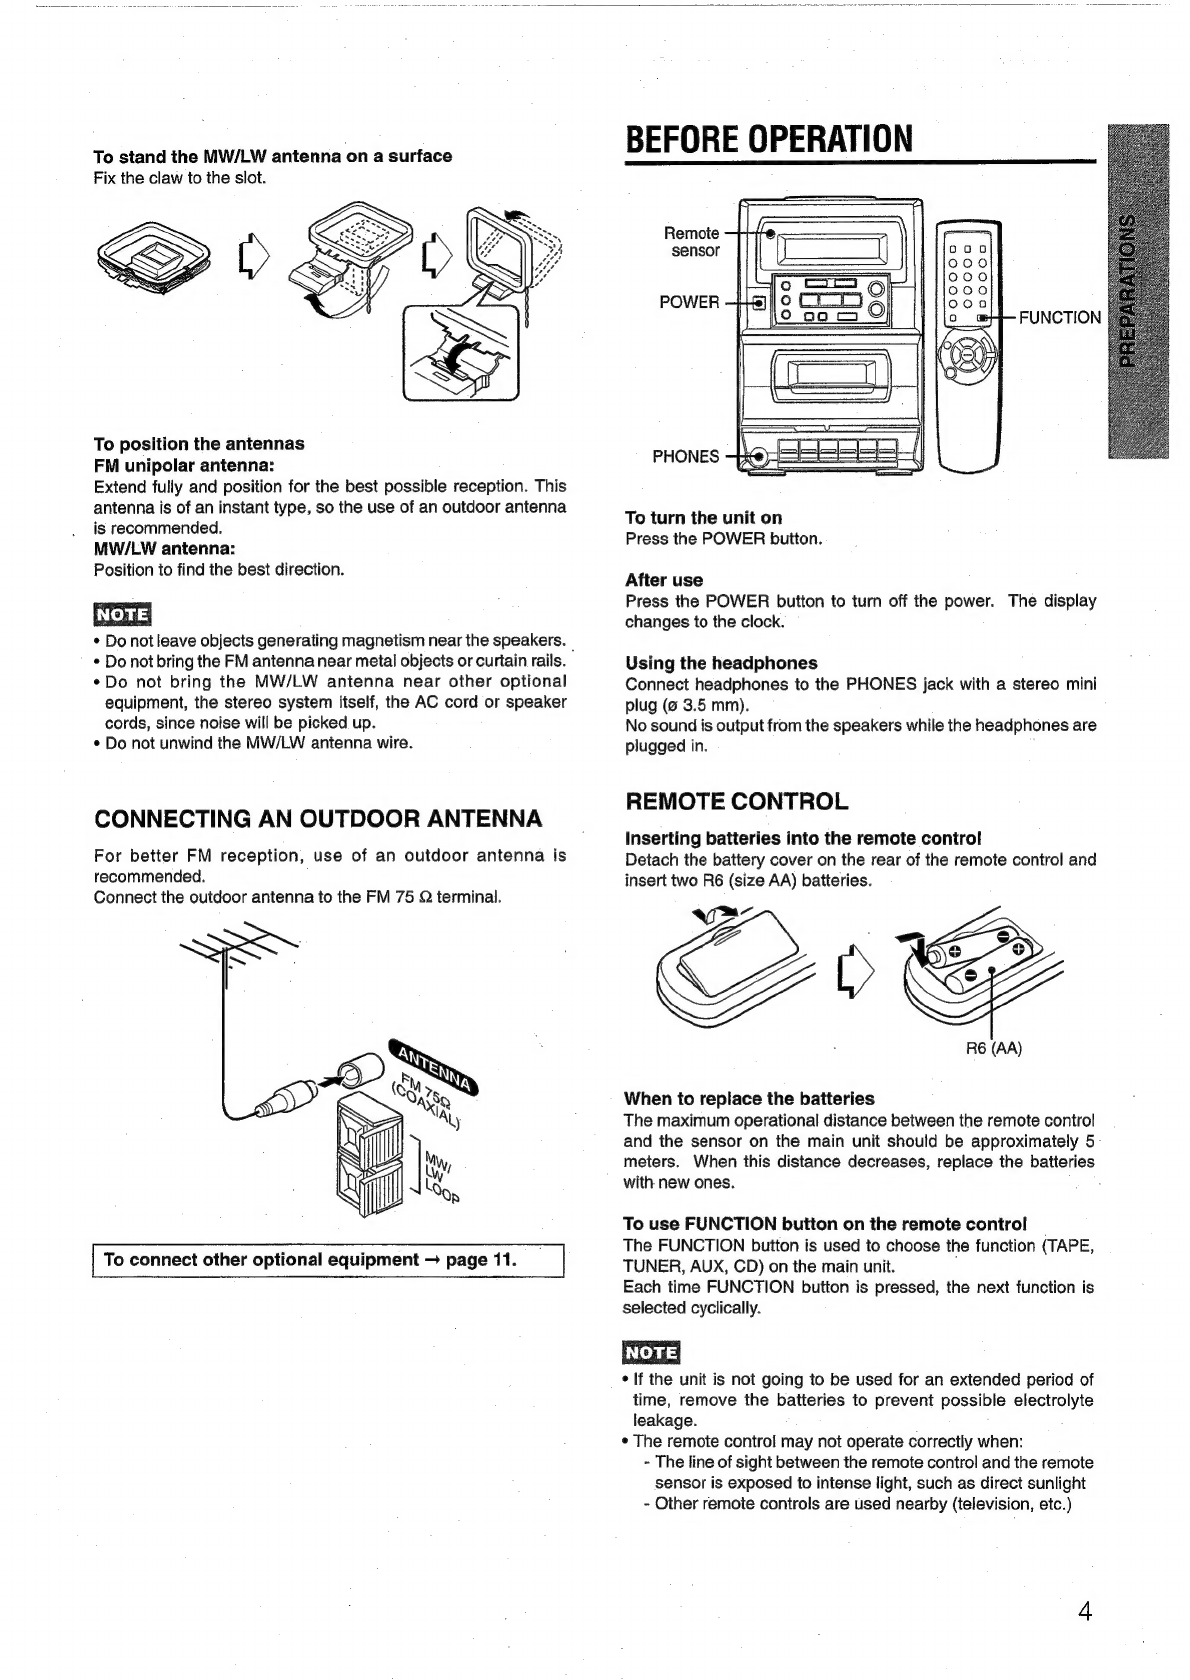
BEFORE
OPERATION
......sscsssssssenssneessesersesernsessrarseussonennuans
SOUND
ADJUSTING
THE
SOUND
.....secsssescsscserntenenacenteenentenaneeneenns
RADIO
RECEPTION
MANUAL
TUNING.
qui...
ccccceessncessenensesscssnsnsenssssenneesensenaseseouense
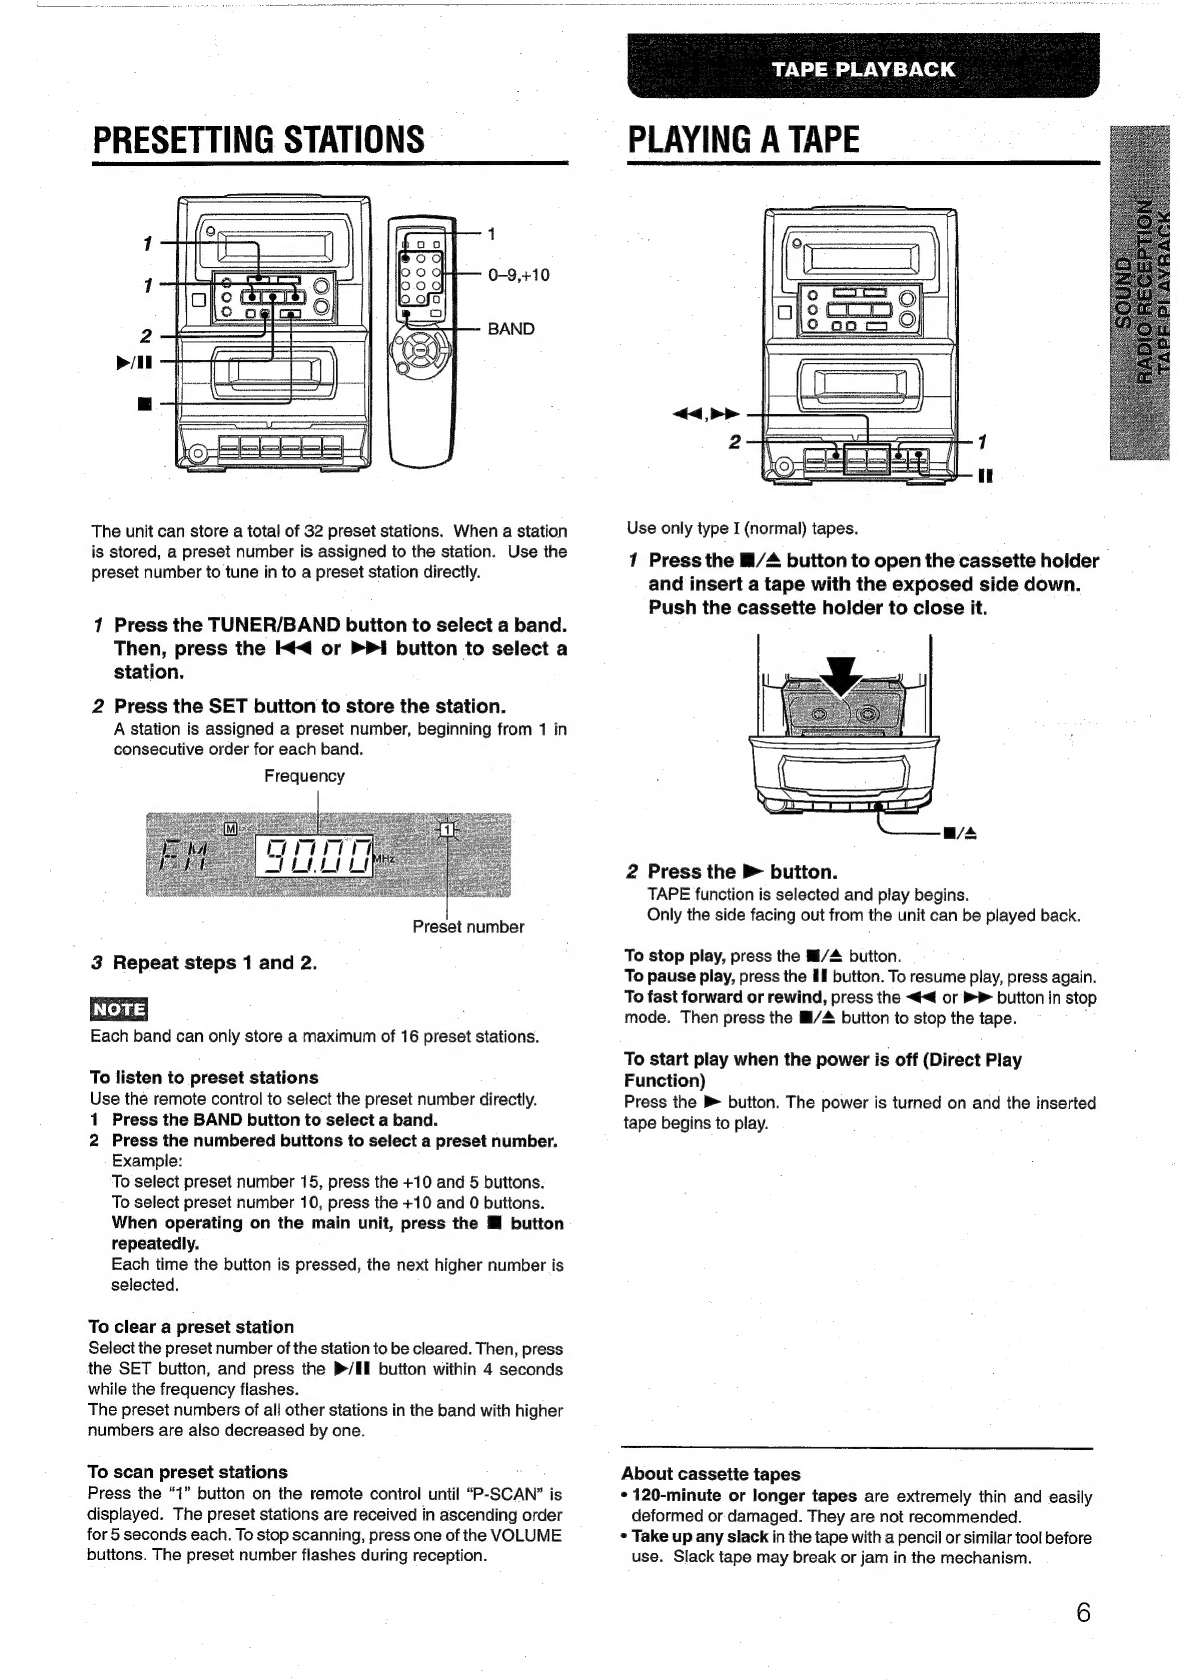
PRESETTING
STATIONS.
......csccccscenccnsssenenssnsecsnsaneesssanansrane
TAPE
PLAYBACK
PLAYING
A
TAPE
\ucccscscccscscccssncecscnsersccnecensossesconnsaversnacesersens
6
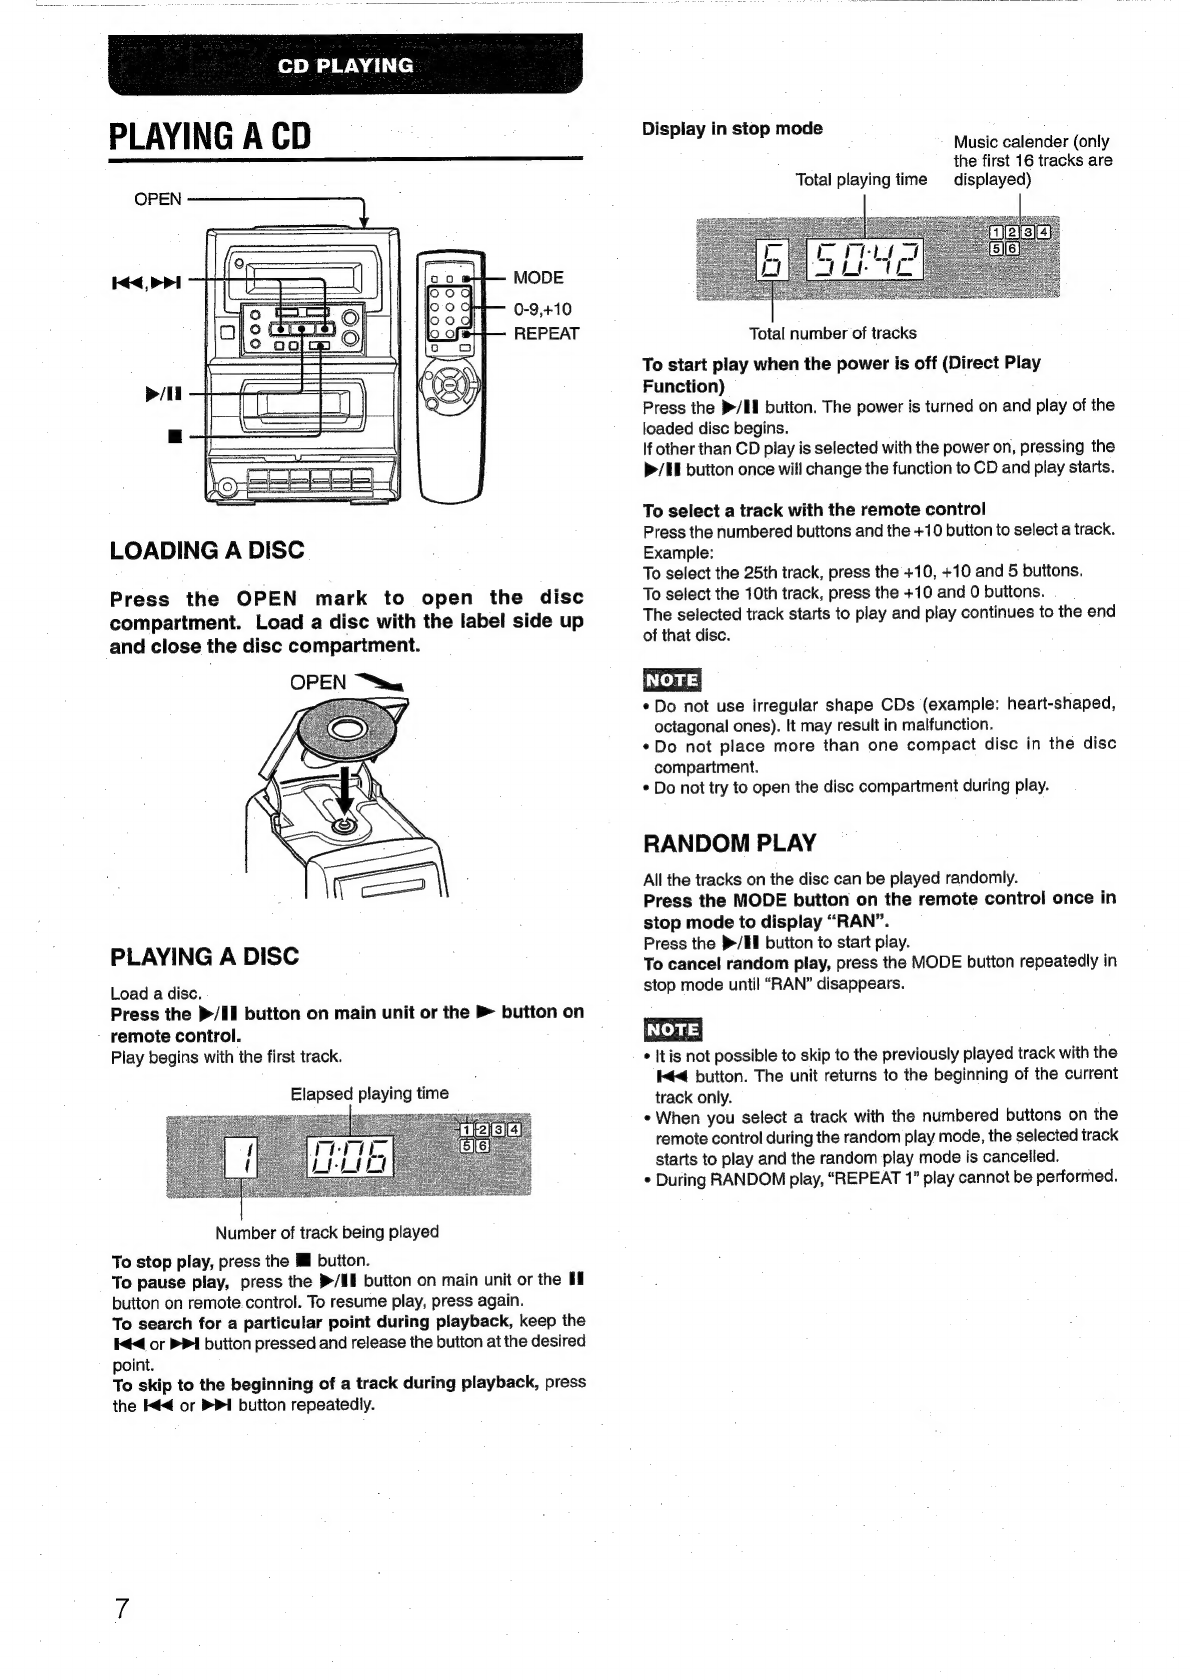
CD
PLAYING
PL:AVING
A
CD
iciciccsndesccsccciccncscntectusassnanteddncsssocsccvevsisccsdesann’
7
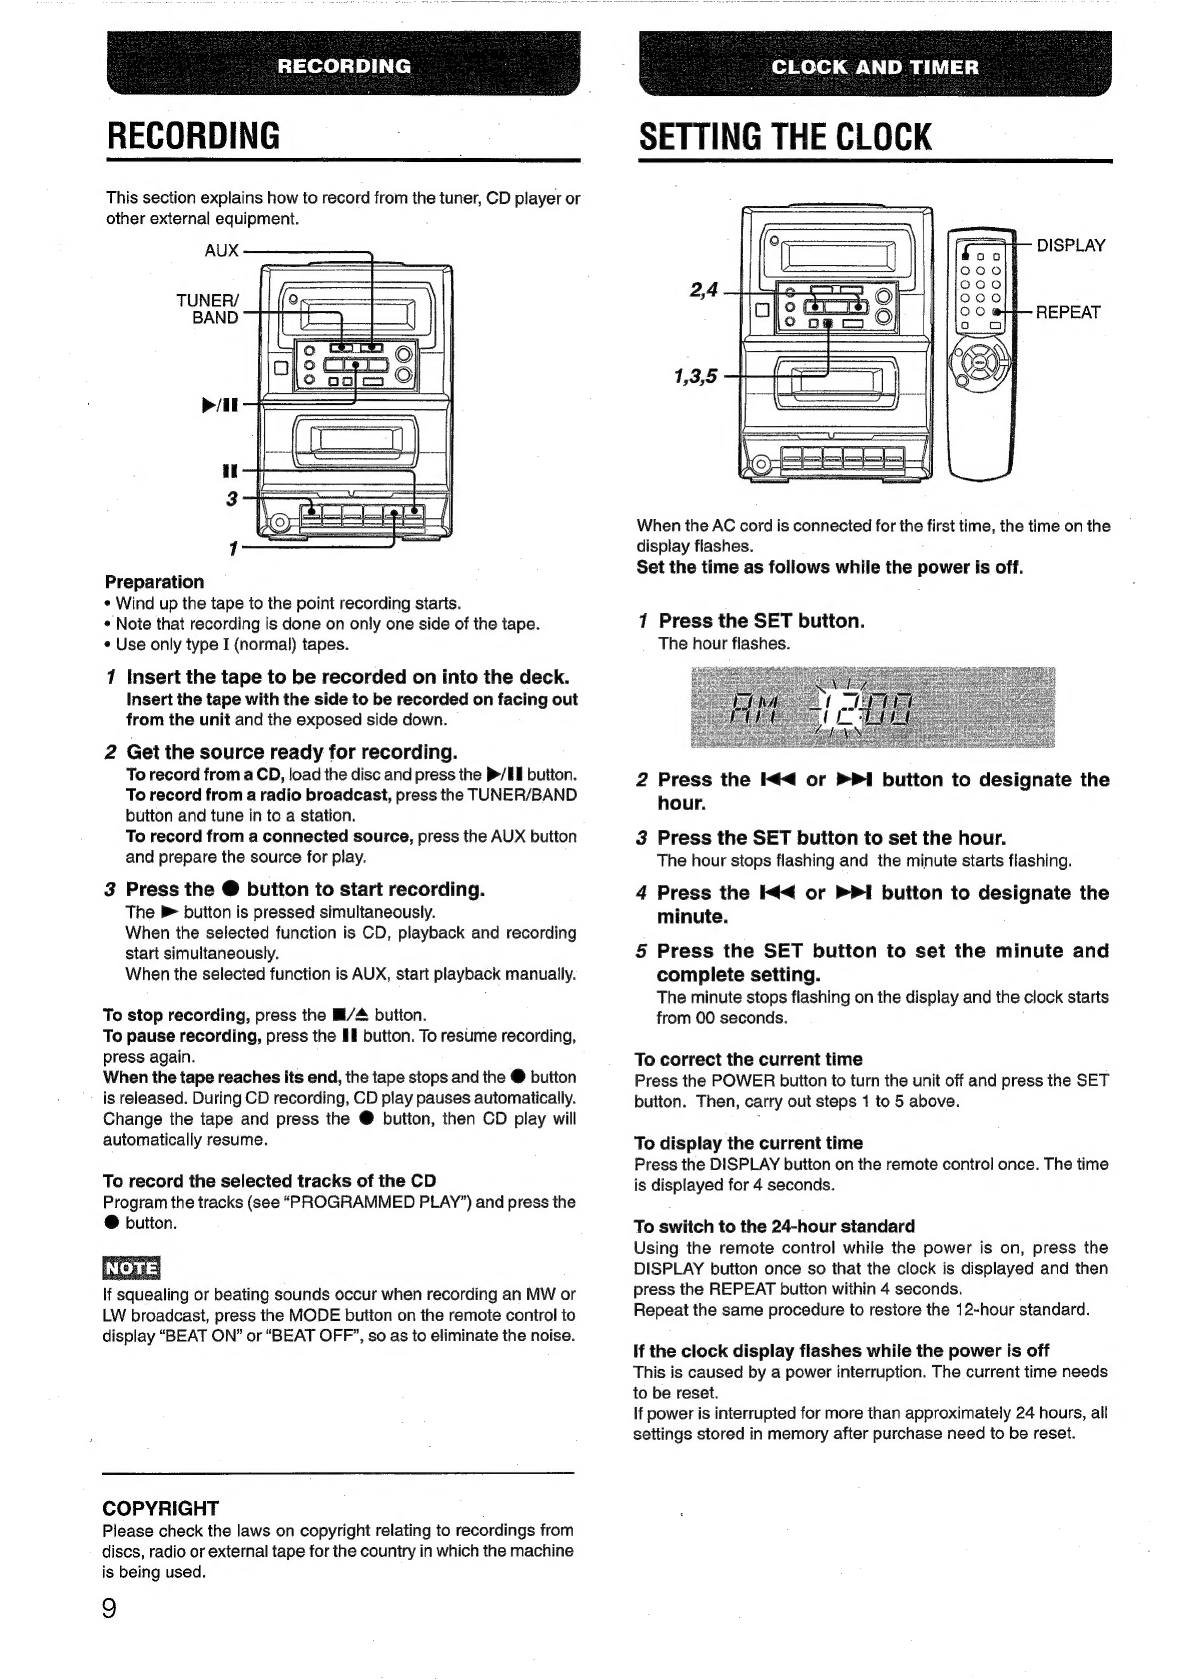
RECORDING
PRE
GORDI
Givocnccccecevndccscccscacsecuncscasctocvecudvardesdesscescseenssnaceanve
9
CLOCK
AND
TIMER
SETTING
THE
CLOCK
.j......cccseccnessnsnaserseees
dicuudgaussesaaasaess
ee)
SETTING
THE
TIMER
.......ccccneeeee
SETTING
THE
SLEEP
TIMER
...
OTHER
CONNECTIONS
CONNECTING
OPTIONAL
EQUIPMENT.
....ssscscsscsseseees
we
Il
GENERAL
CARE
AND
MAINTENANCE
suesteaeneeanecnsennanentaraes
siSivtsscres
Le.
SPECIFICATIONS
svscsccsvccscccvacecsscsecccesessocoserecsescsnsedsseasceunss
12
TROUBLESHOOTING
GUIDE
......ccccsscssscssseceesseeecannsesenaes
13
PARTS
INDEX
......esessccerseernenonnee
sanapencaunsnssesssousnaecousanusarsane
13