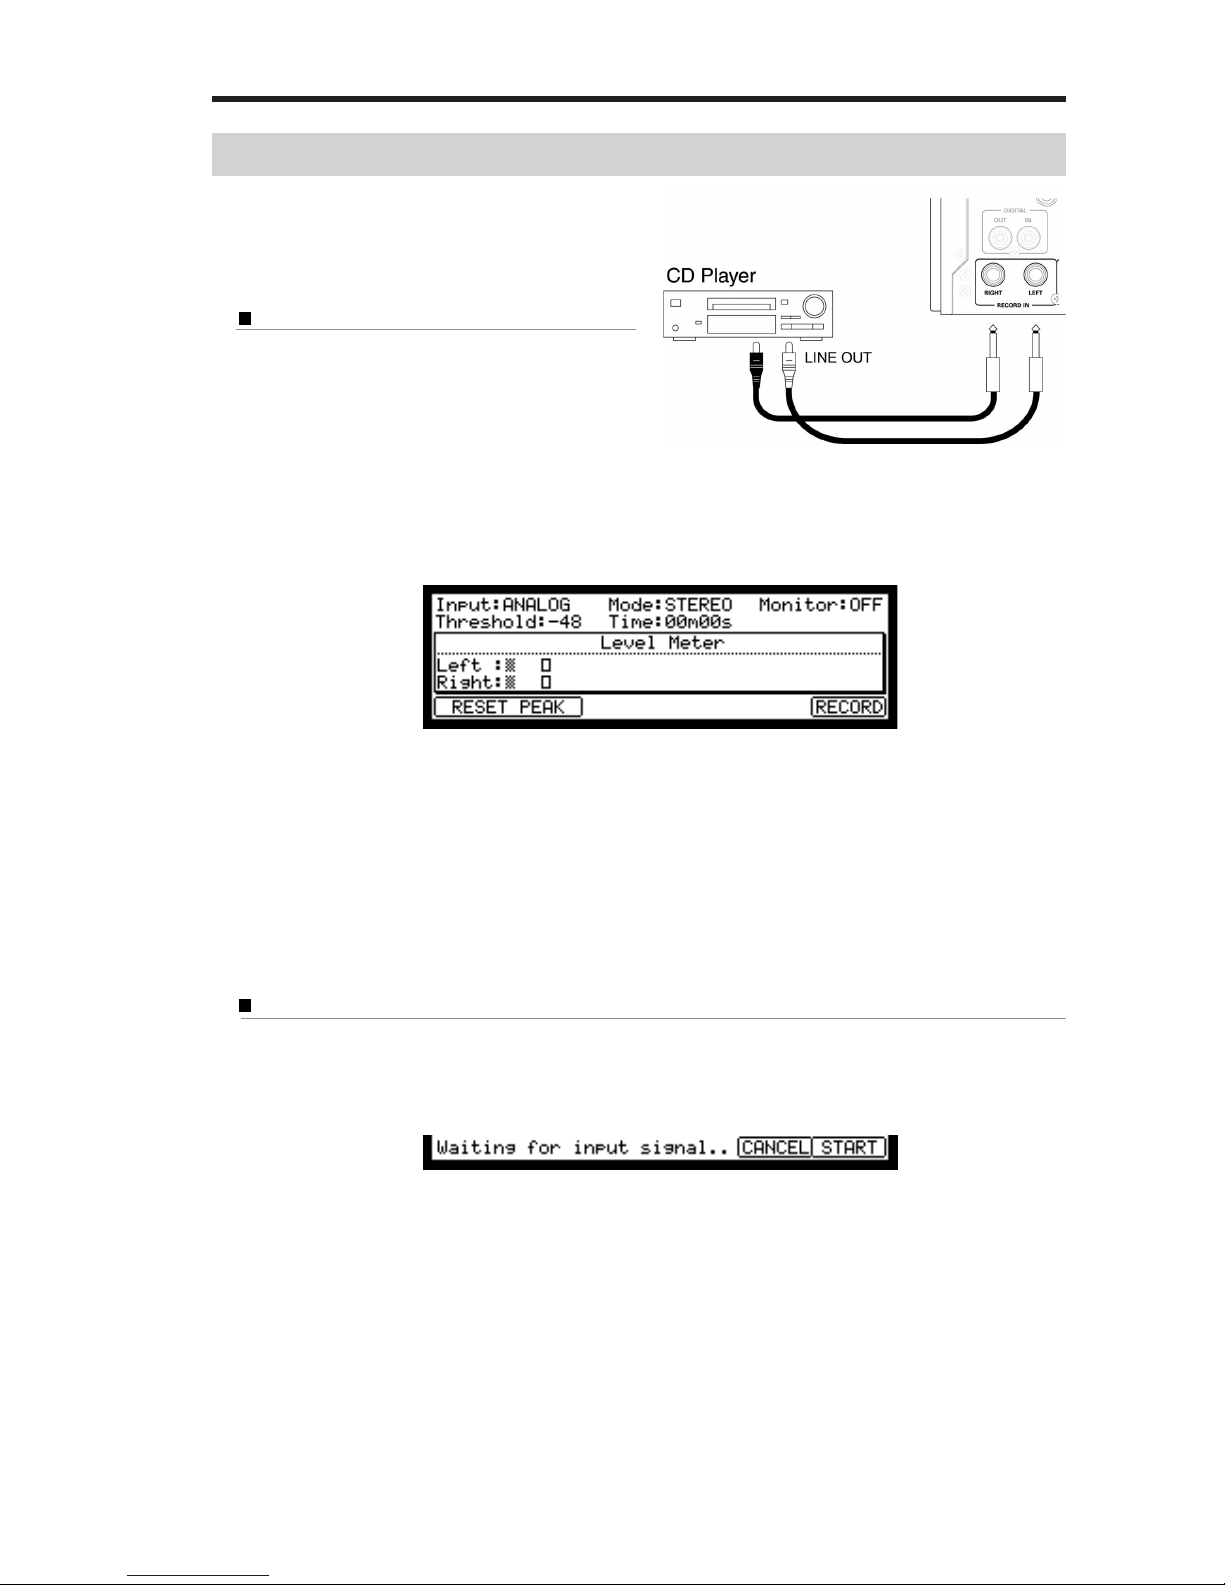
3
Recording the performance by hitting the pads
To record the performance to a sequence using the internal preset program, proceed as follows.
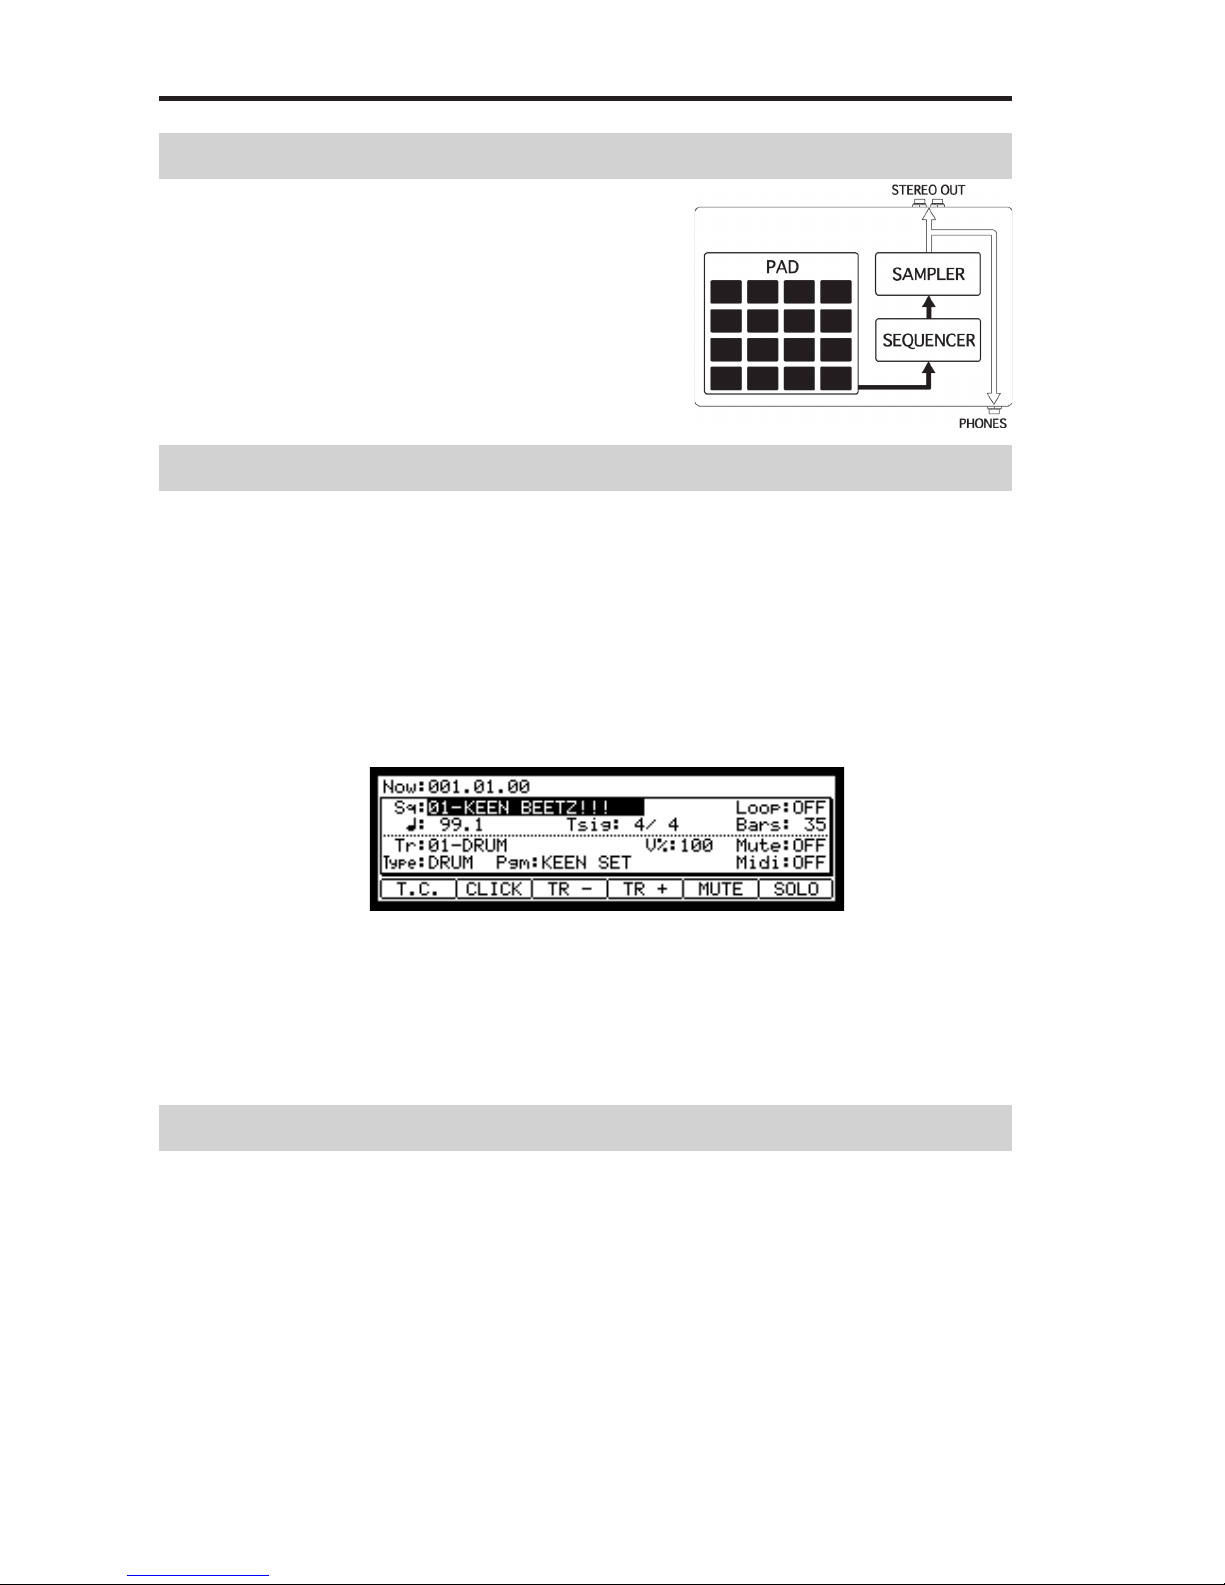
01. Press the [MAIN] key to display the MAIN page.
02. In the Sq field, select a sequence to which you wish to record the performance.
You can select any sequence for recording a performance; but here, select a sequence that says “unused”.
“Unused” indicates that the sequence is not used.
03. In the Tr field, select a track on which you wish to record the performance.
The performance data will be recorded on a track in the sequence.You can select any track, but here select “Tr : 01”.
04. In the Pgm field, select a program you wish to play.
05. Press the [PLAY START] key while holding the [REC] key.
The recording will start after 4 counts.
06. Play the pads to the click sounds.
In default, the sequence is set to 2 bars. After recording for 2 bars, the MPC2500 will start playing back the recorded
performance. If you make another performance with pads, you can add the performance to the currently recorded
one. This is called “over dub”.
07. You can stop the over dub by pressing [STOP] key.
08. Press the [PLAY] key to play the recorded performance.
09. If you do not like the performance, you can start a new recording by pressing the [REC]+[PLAY START] keys.
It cancels the currently recorded performance data and starts a new recording.
10. To add the recording to the already recorded data, press the [PLAY START] key while holding the [OVER DUB] key.
It plays back the currently recorded performance and you can add the new performance by hitting pads.
Delete only the specific pad.
11. Start the overdub by pressing the [PLAY START] key while holding the [OVER DUB] key.
12. Hold the pad that you wish to delete, while holding [ERASE] key.
From the performance data being recorded, only the section from where you press the [ERASE] key and pad and you
release them will be deleted. By pressing the pad at the right timing, you can delete the performance data at certain
timing in the phrase.
If you select another sequence in the Sq field, you can record a new performance separately. By playing back those
sequences, you can create one whole song.
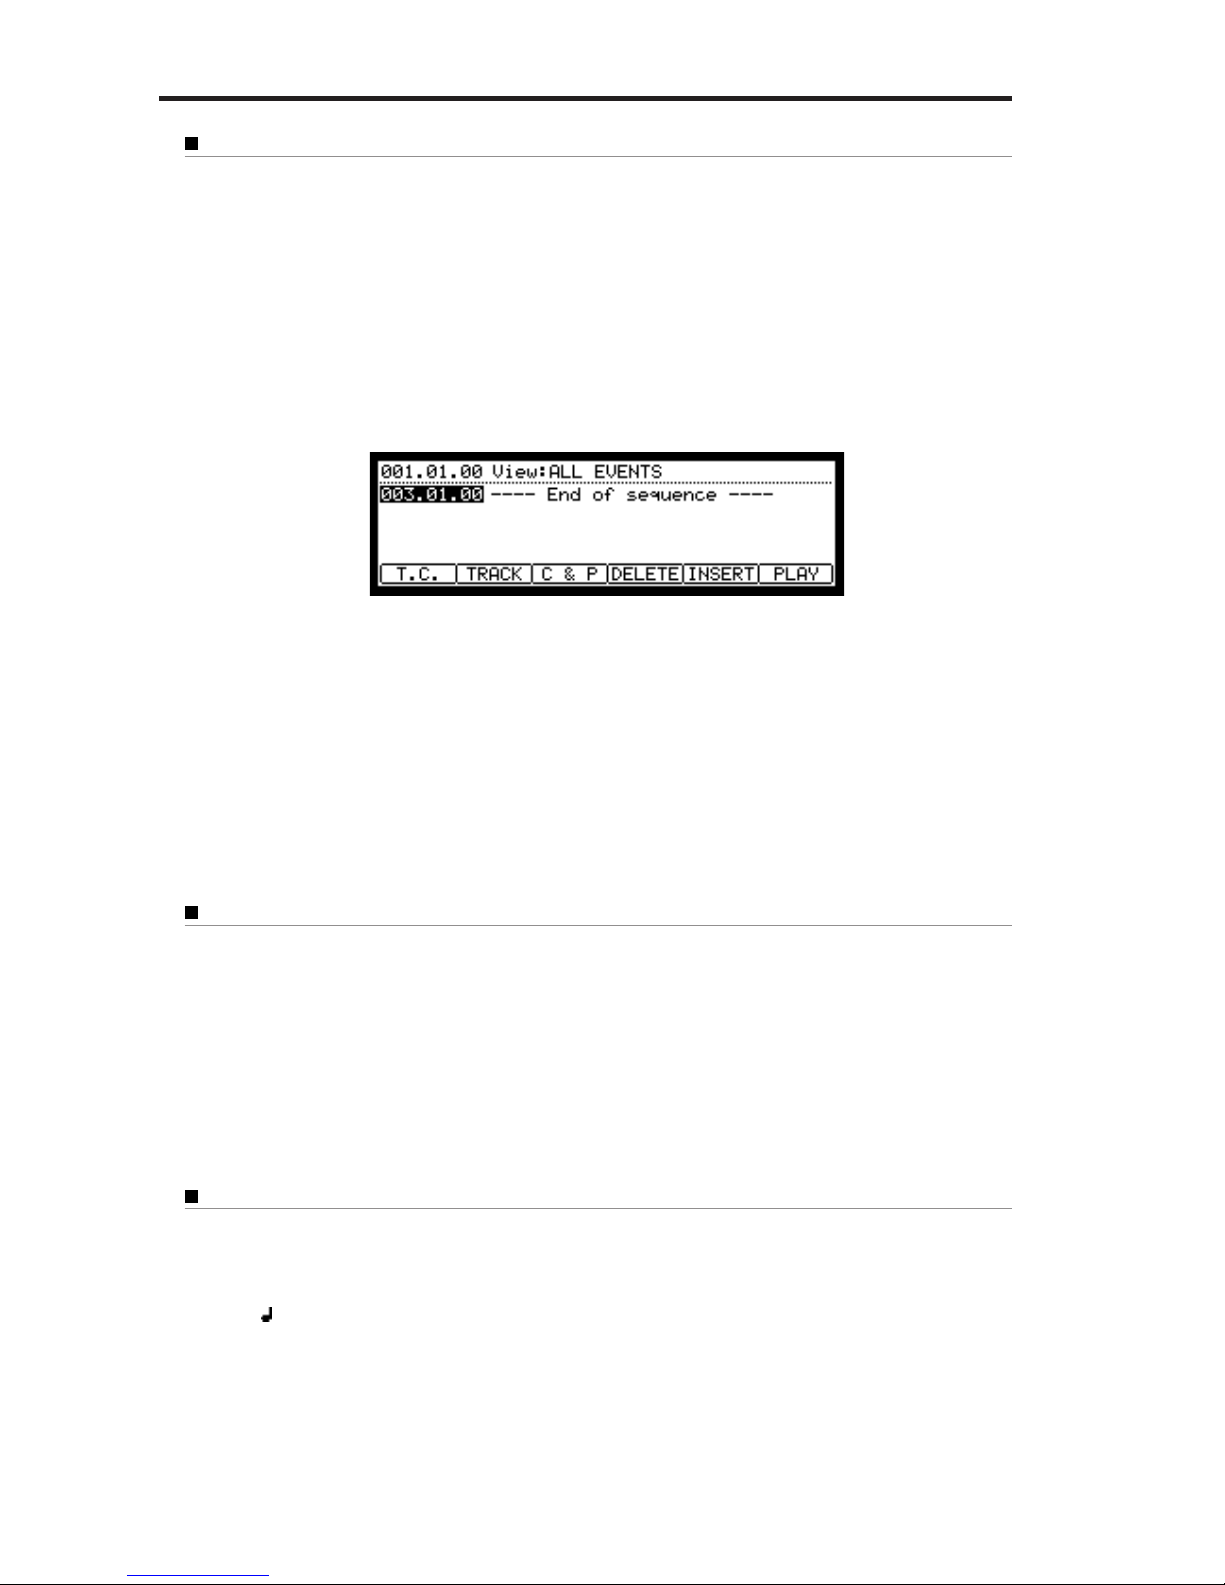
Tips : You can set the length of the sequence in the Bar field, and the time signature in the Tsig field. For more information, see the
“Chapter 3 : Sequence feature” section of the operator's manual. (on page 12)