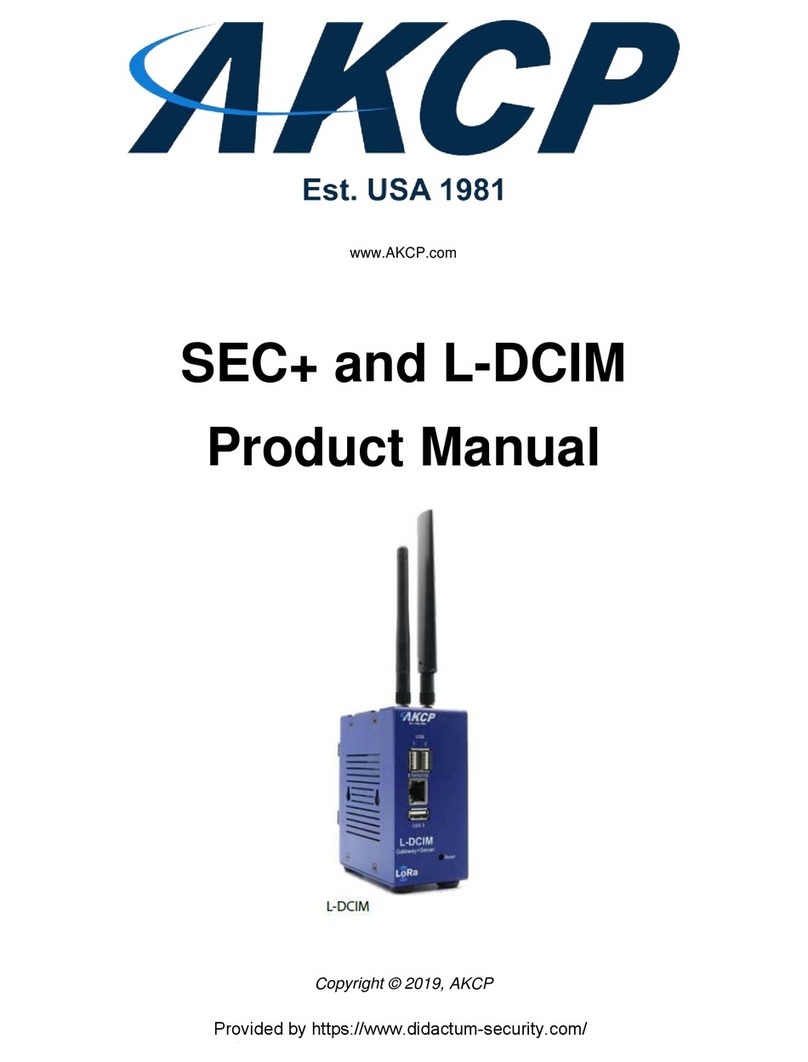
AKCP L-DCIM Quick start guide

www.AKCP.com
L-DCIM How To Upgrade
Copyright © 2020, AKCP

L-DCIM Upgrade Howto
- 2 -
Safe Mode
Safe Mode is a special boot mode of the unit. You can perform firmware update (Linux OS update)
and recovery functions even if the unit cannot boot in normal mode any longer. Safe Mode is
accessible even if the system USB drive is corrupt or removed.
Important: when the unit is booted into Safe Mode, the WebUI is run only on the default HTTP
port 80 - there’s no SSL support in Safe Mode. Therefore the HTTPS link won’t work, you need to
use HTTP protocol only.
In order to access the unit in Safe Mode, use URL:
HTTP://{unit_ip_address}/index.php
For example: http://192.168.0.100/index.php
You can boot to Safe Mode in 3 ways:
A) by quickly pressing the Reset button on for at least 8 seconds as soon as the unit is powered on
B) by selecting “Reboot to Safe Mode” from the Maintenance menu in normal mode
C) using SSH commands (recommended only for advanced users or troubleshooting)
As the browser establishes connection to the unit, the Safe Mode verification script is run, which
takes a few seconds. After this it will reserve disk space for proper file operations.
If the verification ends with an error, the following options available:
1) Perform 'Factory Reset'
2) Reboot to Normal Mode

L-DCIM Upgrade Howto
- 3 -
If there were no errors during the verification step, then the available Safe Mode options are:
1) Specify filename for firmware upgrade (7zip archive)
2) Perform firmware upgrade (to upgrade the Linux OS)
3) Perform 'Factory Reset'
4) Reboot to Normal Mode
Factory Reset information
Using this option will erase all user data and settings, removes any APS upgrades applied and
returns the unit to the default IP address (192.168.0.100).
Warning: the reset will start without confirmation once you press the “Factory Reset” button!

L-DCIM Upgrade Howto
- 4 -
Firmware Upgrade process
With this option you can upgrade the Linux OS on the system, while keeping all your settings and
user data (they’re stored on the system USB drive). However, make sure that you have a backup and
you exported the backup to another USB drive, in case something goes wrong during this upgrade.
Press the 'Browse' button and select a firmware archive file (7zip) in the popup window.
Then press the 'Upload firmware' button.
As the file is uploaded, the firmware update script is automatically run on the unit.
It periodically reports its upgrade status that the WebUI shows in the browser.
If there are any errors, you can click on the ‘Show Logs’ button to show a detailed log for the
upgrade script output.

L-DCIM Upgrade Howto
- 5 -
Very Important Note: If the unit’s power is lost during upgrade, the Normal Mode won’t start
anymore!
As a recovery feature, the unit should reboot back to Safe Mode and wait for either another attempt of
Firmware Update or Factory Reset. If the automatic reboot to Safe Mode doesn’t work, you’ll need to
manually boot the unit to Safe Mode by pressing Reset button for about 8 seconds during startup, or
switch to Safe Mode boot by SSH commands (see below).
As the procedure completes, the 'Reboot to Normal Mode' button will be shown. Click to reboot.
Note: on newer Safe Mode versions (180 and up) the unit will automatically reboot itself to Normal
mode after completing the firmware update, and you don’t need to press a button.
After this, the unit starts in Normal Mode again with the full APS-Server listening on the default
HTTPS port (443).
Normally the WebUI should automatically redirect and you don’t need to press the ‘Refresh’ button.
Please wait, sometimes the upgrade can take longer than a few minutes, do not remove power!

L-DCIM Upgrade Howto
- 6 -
Safe Mode Troubleshooting
Important note: SSH/SFTP access is also active in Safe Mode, there are special cases when you
can use them. SSH is useful to manually check error logs and copy files to USB, with SFTP you can
copy files in/out of the unit easily.
What to do if power is lost during upgrade and Normal Mode doesn’t start:As a recovery
feature, the unit should reboot back to Safe Mode and wait for either another attempt of Firmware
Update or Factory Reset. If the automatic reboot to Safe Mode doesn’t work, you’ll need to manually
boot the unit to Safe Mode by pressing Reset button for about 8 seconds during startup, or switch to
Safe Mode boot by SSH commands (if Linux can boot up, see below).
What to do if the unit is unreachable after a successful upgrade: Please wait, sometimes the
upgrade can take longer than a few minutes, do not remove power!
If the unit still doesn’t respond more than 20 minutes after the upgrade, then power cycle it. Make
sure your network cable is connected to the unit during startup. If this doesn’t help, connect the unit
directly to your PC, wait approx. 5 minutes for the bootup to finish and use our IPSet application
(downloadable from our website). Press the Reset button once quickly on the unit and see if IPSet
can receive a broadcast message from the unit, with the used IP address.
How to manually switch to Safe Mode from Normal Mode SSH: Log in as Admin user and enter
the following commands, followed by pressing the Enter key after each line:
sudo /sbin/akcp/switch_recovery.sh
sudo reboot
Note: You’ll be prompted for the Admin user password again when using commands with the “sudo”
prefix.

L-DCIM Upgrade Howto
- 7 -
APS Software update
Settings / Server Settings / Software Update menu
You can only install application updates to APS using this option.
Warning: only use this option when instructed to do so by Support!
You’ll need to select a .deb package from your local PC with the Browse button, which will be
uploaded and installed.
Optionally, if you place the .deb file on the root directory of a USB flash drive (don’t put it to
subfolders) then the unit can find it and install the update from there. If the .deb file is not found in the
root directory, you’ll get a prompt that the update package cannot be found.
Important: when you use the “Reset to defaults” option under Maintenance menu, any updates you
installed previously will be also removed.
Important: check your time zone setting after applying updates. It might be necessary to adjust the
time zone again for your region.
Table of contents
Other AKCP Gateway manuals