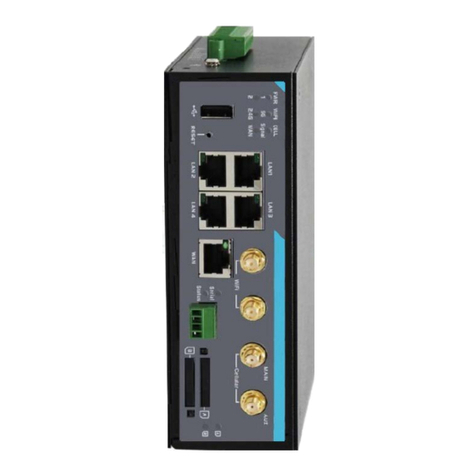
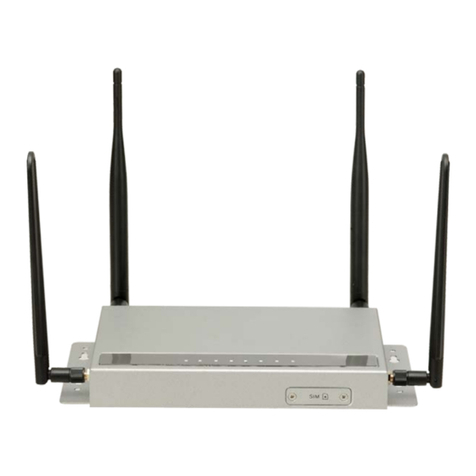
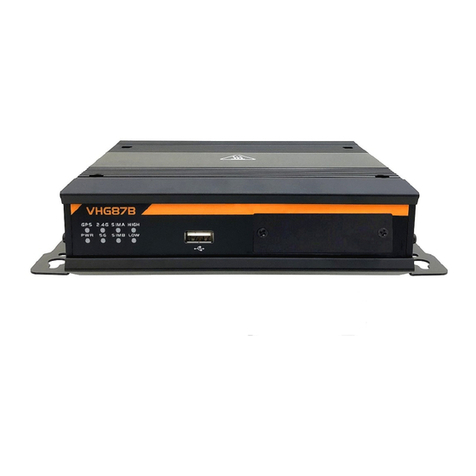
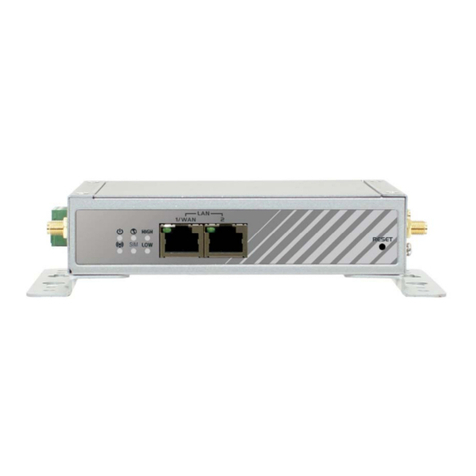
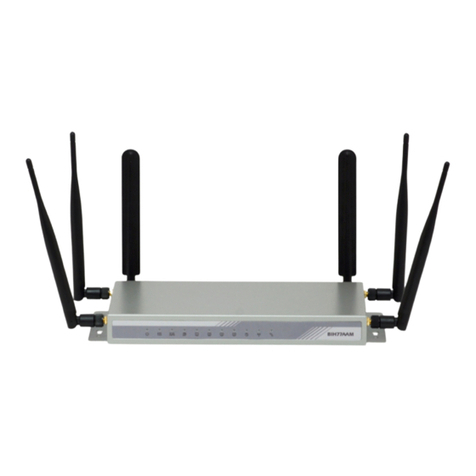
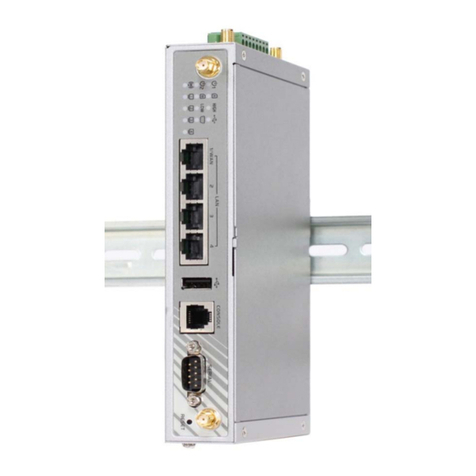
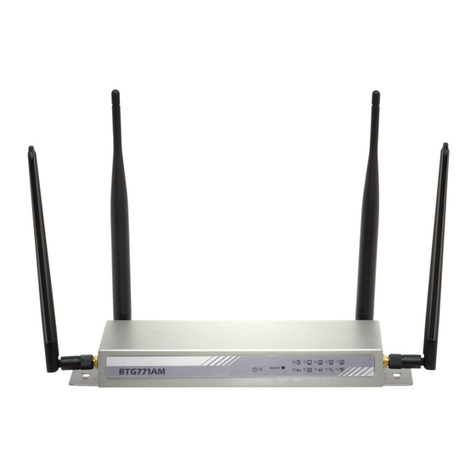
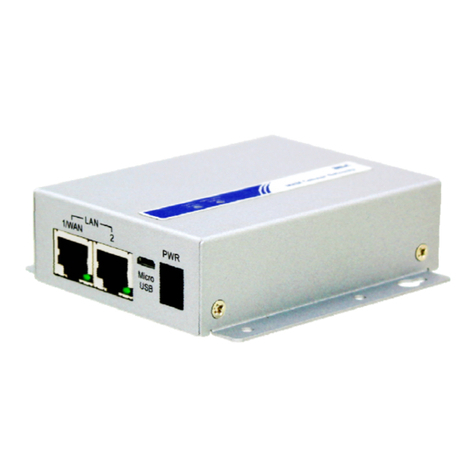
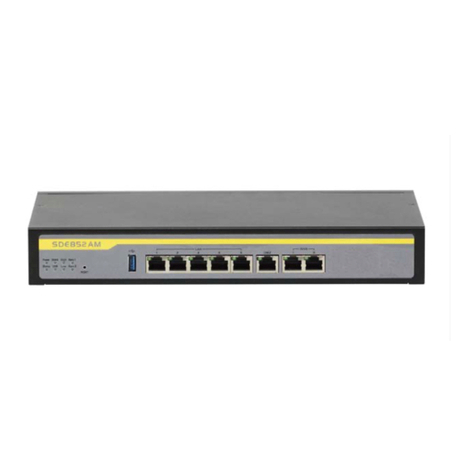
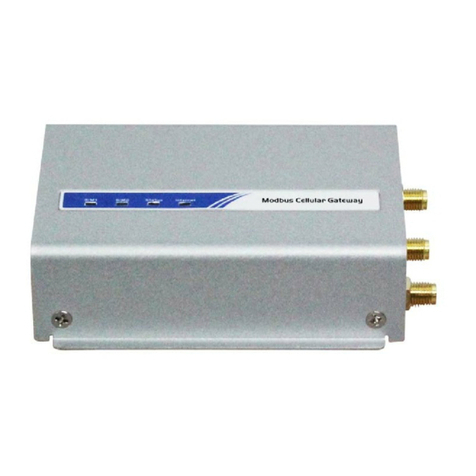
Amit CDW531AM User manual

WiFi Combo Broadband
Gateway
User Guide

Copyright
The contents of this publication may not be reproduced in any part or as a whole, stored,
transcribed in an information retrieval system, translated into any language, or transmitted in any
form or by any means, mechanical, magnetic, electronic, optical, photocopying, manual, or
otherwise, without the prior written permission.
Trademarks
All products, company, brand names are trademarks or registered trademarks of their respective
companies. They are used for identification purpose only. Specifications are subject to be changed
without prior notice.
FCC Interference Statement
This equipment has been tested and found to comply with the limits for a Class B digital device
pursuant to Part 15 of the FCC Rules. These limits are designed to provide reasonable protection
against radio interference in a commercial environment. This equipment can generate, use and
radiate radio frequency energy and, if not installed and used in accordance with the instructions in
this manual, may cause harmful interference to radio communications. Operation of this
equipment in a residential area is likely to cause interference, in which case the user, at his own
expense, will be required to take whatever measures are necessary to correct the interference.
CE Declaration of Conformity
This equipment complies with the requirements related to electromagnetic compatibility, EN
55022/A1 Class B.
The specification is subject to change without notice.
FCC COMPLIANCE STATEMENT

Table of Contents
FCC Interference Statement........................................................................................ 2
1. Introduction............................................................................................................... 4
1.1. Package Contents...................................................................................... 4
1.2. System Requirements for Configuration................................................ 4
1.3. Interfaces - the Rear View........................................................................ 5
1.4. LEDs and Buttons – the Front View....................................................... 5
1.5. Features...................................................................................................... 6
2. Configuring WiFi Combo Broadband Gateway.............................................. 7
2.1. Installation Considerations...................................................................... 7
2.1.1. Installation Instructions- Get Start Networking.................................... 7
2.1.2. Establish WiFi Connection....................................................................... 9
3. Using the Configuration Menu .......................................................................... 10
3.1. Wizard setting ......................................................................................... 12
3.2. Administrator’s Main Menu.................................................................. 18
4. Troubleshooting................................................................................................... 55
5. Technical Specifications...................................................................................... 58

1. Introduction
The WiFi Combo Broadband Gateway is a high-performance tool that supports wireless
networking at home, work, or in a public place. The WiFi Combo Broadband Gateway supports
a USB 3G modem card, either WCDMA or EVDO and even HSDPA as well, and supports
wireless data transfers up to 150M bps, and wired data transfers up to 100 Mbps.
The WiFi Combo Broadband Gateway is compatible with industry security features.
1.1. Package Contents
Importance: Check your product package contents FIRST.
The WiFi Combo Broadband Gateway package should contain the items listed below. If any
of the items are missing, please contact your reseller.
items Description Quantity
1 WiFi Combo Broadband Gateway 1
2 RJ-45 Cable 1
3 Power adapter 5V 2.0A 1
4 CD 1
Caution: Using a power supply with a different voltage rating than the one included with the
WiFi Combo Broadband Gateway will cause damage and void the warranty for this product.
1.2. System Requirements for Configuration
• A compatible USB 3G modem card with service
Note: Subject to services and service terms available from your carrier.
• Computers with Windows, Macintosh, or Linux-based operating systems with an installed
Ethernet adapter.
• Internet Explorer version 6.0 or Netscape Navigator version 7.0 and above.
• Wi-Fi System Requirements: An 802.11b, 802.11g, or 802.11n Adapter.

1.3. Interfaces - the Rear View
1.4. LEDs and Buttons – the Front View
Note:
Contains a reset button to restore the setting back to original factory defaulted setting as if your
convenience of forgetting your applicable setting
Reset Button
Restore to Original
factory defaulted setting
USB port for connecting
with 3G USB modem
Receptor for
Power adapter
Auto MDI/MDIX RJ-45 Ports
Automatically sense the types of WAN
and LAN when connecting to Ethernet
WPS Button
Restore to Original
factory defaulted setting
WiFi LED
A green light as
connection on
WLAN available
LAN LED
A green light as connected
to local Ethernet and blinks
durin
g
data is transmission
WAN LED
A green light as
WAN is connected
Mobile/Status LED
A green light as
what’s status of
p
ower or 3G card.

1.5. Features
zIEEE 802.11b/g compliant and 11n Lite (HW 1T1R not MIMO solution.)
Backward compatible to IEEE 802.11b standards
Max physical rate up to 54Mbps in 802.11g mode
Max physical rate up to 150Mbps in 802.11n mode
Security Supports: WEP (64/128 bits), WPA, WPA2, WPA-PSK,
WPA2-PSK, and 802.1x
WPS Support
zProvide 5 * 10/100 RJ-45 ports
4 * LAN
1 * WAN
zWAN connection through external USB 3G/3.75G modem card
WCDMA,HSDPA,HSUPA(depend on region)
CDMA2000,EV-DO(depend on region)
TD-SCDMA,TD-HSDPA(Option)
Flash OFDM(Reserve)
iBurst(Option)
zBuilt-in NAT function: one IP sharing with PCs
zBuilt-in firewall to protect your Intranet
zVPN pass through supported
PPTP
L2TP
IPSec
zEasy to upgrade firmware
Web UI
Windows utility
zEasy to manage:
Web UI
SNMP
UPnP
zNetwork Protocols
UDP/TCP/IP/ARP/RARP/ICMP
DHCP/PPPoE
DNS/TFTP/HTTP
zAntenna
1 x PiFa Wi-Fi antenna
Note: The WiFi Combo Broadband Gateway is designed to work with 3G USB dongle,
(either EVDO or WCDMA (UMTS)).
Please refer to your service provider for detailed feature information.

2. Configuring WiFi Combo Broadband Gateway
2.1. Installation Considerations
The WiFi Combo Broadband Gateway allows you access your network using a wireless
connection, from virtually anywhere within its operating range. Keep in mind however, that
the number, thickness, and location of walls, ceilings, or other objects that the wireless
signals must pass through, may limit this range.
Typical ranges vary depending on the types of materials used, and background RF (radio
frequency) noise in your home or business.
To maximize your wireless range, please follow these guidelines:
1. Keep the number of walls and ceilings between the WiFi Combo Broadband Gateway and
other network devices to a minimum. Each wall or ceiling can reduce the WiFi Combo
Broadband Gateway’s range from 3-90 feet (1-30 meters).
Note: The same considerations apply to your broadband EVDO connection.
2. Keep your product aware from electrical devices (such as microwaves, air conditioners,
and televisions) that emit large quantities of RFI (Radio Frequency Interference).
2.1.1. Installation Instructions- Get Start Networking
Connect this Gateway to Your Network
Note: DO NOT connect WiFi Combo Broadband Gateway to power before performing
the installation steps below.
1. Connect a USB modem with service to the WiFi Combo Broadband Gateway--
See Picture 2.1
Picture 2.1
Note: The WiFi Combo Broadband Gateway is designed to work with either
UMTS or EV-DO and even HSDPA 3G cards that can be used as a modem
(support tethered data). Please refer to your service provider for detailed feature
information.
註解 [01]: 加上 to
allow you to
註解 [02]: 應改為 However,
keep in mind that
註解 [03]: 應改為
away

2. Insert the Ethernet patch cable into LAN Port on the back panel of the WiFi Combo
Broadband Gateway, and an available Ethernet port on the network adapter in the
computer you will use to configure the unit.-See Picture 2.2
Picture 2.2
Note: The WiFi Combo Broadband Gateway LAN Port is “Auto-MDI/MDIX.” This
provides patch Ethernet cable LAN Port access.
3. Connect the power adapter to the receptor on the back panel of your WiFi Combo
Broadband Gateway. Then plug the other end of the power adapter into a wall outlet
or power strip. –See Picture 2.3
Picture 2.3
4. The LEDs
Reference the Section 1.4, LEDs and Buttons– the Front View.

2.1.2. Establish WiFi Connection
If you selected either WEP or WPA-PSK encryption, ensure these settings match your
WiFi adapter settings.
WiFi and encryption settings must match for access to the WiFi Combo Broadband
Gateway Configuration Menu, and the Internet. Please refer to your WiFi adapter
documentation for additional information.
註解 [04]: 刪除 for

3. Using the Configuration Menu
Once properly configured, the WiFi Combo Broadband Gateway will obtain and assign IP
address information automatically. Configuration settings can be established through the
WiFi Combo Broadband Gateway Configuration Menu. You can access this interface by
performing the steps listed below:
1. Open a web-browser.
2. Type in the IP Address (http://192.168.123.254) of the WiFi Combo Broadband Gateway.
Note: If you have changed the default IP Address assigned to the WiFi Combo Broadband
Gateway, ensure you enter the correct IP Address now.

3. Type “admin” in the Password field.
4. Click “logon” button.

3.1. Wizard setting
zPress “Wizard” button Æfor basic settings with simpler way. (Please check section
3.1)
zOr you may click on “Advanced Setup” Æfor advanced settings. (Please check the
section Administrator’s Main Menu. each item from section 3.2)
zClick on “Enter” button to get start.
With wizard setting steps, you could configure the gateway in a very simple way. This
configuration wizard includes settings of
a. Login Password,
b. Time zone
c. WAN Setup
d. Wireless Setup,

Press “Next” button to start configuration.
Step 1: Allow you to change the system password.
You can change Password here.
It is recommended that you change the system password into the one you prefer to on the basis of
security.
1. Key in your Old Password (if it is the first initiation, the “admin” will be the defaulted one.
2: Enter your New Password
3: Enter your Password again for confirmation; it must be the same as the New Password.
4. Then click on “Next” to get into next installation.

Step 2: Allow you to change the Time Zone.
You can change Time Zone here.
Or you can click the button “Detect Again”, the Time Zone will be changed to same with your PC.
Step 3: Select WAN Types will be used for Internet connection
Step3-1: Auto Detecting & Manually Setting WAN Type
1. Reference Section 2.1 Installation Considerations to setup the environment
2. We are support the Dynamic & PPPOE WAN Type for Auto Detecting.
Click on “Next” button
註解 [05]: 刪除 will be
註解 [06]: 刪除 are

Step3-2: Select WAN Type
Pick up one of types you preferred to.
Click on “Next” button
You can select the Static, Dynamic, PPPOE, PPTP, L2TP and 3G WAN Types. We show
you How to setup the 3G WAN Type only.
Reference the Section 3.2.1.1 Primary Setup for more information
Step 3-3: Setup the 3G WAN will be used for Internet connection.
1. LAN IP Address: The IP address of the LAN interface. The default IP address is:
192.168.123.254
2. Enter the 3G Modem Card information by your 3G broadband service provider.
Click on “Next” button
註解 [07]: 加上 the
The types

Step 4: Configure the wireless settings.
1. Select “Enable” or “Disable”. The default setting is “Enable”.
2. Network ID (SSID) will be defaulted.
3. ChannelÆSelect Wireless Channel matching to your local area for Wireless connection.
4. Click on “Next” to continue.
Step 5: Select the Wireless security method of your wireless configuration.
1. Select “WEP” Security type and enter the WEP key.
2. Click on “Next” to continue.

Step 6: Summary
Click on the “Apply Settings” button
Step 7: System is applying.
Click “Finish” button to back the Status Page.

3.2. Administrator’s Main Menu
3.2.1 Basic Setting

3.2.1.1 Primary Setup
1. LAP IP Address: the local IP address of this device. The computers on your network must use
the LAN IP address of your product as their Default Gateway. You can change it if necessary.
2. 3G Failover: The WAN type will be change to 3G automatically, if the internet host (to detect it
by wired WAN) is defunct.
3. WAN Type: WAN connection type of your ISP. You can click WAN Type HSPA button to
choose a correct one from the following options:
Static IPAddress:
WAN IPAddress, Subnet Mask, Gateway, Primary and Secondary DNS: enter the proper
setting provided by your ISP.

Dynamic IPAddress:
1. Host Name: optional, required by some ISPs, for example, @Home.
2. ISP registered MAC address: You can change the WAN port MAC address, it is your ISP
assigned to you.
3. Connection Control: There are 3 modes to select:
Connect-on-demand: The device will link up with ISP when the clients send outgoing
packets.
Auto Reconnect (Always-on): The device will link with ISP until the connection is
established.
Manually: The device will not make the link until someone clicks the connect-button in
the Status-page.
4. NAT disable: NAT disable is enabling, it can bridge data form WAN port to LAN port.
PPP over Ethernet
1. PPPoE Account and Password: the account and password your ISP assigned to you. For
security, this field appears blank. If you don't want to change the password, leave it empty.
2. Connection Control: There are 3 modes to select:
Connect-on-demand: The device will link up with ISP when the clients send outgoing
packets.
Auto Reconnect (Always-on): The device will link with ISP until the connection is
established.
Manually: The device will not make the link until someone clicks the connect-button in
the Status-page.
3. Maximum Idle Time: the amount of time of inactivity before disconnecting your PPPoE
session. Set it to zero or enable Auto-reconnect to disable this feature.
4. PPPoE Service Name: optional. Input the service name if your ISP requires it. Otherwise,
leave it blank.
5. MTU (Maximum Transmission Unit): Most ISP offers MTU value to users. The default
value is 0 (Auto).
6. NAT disable: NAT disable is enabling, it can bridge data form WAN port to LAN port.
Table of contents
Other Amit Gateway manuals

Amit
Amit VHG760AM-0T001 User manual

Amit
Amit IOG761-0T001 User manual

Amit
Amit IDG470-0GT0C User manual

Amit
Amit IOG851-0T031 User manual

Amit
Amit IOG851-WT041 User manual

Amit
Amit BDG761-0P1 User manual
Amit
Amit RRU-WEC/1201 User manual

Amit
Amit RRU-WEM/1158 User manual

Amit
Amit TE1088 User guide

Amit
Amit RRU-WC/110x User manual

Amit
Amit BDG761-0P1 User manual

Amit
Amit IDG761AM-0T001 User manual

Amit
Amit RRU-WEM/1151 User manual

Amit
Amit IOG761-0TV21 User manual
Amit
Amit BTG771AM-0T1 User manual

Amit
Amit IOG500AM-0T001 User manual

Amit
Amit ODG761AM-0T1 User manual

Amit
Amit IDG761AM-0P001 User manual

Amit
Amit VHG87B-0T1B0 User manual
Amit
Amit ODG851-0TCP001 User manual