Aktobis WDH-500AH User manual
Aktobis AG, Borsigstr. 20, D-63110 Rodgau / Germany
www.AKTOBIS.de
Email: Info@Aktobis.de
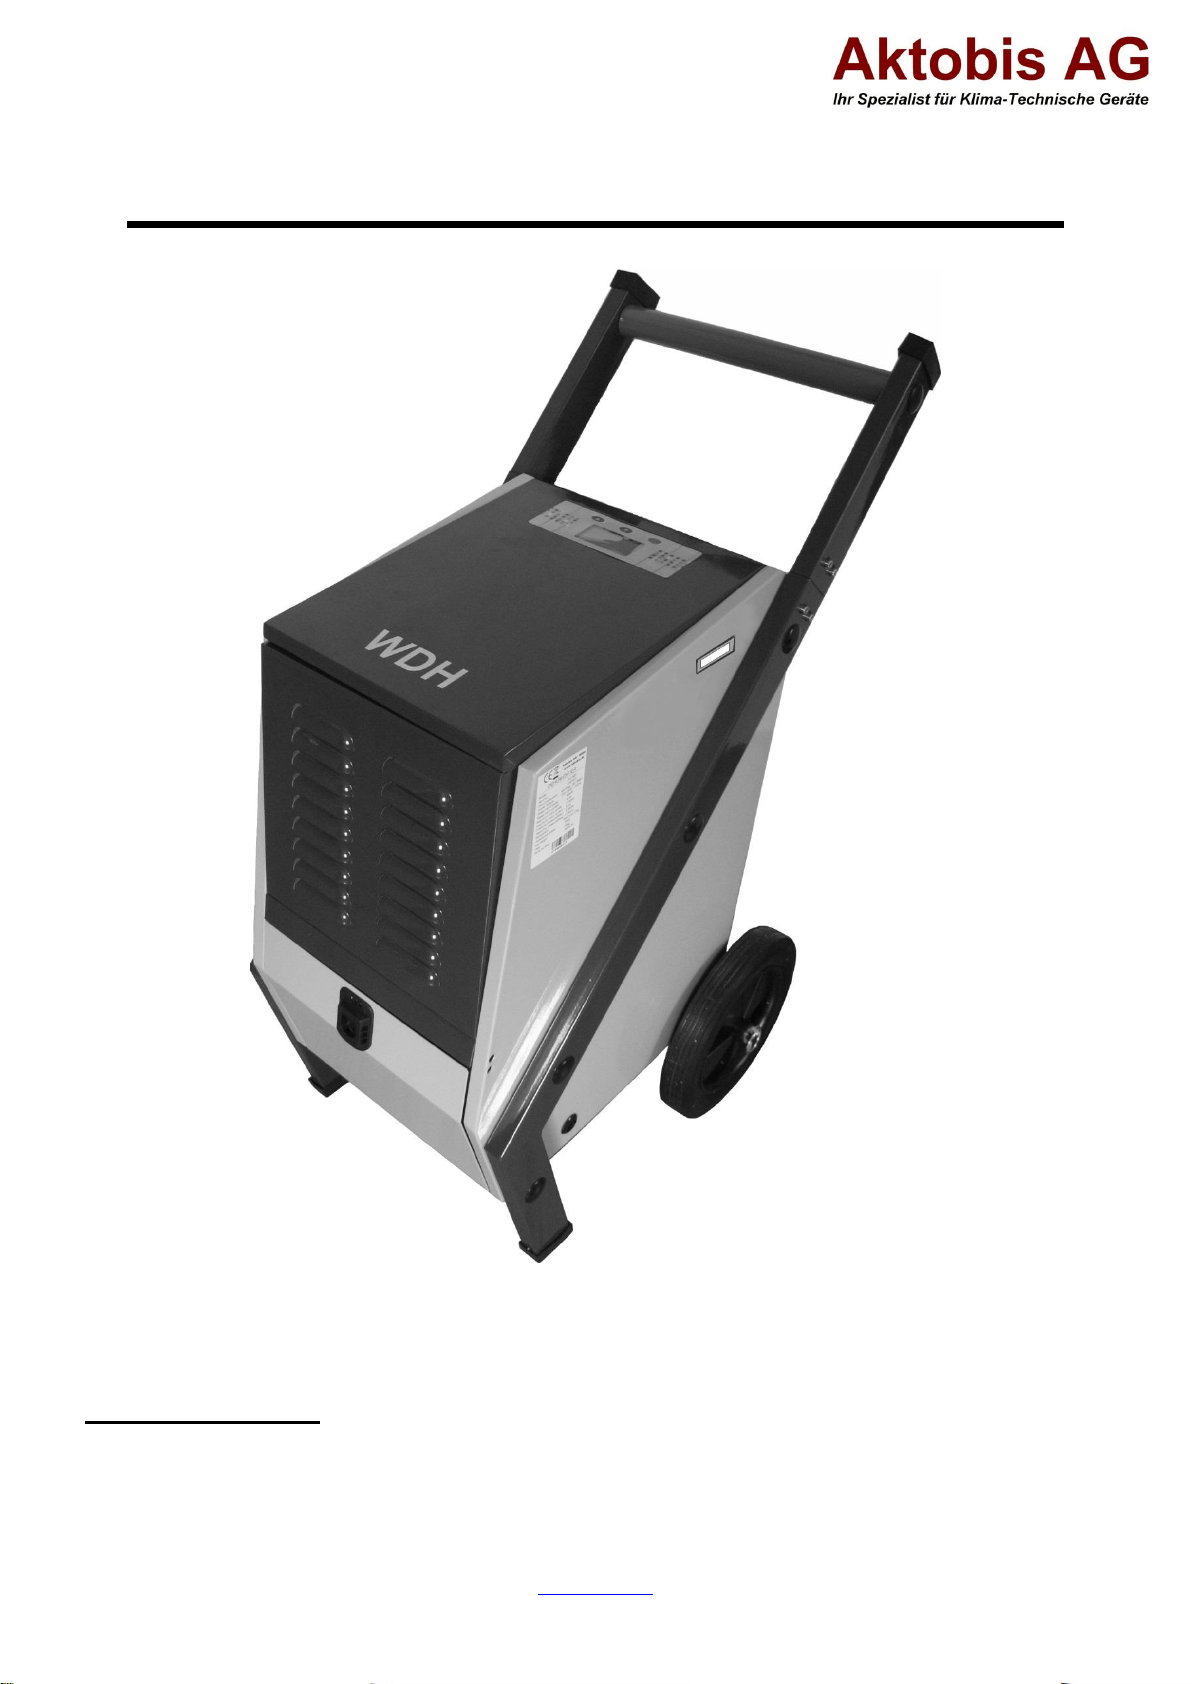
Building Dryer WDH-500AH
Dear Customer,
You have chosen a high-quality product. To ensure that you get a lot of enjoyment from this product, here are a few
more tips:
In case of any problems:
We hope that the unit meets your expectations! If, despite the greatest possible care, there should ever be cause
for complaint, please contact us briefly, as we are very concerned about your satisfaction and would like to clear up
any misunderstanding.

Aktobis AG, Borsigstr. 20, D-63110 Rodgau / Germany
www.AKTOBIS.de
Email: Info@Aktobis.de
Mounting the castors and the transport handle:
To reduce the volume of a new unit, the transport handle and the castors incl. axle are dismantled.
The following accessories are included for castor assembly:
2 x castors
2 x hubcaps
1 x axle
1 x small parts bag, consisting of:
4 x washers
4 x axle clamps (cotter pins)
The following accessories are included for the transport handle
assembly:
1 x transport handle
1 x small parts bag, consisting of:
2 x connecting rail
8 x hexagon socket screws (4 mm)
1 x hexagon spanner (4 mm)
To assemble, place the building dryer on the front (front panel). To
protect the unit, we strongly recommend using a soft base. This can be
e.g. a blanket, towel, polystyrene or similar!
A) Loosen the two axle fastening screws located in the base plate with a 10 mm spanner (see fig. 1 above).
B) Now insert the axle fastening screws through the axle holes that are at the same height and then screw the
screws firmly back into the base plate of the building dryer using the 10 mm spanner.
C) Insert one axle clamp on each side through the small holes at the level of the outside of the dryer housing and
then bend them up or apart (see Fig. 2 below).
D) Now put a washer on the axle from each side - up to the axle clamp.
E) Now the castors can be attached to the axle on each side.
F) Now put a washer on each side of the axle again - up to the roller.
G) Finally, fix the whole thing in place by again inserting an axle clamp through the top of the outer axle hole on
each side and then bending it upwards to secure it.
H) Now put on the hub cap from the outside (put it over the axle clamp).
I) To assemble the transport handle, first take a connecting rail included in the scope of delivery and 2 hexagon
socket screws. Insert the connecting rail halfway into the open hollow linkage and fasten it with the two
hexagon socket screws (see Fig. 3 below). Repeat this step with the second connecting rail and the two more
hexagon socket screws on the other side.
J) Now put the transport handle over the open connecting rail on each side and screw it tight with the four
remaining hexagon socket screws. DONE !
Fig. 1
Castor
Axle clamp
Hub cap
Washers
Fig. 2
Fig. 3
Axle clamp

Aktobis AG, Borsigstr. 20, D-63110 Rodgau / Germany
www.AKTOBIS.de
Email: Info@Aktobis.de
After transport or assembly:
As the unit works with cooling liquid, we ask you to let it stand upright for at least 1 hour before using it for the first
time or after mounting the castors (transport handle), so that the cooling liquid in the unit can settle again.
During first operation / hose connection:
If you want to use a hose connection for draining the condensate, make sure that the hose connection is properly
seated and that the condensate (water) can always drain off unhindered! If this is not observed, the water
condensed by the building dryer (up to 50 litres per day) can cause damage to the room!
Room humidity and dehumidification performance:
If you want to check the room humidity and the associated dehumidification performance with your own humidity
meter (hygrometer), please avoid attaching this humidity meter to a wall, as this will falsify the true humidity content
of the room air. See also the explanations under Troubleshooting !!!
Important safety instructions:
- Supervise the building dryer when children are near the unit !
- Watch out for electricity - never walk into or insert objects into the appliance !
- Do not place any objects on the construction dryer !
- Do not block the exhaust and intake louvres of the unit and please ensure sufficient space/clearance at and
around the fan !
- Make sure that there is sufficient air supply to the unit, otherwise it can lead to a reduction in performance and,
in the worst case, to overheating and/or fire ! Please always keep a distance of approx. 20 cm to the wall to
avoid possible overheating of the unit ! Do not use in airtight rooms !
- Only qualified personnel or electricians are allowed to open the unit or carry out repairs !
- Make sure that no moisture gets into or onto the unit !
- Only use the recommended voltage for operating the unit !
- Make sure that the power cable is unfolded (untied) before connecting it to the socket !
- Make sure that the plug is cleanly and properly connected to the socket before using the appliance !
- Do not use multiple sockets to operate the building dryer !
- Make sure that highly flammable substances (e.g. gases/oils etc.) are never in the vicinity of the unit !
- Do not use any insect, oil or paint spray etc. near the building dryer. This may cause damage to the unit or
even fire !
- If you are not going to use the unit for a long time, switch it off and disconnect the mains plug !
- Do not disconnect the mains plug by pulling on the power cable !
- Please keep the unit away from heat sources and avoid direct sunlight !
- Always hold and transport the unit in its proper position ! Never place the unit on its side or even upside down !
- Make sure that the unit is earthed !
Please switch off the unit immediately and disconnect it from the mains/power supply if anything
seems to be wrong !!! In this case, please contact a specialist and do not attempt to repair the
unit yourself !!!
Examples: Fan does not run during operation, fuse has blown, there is a funny smell or the compressor rattles
loudly.
Aktobis AG, Borsigstr. 20, D-63110 Rodgau / Germany
www.AKTOBIS.de
Email: Info@Aktobis.de
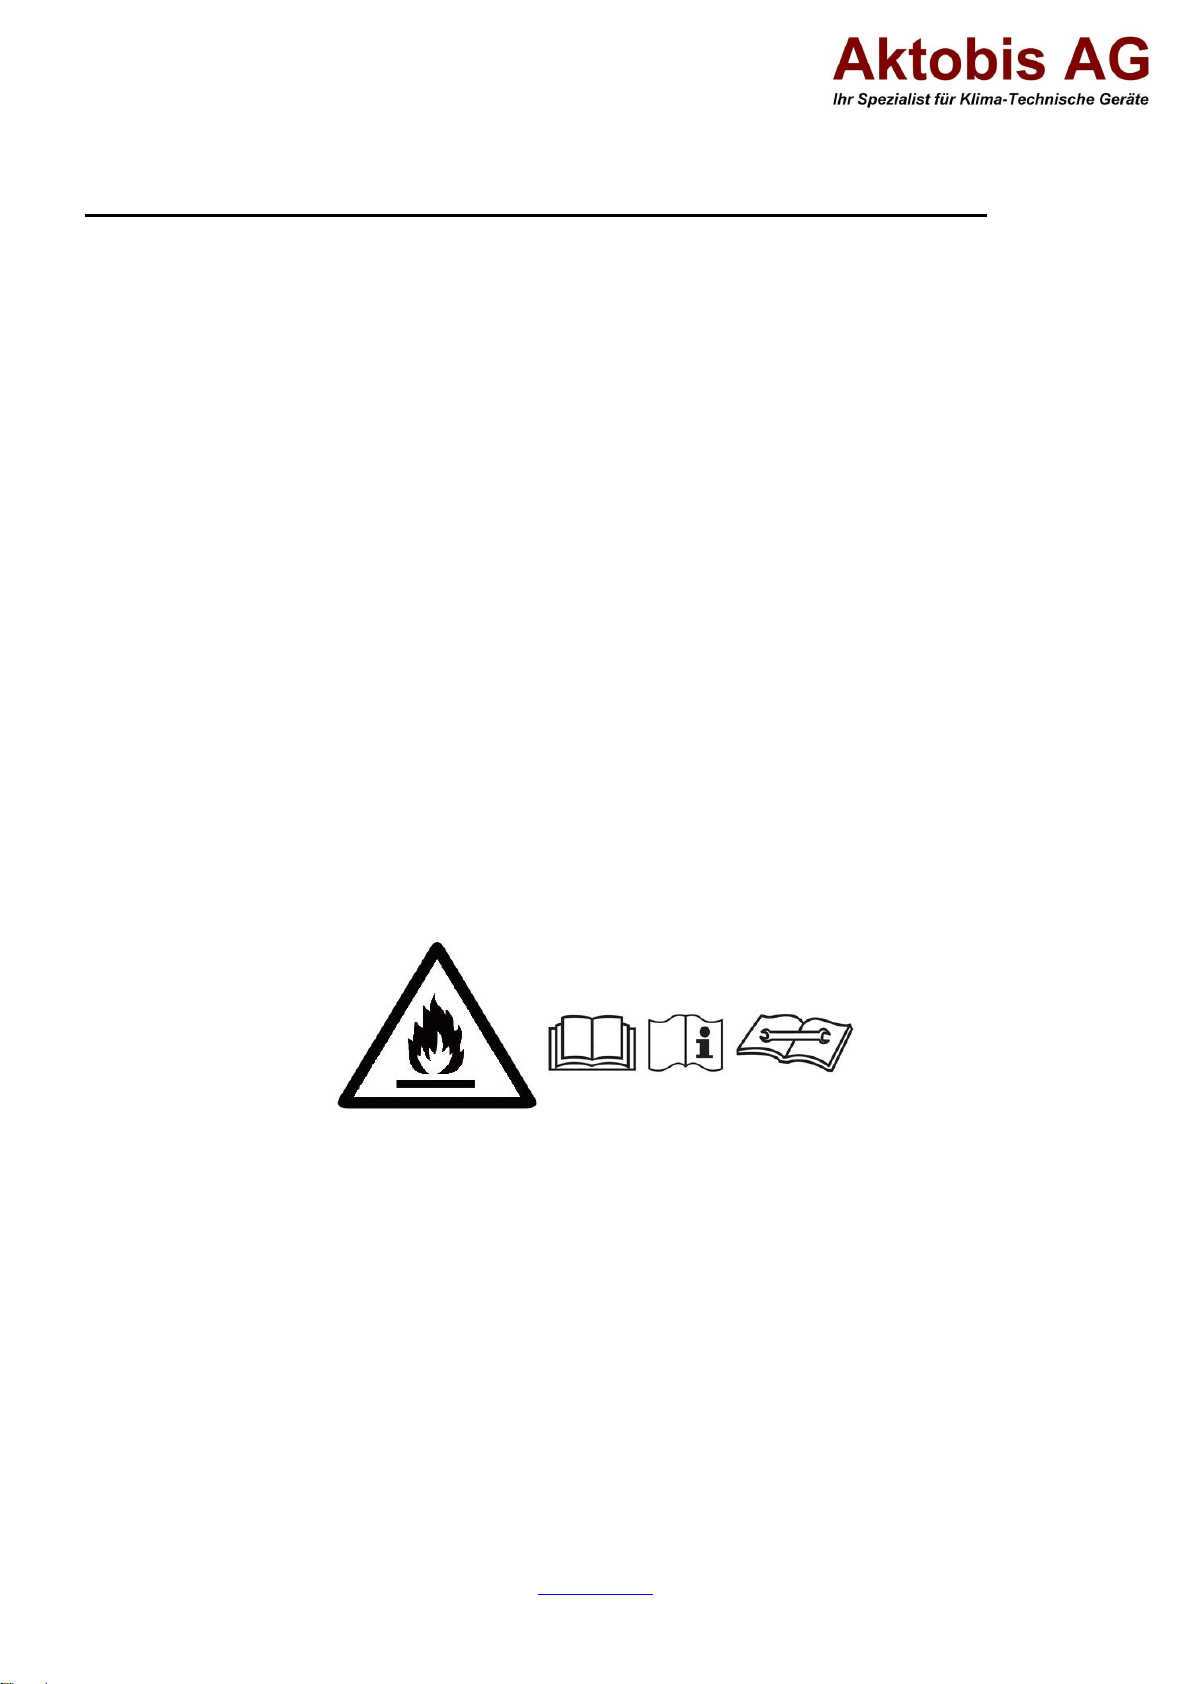
Important operating and safety instructions regarding the refrigerant R290 in this unit:
(Read these instructions carefully and observe them before using the unit ! )
The unit operates with the refrigerant R290. This refrigerant is highly flammable and explosive if the safety
instructions are not observed!
The refrigerant R290 complies with the European environmental directives !
The unit contains 0.23 kg of refrigerant R290 - the maximum permitted charge of refrigerant R290 for
dehumidifiers/building dryers is 0.3 kg !
The unit should not be stored or operated in a room with burning/heating appliances or open fire !
Protect the unit and especially the parts installed inside from damage or flames/heat !
Please note that the refrigerant is odourless and therefore a leak cannot be detected immediately by an
emerging odour !
If refrigerant leaks, it may ignite or explode, especially in poorly ventilated rooms in conjunction with high heat,
sparks or flames !
Make sure that the outlet of the exhaust air is always ensured and not obstructed by other objects !
Set-up, operation and storage of the unit should take place in a room with a minimum size of 11 m2 !
Pack the unit carefully when you are no longer using it and protect it from damage!
When cleaning, proceed strictly according to the manufacturer's instructions and do not use any additional heat
sources to possibly accelerate the defrosting process of the appliance !
Never work on the cooling circuit or parts containing refrigerant yourself !
This unit has parts that must not be replaced or repaired !
The refrigerant cannot be renewed or replaced !
Do not carry out any independent repairs or modifications to your unit !
Aktobis AG, Borsigstr. 20, D-63110 Rodgau / Germany
www.AKTOBIS.de
Email: Info@Aktobis.de
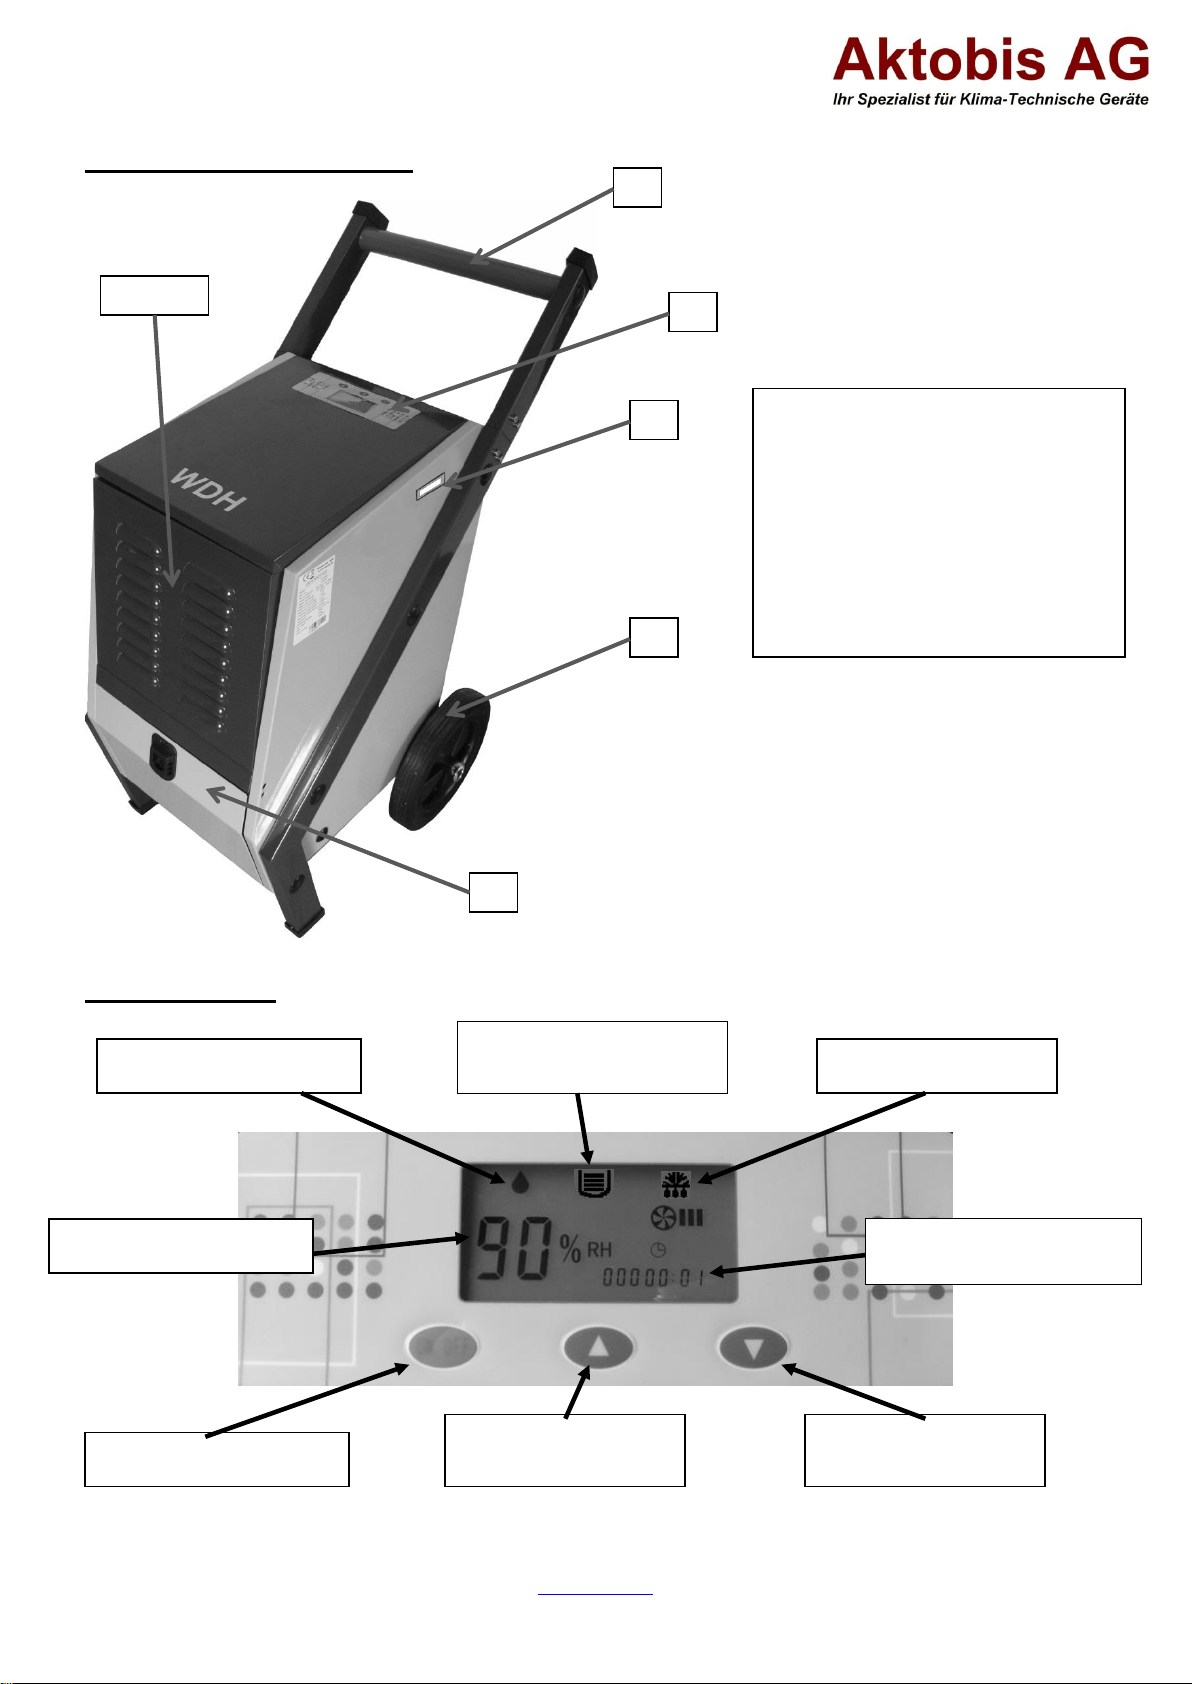
Compressor light
Defrost light
Description of the unit parts:
Control element:
ON/OFF SWITCH
Increase button
the target moisture
Lowering button
the target moisture
1. Air intake (front panel)
2. Filter (behind the front
panel)
3. Transport handle
4. Display and control panel
5. Electricity consumption
meter (kW/h meter)
6. Impellers
7. Condensation tank
compartment
Operating hours
counter
Humidity display
"Condensation tank is
Full" display
3.
4.
1. & 2.
7.
6.
5.
Table of contents
Other Aktobis Dryer manuals


Popular Dryer manuals by other brands


ffuuss
ffuuss eos user manual

KitchenAid
KitchenAid 53-3498 installation instructions

Schulthess
Schulthess Spirit topLine TW 8340 operating instructions

Whirlpool
Whirlpool LGR4624BW0 parts list

World Dryer
World Dryer AirMax D M5-972A manual

Alliance Laundry Systems
Alliance Laundry Systems ADEE9BSS user guide


