General: 01905 823 298 | www.akw-ltd.co.uk
8
IMPORTANT SAFETY INFORMATION
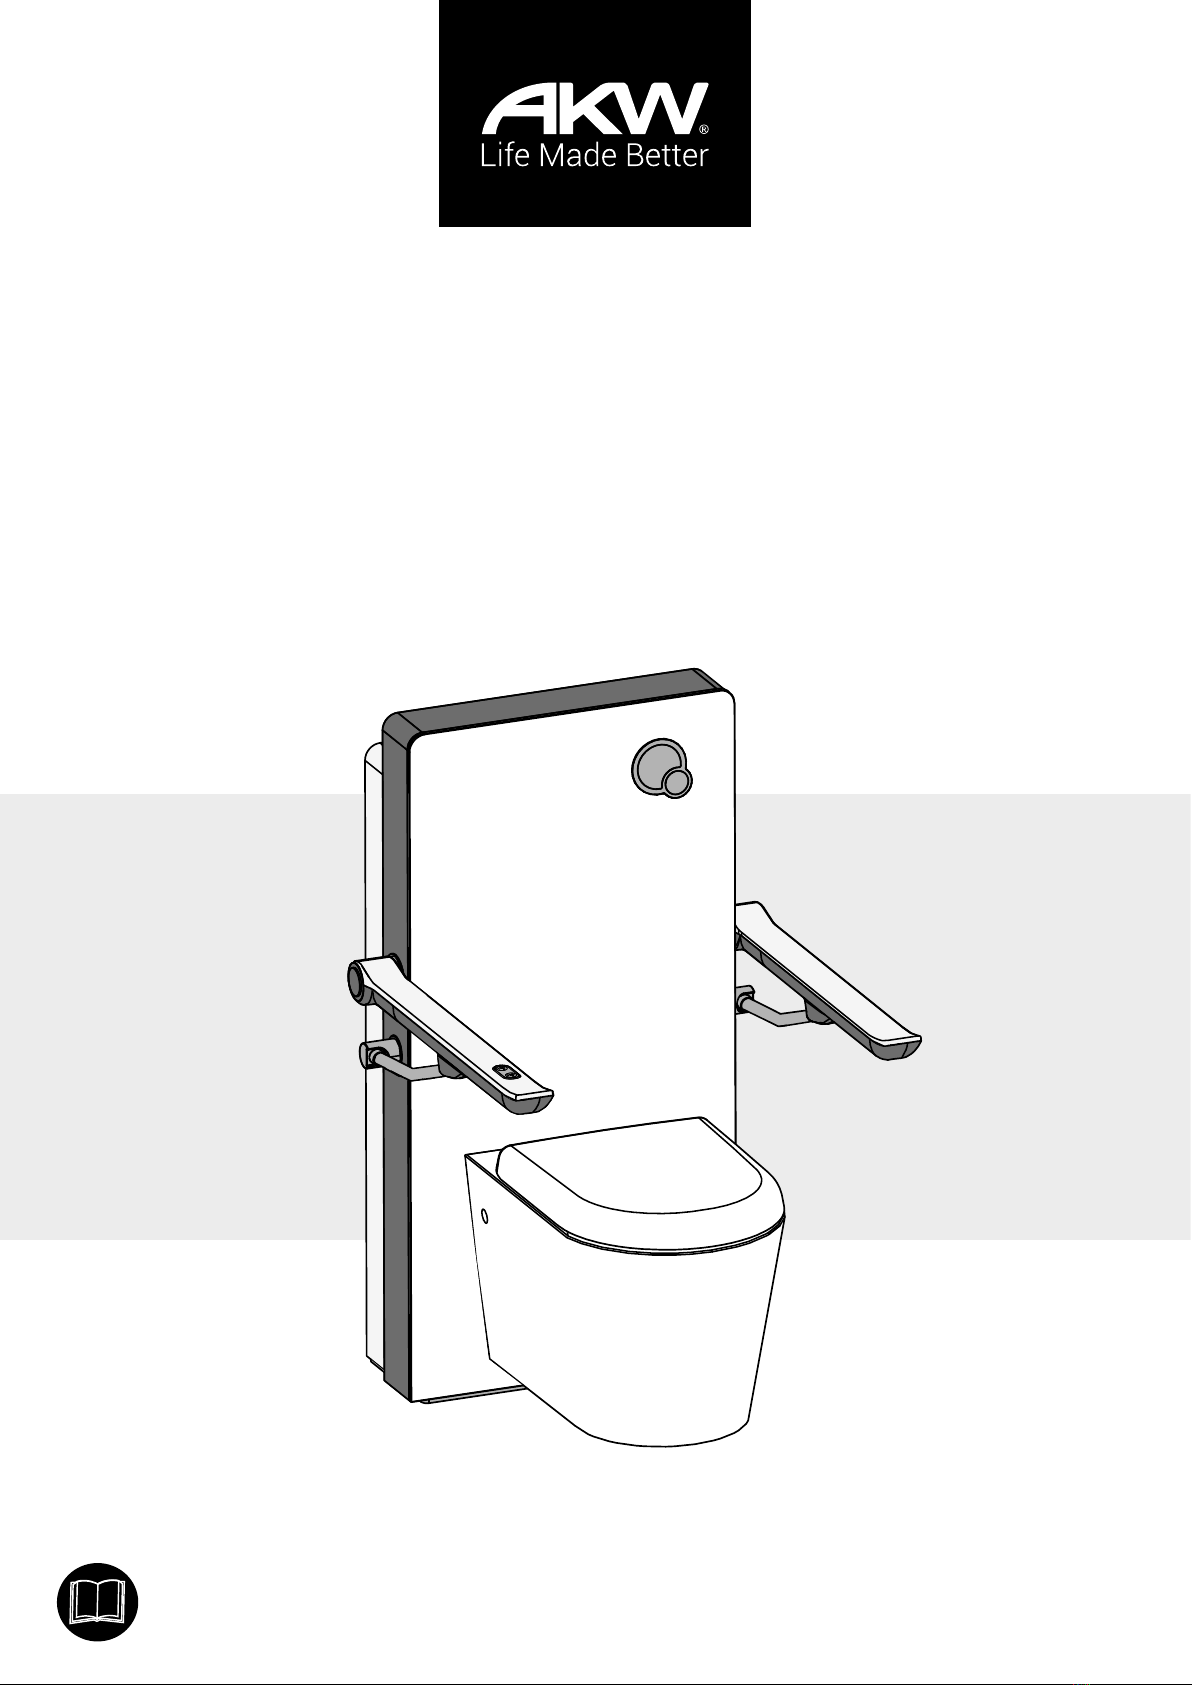
Important Safety Information
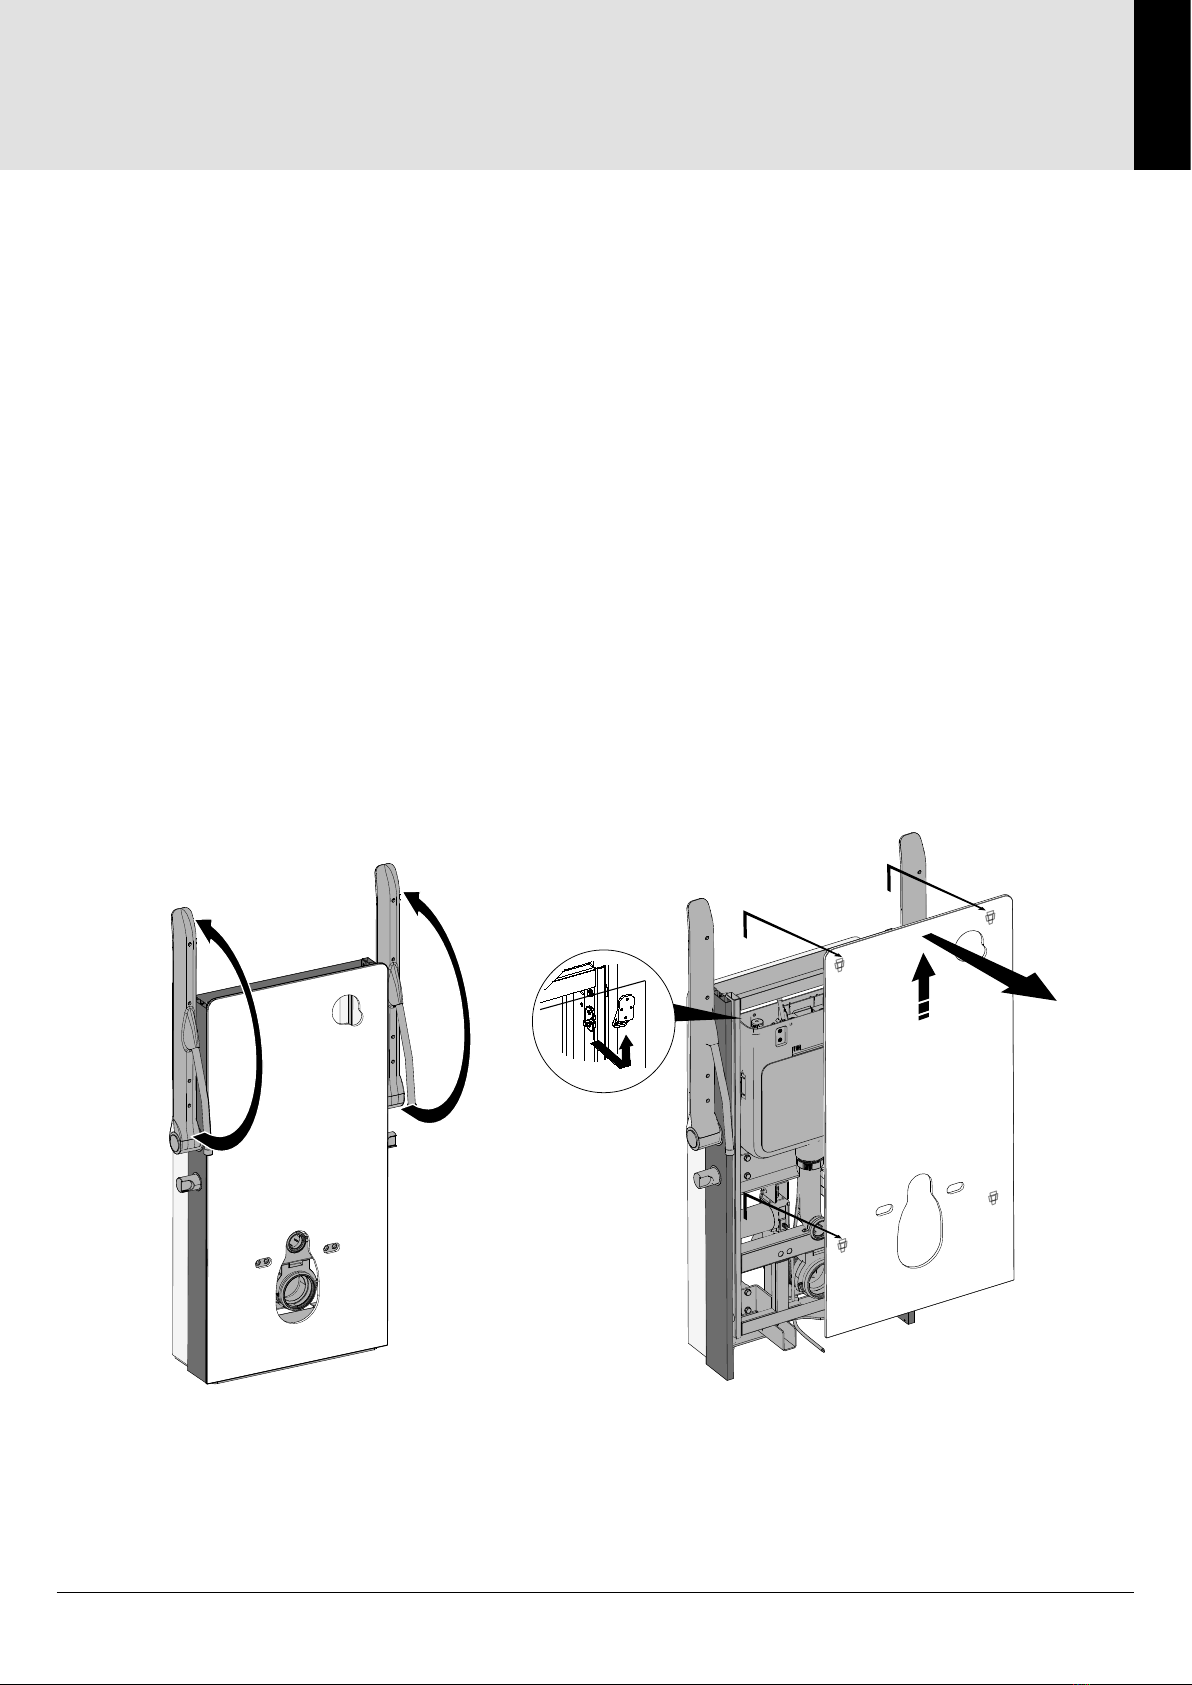
Before you start
Remove all protective packaging and carefully remove the product. Notify the retailer immediately
of any damage or faults. The manufacturer cannot be held responsible for any installation costs
that may arise from damaged or faulty products being installed and not in accordance with these
instructions. Dispose of all packaging in accordance with the local recycling authorities.
Safety
Installation of this appliance must be carried out in accordance with these instructions by
a competent and experienced installer. The supplier is not liable for any loss arising from
the failure to comply with the following instructions.
• Handle this product with care. This product is heavy and will require two people to carry.
• Have the correct tools available.
•
• Use safety eye wear when drilling.
• Keep small parts and packaging away from children.
• Isolate the electrical and water supplies before commencing installation. The electricity must be
isolated at the consumer unit.
• This equipment is “Class 1” type electrical appliance, and must be Earthed. If the power supply
avoid a hazard.
• Do not install this appliance in areas of high humidity, high temperatures, or where it can be easily
splashed, e.g. a steam room.
• Ensure that an extractor fan is installed to aid good ventilation when using the bathroom.
• The appliance must be permanently connected to a wired mains power supply and not plugged
into a electrical socket or connected to a lighting circuit.
• The appliance must be permanently connected to the cold water supply with an isolating valve.
• Do not switch on the appliance if water is leaking from the casing. Isolate the electricity supply
immediately and then isolate the water supply.
• This appliance can be used by children aged from 8 years and above and persons with reduced
physical, sensory or mental capabilities or lack of experience and knowledge if they have been
given supervision or instruction by a person responsible for their safety and shown how to use
the appliance in a safe way and understand the hazards involved.
• Children must not play with the appliance. Cleaning and user maintenance must not be undertaken
by children.
• For safety, people heavier than 200 kg must not use this appliance.