8.
Installing the Heater Switch
a) Choose a suitable position to install the switch - on the dash, or the plastic trim
on the side of the seat
b) Drill through the dash/trim material to make a round opening. Trim the opening
until the switch has a good fit and fix the switch in the opening.
9.
Connecting to Power Source
a) The heater may be connected to a switched or unswitched power source.
When connected to an unswitched power source, the heater may be operated
without using the ignition key but at the risk of draining the car battery.
b) The red wire in the wire harness is for connecting to the power source. Before
making any connections, make sure the heater switch is at the off position:
1. Locate the fuse panel under the dash. Tee off a wire from a high current (eg
20A) contact . Use multi-meter to confirm if the wire is switched or unswitched.
2. Strip off 1 inch of insulation cover of the red wire in wire harness, and same of
the tee-off wire. Twist and secure the two wires together .
3. Insulate the connection with black electrical tape.
** do NOT snip off the fuse or bypass the fuse by any means.
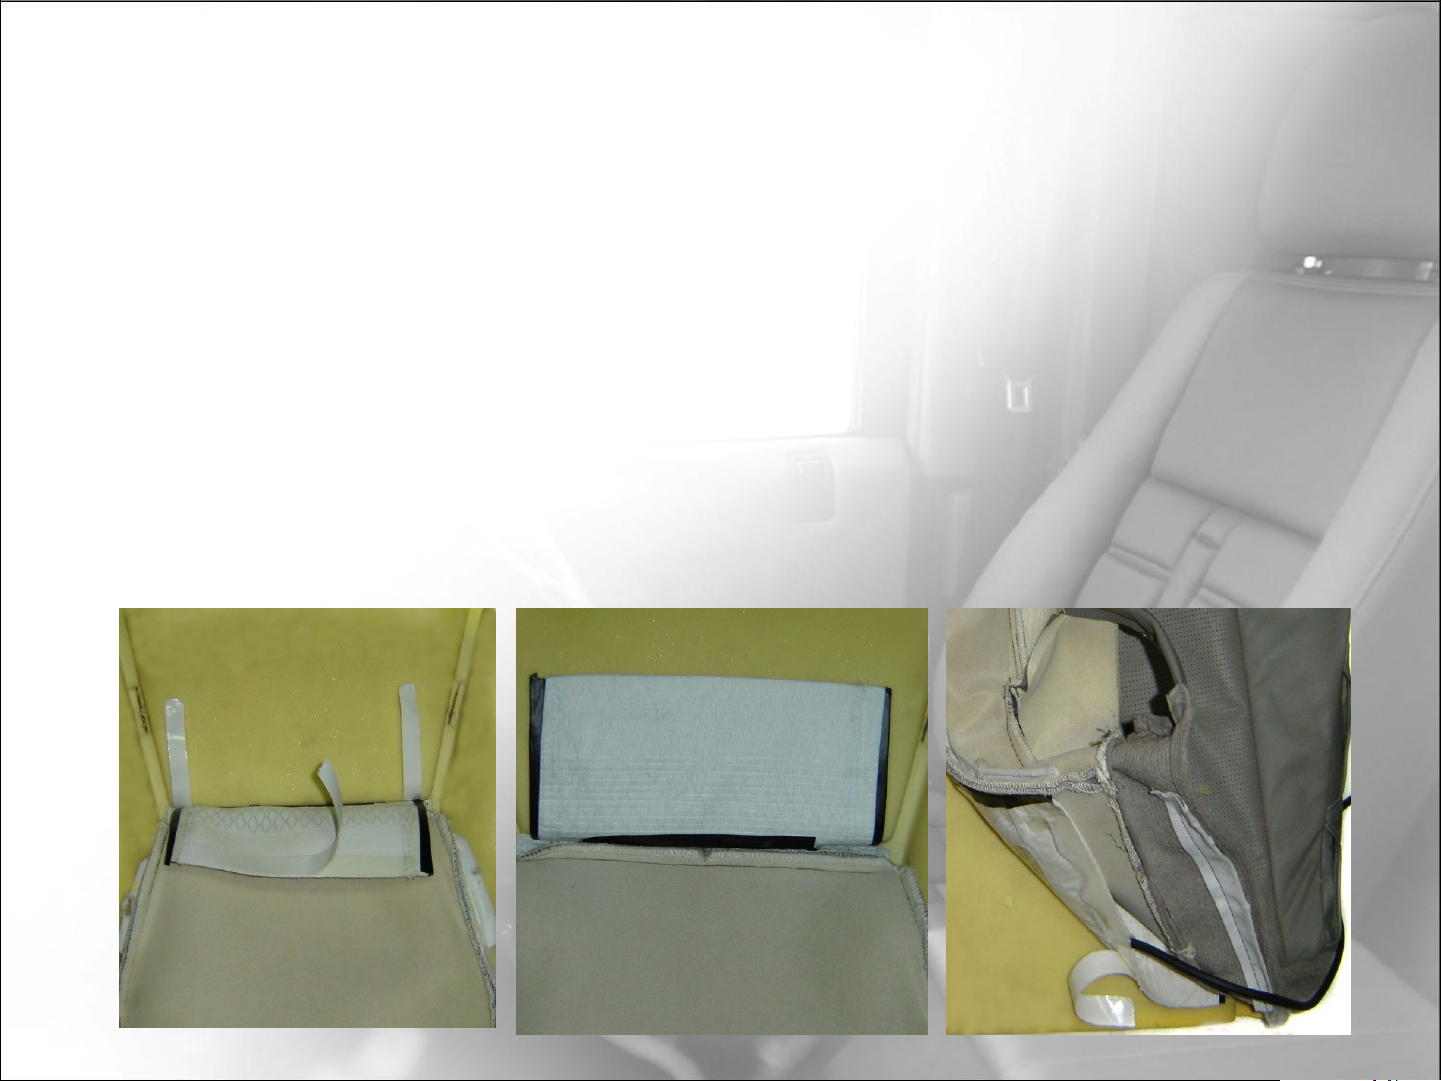
Carbon Fiber Seat Heating System
Installation steps
10