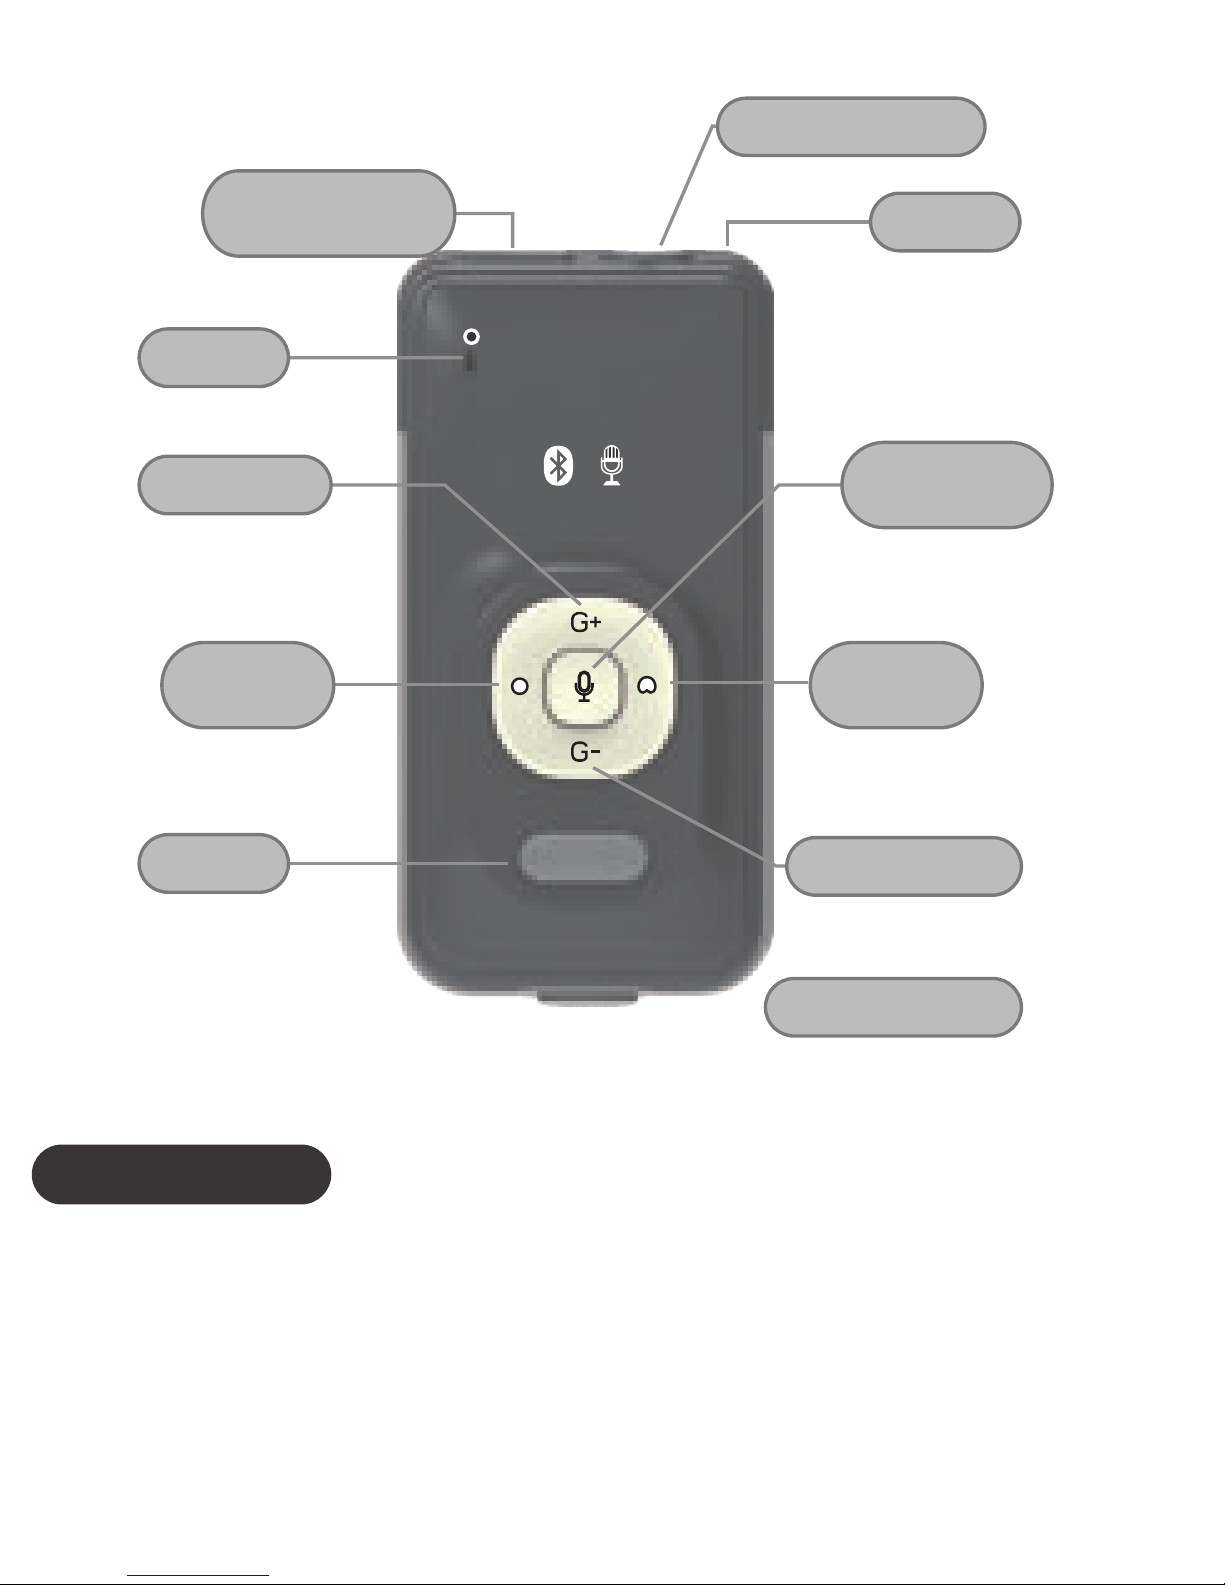
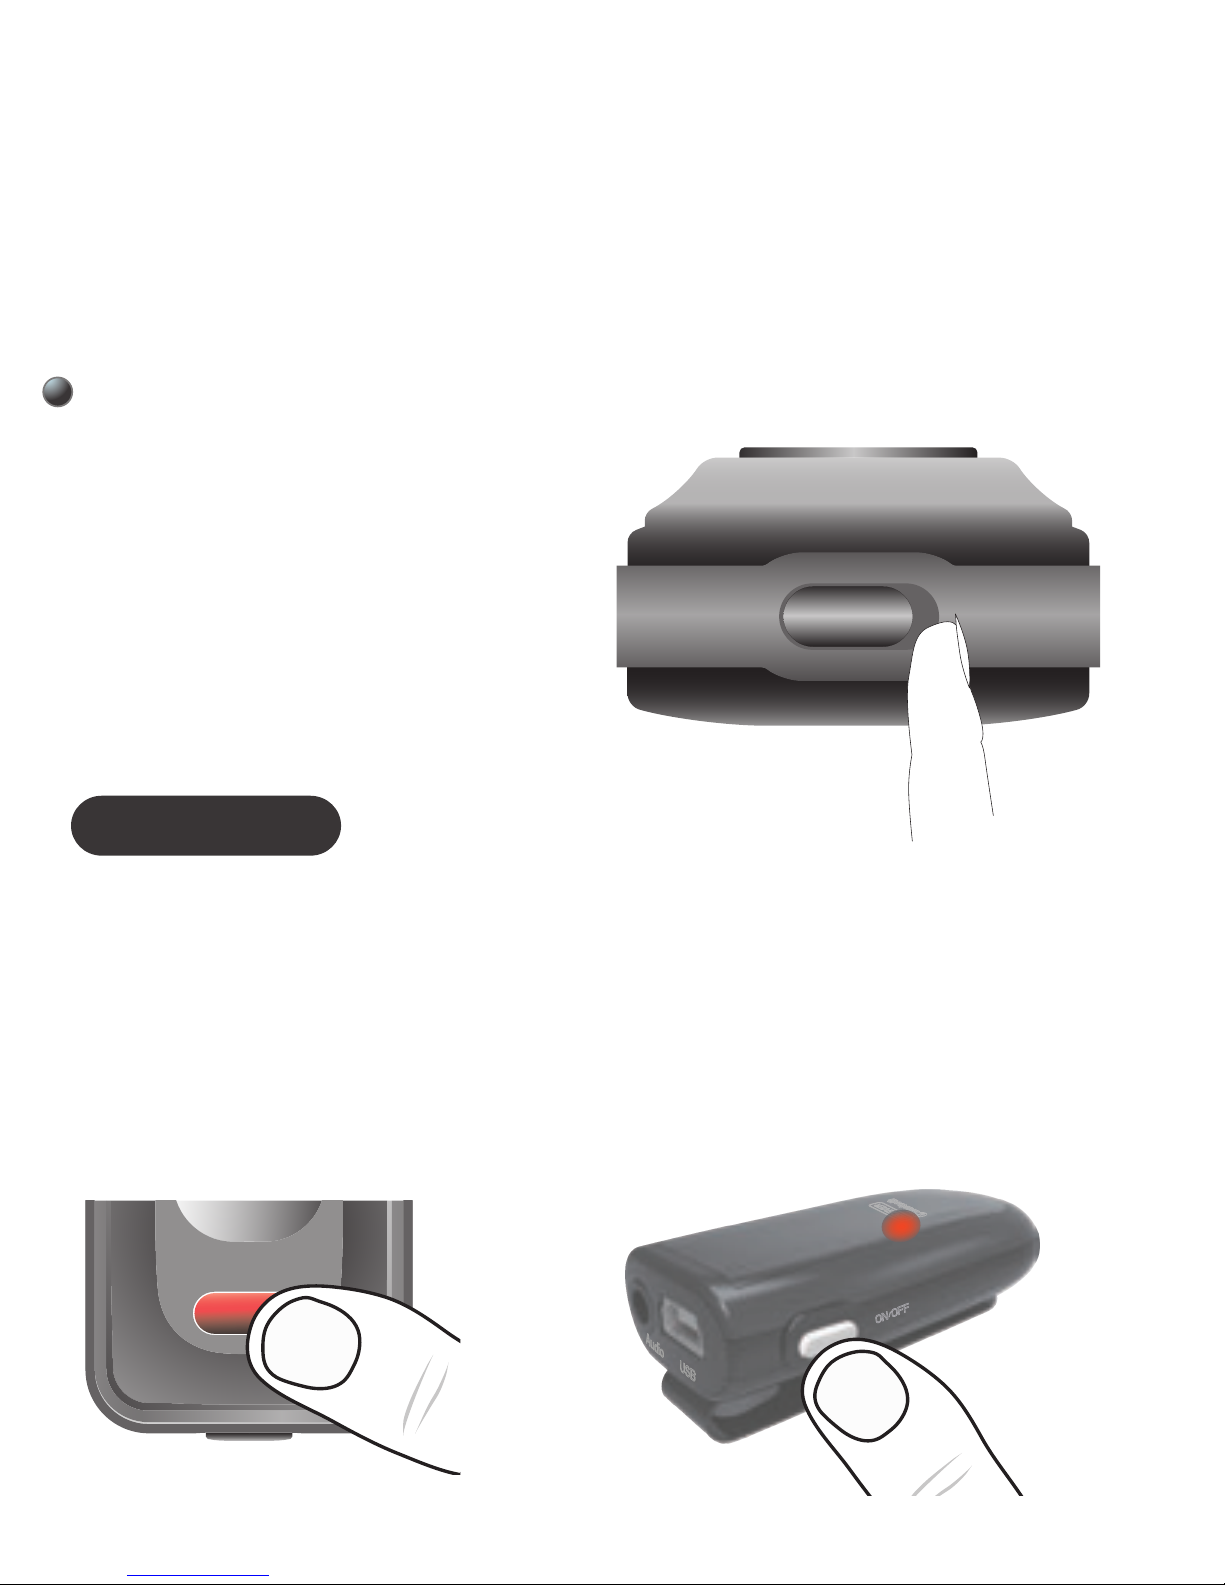
OPERATION
Using for remote voice and commuicaiton
voice
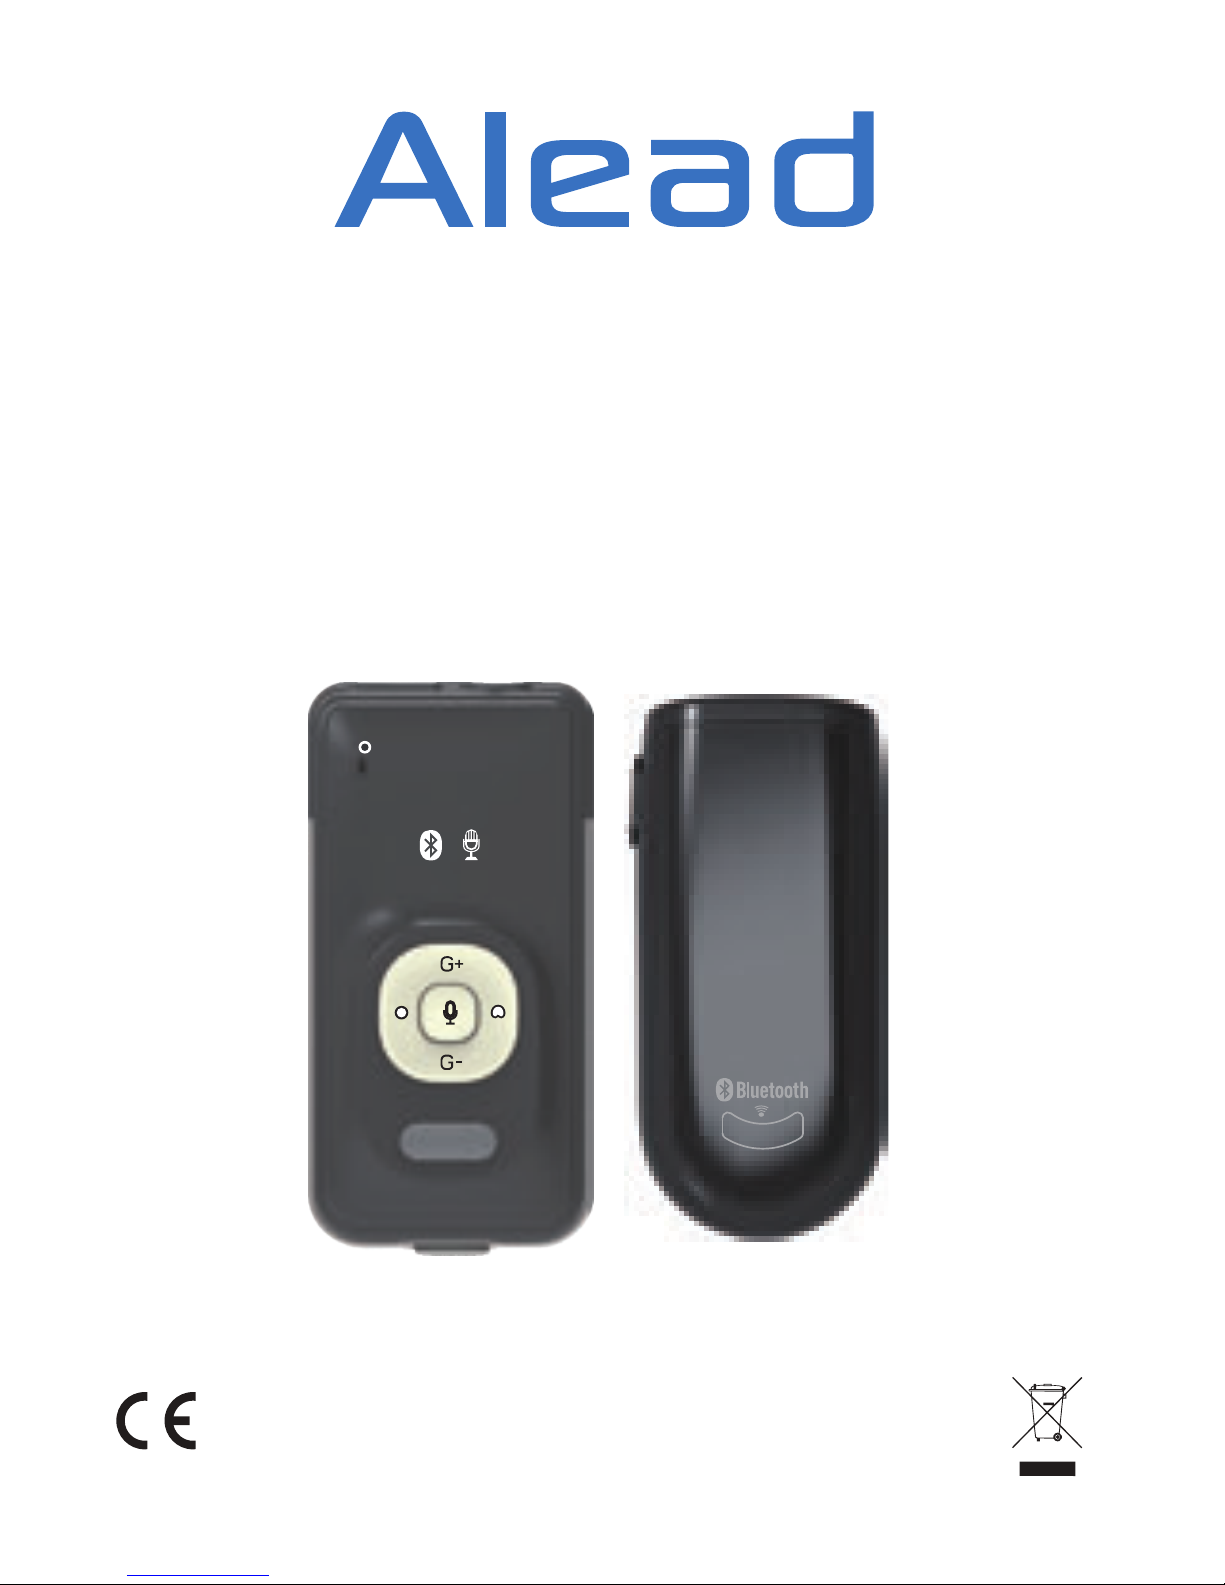
“Listener”
RX2
“Speaker”
LiveMIC2
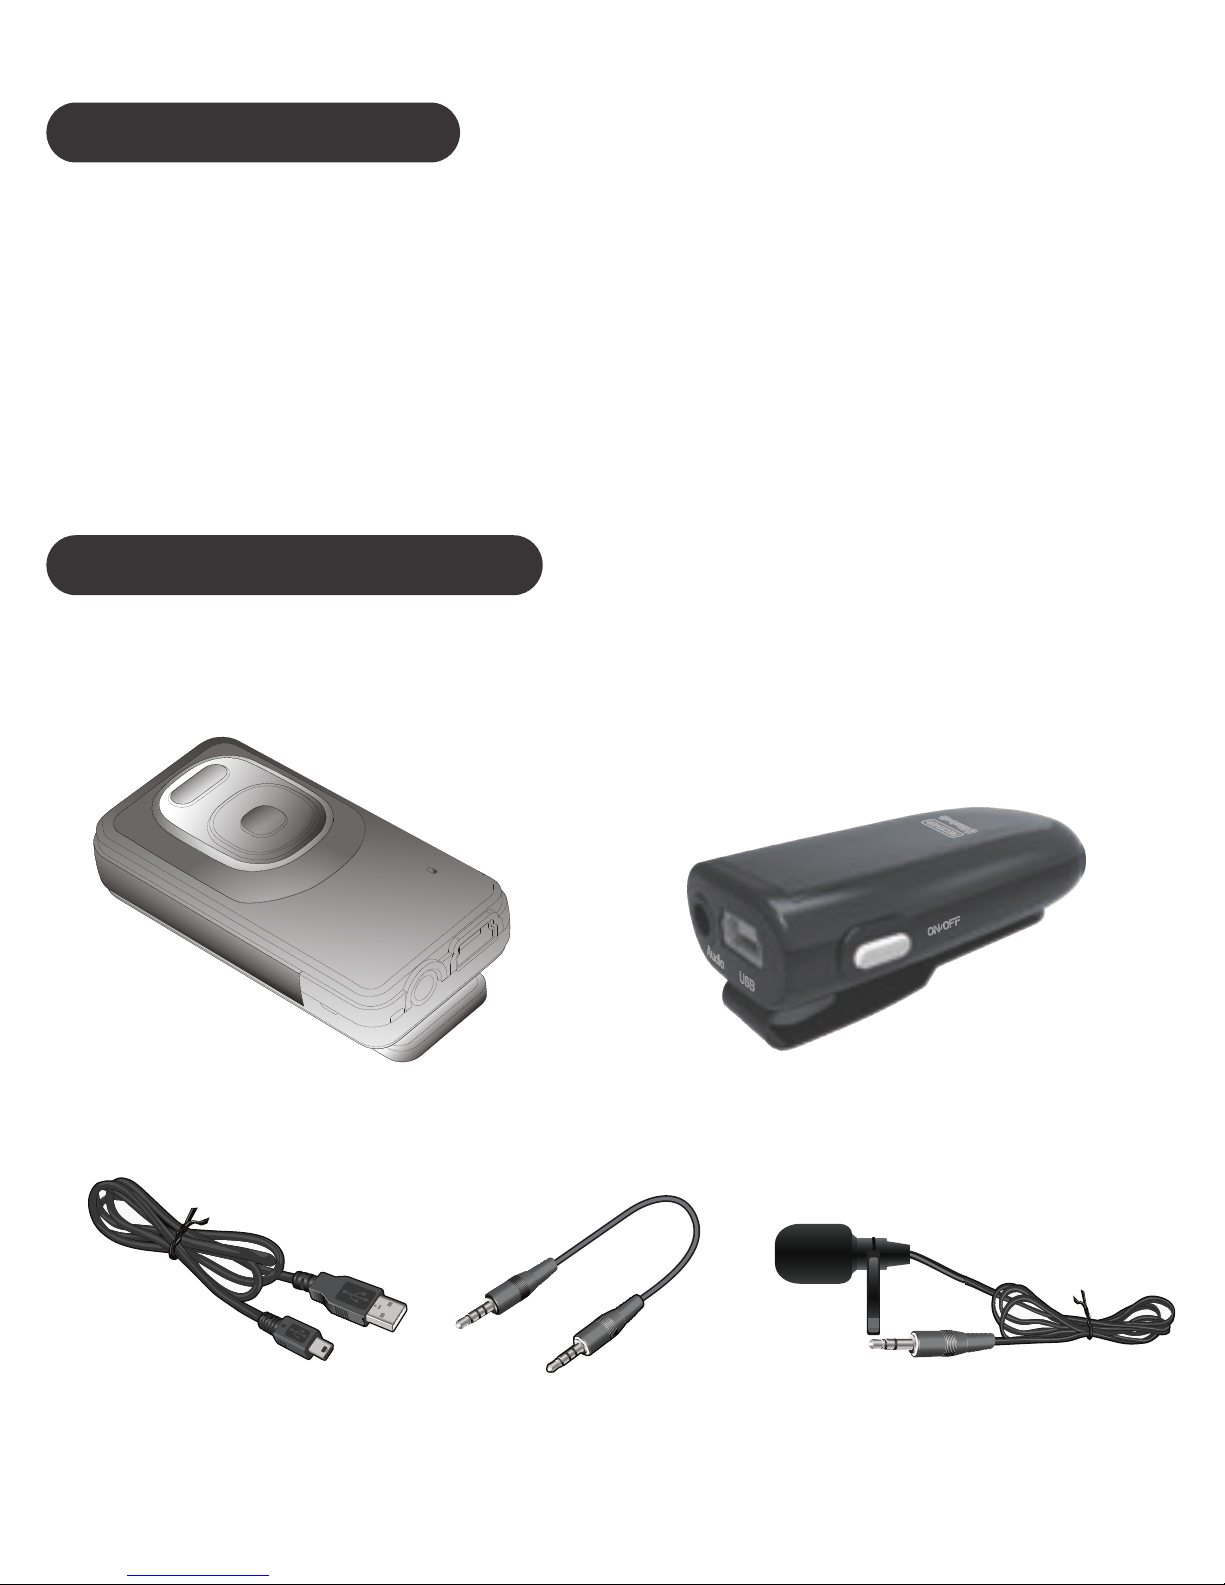
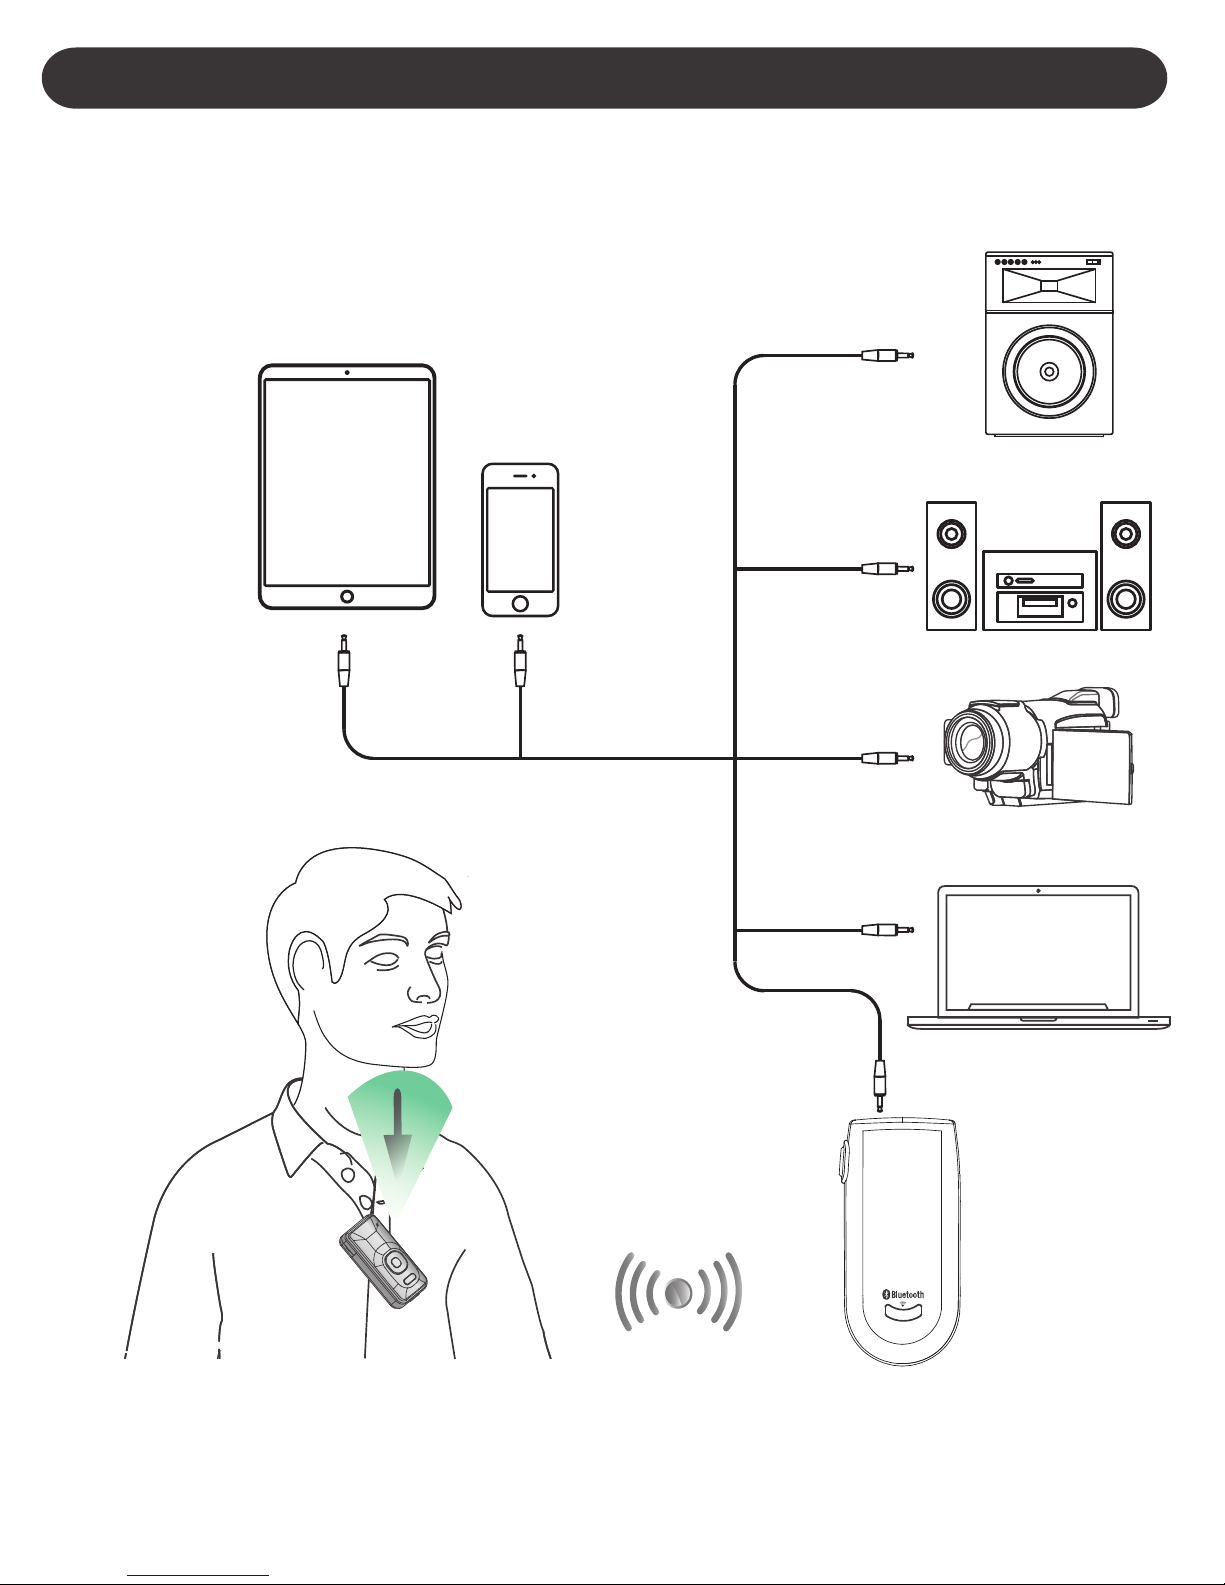
Fit 3.5mm plug audio cable to RX2,
Plug your 3.5mm audio plug of audio cable into
the RX2’s audio jack and another side connects
to “Audio In” of your audio speaker, home
stereo, car stereo, PA systems, voice recorder
or headphone. Then, you can listen and enjoy
audio or voice wirelessly.
After connected with the LiveMIC2, RX2 will
receive the audio or voice wirelessly.