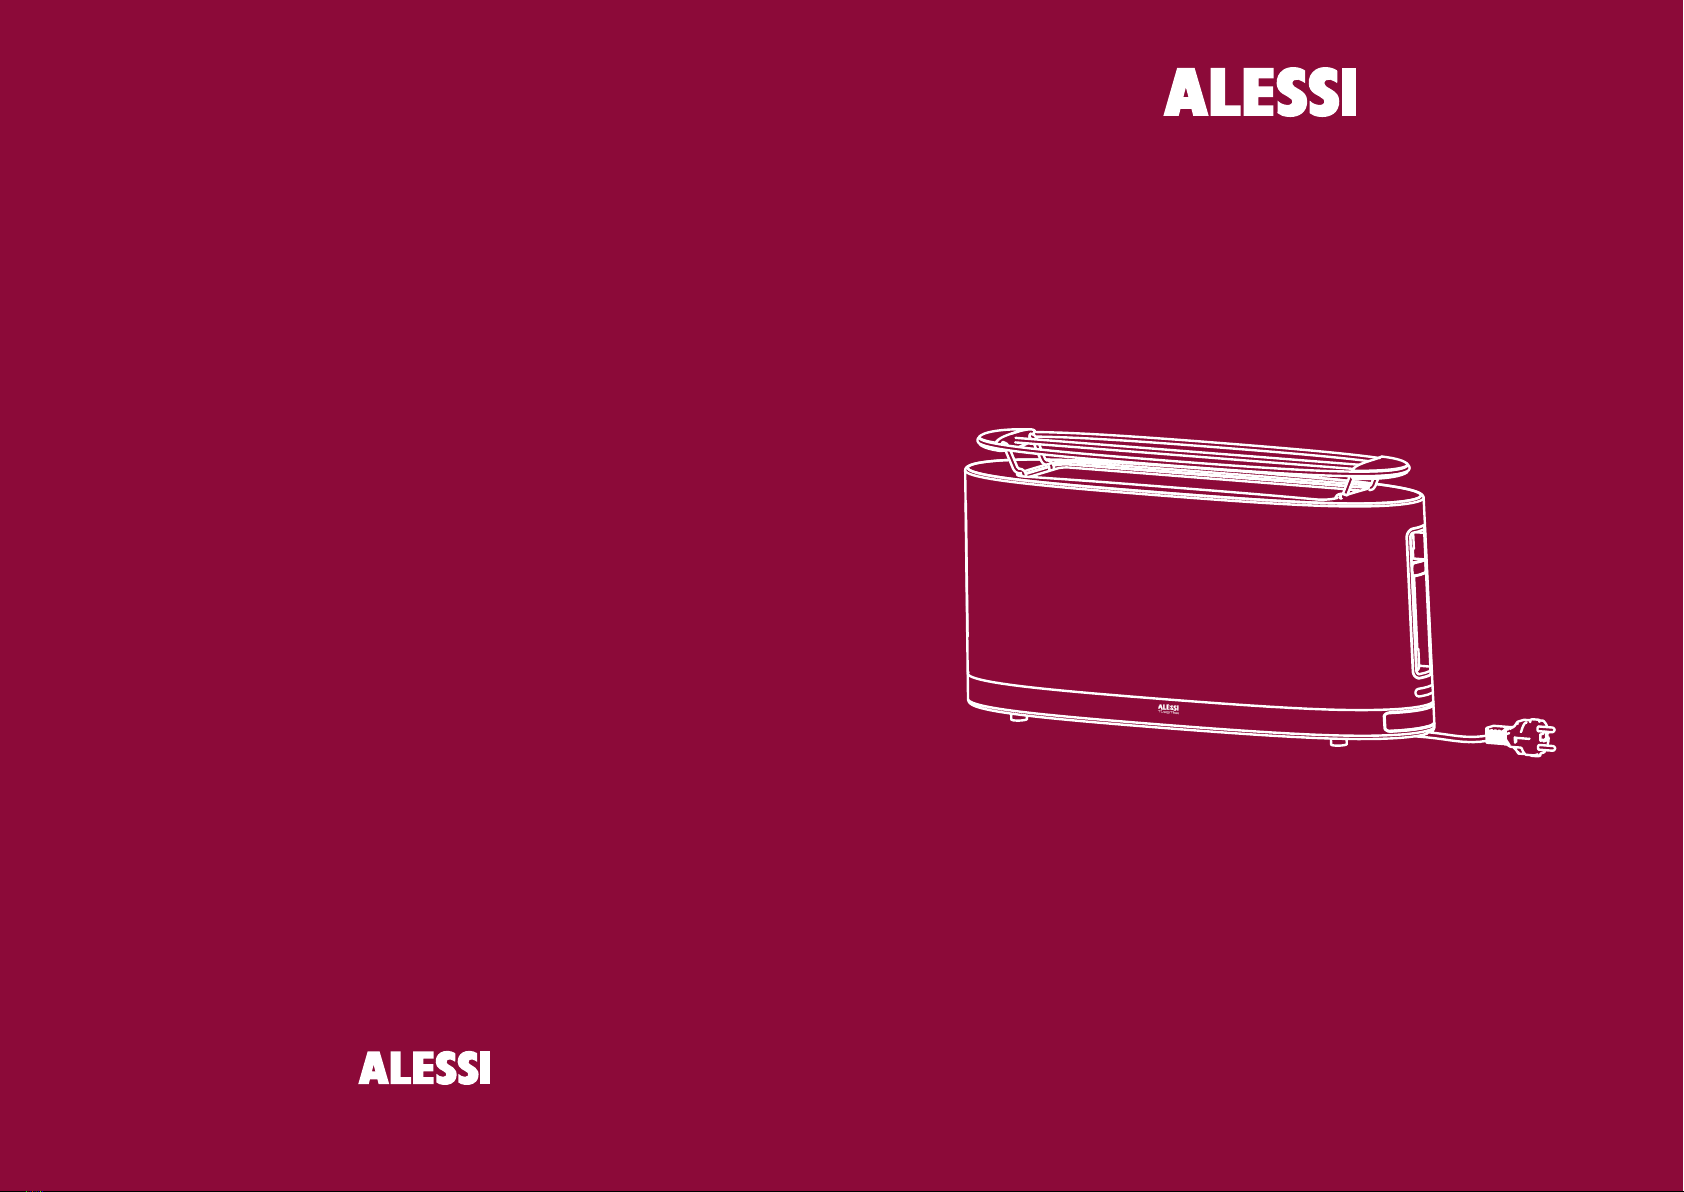
14 15
A. Toasting bread
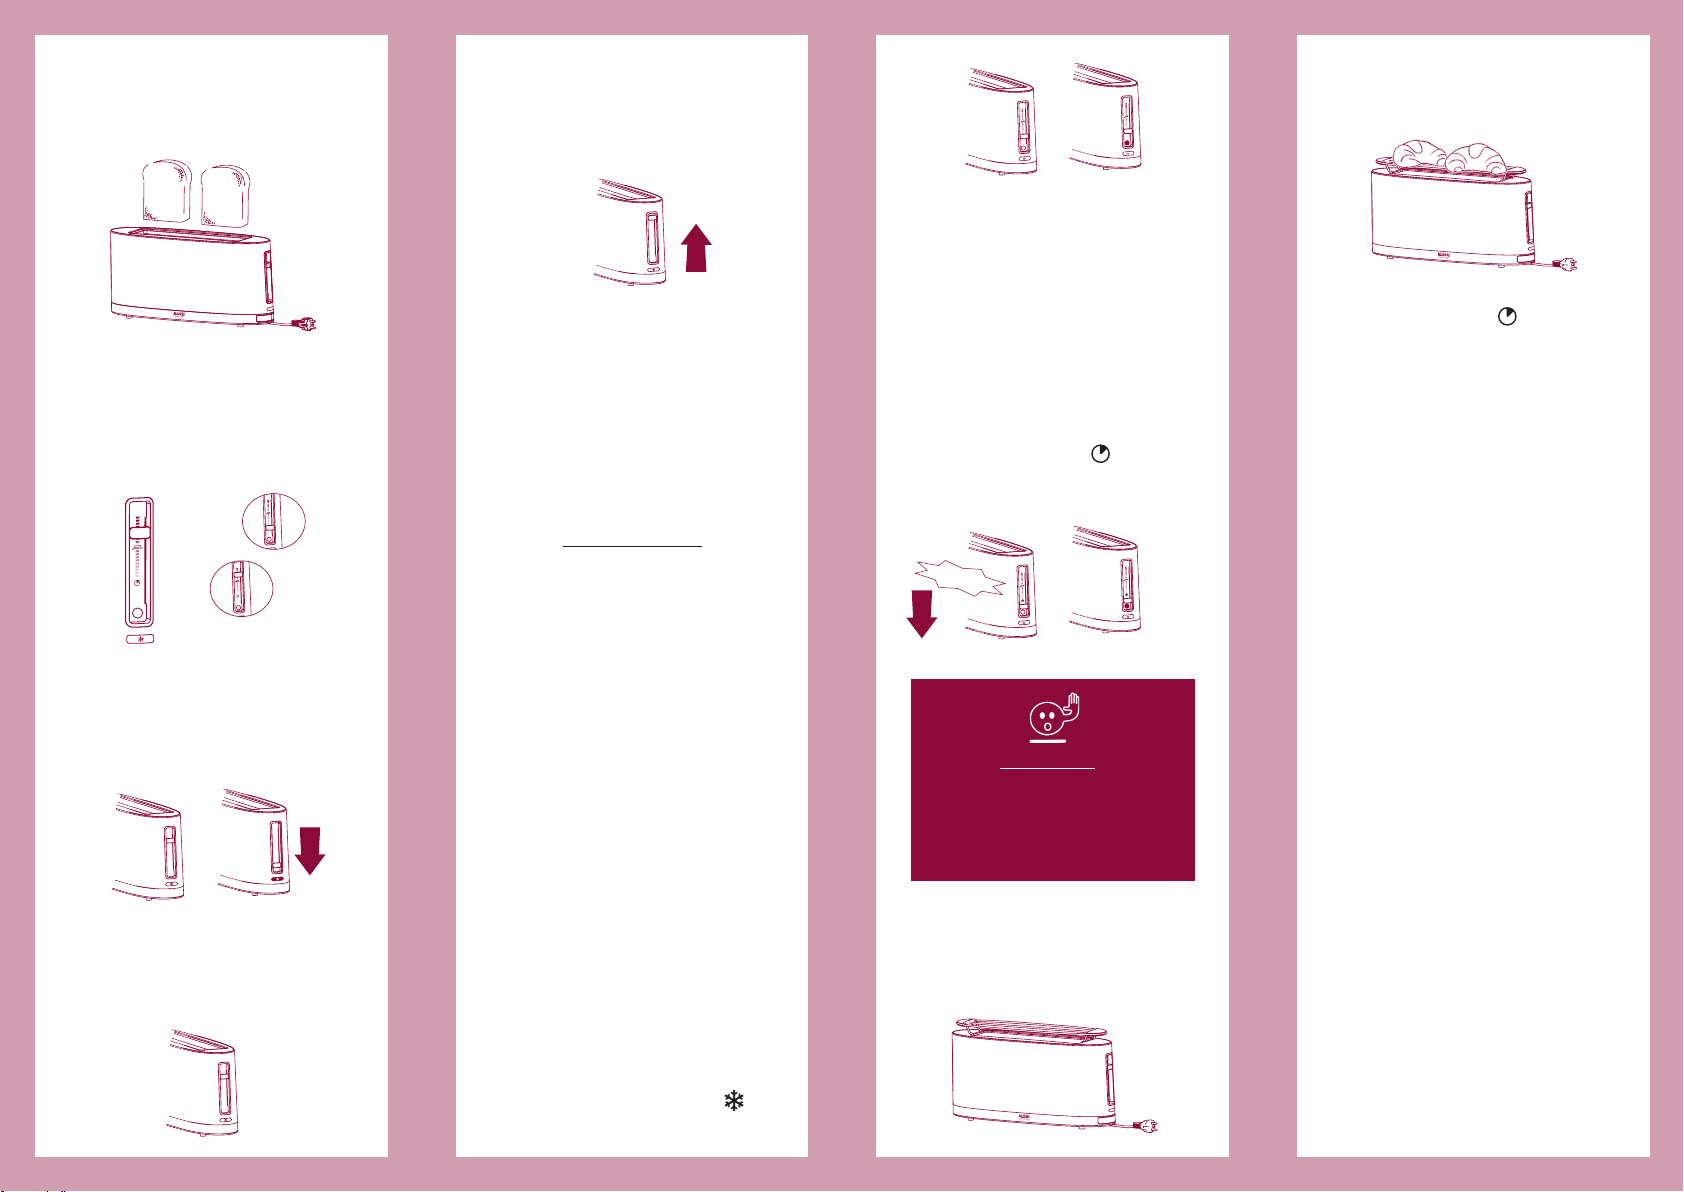
1Insert one or two slices of bread
(fig. 3).
5Remove the toast. For easier
removal, raise the lever a little
more and keep it raised until the
toast has been removed (EXTRA
LIFT function) (fig. 7).
• If bread becomes stuck inside the
Toaster, unplug the Toaster and
remove the toast without using
metal objects. Be careful not to
burn yourself on the metal parts.
• To turn off the Toaster before
toasting has finished push the
CANCEL button or raise the lift
mechanism lever.
Advice on toasting
This Toaster will toast all kinds of sliced
bread normally sold in shops. The slice
must not be more than 3 cm thick.
If you want to toast two slices of bread
at the same time, use the same kind
of bread to obtain the same degree of
toasting. Remember that different kinds
of bread need different toasting times.
Very moist bread takes longer to toast
than dry bread. Of course, toasting
time is a matter of personal taste: if you
prefer lightly toasted bread, set a short
toasting time; for well-toasted bread, set
a longer time. The levels on the toasting
selector let you obtain the degree of
toasting you want.
B. Toasting frozen bread
1Insert one or two slices of frozen
bread.
2Set the selector for the desired
degree of toasting.
3Lower the lift mechanism lever to
turn on the Toaster: the CANCEL
button will light up.
4Push the DEFROST button :
the light will turn on (fig. 8).
2Set the selector for the desired
degree of toasting.
Set it toward the bottom for
shorter toasting time; toward the
top for longer toasting time (fig. 4)
(see “Advice on toasting”).
3Lower the lift mechanism lever to
turn on the Toaster: the CANCEL
button will light up (fig. 5). If the
lever doesn’t stay down, check that
the plug is inserted in the outlet.
4When toasting finishes, the lift
mechanism lever rises automatically
and the CANCEL button light turns
off (fig. 6).
Fig. 3
Fig. 4
C. Heating bread
This function is very useful when you
want to reheat toast that has become
cold.
1Insert one or two slices of toast to
be reheated.
2Lower the lift mechanism lever to
turn on the Toaster: the CANCEL
button will light up.
3Move the toasting selector down
until it “clicks”: the selector is now
in REHEAT position . The light
under the selector will turn on
(fig. 9).
D. Heating brioches,
sandwiches and focaccia
1Place the bunwarmer on top of the
Toaster (fig. 10).
Fig. 11
2Put no more than two pieces at a
time in the centre of the bunwar-
mer (fig. 11).
3Set the toasting selector to the
REHEAT position .
4Lower the lift mechanism lever to
turn on the Toaster: the CANCEL
button will light up.
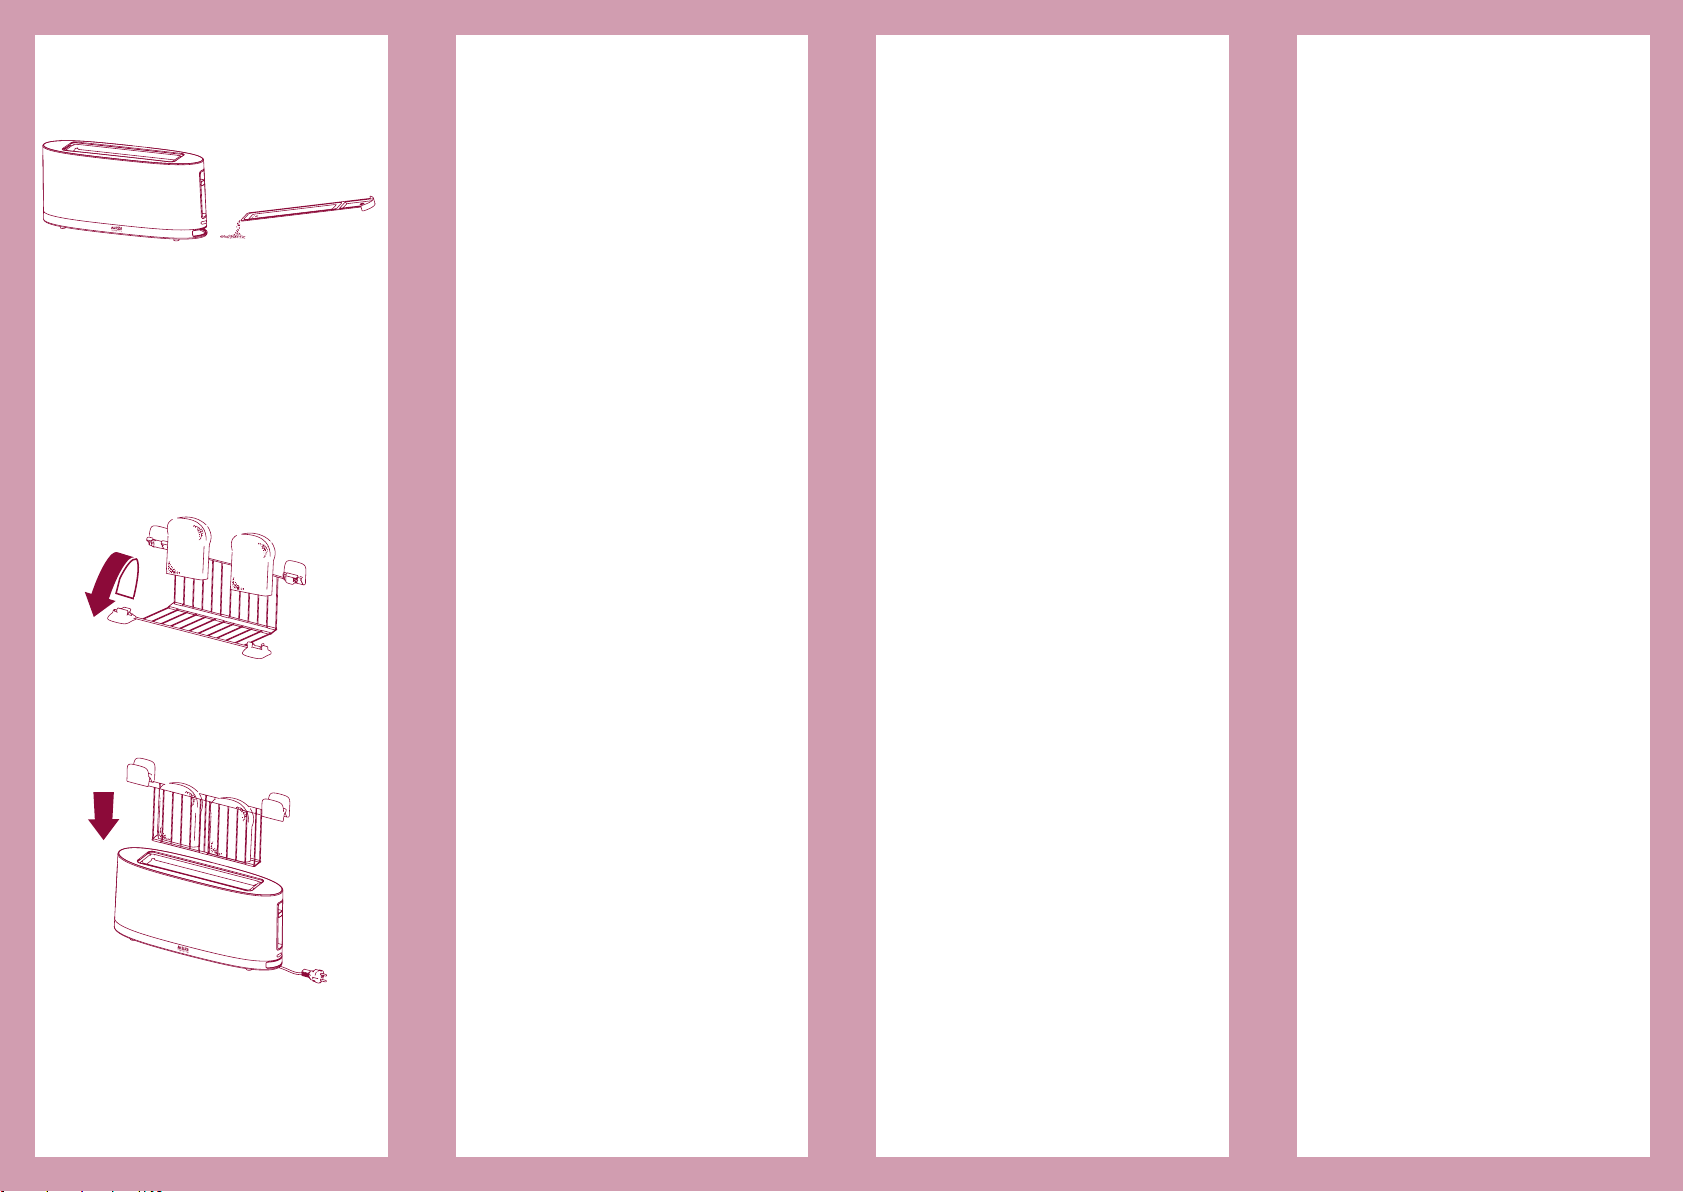
Bunwarmer
•
Always use the bunwarmer to heat
brioches, sandwiches and focaccia.
• Do not heat brioches, sandwiches
or focaccia on the bunwarmer
while you are toasting slices of
bread.
• Do not use the bunwarmer to
defrost frozen food.
• The metal wires of the bunwarmer
are very hot when heating has
finished: hold the bunwarmer only
by its plastic handles.
Be careful not to place it on a surface
that might become damaged.
• To clean the bunwarmer, wait
until it has cooled, then wash it
with hot water and dish soap. Dry
thoroughly. You can wash the
bunwarmer in the dishwasher; at
the end of the wash cycle, dry it
with a soft towel.
How to care for your Toaster
• Before doing any maintenance,
always turn off the Toaster, remove
the plug from the outlet, and wait
until the Toaster has cooled.
• Clean the exterior with a damp
cloth and dry thoroughly.
Don’t turn the Toaster over or
WARNING!
Push the CANCEL button to
interrupt the toasting cycle or
to cancel the REHEAT and
DEFROST functions.
Fig. 10
Fig. 6
Fig. 8
Fig. 5
Fig. 7
extra lift
Fig. 9
click