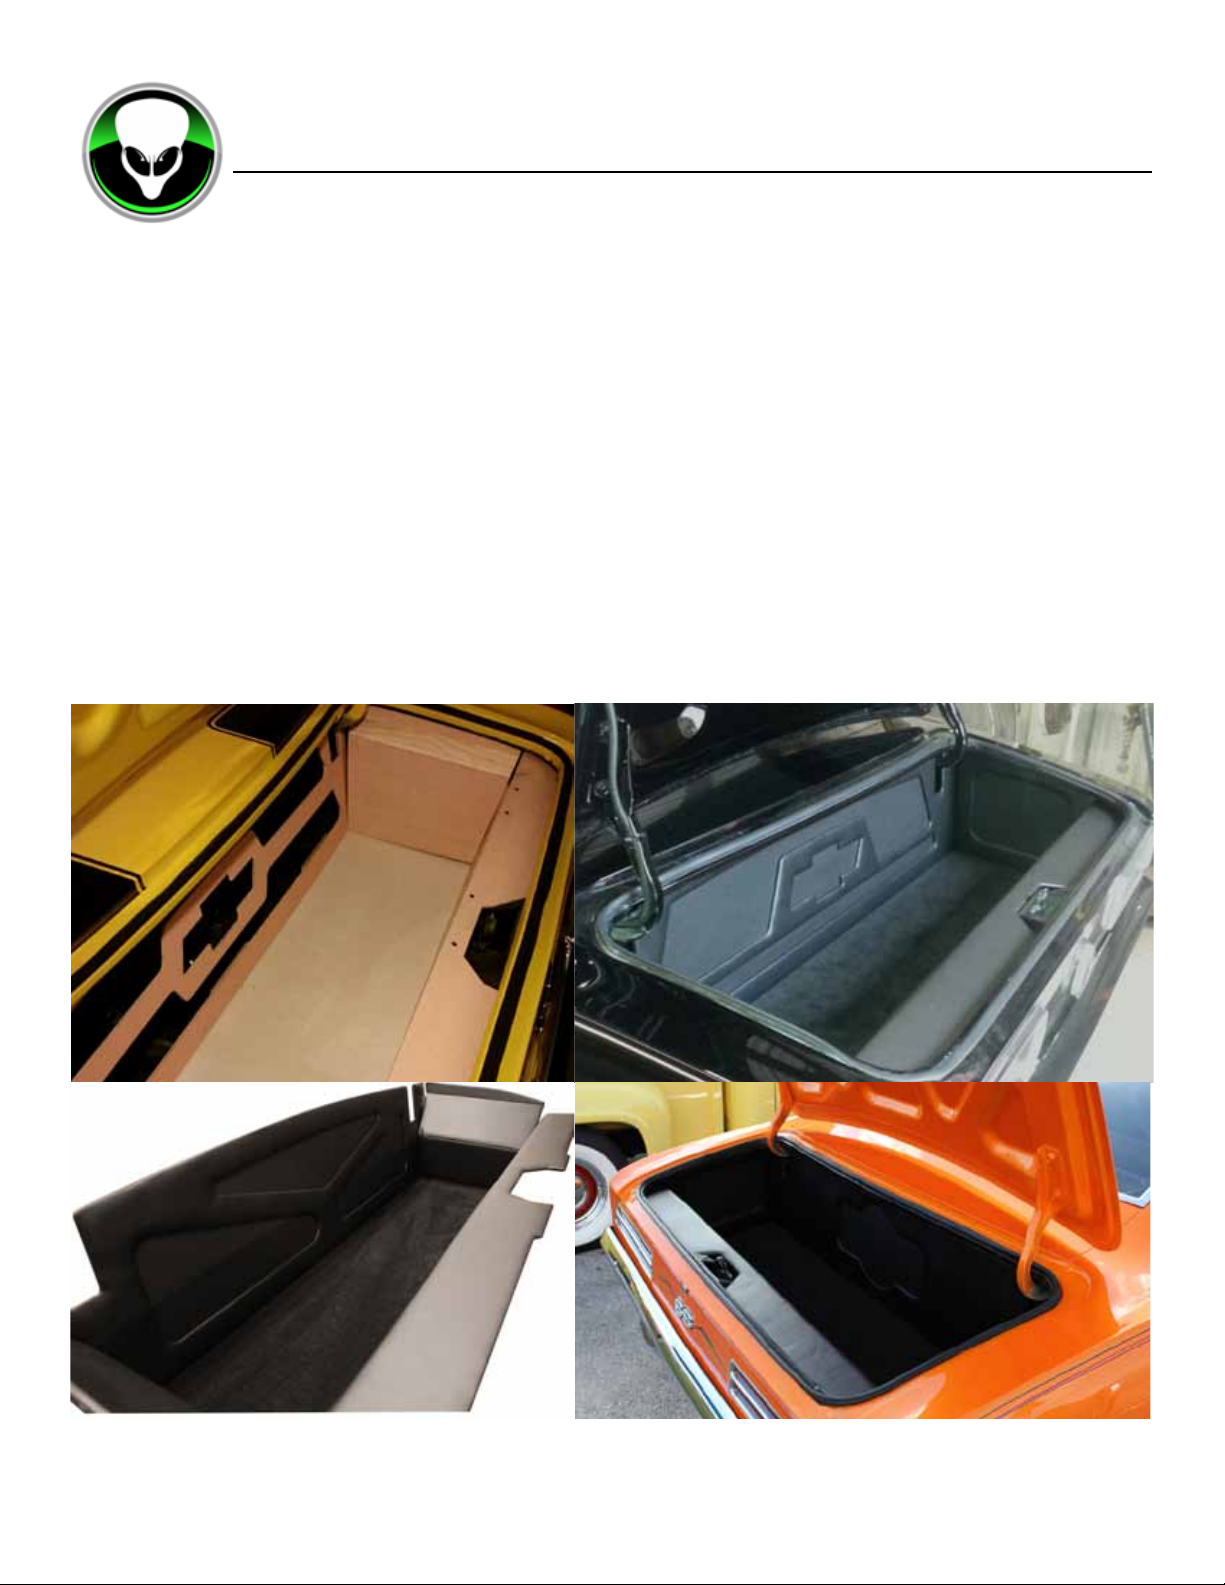
Congratulations and thank you for the purchase of your new
Camaro / Firebird CONVERTIBLE custom trunk panel kit!
Asyoucanseetherearemultiplepiecestoyourkit.Youwillwanttoverifythatnopiecesaremiss-
ingandnoneofthemaredamaged.Pleaseletusknowifthereareanydiscrepancies.Also,youwill
noticethereareholesoneachpanelwithoutobviouspurpose.Thesearenecessaryscrewwholes
requiredduringtheCNCprocesstosecurepanelstothecuttingbed.Theyareplacedwheretheywill
notinterferewiththeassemblyorthenishedproduct.
Takecareremovingitemsfromthepackage.Wetrytolightlysandtheedgesofallpieces;however
youmaystillbesusceptibletosplintersifyourunyourhandorngersalongtheedges.Amorede-
tailedsandingmaybepreferred.
UPHOLSTERED & UN-UPHOLSTERED KITS - INCLUDED MATERIALS:
(SOME QUANTITIES AND ITEMS MAY DIFFER DEPENDING ON DESIGN)
1) OneFront“Design”Panel(towardsfrontofvehicle)Marked“A”
2) TwoRearPanels(Rearofvehicle)Marked“B”&“C”
3) TwoSetsofSidePanelsMarked“D”&”E”(ThreeEach)
4) OneFloorPanel
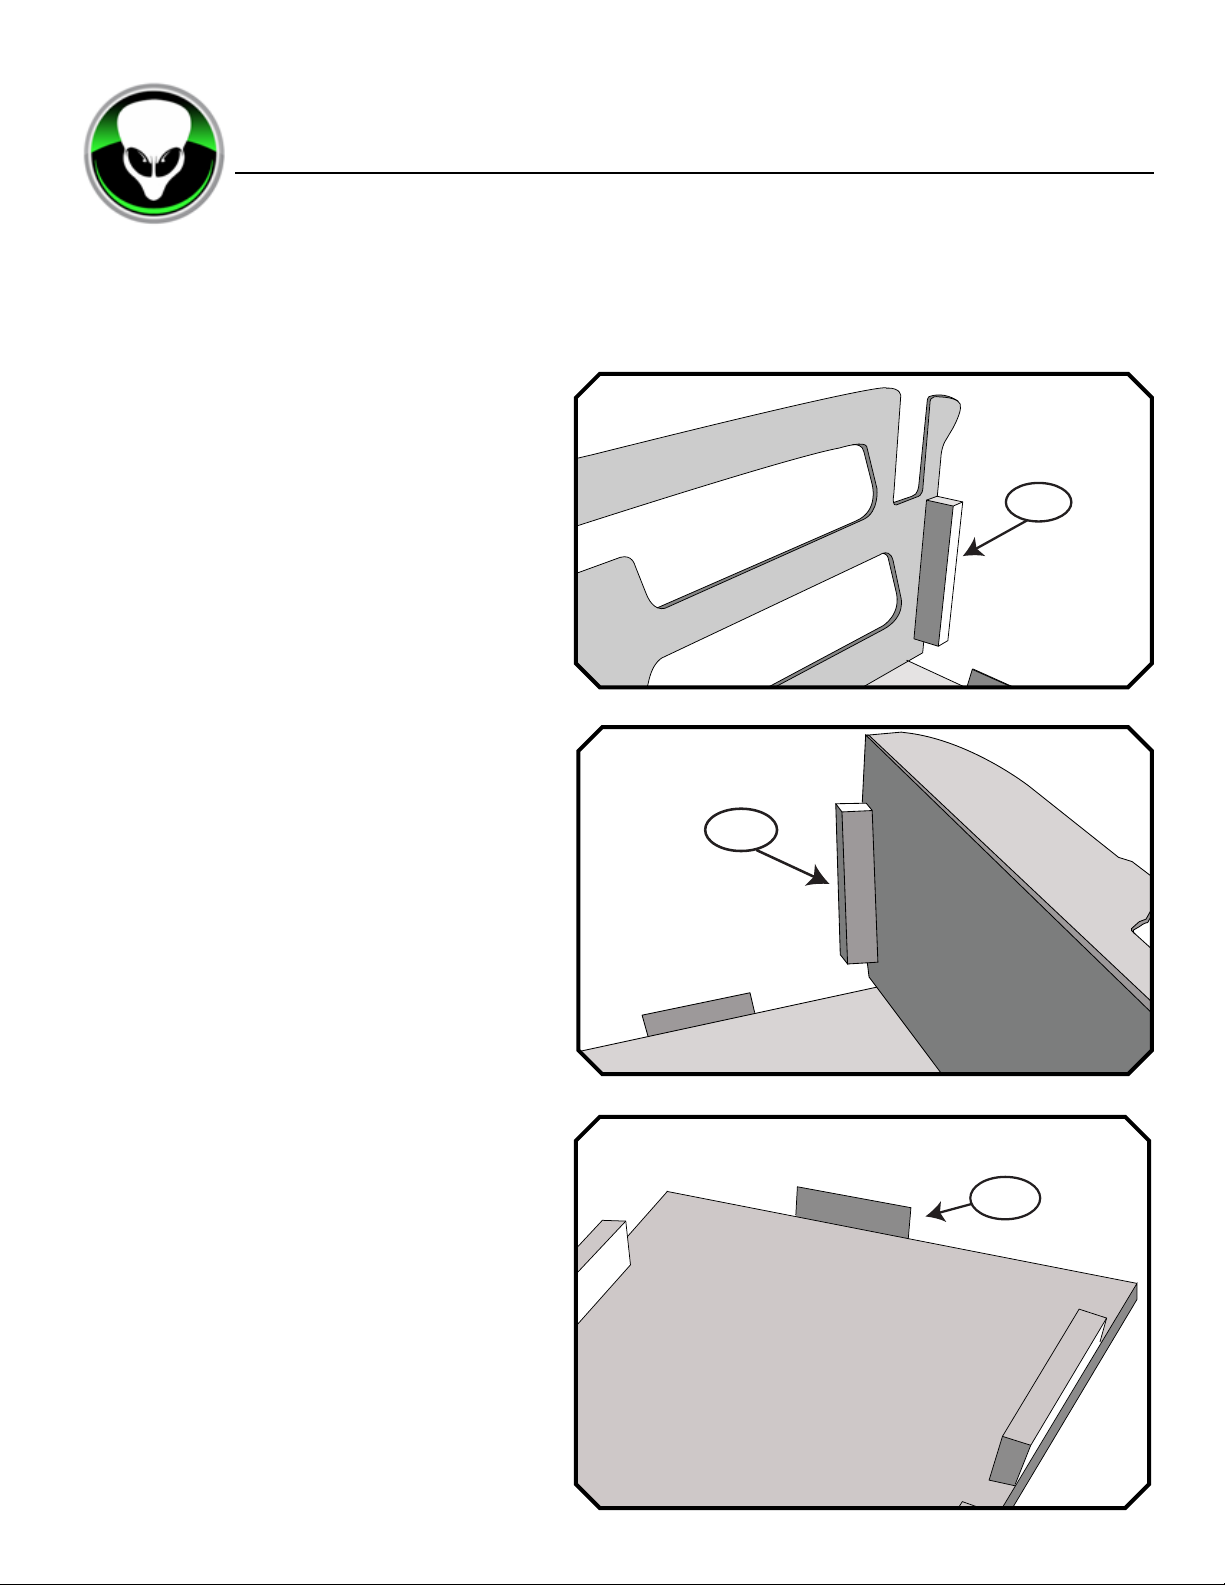
5) Four6”X1”SquarebracesfortheendsofPanelA&PanelB
6) Two1.5”x1.5”x4”Aluminumsidebracesfortheendsoftheoorpanel
7) One12”X1”AngledbraceforthecenteroftheCPanel,(HandleCPanelwithcare
until12”braceisattached)
8) Ten6”X1”Angledbraces.TwofortheCPanel,EightfortheoorPanel
9) OnePackageof1.15”FineThreadDrywallscrews(forattachingbraces)
10) OnePackageof3/8”backingpanelframingscrews(Forattachinginserts,
and/orbackingpanelswithassociatedkits
11) OnePackageof7/16”metalscrews(forattachingaluminumbraces&sidepanels)
11) 9ft.ofHook&Loopstrips–enoughfor(13)6”strips,two5”AluminumBracesand
one12”strip(B&C).(B&CPanelscanalsobepermanentlyattached)
12) BackingPanels/InsertPanelsmarkedaccordingly(Quantitymaydifferbydesign)
67/68 F BODY IMAGES USED IN THE INSTRUCTIONS - SAME AS 1969 F BODY
67-69 f body convertible
Trunk Panel Kit Instructions