Sobald die eingestellte Zeit abgelaufen ist,
schaltet die Uhr automatisch ab. Wollen Sie
das Gerät früher abschalten, drehen Sie
dann den Minutenzeiger nach links auf null.
ACRYLPLATTE
Die Acrylplatte ist nur bei Zimmertemperatur
des Geräts herauszunehmen.
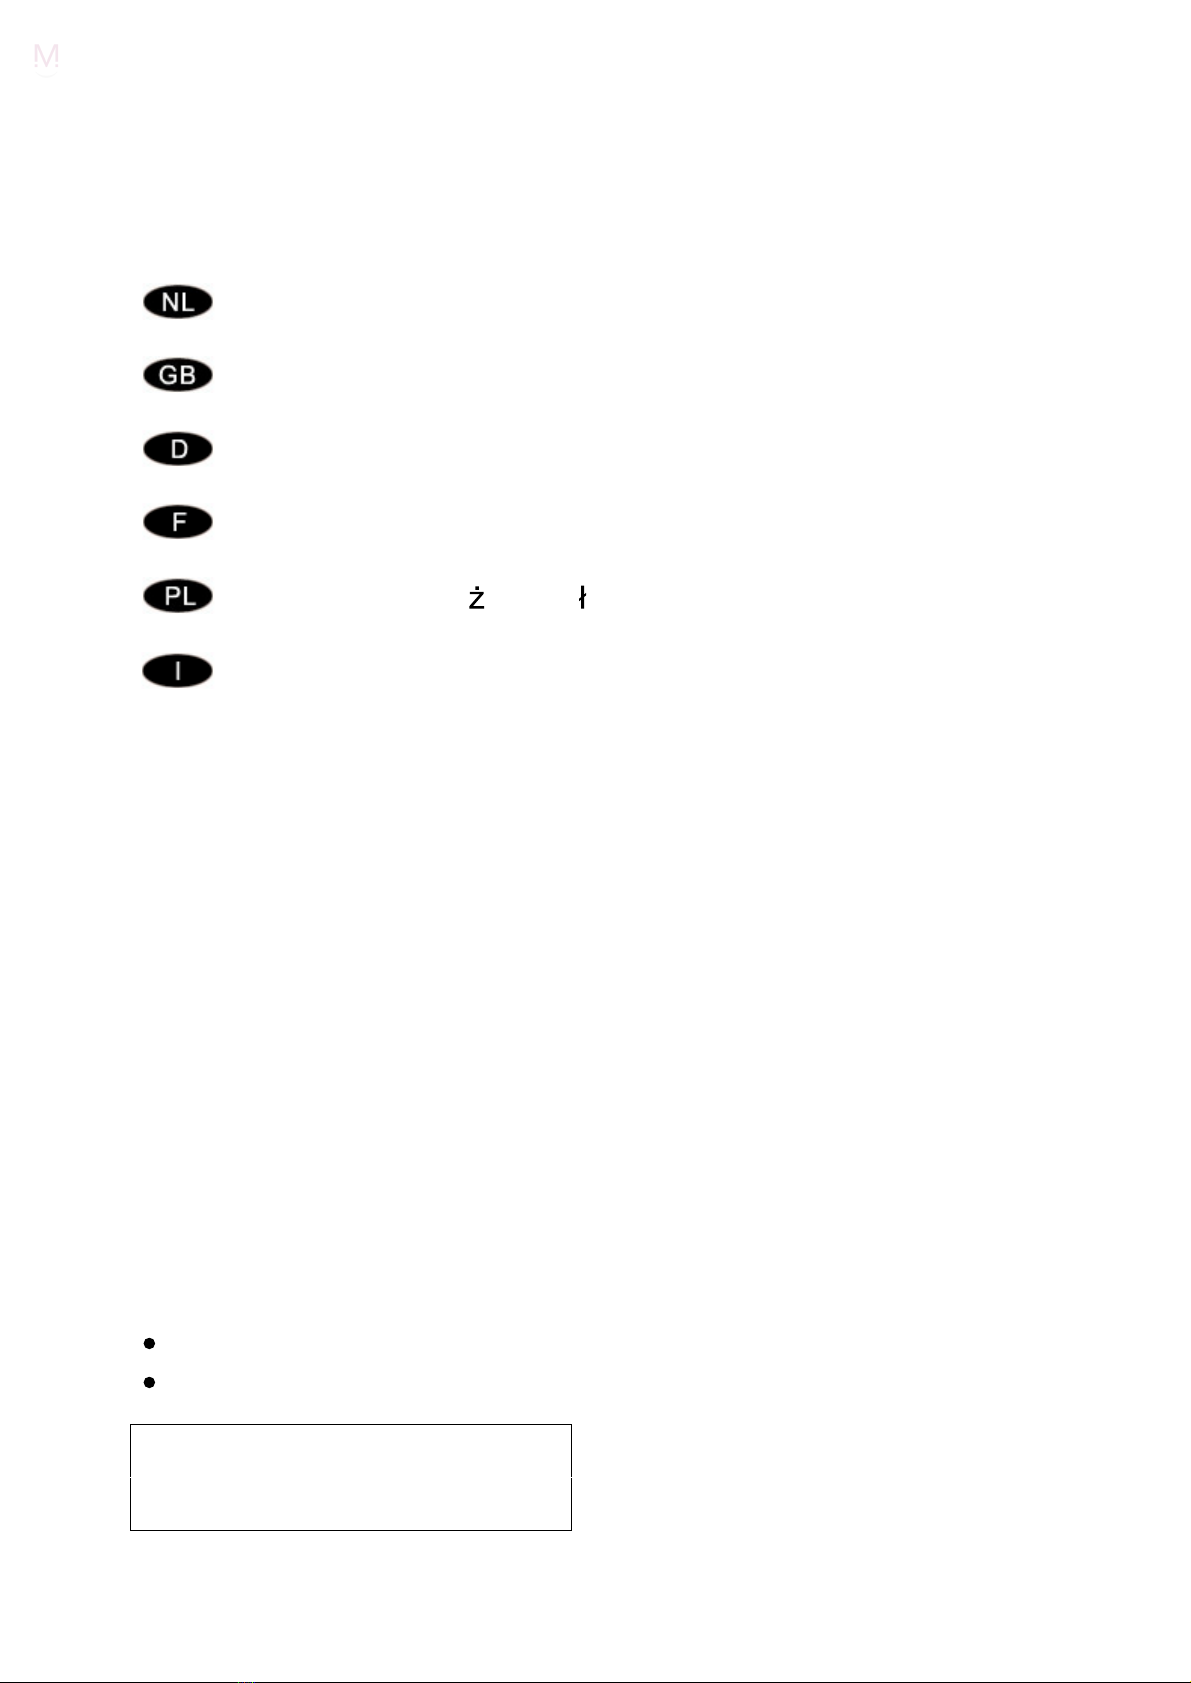
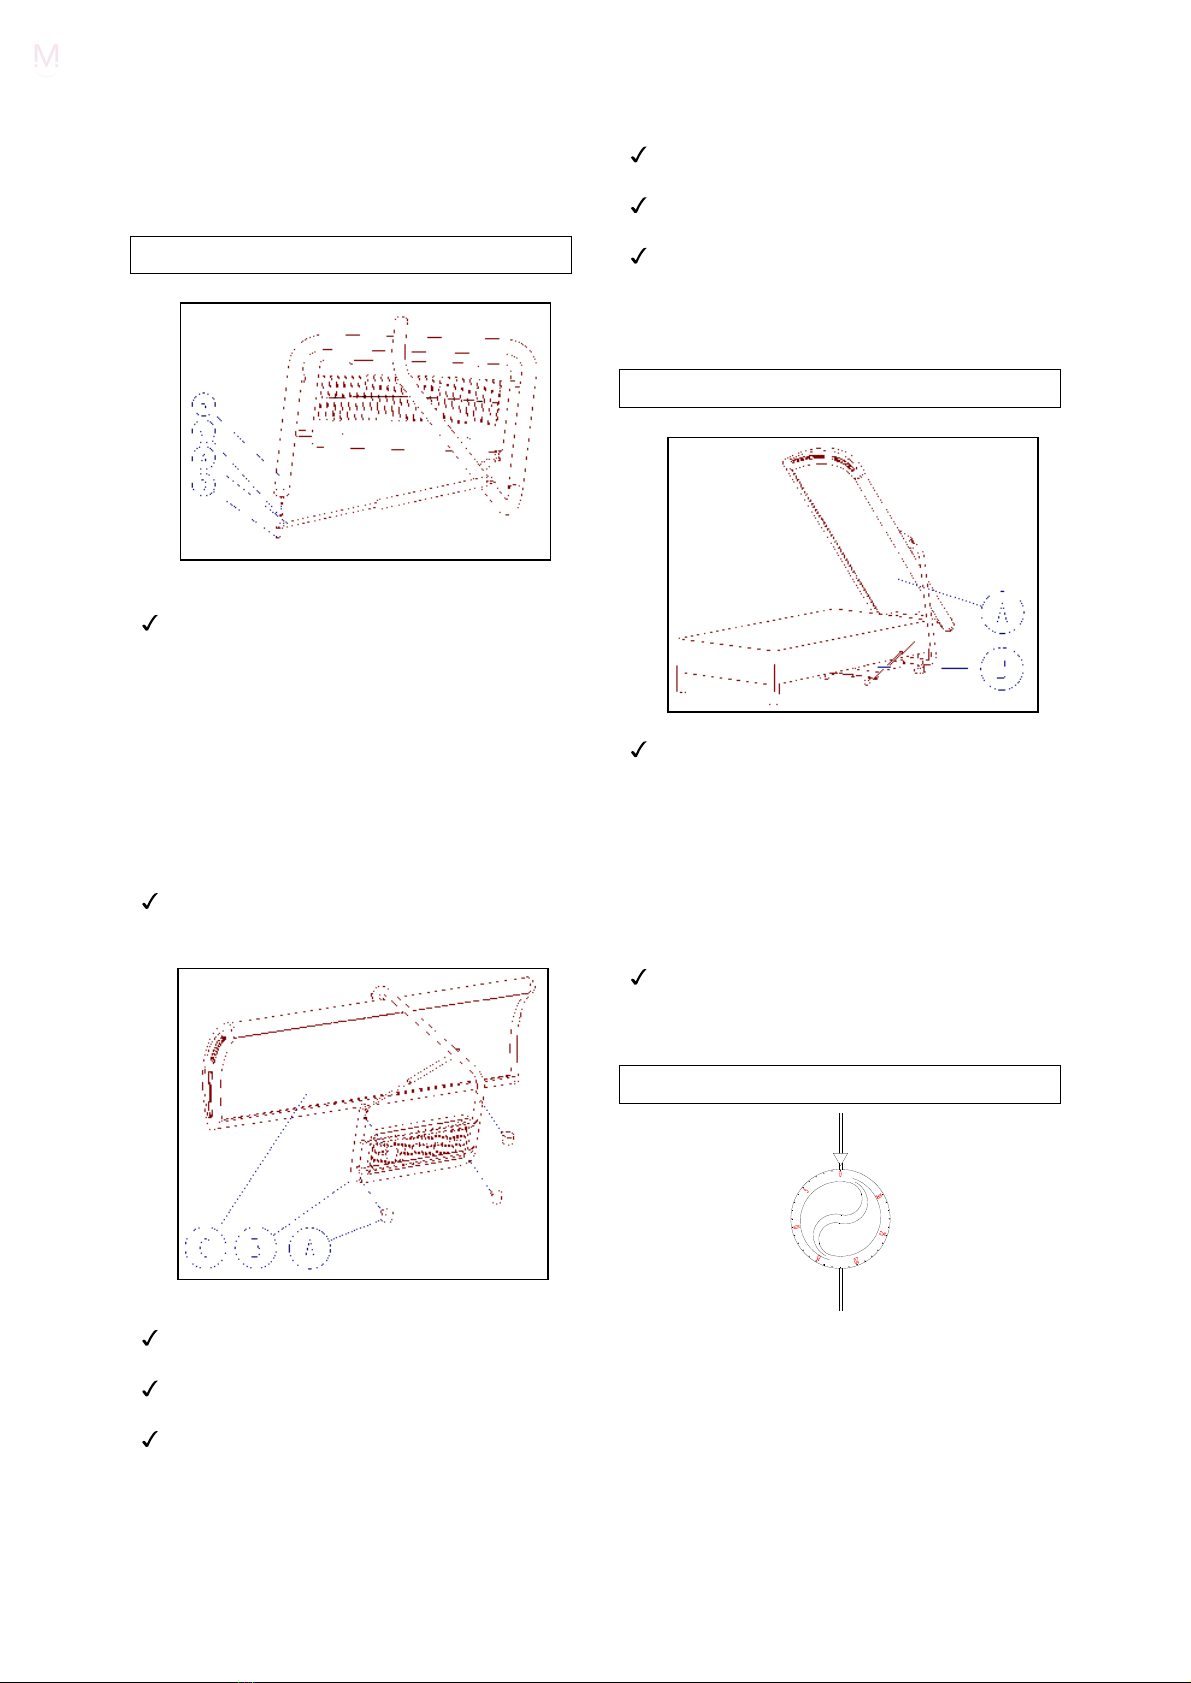
1.
Zum Herausnehmen der Acrylplatte
müssen Sie wie folgt handeln:
Ziehen Sie den Netzstecker.
Lösen Sie die vier Schrauben (A) des
Seitenteils (B).
Schieben Sie das Seitenteil aus dem
Himmel. Verfahren Sie mit dem
Seitenteil an der anderen Seite des
Geräts ebenso.
Den Himmel jetzt ganz umdrehen, so
daß sich die Röhren an der Oberseite
befinden.
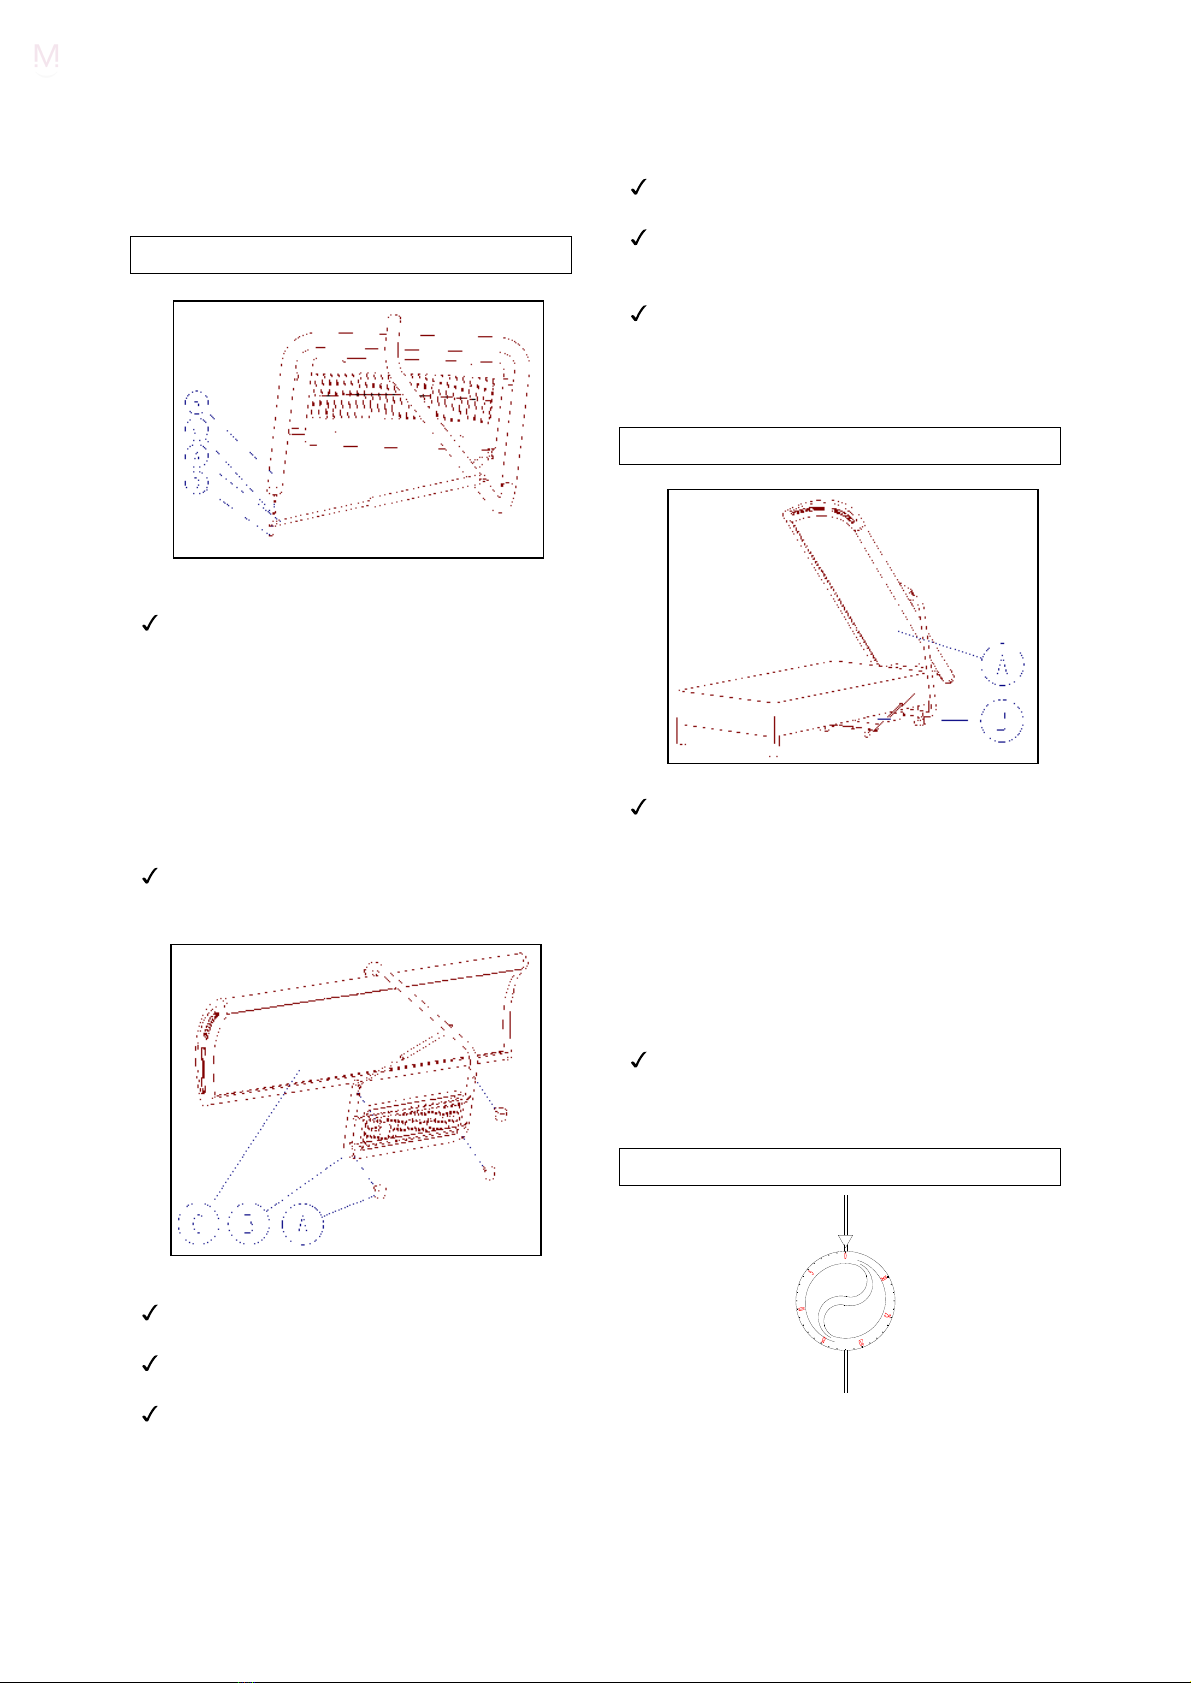
2.
Die Acrylplatte (A) an einer Seite
vorsichtig aus dem Kunststoffprofil (B)
ziehen.
Ziehen Sie die Acrylplatte jetzt zu sich
hin, so daß sich diese auf der anderen
Seite aus dem Profil löst.
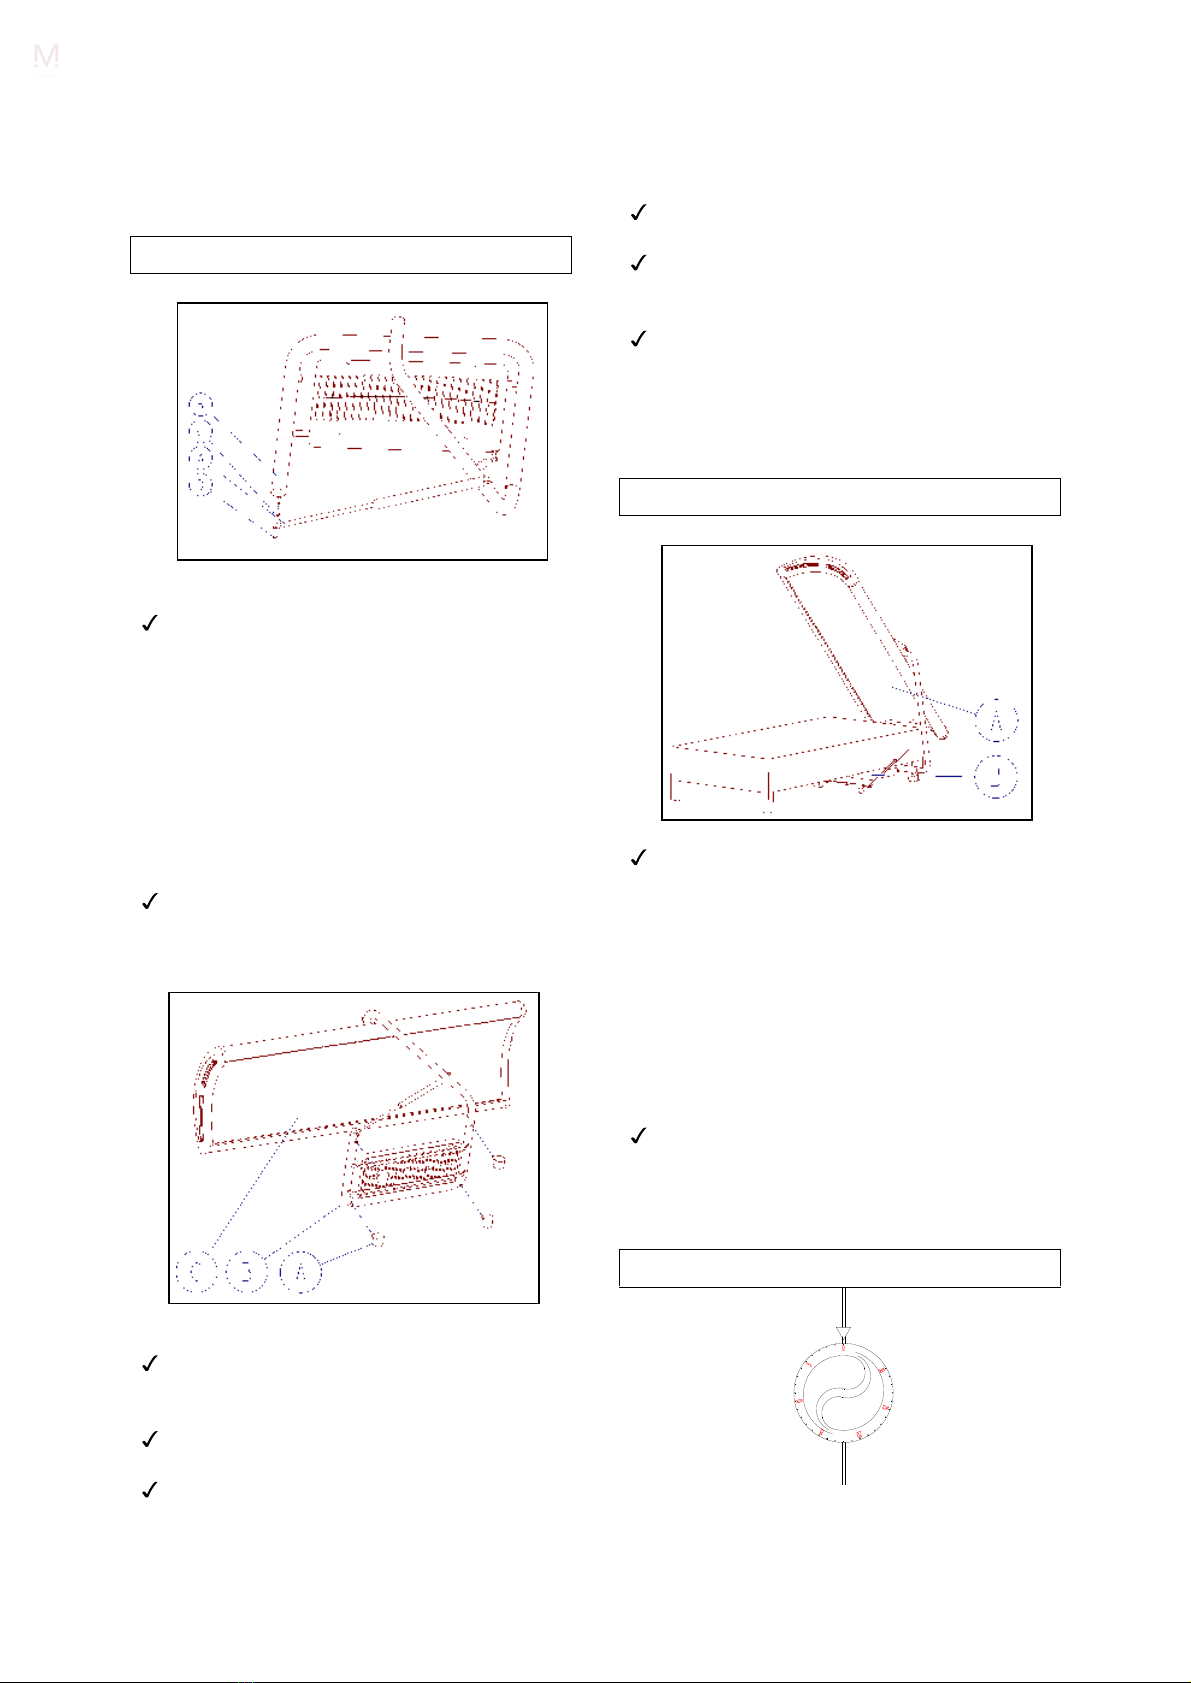
3.
Um die Acrylplatte wieder zu befestigen,
sind die folgenden Schritte nötig:
Die Acrylplatte auf einer Seite in die Nut
des Kunststoffprofils schieben.
In der Mitte auf die Acrylplatte drücken
und an der anderen Seite die
Acrylplatte in die Nut des
Kunststoffprofils schieben.
Dann den Himmel wieder ganz
umdrehen, so daß sich die Röhren
wieder an der Unterseite befinden.
Die beiden Seitenteile jetzt mit Hilfe der
vier Schrauben befestigen.
ERSATZTEILE
Verwenden Sie nur Alisun-Originalteile:
Ersatzteil
Art.nr.
Brilliant
Sun plus XT 100W
350377
GoldSun
DuoTan®
Professional 100W
350366
Reflektor Salsa 10/12
332220
Zeituhr
355005
Das Netzanschlußkabel dieses Geräts darf
nur von ausgewiesenem Personal ersetzt
werden.