manuals.online logo
Brands
  1. Home
  2. •
  3. Brands
  4. •
  5. ALLEN & HEATH
  6. •
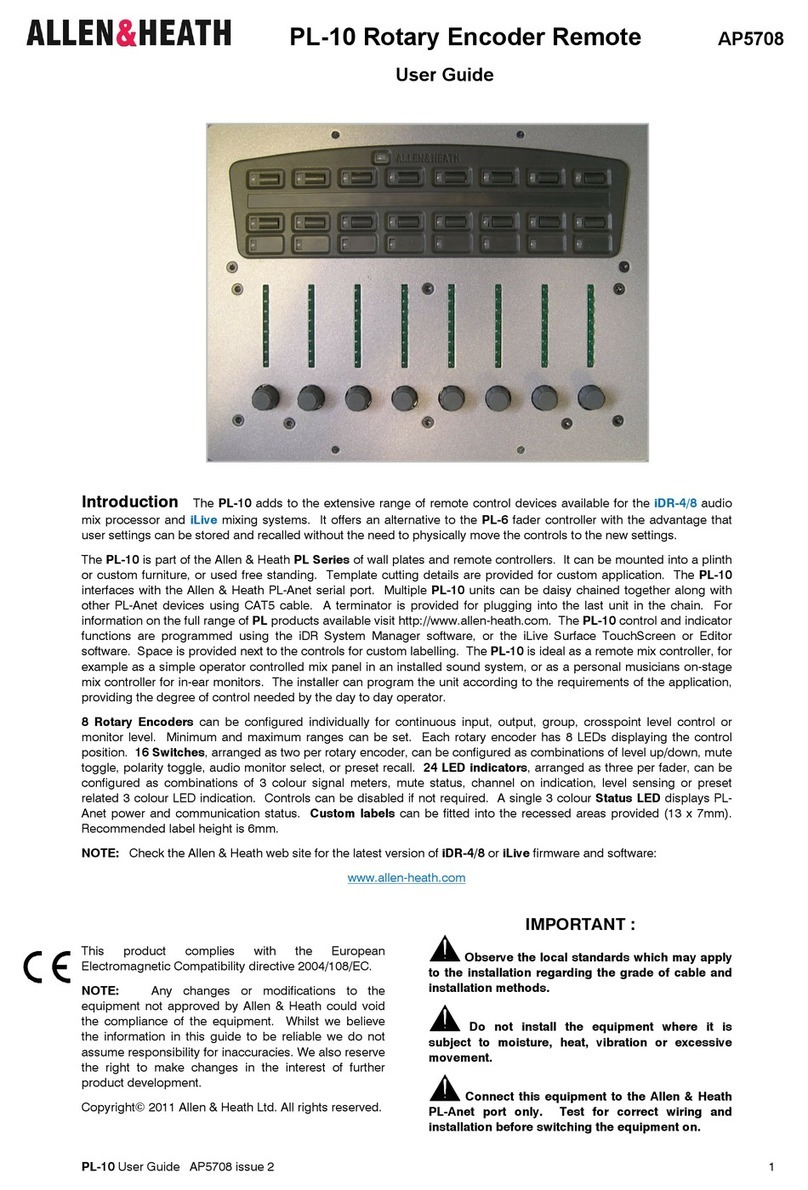
  7. Remote Control
  8. •
  9. ALLEN & HEATH AP5081 User manual

ALLEN & HEATH AP5081 User manual

PL-3 User Guide AP5081 issue 4 1
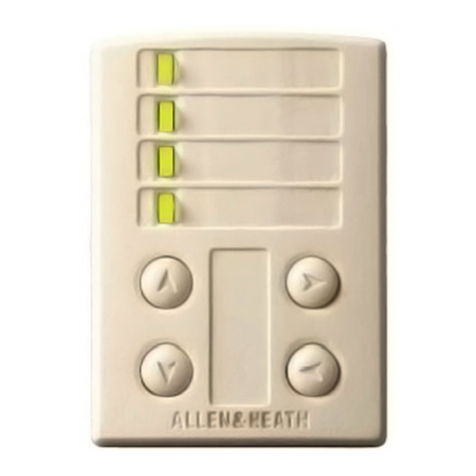
Introduction The PL-3 is one of several remote control devices available
for the iDR audio mix processor system. It is part of the Allen & Heath PL
Series of wall plates and remote controllers. It is a wall plate or furniture
mounted module comprising plastic control panel and attached circuit
assembly. It can be mounted in a single unit wall box using a standard face
plate (UK, EU or US version supplied). A suitable template with cutting details
is provided for custom application. The PL-3 interfaces with the Allen & Heath
RS485 based PL-Anet serial port. Multiple PL-3 units can be daisy chained
together along with other PL-Anet devices using CAT5 cable. For information
on the full range of PL products available visit http://www.allen-heath.com. The
wall plate control and indicator functions are programmed using the iDR
System Manager software. Space is provided on the control panel for custom
labelling of the programmed functions. The following combination of controls
makes the PL-3 ideal as a wall mounted room remote controller in installed
audio systems. The installer can program the unit so that the non-technical
operator has local control of volume, mute, source select, and preset changes
which reconfigure the room for different functions.
4 switches can be assigned for level up or down control (input, output,
crosspoint or group), mute toggle, polarity toggle, audio monitor select, or
preset recall.
4 LED indicators can be assigned as audio meters (choice of 8 points in the
signal path), mute status, polarity status, or as preset related static display.
They can display four states: off, green, yellow or red.
Custom labels Recessed areas are provided for fitting custom adhesive
labels. Recommended maximum sizes are 6x26mm and 26x9mm.
Number of devices The maximum number of PL devices that can be
connected depends on their type and the cable lengths. Up to 15x PL-3
devices may be connected to the PL-Anet port, or up to 24x if you are using the
optional PL-9 PL-Anet hub. Fewer devices may be connected if long distances
or other PL types are also involved. To check this refer to the PL Combinations
Calculator spreadsheet available from the Allen & Heath web site.
PL-Anet is the proprietary Allen & Heath system for daisy chaining remote
controllers. It is an RS485 serial connection that uses CAT5 STP cable to
communicate between devices over long distances. PL-Anet only works with
Allen & Heath PL devices. The connection includes +20V DC to power the
connected devices. The iDR-8 port is shown here.
This product complies with the European
Electromagnetic Compatibility directives 89/336/EEC &
92/31/EEC.
NOTE: Any changes or modifications to the
equipment not approved by Allen & Heath could void
the compliance of the equipment. Whilst we believe
the information in this guide to be reliable we do not
assume responsibility for inaccuracies. We also reserve
the right to make changes in the interest of further
product development.
Copyright© 2008 Allen & Heath Ltd. All rights reserved.
IMPORTANT :
Observe the local standards which may apply
to the installation regarding the grade of cable and
installation methods.
To ensure operator safety ensure that any
exposed metal face plates are correctly bonded to
ground. Do not install the equipment where it is
subject to moisture, heat or vibration.
Connect this equipment to the Allen & Heath
PL-Anet port only. Test for correct wiring and
installation before switching the equipment on.
PL-3 Wall Plate AP5081 iss.4
User Guide
iDR
PL-3
PL-3
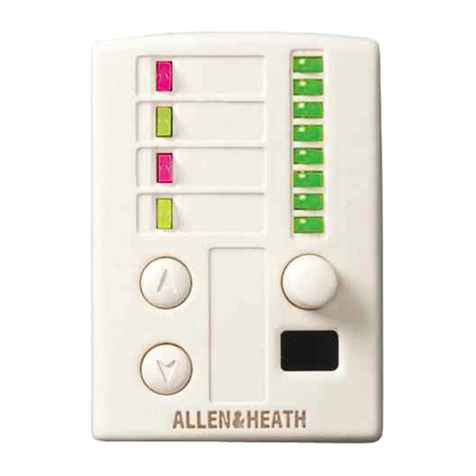
PL-4
PL-4
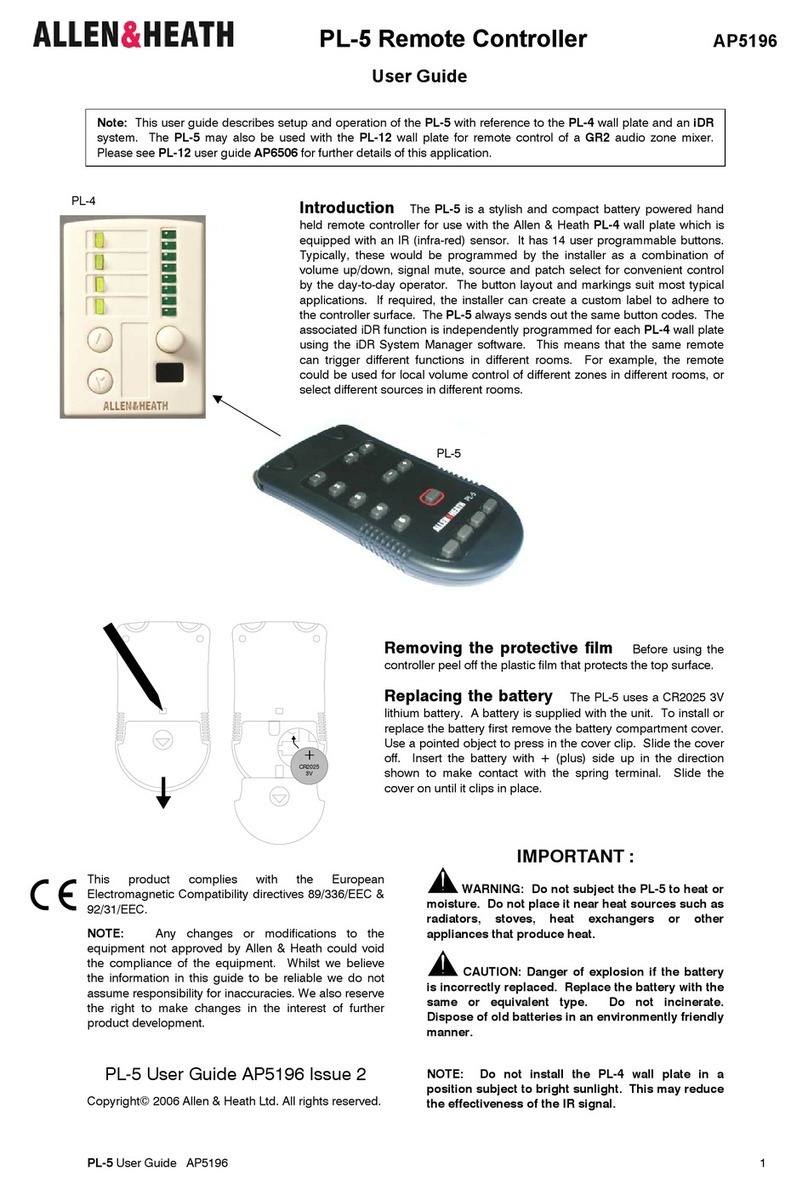
PL-5
PL-5
PL-Anet SERIAL PORT
ROOM 3
ROOM 2
ROOM 1
ROOM 4
TERMINATION
EXAMPLE
DIGITAL EXPANDER
PL-ANET DR-LINK AUDIO OUTAUDIO IN
TO AVOID DAMAGE ONLY CONNECT
CAUTION 20V DC
COMPATIBLE REMOTE CONTROL
EQUIPMENT TO THE PL-ANET PORT.
2 PL-3 User Guide AP5081 issue 4
IN
BB
B
C
C C
A
OUT
Aligning the arrow keys The two switch
caps can be rotated so that the arrow faces up, down,
left or right. Decide which way you want them to face
according to function, for example volume or source
select.
To change them, first
remove the three screws
(B) and unplug the top
PCB. Remove the three
screws (C) and lift the
lower PCB away. Rotate
the switch caps into the
required position.
Reassemble the module
taking care to correctly
align the inter-PCB
connector.
Mounting into the face plate A pre-cut
brushed aluminium UK (part number AA5029), EU
(AA5250) or US (AA5030) plate is supplied. A backing
box for the UK plate can be ordered (AA5220).
The assembled module
fits into an ‘H’ shaped
cutout in the centre of the
mounting plate. The
module is held using the
two screws with plastic
clamps provided (A).
Unscrew these from the
module first. Dimensions
are in millimetres below.
Grounding a metal plate If the face
plate is metal ensure that it is correctly grounded to
ensure operator safety. The plate should be connected
to a local safety ground, not the PL-Anet screen
connection. Use a ground wire or physical contact with
a grounded back box.
Wiring standards Use flame
retardent CAT5 STP (shielded twisted
pair) cable. The connection follows
the EIA/TIA 568B wiring colour
scheme. Ensure all ports and cables
in the system are wired to this
scheme. The RJ45 connector wiring
is shown here.
PL-Anet connection – early version
Screw terminal blocks are provided for the serial port
IN and OUT connections on early version PL-3
modules. Use a small flat bladed screwdriver. Ensure
the wires are correctly stripped and formed to allow
sufficient service loop in the backing box. Note that
some wires are twisted together in the same terminal.
PL-Anet connection – later version
RJ45 sockets are provided for the serial port IN and
OUT connections on more recent PL-3 modules. Use
unbooted plugs to ensure the cables can fit into the
backing box. Use a small bladed screwdriver to lever
up the plug retaining clips when unplugging the cables
if the clips are against the circuit card.
End of chain termination As with any
RS485 system, the last PL device needs to have a
terminating resistor fitted to its output port. Early
version PL-3 modules are shipped with a 100 ohm
resistor already fitted. Leave this fitted only if the unit is
the last in the chain. Later version PL-3 modules are
supplied with a terminating RJ45 plug (Allen & Heath
part number 003-082).
Connection to the iDR The PL-Anet network
plugs into the iDR unit using an RJ45 connector. This
is wired to the 568B scheme. The PL-Anet port
provides the RS485 serial communication and +20V
DC power to the chain of PL modules. The device
addresses are automatically allocated per type in the
order they appear in the PL-Anet chain.
Testing the wiring Before powering
up the system make sure all the wiring is inspected and
continuity tested. This is important as wiring errors
may result in damage to the equipment.
Powering up the PL system Ensure that
the iDR PL-Anet port is active. Its green ‘active’ LED
should be lit. If not, use the iDR System Manager
software Communications Option menu to activate the
port. Plug in the PL-Anet cable. The iDR System
Manager screen should display icons on the right hand
toolbar for each PL device it recognises. Refer to the
Help file for details on programming the PL functions.
Diagnostics If a fault is suspected check the two
diagnostics LEDs on the underside of the PL-3
connector PCB. Both the red and green LEDs should
be lit once communication with the iDR is established.
Also measure the PL-Anet +20V supply feed between
the blue wires (+20V) and the brown wires (0V). For
reliable operation this voltage should not drop below
+11V with all PL LED displays turned on. If a fault is
found, first check for correct wiring. If further
assistance is required contact Allen & Heath technical
support.
12
16
32
16
34
20
20
DIA 6
c
TOP
16
16
CABLE SCREEN
WH/OR
OR
BN + WH/BN
BL + WH/BL
WH/GN
GN
INPUT OUTPUT
0V
+20V DC
1 WH/OR
2 OR
3 WH/GN
4 BL
5 WH/BL
6 GN
7 WH/BN
8 BN
INPUT OUTPUT
TERMINATION
100 ohms OUT
FROM PREVIOUS PL DEVICE
100 ohms TERMINATOR
IN
PL-Anet
OUT
FROM PREVIOUS PL DEVICETO NEXT PL DEVICE
IN
OR TERMINATOR
Other ALLEN & HEATH Remote Control manuals

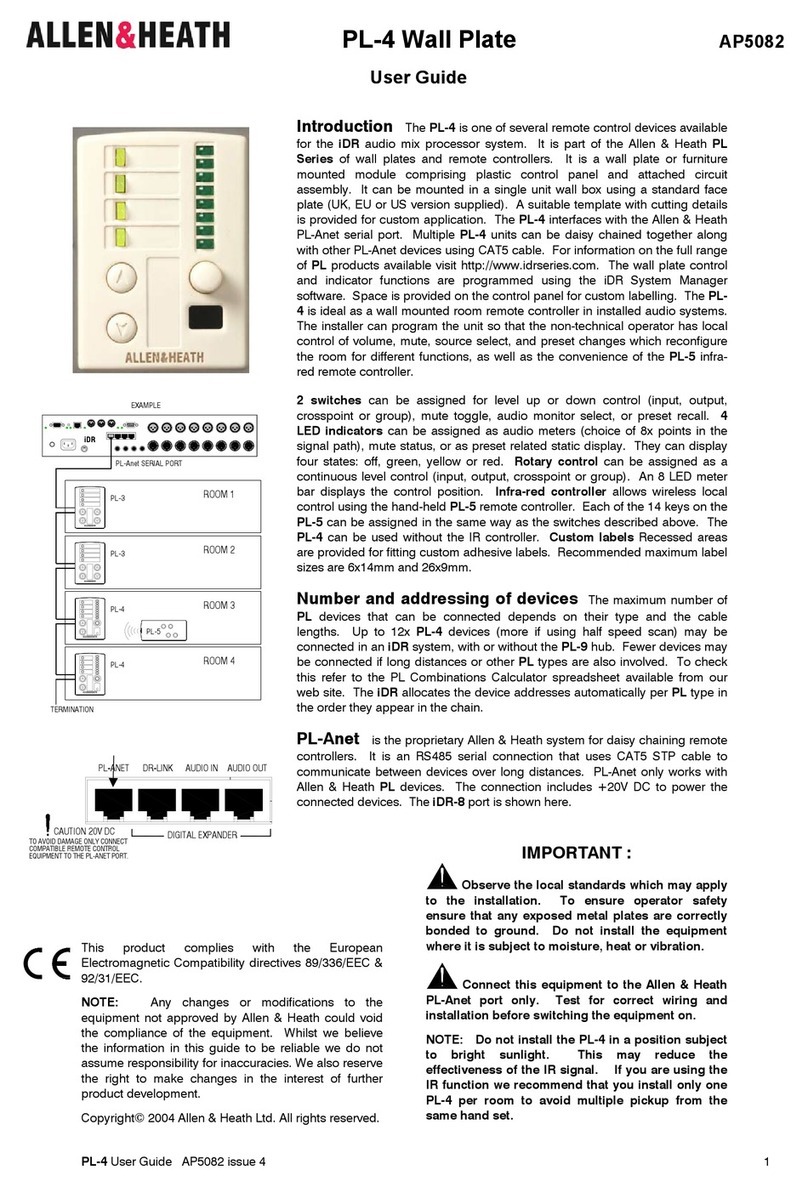
ALLEN & HEATH PL-4 User manual

ALLEN & HEATH

ALLEN & HEATH PL-4 User manual

ALLEN & HEATH AH-PL-6 User manual

ALLEN & HEATH

ALLEN & HEATH AH-PL-6 User manual

ALLEN & HEATH PL-2 User manual

ALLEN & HEATH

ALLEN & HEATH PL-2 User manual

ALLEN & HEATH IP8 User manual

ALLEN & HEATH

ALLEN & HEATH IP8 User manual

ALLEN & HEATH IP1 User manual

ALLEN & HEATH

ALLEN & HEATH IP1 User manual

ALLEN & HEATH PL-10 User manual

ALLEN & HEATH

ALLEN & HEATH PL-10 User manual

ALLEN & HEATH AH-PL-5 User manual

ALLEN & HEATH

ALLEN & HEATH AH-PL-5 User manual

ALLEN & HEATH PL Series User manual

ALLEN & HEATH

ALLEN & HEATH PL Series User manual

ALLEN & HEATH PL-5 User manual

ALLEN & HEATH

ALLEN & HEATH PL-5 User manual

ALLEN & HEATH AH-PL-4 User manual

ALLEN & HEATH

ALLEN & HEATH AH-PL-4 User manual

ALLEN & HEATH IP6 User manual

ALLEN & HEATH

ALLEN & HEATH IP6 User manual

Popular Remote Control manuals by other brands

Wow ULTRA TV user manual

Wow

Wow ULTRA TV user manual

Spetrum DX6i instruction manual

Spetrum

Spetrum DX6i instruction manual

Clifford UltraCode owner's manual

Clifford

Clifford UltraCode owner's manual

ORTAL G6R-H FB Series Setup and operation

ORTAL

ORTAL G6R-H FB Series Setup and operation

JR Racing Z-1 instruction manual

JR Racing

JR Racing Z-1 instruction manual

Comfortaire B-SMA owner's manual

Comfortaire

Comfortaire B-SMA owner's manual

GiBiDi DTS4334 quick start guide

GiBiDi

GiBiDi DTS4334 quick start guide

smart home X10 owner's manual

smart home

smart home X10 owner's manual

T'nB INFINITE TCUN08BK User instructions

T'nB

T'nB INFINITE TCUN08BK User instructions

HunterDouglas PowerView Motorization Guide

HunterDouglas

HunterDouglas PowerView Motorization Guide

Contro l4 RCZ-SRC2-B Specifications

Contro l4

Contro l4 RCZ-SRC2-B Specifications

Skytech 3501 Installation and operating instructions

Skytech

Skytech 3501 Installation and operating instructions

FOR-A FA-10RU Quick setup guide

FOR-A

FOR-A FA-10RU Quick setup guide

FOR-A FA-10RU Operation manual

FOR-A

FOR-A FA-10RU Operation manual

Data Video DV Bank Operation manual

Data Video

Data Video DV Bank Operation manual

Q-See QD6505P Quick installation guide

Q-See

Q-See QD6505P Quick installation guide

Sky Master Universal Remote Control user manual

Sky Master

Sky Master Universal Remote Control user manual

CSPIRE TV Remote Control & DVR user guide

CSPIRE

CSPIRE TV Remote Control & DVR user guide

manuals.online logo
manuals.online logoBrands
  • About & Mission
  • Contact us
  • Privacy Policy
  • Terms and Conditions

Copyright 2025 Manuals.Online. All Rights Reserved.