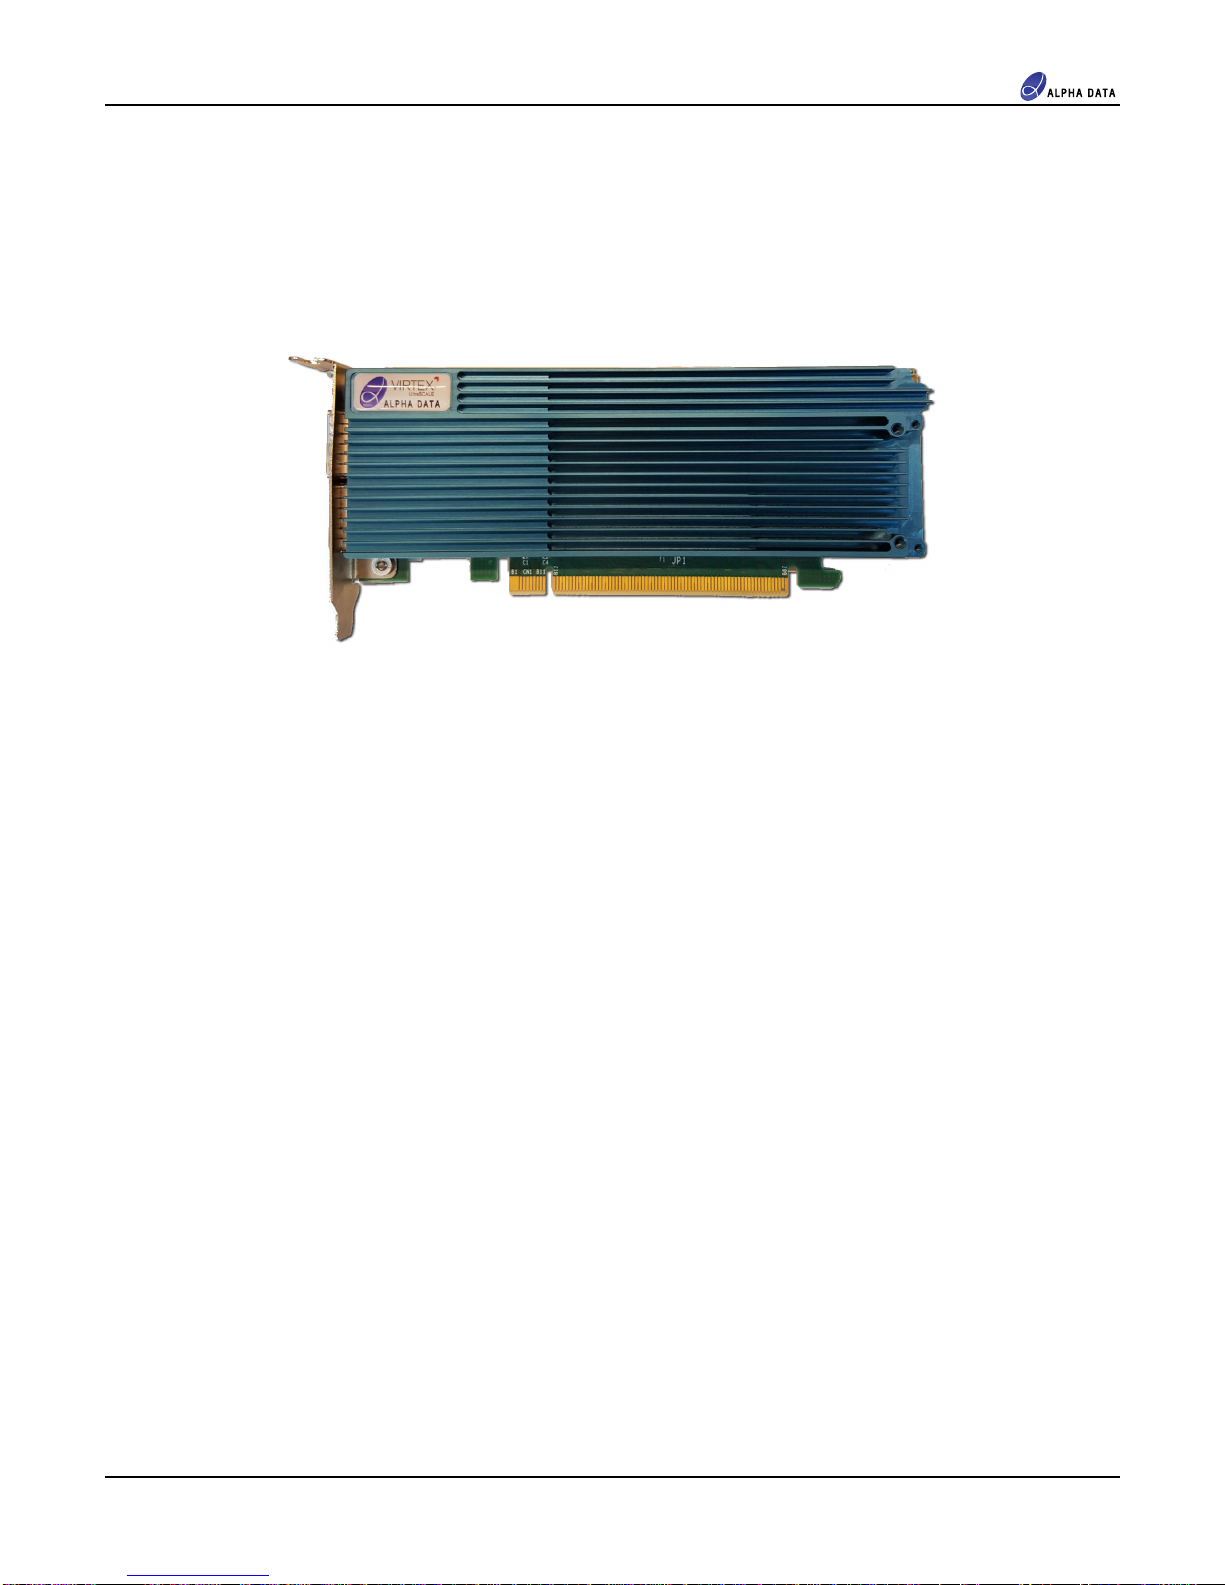
ADM-PCIE-8V3 User Manual
Table Of Contents
1 Introduction ...................................................................................................................................... 1
1.1 Key Features ................................................................................................................................. 1
1.2 Order Code .................................................................................................................................... 1
PCB Information ..............................................................................................................................
2.1 Physical Specifications .................................................................................................................. 2
2.2 Chassis Requirements ................................................................................................................... 2
2.2.1 PCI E press ............................................................................................................................... 2
2.2.2 Mechanical Requirements ......................................................................................................... 2
2.2.3 Power Requirements ................................................................................................................. 2
2.3 Thermal Performance .................................................................................................................... 3
2.4 Optional Blower ............................................................................................................................. 3
3 Functional Description .................................................................................................................... 5
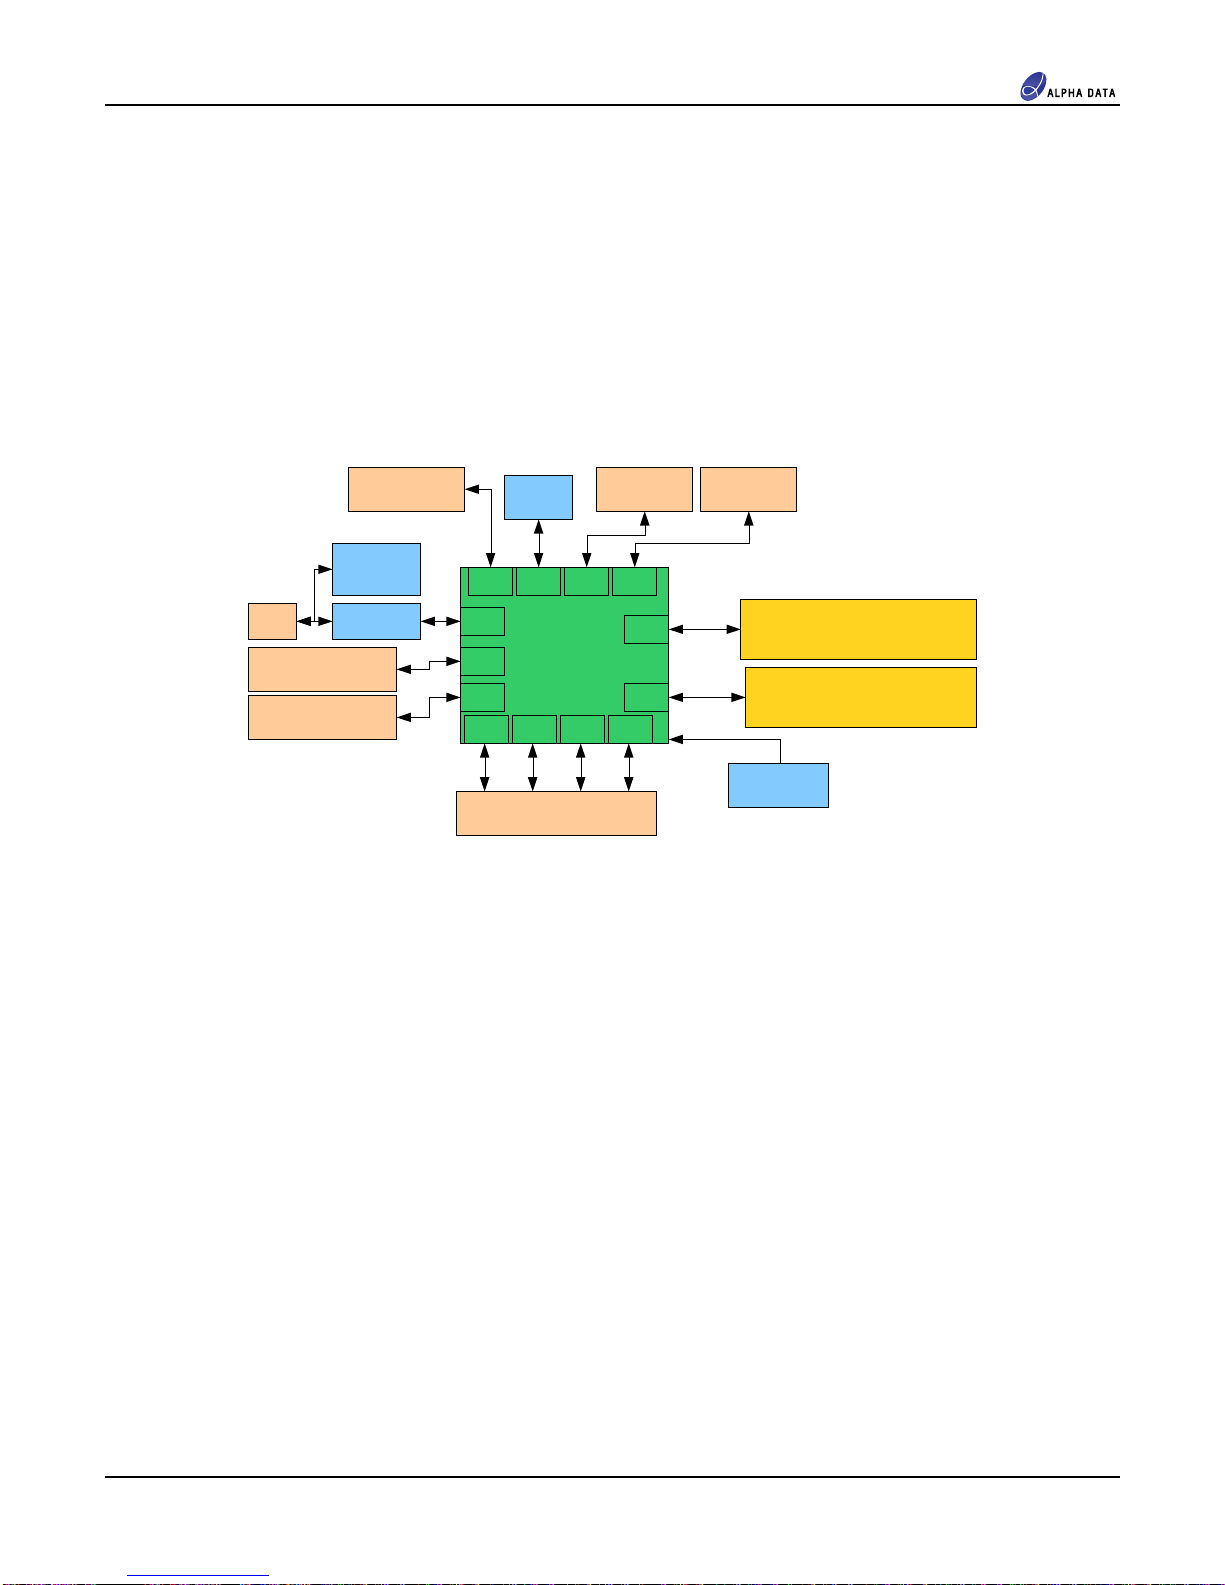
3.1 Overview ........................................................................................................................................ 5
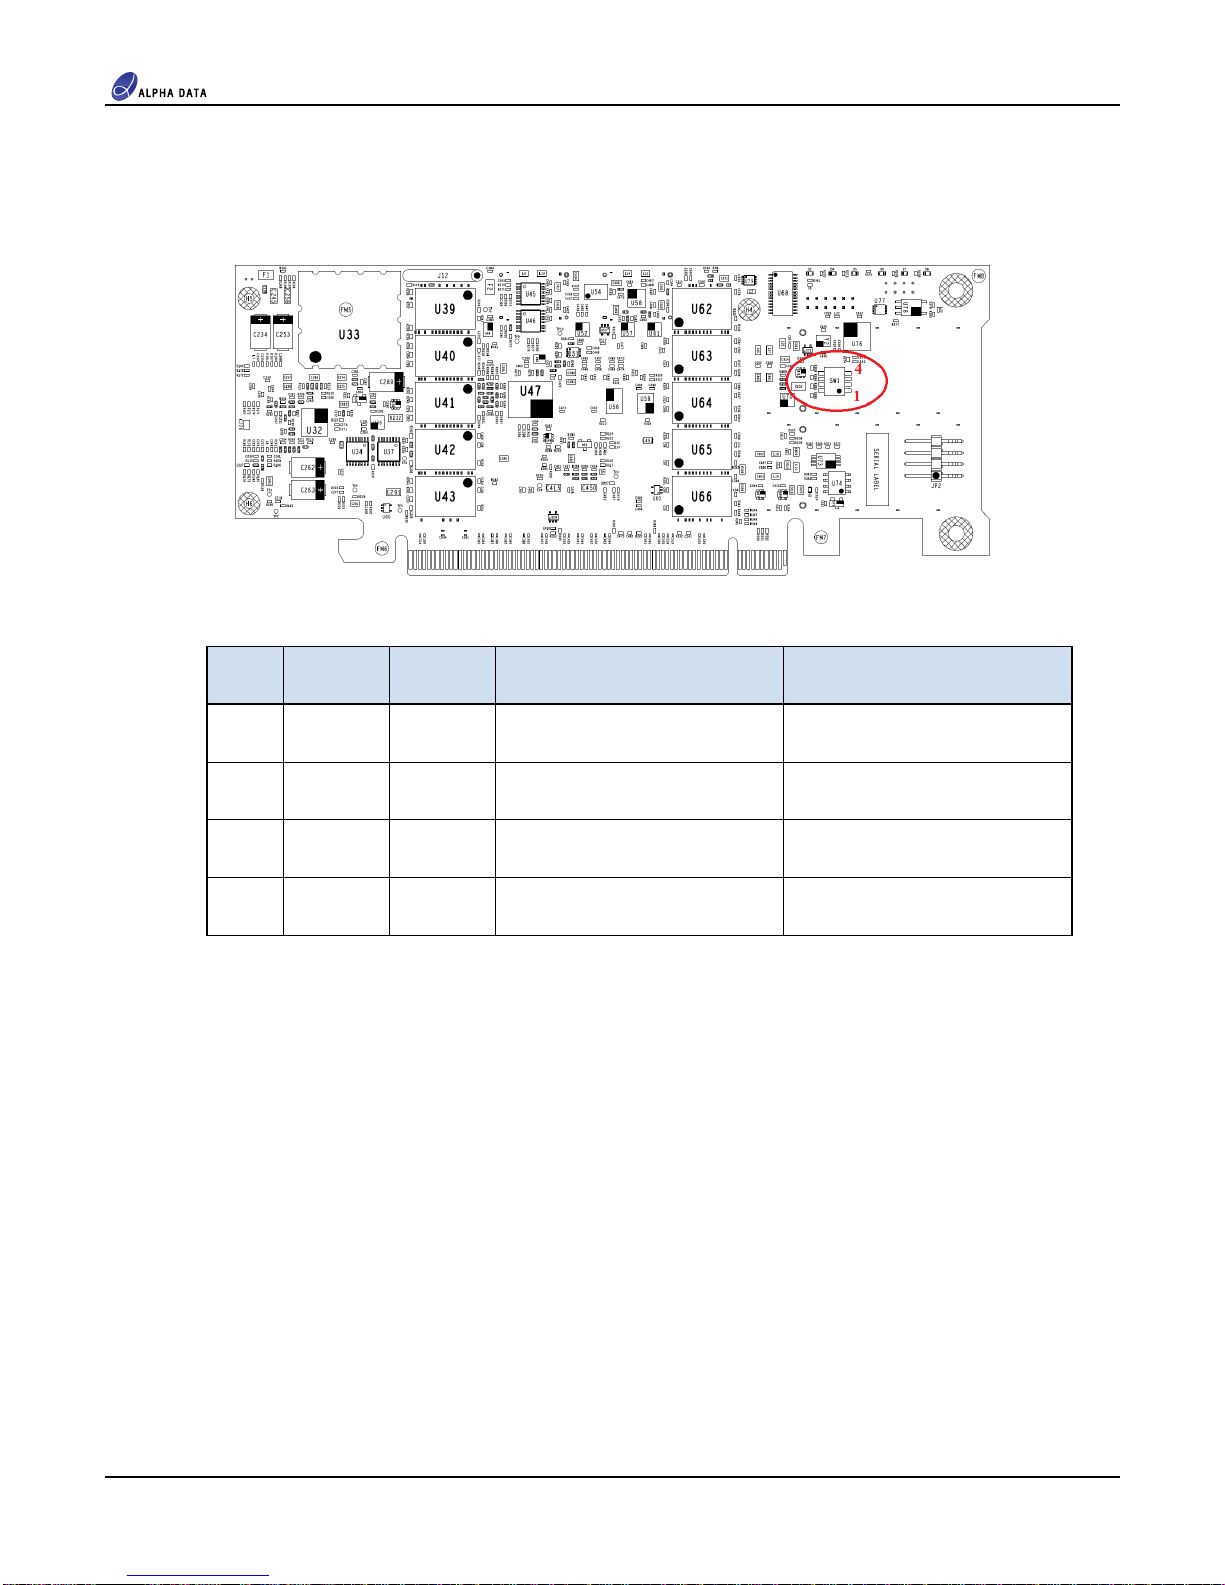
3.1.1 Switches .................................................................................................................................... 6
3.1.2 LEDs .......................................................................................................................................... 7
3.2 Clocking ......................................................................................................................................... 8
3.2.1 PCIe Reference Clocks ............................................................................................................. 8
3.2.2 Fabric Clock ............................................................................................................................... 8
3.2.3 Programming Clock (EMCCLK) ................................................................................................. 8
3.2.4 QSFP28 ..................................................................................................................................... 9
3.2.5 FireFly ........................................................................................................................................ 9
3.2.6 DDR4 SDRAM Reference Clocks .............................................................................................. 9
3.3 PCI E press ................................................................................................................................. 11
3.4 DDR4 SDRAM ............................................................................................................................. 11
3.5 QSFP28 ....................................................................................................................................... 12
3.6 FireFly .......................................................................................................................................... 13
3.7 System Monitor ............................................................................................................................ 15
3.7.1 System Monitor Status LEDs ................................................................................................... 15
3.8 SMA Timing Input ........................................................................................................................ 16
3.9 USB Front Panel Interface ........................................................................................................... 17
3.10 Configuration ............................................................................................................................... 17
3.10.1 Configuration From Flash Memory .......................................................................................... 17
3.10.1.1 Custom Flash Write Interface .............................................................................................. 18
3.10.1.2 Building and Programming Configuration Images ............................................................... 18
3.10.2 Configuration via JTAG ............................................................................................................ 18
3.11 GPIO Option ................................................................................................................................ 18
3.11.1 Direct Connect FPGA Signals .................................................................................................. 19
3.11.2 Low Speed Serial IO ................................................................................................................ 19
3.12 User EEPROM ............................................................................................................................. 19
Appendix A Complete Pinout Table .................................................................................................................. 1
List of Tables
Table 1 Mechanical imensions ..................................................................................................................... 2
Table 2 Available Power By Rail ..................................................................................................................... 2
Table 3 SW1 Switch Functions ....................................................................................................................... 6
Table 4 LE etails ........................................................................................................................................ 7
Table 5 PCIe Reference Clocks ..................................................................................................................... 8
Table 6 Fabric Clock ....................................................................................................................................... 8