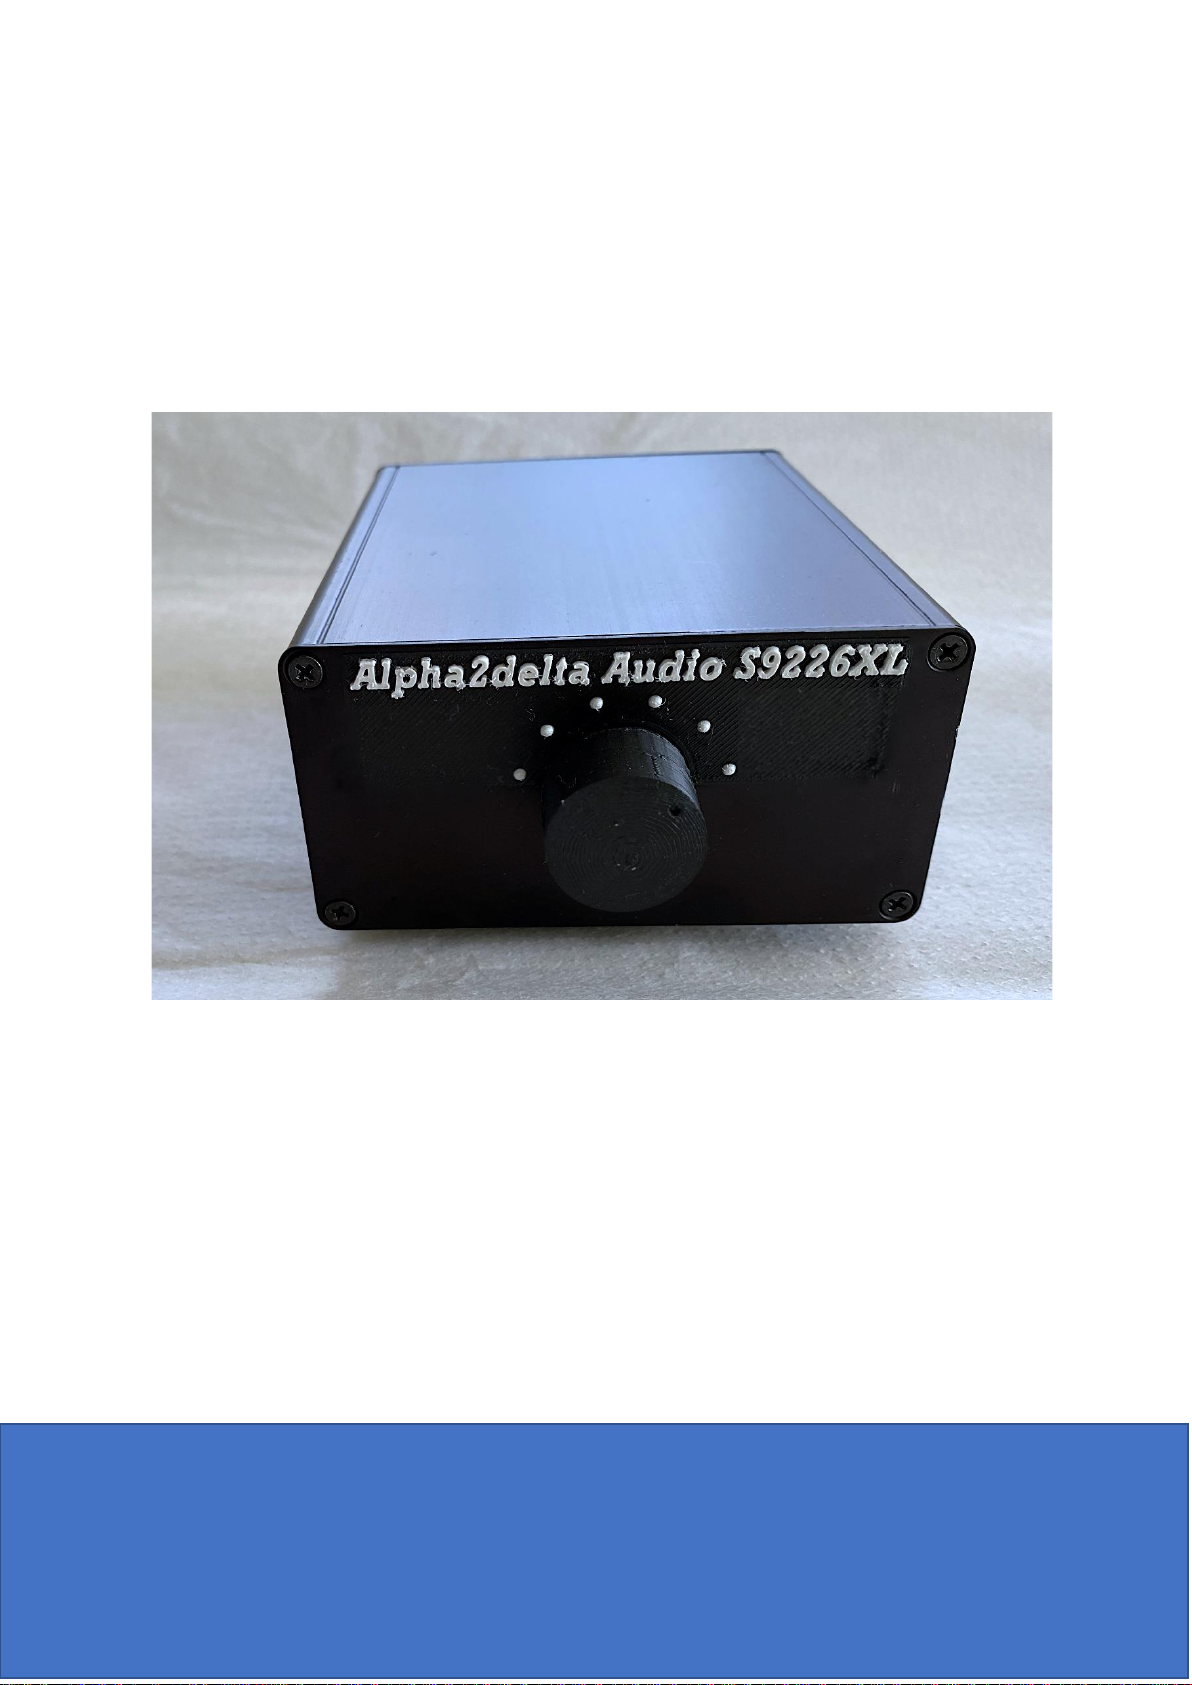
Alpha2delta Audio SUT 9226 User manual

Alpha2delta Audio
SUT 9226 and 9226XL
User Manual
Alpha2delta Design Ltd
48E high street
Hungerford
RG170NE, United Kingdom
07764819558

DESCRIPTION
The SUT 9226(XL) step up transformer is a passive device that use the
Lundahl 9226 or 9226XL transformers and provides control of gain, load,
and input connectivity.
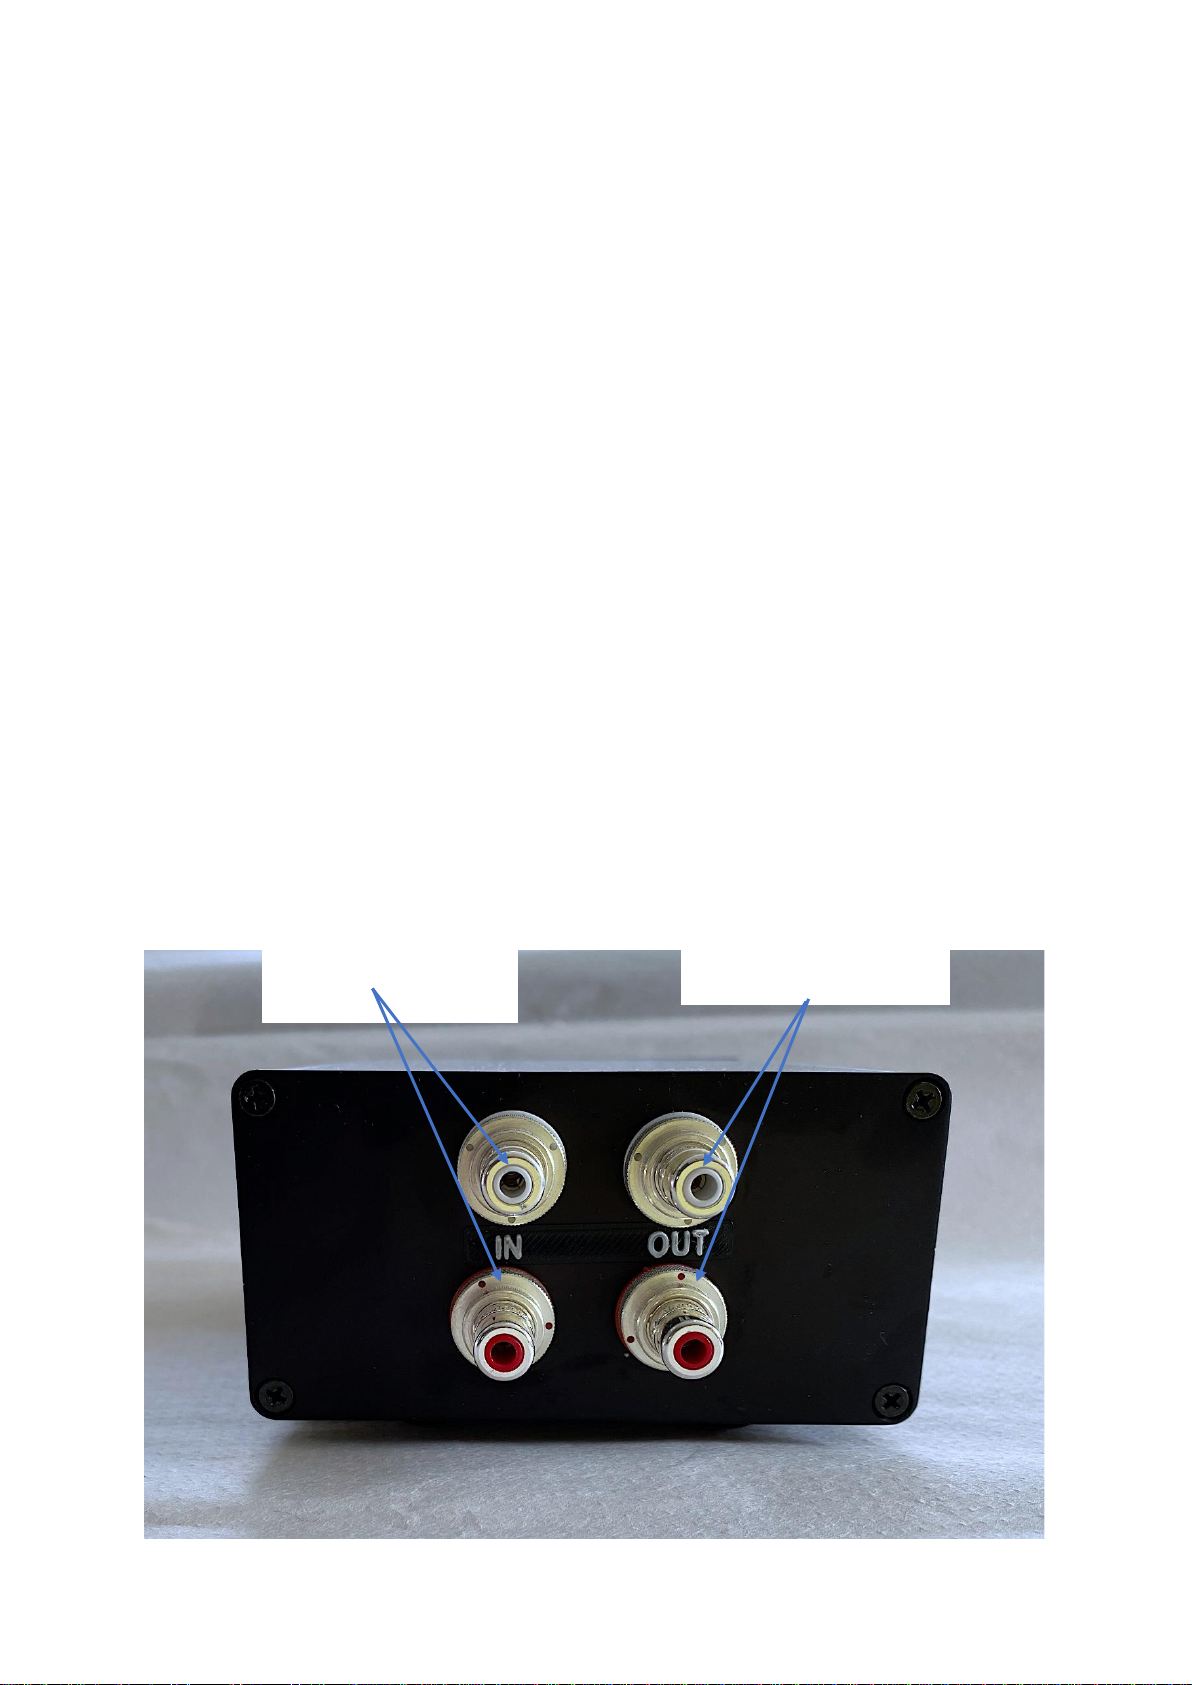
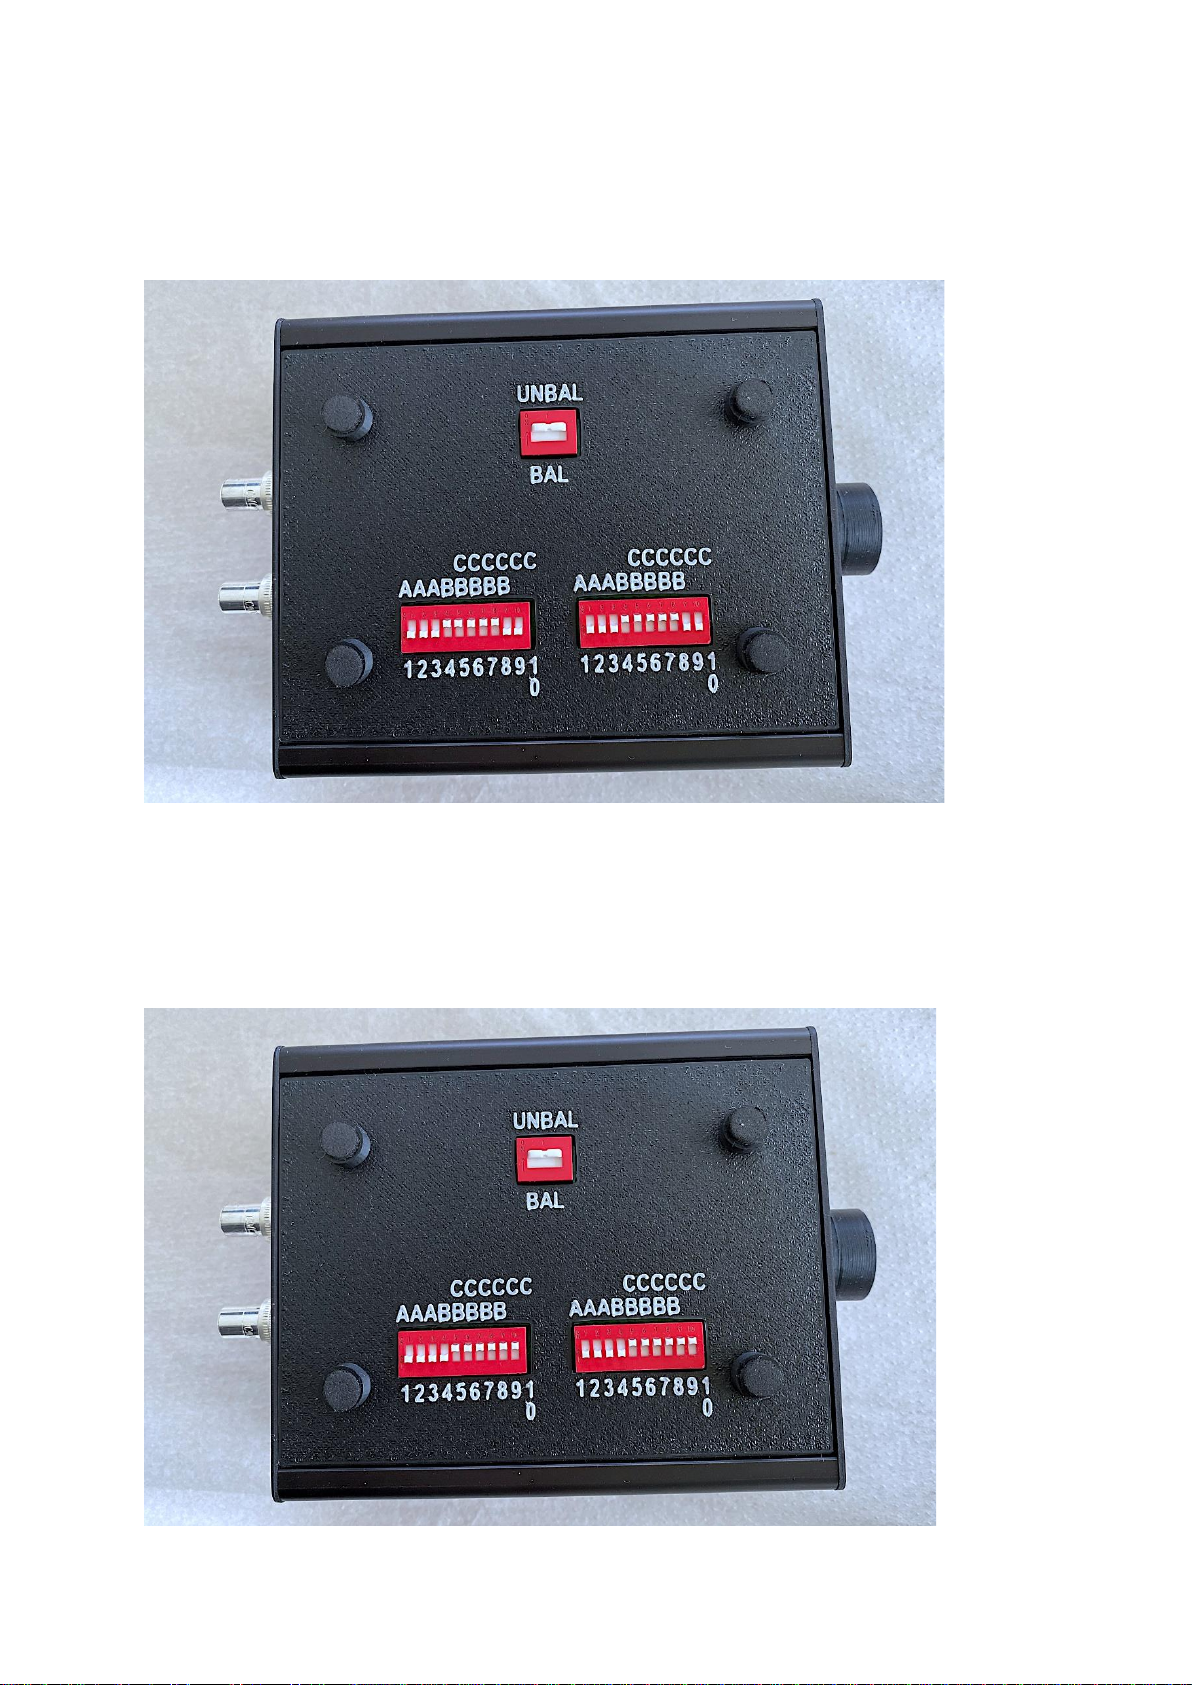
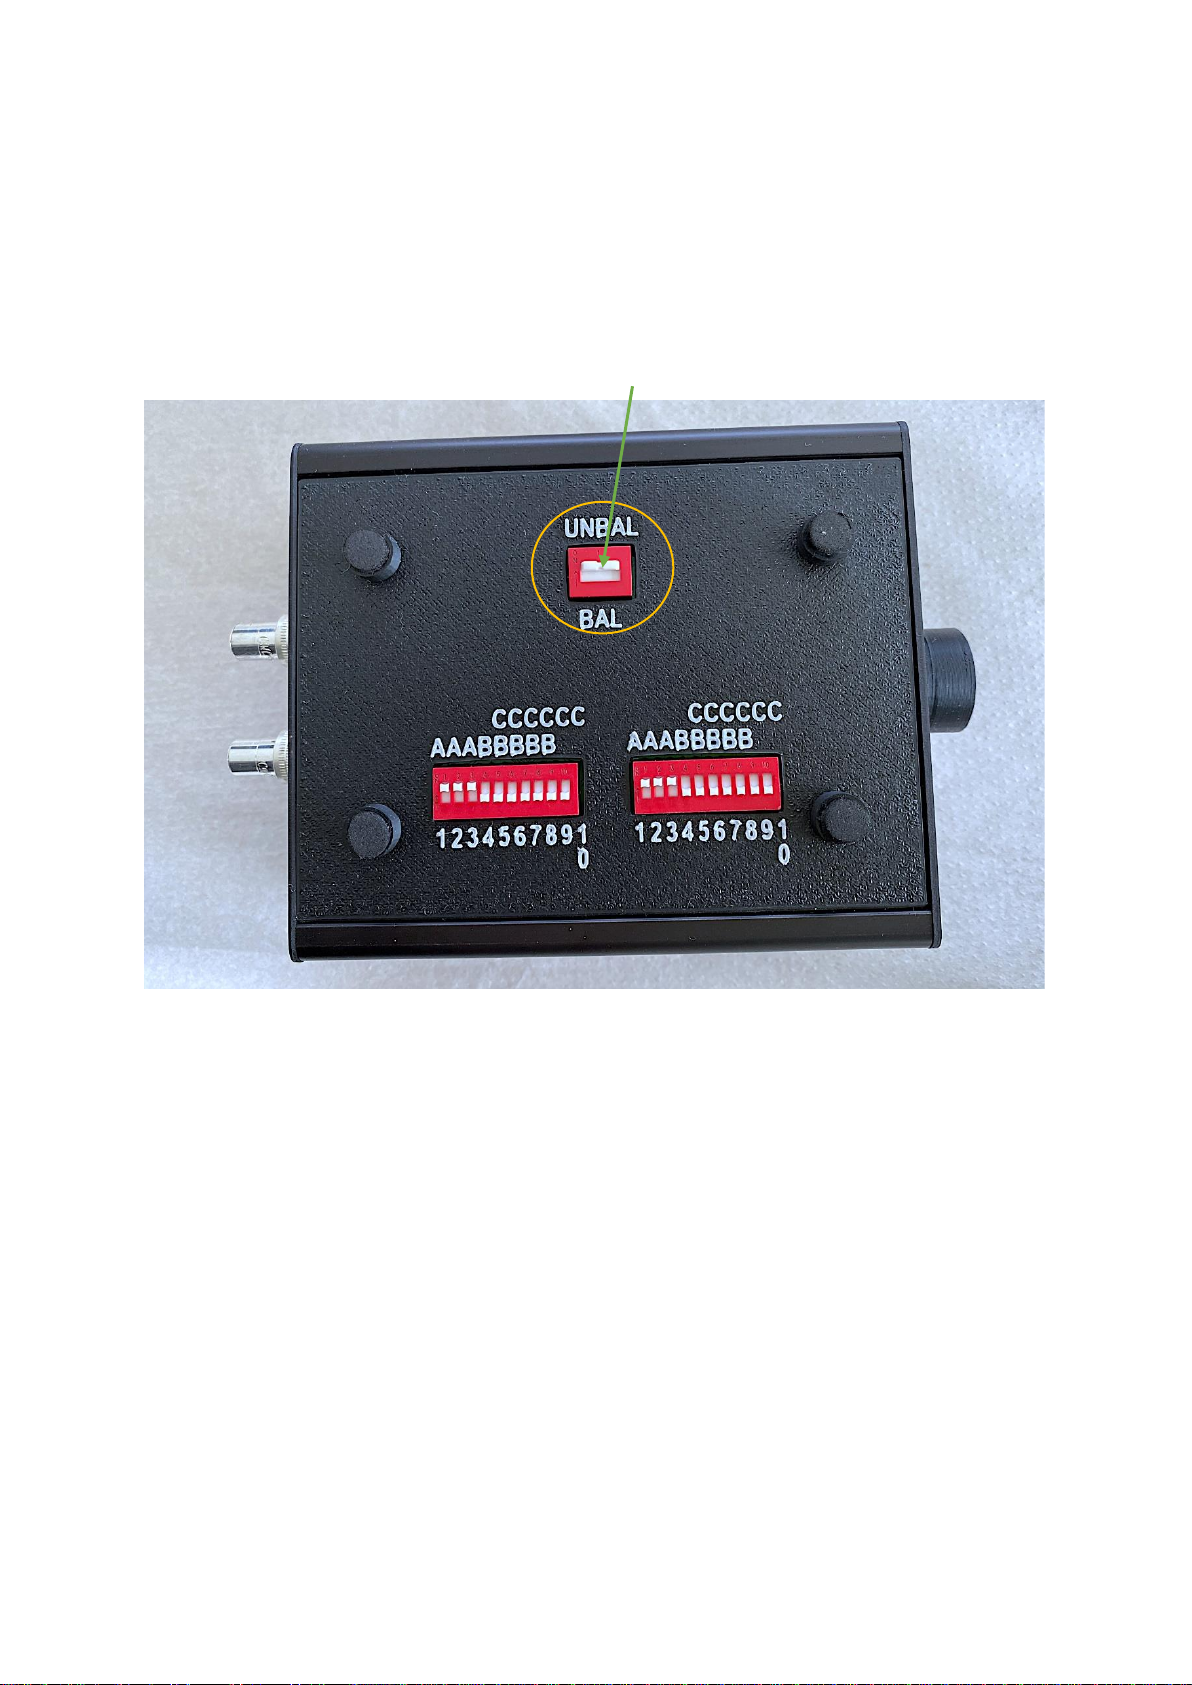
The gain is selectable 1:5 (14db), 1:10 (20db), 1:20 (26db), input can be
selected balanced or un-balanced, and loads from 60-400 ohms.
RECOMMENDATIONS
To get the best from this step-up transformer, Alpha2delta Audio
suggests some recommendations.
Mains purification
One of the worst sources of noise and hence degradation of the small
signals that the SUT has to amplify is from the mains powering the
amplifiers that the SUT feeds. Purifying, isolating, and cleaning the
mains, specially removing DC offsets makes a big and noticeable
difference to the sound quality. Alpha2delta Audio recommends the use
of Puritan Labs mains purifiers such as the PSM136 with Puritan mains
leads.
.
Cables
Use only the best quality interconnect cables, Alpha2delta Audio
recommends solid silver interconnects with shielding (to reduce hum to
minimum) to maintain the philosophy of silver in the design of the SUT.
The recommended length of the cable is 0.5m to a maximum of 1.5m.
Burn-in
As expected, this product needs to have a suitable length of burn in
time, some of this will have been done at Alpha2delta Audio before the
unit is shipped as part of its quality control but the quality of the sound
will improve over time.
Switch on warm up time
The SUT does not need any warm-up time, though as in most
components it will give its best results with stable temperatures. If this
device is close to a heat source it may require the area temperature to
stabilise for peak performance.

SET-UP
The set-up of the SUT is simple if you follow the instructions below.
Unpacking
The SUT comes in a single carton. Carefully open the carton, remove
the unit and place between the turntable and phono stage / pre-amp so
that the arm cable reaches the SUT and so that a suitable interconnect
cable can be used to connect the SUT to the amp.
The unit should not be opened up as there are no user selectable
options inside. There is no power source, the function of the SUT is
purely passive.
Site the SUT so that the arm cables of your turntable reaches the RCA
connectors, and the outputs are in reach of your pre-amp.
Connections
The standard SUT uses RCA inputs. The white RCA connector is the left
channel, red is the right.
The standard SUT uses RCA outputs, it is important that the inputs and
outputs are not mixed up when connecting to the pre-amp. The white
RCA connectors are the left channel, red are the right.
Input from the
turntable pickup
arm connectors
Output Connectors
to a preamp

Grounding
There is no grounding of the SUT, grounding is via the output
connectors, pickup arm grounding may not be required but if there is
hum then it should be connected to the amplifier or its power supply.
Output Loading
The SUT expects to be connected to a 47k ohms input load of the MM
phono stage. If your amp has a different input load contact A2D for a
special load resistor build.
Air Flow
The SUT does not produce any heat and requires no air flow, although a
stable ambient temperature is preferred.

FEATURES
Front Panel
The front panel has the load selector and provides six resistive loads for
the moving coil cartridge loading. The markings on the switch are
designed to be interpreted as positions 1 to 6. This allows for the
customisation of the load values at time of purchase of a custom build, a
chart is supplied identifying the loads for each position for non-standard
loads.
The standard SUT when set to 1:10 gain.
Position 1: 60 Ohms
Position 2: 100 Ohms
Position 3: 200 Ohms
Position 4: 300 Ohms
Position 5: 400 Ohms
Position 6: Open
Exact loading values change with gain selection.
.
Positions
1 2 3 4 5 6

Bottom Panel
The gain and input selection is on the bottom panel.
The gain selection is via the two 10-way DIL switches, the MUST be set
the same and any other of the three options shown will cause the SUT to
not function correctly and should not be selected. It is also highly
recommended that the amp is set to mute or not switched on when
changes are made, if your amp does not have a mute selected another
input or turn the volume to zero. Failure to do this could cause excessive
hum or transients that could damage the amp or speakers.
1:5 setting.
The three switches 1-3 (shown as AAA) have to be in the on position
and all others off.

1:10 setting
The five switches 4-8 (shown as BBBBB) have to be in the on position
and all others off.
1:20 setting
The six switches 5-10 (shown as CCCCCC) have to be in the on
position and all others off.

Input selection
The input can be set to balanced or un-balanced using the small switch
at the top. With the switch set to BAL (off) the input low sides are not
connected to the outputs. When in the UNBAL (on) the input low sides
are connected to the outputs and hence will be grounded in the amp.
The picture below shows the SUT set to the unbalanced position (up).
OPTIONS
Balanced Inputs and Outputs
Optional XLR can be added to a custom build. The SUT has a selector
for balanced or un-balanced use, an optional fixed input can be
requested.
Custom Input Loading
There are 6 load positions that can be custom loaded for a specific set of
MC loads. A fixed load can also be requested.
Colour
The standard colour of the SUT is black, other colours are available.

CLEANING
Use only a damp cloth (not dripping wet) to wipe dust from the SUT,
NEVER use solvents.
SPECIFICATIONS
Frequency response:
7 Hz -- 70kHz +/-1 dB
4 Hz -- 90 kHz +/-1.5 dB
Distortion:
< 0.1% @ -2 dBU, 50 Hz
Gain:
1:5 14db (for MC cartridge < 100R)
1:10 20db (for MC cartridge < 50R)
1:20 26db (for MC cartridge < 25R)
Standard loading (at 1:10 gain)
60R, 100R, 200R, 300R, 400R, NO-LOAD
WARRANTY
The SUT 9226 (XL) is warranted for life with the exception of user
inflicted damage. Return any faulty units to alpha2delta audio for repair.
Last updated 23 Jan 2021
This manual suits for next models
1
Table of contents
Popular Transformer manuals by other brands

WhisperPower
WhisperPower WP-GI 3600 user manual

Tripp Lite
Tripp Lite Full Isolation UPS Systems none Important safety instructions

TECHLIGHTING
TECHLIGHTING 700AT300TR installation instructions

Little Giant
Little Giant TRT150 quick start guide

Amada
Amada IT-513B Operation manual

Patton electronics
Patton electronics 462 user manual