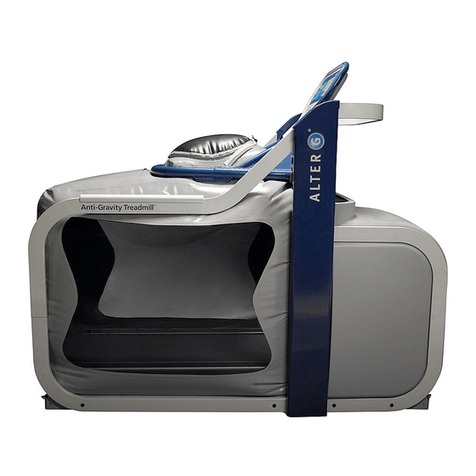
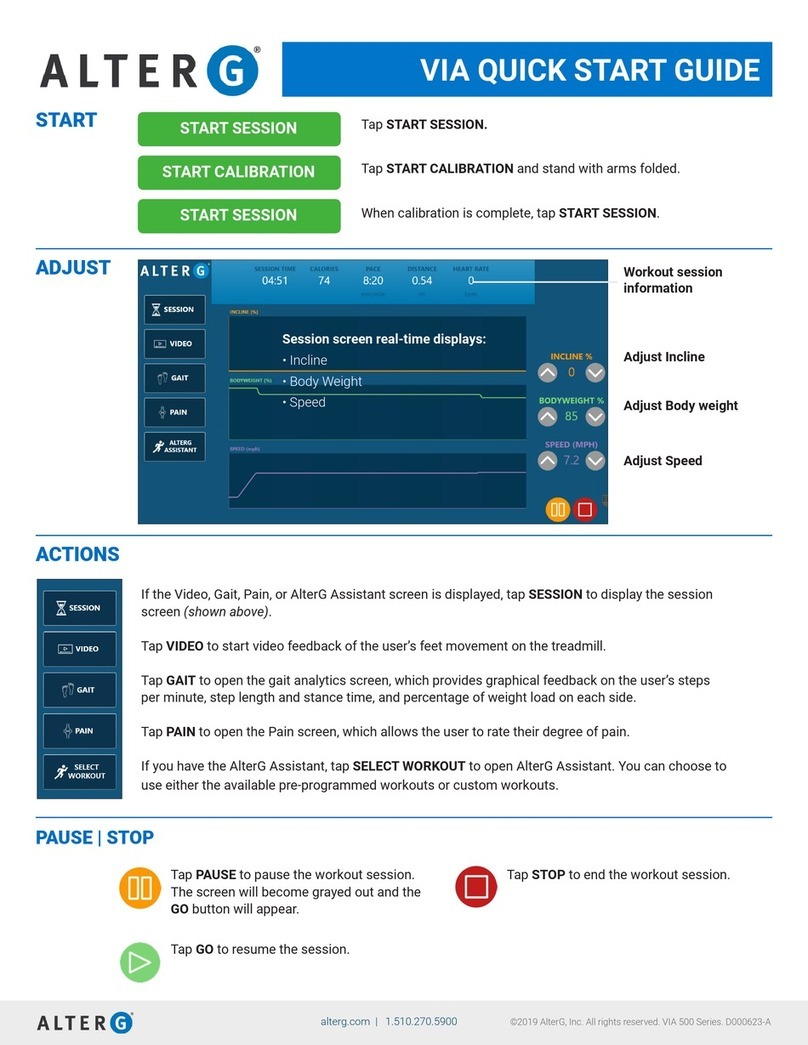
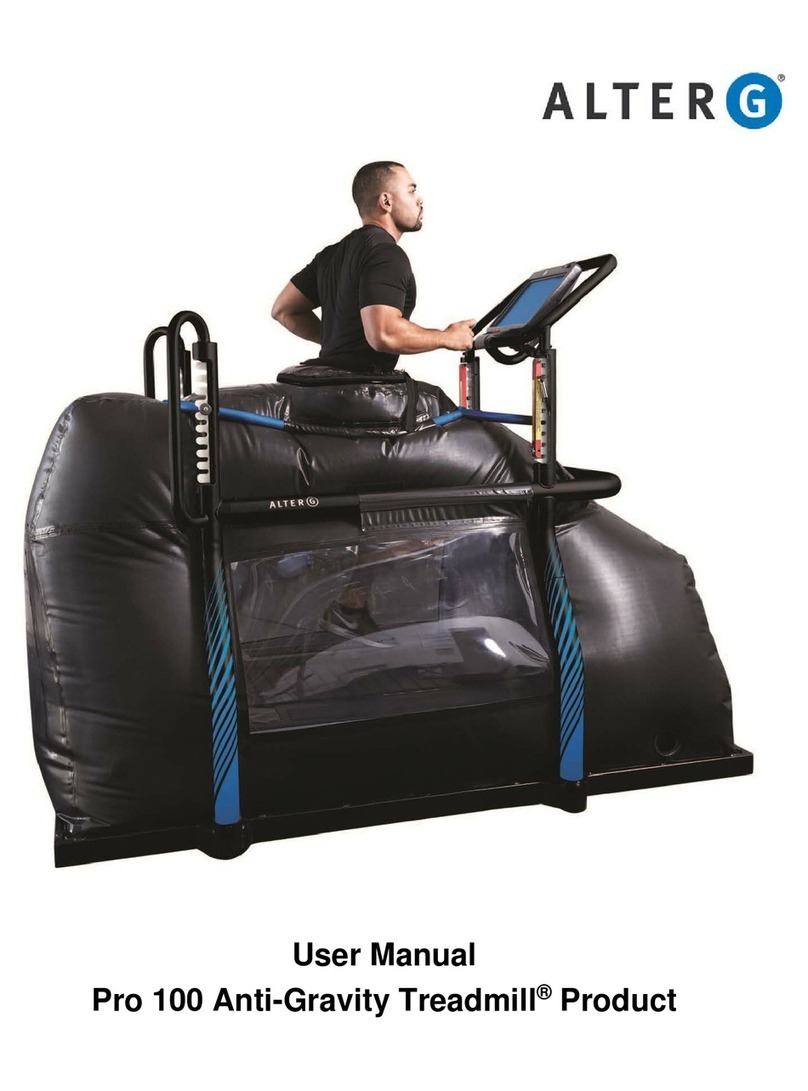
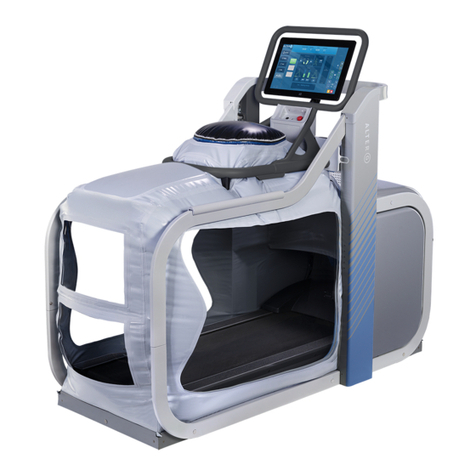
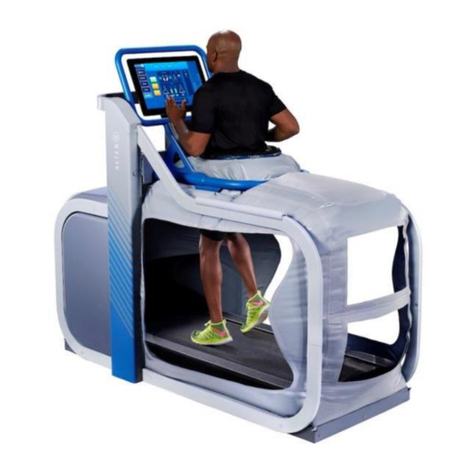
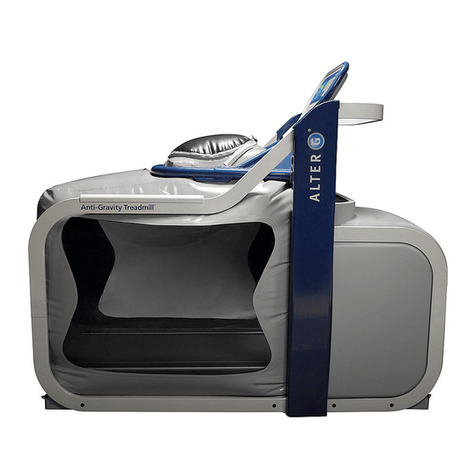
AlterG Anti-Gravity M320 Stride Smart User manual

User Manual
AlterG Anti-Gravity Treadmill® M/F320
Stride Smart™

D000204%Rev.%A%
2%
Table of Contents
User Responsibility!............................................................................................................!4%
Contact Information!...........................................................................................................!5%
Section 1: Operating Stride Smart – Session Screen!...................................................!6%
Metrics!...........................................................................................................................................!6%
Changing Metric Views!...............................................................................................................!6%
Calories!..........................................................................................................................................!6%
Heart Rate!......................................................................................................................................!6%
Ending Stride Smart: Save Report!Mid-Session!.....................................................................!7%
Section 2: Operating Stride Smart – Video!....................................................................!8%
Getting Started!.............................................................................................................................!8%
Focusing and Positioning Cameras!..........................................................................................!8%
Positioning%.........................................................................................................................................%8%
Focusing%.............................................................................................................................................%8%
Camera views!...............................................................................................................................!8%
Video Recording!...........................................................................................................................!9%
Video Playback!...........................................................................................................................!10%
Video Playback Slow Motion!....................................................................................................!10%
Section 3: Operating Stride Smart – Gait!......................................................................!11%
Gait Measurements!....................................................................................................................!11%
Gait Recording!............................................................................................................................!11%
Gait Features!..............................................................................................................................!11%
Gait Reports!................................................................................................................................!12%
Section 4: Operating Stride Smart – Pain!......................................................................!13%
Pain Recording!...........................................................................................................................!13%
Pain Results!................................................................................................................................!13%
Section 5: End of Session Reporting!.............................................................................!14%
Creating End of Session Reports!............................................................................................!14%
Emailing Reports!........................................................................................................................!15%
Extracting with USB!...................................................................................................................!15%
Section 6: Facility Settings!..............................................................................................!16%
Camera Settings!.........................................................................................................................!16%
Adjusting Camera%settings%.............................................................................................................%17%
Reset Cameras%...............................................................................................................................%17%
Reset Camera to Default Settings%................................................................................................%18%
Toggle Metric Units!....................................................................................................................!19%
Export Raw Data!.........................................................................................................................!19%
Calibrate Deck Weight!...............................................................................................................!19%
Calibrate Incline!.........................................................................................................................!19%
Manage Emails!...........................................................................................................................!20%
Remote Technical Support!.......................................................................................................!21%
Section 7: Wi-Fi Connectivity!..........................................................................................!22%

D000204%Rev.%A%
3%
Section 8: Product Labeling!............................................................................................!23%
Figure 29: Label Locations!.......................................................................................................!23%
Product Label!.............................................................................................................................!24%
Warning Label!.............................................................................................................................!24%
Appendix A: Troubleshooting!.........................................................................................!25%
Repairs!.........................................................................................................................................!25%
Appendix B: Warranty!......................................................................................................!26%

D000204%Rev.%A%
4%
User Responsibility
Stride Smart for the AlterG® Anti-Gravity Treadmill® M/F320 will perform as described in this
Operation Manual and by accompanying labels and/or inserts when it is assembled, operated,
maintained and repaired in accordance with the instructions provided. A defective Stride Smart
system should not be used. Parts that are broken, missing, plainly worn, distorted or
contaminated should be replaced immediately. Should such repair or replacement become
necessary, it is recommended that a request for service be made to AlterG, Inc. Stride Smart
and the Anti-Gravity Treadmill, or any of its parts, should only be repaired in accordance with
instructions provided by AlterG, Inc., certified AlterG, Inc. technicians, or by AlterG, Inc. trained
personnel. Stride Smart and the Anti-Gravity Treadmill must not be altered without the prior
written approval of the AlterG, Inc. Quality Assurance Department.
The user of this product shall bear the sole responsibility for any malfunction which results from
improper use, faulty maintenance, improper repair, damage, or alteration by anyone other than
AlterG, Inc. authorized representatives.
Any unauthorized maintenance, repairs or equipment modification activities may void the Stride
Smart Product Warranty.

D000204%Rev.%A%
5%
Contact Information
AlterG welcomes your inquiries and comments. If you have any questions or comments, please
contact our service and support. Contact information list is below.
AlterG Headquarters
48438 Milmont Drive
Fremont, CA 94538
510 270-5900
www.alterg.com
Service and Support
48438 Milmont Drive
Fremont, CA 94538
AlterG Europe, Ltd.
The Mill Horton Rd
Stanwell Moor
Staines,Middlesex,TW19 6BJ
Mon-.-Fri: 9am-.-5pm GMT
Phone: +44 02036514293
Mobile: +44 07733179187
Fax: +44 01753682088

D000204%Rev.%A%
6%
Section 1: Operating Stride Smart – Session Screen
Metrics!
The session screen gives you a graphical overview of body weight, speed, and incline. It also
includes information on your average speed, calories burned, and total distance (Figure 1).
Changing Metric Views
Click the down arrow in the upper left-hand corner (Figure 1). Continue to click through the
arrow to toggle through pace, calories, heart rate, or distance. The measurement you select will
also be displayed on the upper display window (Figure 2).
Calories!
If you have Stride Smart, you may notice the calories displayed on the control panel and the
calories displayed on the touch screen are different. The calories on the control panel are
calculated by the treadmill, based solely on the treadmill speed. The calorie count on the touch
screen takes into account your body weight percentage and speed, and is a more accurate
reading of how many calories have been burned.
Reference http://42.195km.net/e/treadsim/ for more information on how Stride Smart calculates
calories burned.
Heart Rate
%
If you have Stride Smart, heart rate will be displayed by toggling through the touchscreen
(Figure 1). Units without Stride Smart will see heart rate displayed on their control panel.
Figure 1
Figure 2

D000204%Rev.%A%
7%
Ending Stride Smart: Save Report!Mid-Session
Read through the other sections in the User Manual to learn how to use the features of Stride
Smart to record data. Once you have recorded videos and gait reports, you have the option to
export this data before your patients’ session is over. To do this, click on the “End Session”
button on the Session screen (Figure 1).
The treadmill will continue running while you are saving this data. This allows your patient to
perform a cool down, or continue their rehab session while you send or export the data. (Note:
Depending on your wifi connection, and the number of videos you are sending, it may take a
long time for your report to finish sending. We recommend sending all files ahead of time so that
the next patient does not have to wait to use Stride Smart).
Once you click “End Session” you can select which video recordings and gait reports that you
would like to save. Jump to Section 5 to continue reading about how to export the data via email
or USB.
!!

D000204%Rev.%A%
8%
Section 2: Operating Stride Smart – Video
Getting Started
The touchscreen and video display must be turned on before you begin your AlterG session. All
cameras should load automatically upon startup.
Focusing and Positioning Cameras
There are three cameras provided with your Stride Smart system: front, side, and rear.
The cameras will be labeled for each specific use.
Positioning
The front camera will be mounted on the inside of the bag.
The side camera is meant to be 3’ from the subject or closer.
Both the front and side use wide angle lenses. These cameras are not meant to exceed
a distance 3’. If you position the cameras closer to the subject than 3’ you will not need
to make any adjustments.
The rear camera is focused at 7’ from the subject. If the rear camera is positioned any
closer than 7’ you will not need to make any adjustments. If you find the need to move
any of the cameras back further, you may need to readjust.
Focusing
All cameras are focused at the factory before shipment. The side and rear cameras
have been focused to be placed right next to the window of the bag. Positioning your
cameras this way may help minimize glare from external ambient lighting.
If you desire to refocus any of the cameras, or if the cameras become unfocused follow
these steps:%
1. Set the cameras to the desired distance.
2. Loosen the Lens set screw using a small
screwdriver (Figure 3).
3. Place a subject inside the bag and refocus the lens
until it is displayed clearly on the monitor.
a. Turn the lens clockwise or counter clockwise to
establish your desired focus.
4. When satisfied with focus, lightly tight the Lens set
screw with the small screwdriver.
Camera views
Stride Smart for the M/F320 uses three cameras. The cameras are meant to be
positioned in the front, side and rear. The video feed will be displayed on the TV monitor
mounted to the front of the treadmill.
The front camera is permanently affixed inside the treadmill bag. The side and rear
cameras are attached to adjustable tri-pods and can be moved around as desired.
Figure 3

D000204%Rev.%A%
9%
While in a session, to select the camera view, click on
the video button (Figure 4).
To toggle between the different camera views, click on
the camera you want to see (Figure 5).
Video Recording
Users can record 10 second video clips during their session. To record a video clip,
navigate to the camera page (Figure 5) and click the green record button. You can
cancel a recording by clicking “Stop Recording” (Figure 6).
Figure 4
Figure 5
%
Record%
Playback%

D000204%Rev.%A%
10%
After recording is complete, you will automatically be sent
to the “View Results” page.
You can adjust any of the treadmill controls while
recording (body weight %, incline, and speed). However,
you cannot switch camera views while recording. Doing
so will cancel and delete what has been recorded.
Video Playback
To playback video recordings, navigate to the camera
page (Figure 5) and click on the “View Results” button.
This is to the right of the green “Record Video” button.
Select which video you would like to playback from the
thumbnails (Figure 7) and press play. The video will be
displayed on the TV monitor mounted to the front of the
treadmill. The video selected will be played in a loop until
you pause, select another video, or return to the live video
page.
Video Playback Slow Motion
Videos can be played back in normal speed or slow
motion.
Slow motion speed options: 1x, 1/2 x, 1/4x
To select a slow motion speed, click on the desired speed button (Figure 7).
To play a video frame-by-frame, click on the double-arrow step button (Figure 7).
Continue to click on the step button to go through additional frames.
Note: You will be able to email or save videos at the end of your session (discussed in
section 5).
Figure 6
Figure 7

D000204%Rev.%A%
11%
Section 3: Operating Stride Smart – Gait
Gait Measurements
Stride Smart for the M/F320 measures the following:
• Weight bearing symmetry
• Cadence
• Stance time symmetry
• Step length symmetry
While in a session, to view Gait, click on the “Gait” button
(Figure 8).
Gait measurements are a display of the last 3 steps on
each foot.
%
%
%
%
Gait Recording
Users can record as many gait
reports as they would like.
There is no time limit to the
length of the recording. To
record a gait report, navigate
to the gait page and click the
green “Record Gait” button
(Figure 9).
A red bar will appear at the top
of the screen signaling that
gait is currently being
recorded. Press “Stop
Recording” when you want to
conclude recording (Figure
10).
Once you have completed your recording, you will automatically be sent to the “Gait
Summary” page.
You can adjust any of the treadmill controls while recording (body weight %, incline, and
speed). We recommend recording different reports so that you can see the effect of
body weight, incline, or speed on gait symmetry.
Gait Features
There are two additional features for different use cases on the Gait Screen.
Figure 8
Figure 9
Figure 10

D000204%Rev.%A%
12%
Cross over gait: If you have a patient with scissoring gait
(foot crosses the midline when planted), push the “Cross
over gait” button. The button will be highlighted orange
when in effect. This allows the software to identify the
right foot when the left load cells detect weight, and left
foot when the right load cells detect weight (Figure 11).
Running mode: Switch to running mode if your patient is
jogging or running. The button will be highlighted orange
when in effect (Figure 11). The software will switch to an
alternative algorithm to track gait metrics at faster speeds.
If running mode is not detected, but needed, a yellow bar
will appear at the top of the screen with a message that
says “Gait data may not be accurate.”%
%
%
%
Gait Reports
To view previous Gait Reports, navigate to the Gait screen (Figure 9) and click the
“View Results” button. This is to the right of the green “Record Gait Data” button.
Select which gait report you would like to review from the
thumbnails (Figure 12).
A summary of that data session will display on the screen.
This is an average of each of the gait measurements over
the duration of your recording. (i.e. – If you recorded for
30 seconds, this is a summary of your gait symmetry over
those 30 seconds).
The thumbnails are labeled with the starting body weight
% and session time of your recording to allow you to
easily locate the report you would like to view.
Note: You will be able to email or save gait reports at the
end of your session (discussed in section 5).
Figure 12
Figure 11

D000204%Rev.%A%
13%
Section 4: Operating Stride Smart – Pain
Pain Recording
While in a session, to record pain, click on the “Pain” button
(Figure 4).
Pain can be recorded on a scale of 0-10 (0 = no pain, 10 =
maximum pain). To record pain, select a number from 0-10
and click “Set Pain Level.”
There are no prompts during the session to remind you to
input pain. It is up to the therapist to ask the patient what
their pain level is and input it throughout the session.
Once you have set the pain level, you will automatically be
sent to the “View Results” page.
%
%
Pain Results
To review previous pain recordings, click on the blue “View
Results” button. This is to the right of the green “Set Pain
Level” button.%%
A graph displaying all recorded pain results will be plotted
here (Figure 14). The graph displays pain in relation to
approximate body weight %. (i.e. – If you recorded a pain
level of 8 at 93% body weight, you will see the number 8
listed in-between 90-100%).
Tolerance will also be displayed. This is a measurement of
the body weight % where the patient felt the least amount of
pain. (i.e. – Patient example in Figure 14 rated a pain level
of 2 at 79% body weight).
Note: Pain results will automatically be included when you
email or save your end of session reports (discussed in section 5).
Figure 13
Figure 14

D000204%Rev.%A%
14%
Section 5: End of Session Reporting
Any videos or session reports not emailed or saved at the
end of the session will be deleted.
Estimated wait time to email or extract videos and reports is
approximately 20 seconds per video, depending on your wifi
connection. Please be patient and confirm all data has been
sent before exiting the treadmill.
Creating End of Session Reports
Once you have hit stop at the end of your session, you will
have the opportunity to email or save a copy of your
session report, videos, gait data, and pain measurements
captured during your session. To create a report, click on
the green “Create Report” button (Figure 15).
Select which videos and gait reports you would like to email
or save by clicking on the thumbnails you want. The
thumbnails will be highlighted once selected (Figure 16).
You can send as many videos and gait reports as you
would like. The videos will all come to your inbox as
separate emails and are approximately 10 MB each.
The end of session report is a summary of your session
details. It will automatically be sent to you along with the
selected items in PDF format. It will also include all of the
pain data recorded. There will be no patient or athlete name
on the report.
Once you have selected all of your items, click “Email
Report” or “Export to USB” to save.
CREATE REPORT
Once you exit session you will no longer be able to access
session results. Create a report to save session data.
EMAIL
REPORT
EMAIL
REPORT
EXPORT
TO USB
EXPORT
TO USB
EXIT
SESSION
EXIT
SESSION
85
85
% weight
BODYWEIGHT
110
110
steps/min
CADENCE
53 42
53 42
/
WEIGHT BEARING
% of total
490 550
490 550
/
STANCE TIME
ms
85
85
% weight
BODYWEIGHT
110
110
steps/min
CADENCE
53 42
53 42
/
WEIGHT BEARING
% of total
490 550
490 550
/
STANCE TIME
ms
SELECT VIDEO RECORDING
SELECT GAIT ONLY RECORDING
BODYWEIGHT
85%
03:13
2
BODYWEIGHT
92%
02:36
1
BODYWEIGHT
80%
05:32
3
BODYWEIGHT
72%
07:32
4
BODYWEIGHT
85%
03:13
2
BODYWEIGHT
92%
02:36
1
BODYWEIGHT
80%
05:32
3
BODYWEIGHT
72%
07:32
4
Figure 15
Figure 16

D000204%Rev.%A%
15%
Emailing Reports
Add a Report Name before sending (Figure 17). We
recommend a non-identifiable patient ID (ex: 12345), or the
session time and date (ex: YYMMDD HH:MM). This will
help you identify whose data this is. We recommend
emailing the information to yourself and later attaching it to
the patient’s EMR.
Type your email address into the white text box and press
send.
Videos will be sent in mp4 format. They will be playable on
native players on computers and mobile devices. It is
recommended to use VLC player if you wish to view the
video in slow motion on external devices.
Extracting with USB
If you do not have wifi or want to save your videos and end
of session report on a USB key, you can do so by clicking
on the “Export to USB” button (Figure 16).
Add a Report Name before sending (Figure 18). We
recommend a non-identifiable patient ID (ex: 12345), or the
session time and date (ex: YYMMDD HH:MM). This will
help you identify whose data this is.
Once you have added a Report Name click “Save Report.”
You can save as many videos and gait reports as you
would like, as long as there is enough space on your thumb
drive.
The end of session report is a summary of your session
details. It will automatically be sent to you along with the
selected items in PDF format. It will also include all of the pain data recorded. There will
be no patient or athlete name on the report.
Figure 18
Figure 17
SAVE
REPORT
SAVE
REPORT
CANCEL
CANCEL
Insert USB drive and press save
to export your report
report name
CREATE REPORT
KEYBOARD

D000204%Rev.%A%
16%
Section 6: Facility Settings
%
Camera Settings
To access all setting screens, return to the home screen
and double tap on the upper-right hand corner of the
screen (Figure 19).
A keypad will pop up (Figure 20). Enter code 5900.
Figure 19
Figure 20

D000204%Rev.%A%
17%
Adjusting Camera!settings!
The Stride Smart video system will be installed by an
AlterG technician, and will be pre-programmed with our
default camera settings. These settings are based on our
color and contrast recommendations. If you wish to adjust
the camera image, click on “Cameras” (Figure 21).
Select the individual camera you want to adjust (Figure
22).
To adjust another camera, you must exit this page and
select the next camera you would like to adjust.
Reset Cameras
If any cameras freeze, they can be rebooted by entering
the camera settings page and clicking “Reset Cams”
(Figure 22). If problems persist, please contact the AlterG
support team.
Figure 22
Figure 21

D000204%Rev.%A%
18%
Reset Camera to Default Settings
If you have adjusted the camera settings (color, contrast,
etc.) and want to revert back to the original settings, you
can do so by clicking the “Factory Reset” button (Figure
23), and then clicking “Save.” You will need to do this for
each camera.
Figure 23

D000204%Rev.%A%
19%
Toggle Metric Units
%
To change the unit of measurement from MPH (miles per
hour) to KPH (kilometers per hour), click the “Units” button
(Figure 24).
Export Raw Data
This option is better suited for research purposes. To
export the raw load cell data in a .csv format, click “Allow
Export” (Figure 24). When you email or export your
session data, the raw data will automatically be included
in a separate file.
!
Calibrate Deck Weight
!
If you are having issues with calibration, you may need to recalibrate the deck weight.
Please contact AlterG Service prior to resetting the deck weight. To recalibrate deck
weight, make sure there is no weight on the treadmill deck. There can’t be anyone
standing inside, or on the sides of the treadmill. Click “Cal Deck Weight” (Figure 24).
This number should be around 200 lbs (+/- 50).
If you continue to have issues with calibration please contact our AlterG Service Team.
Calibrate Incline
If you are having issues with incline, you may need to
recalibrate the incline reading. Please contact AlterG
Service prior to resetting the incline calibration. To
recalibrate the incline, click “Cal Incline (Figure 24).
You will then be directed to the Incline Calibration screen
(Figure 25). Click the blue “Calibrate” button.
Confirm that the M320 reading and the number in-
between the green arrows are the same. If they are
different, use the green up or down arrows to match the
M320 reading number.
Once the numbers match, click “Return.”
Figure 24
Figure 25

D000204%Rev.%A%
20%
If you continue to have issues with incline please contact our AlterG Service Team.
Manage Emails
Shorten the End of Session process by pre-programming
your staff’s email addresses. This allows you to select
email addresses from a pre-programmed list, and reduce
the amount of time spent entering data. Click on “Manage
Emails” (Figure 24).
Enter the clinician’s name and email address and click
“Add.”
You have the option of displaying the pre-programmed list by name or by email (Figure
27).
Figure 26
Figure 27
This manual suits for next models
1
Table of contents
Other AlterG Treadmill manuals

AlterG
AlterG M300 Series User manual

AlterG
AlterG M310 User manual

AlterG
AlterG Anti-Gravity Treadmill User manual

AlterG
AlterG Anti-Gravity Treadmill User manual

AlterG
AlterG Anti-Gravity Treadmill Fit Series User manual

AlterG
AlterG Anti-Gravity Treadmill Via 400 User manual

AlterG
AlterG VIA User manual

AlterG
AlterG Anti-Gravity Treadmill Via 400 User manual

AlterG
AlterG Pro 100 User manual

AlterG
AlterG Pro 500 Anti-Gravity Treadmill User manual