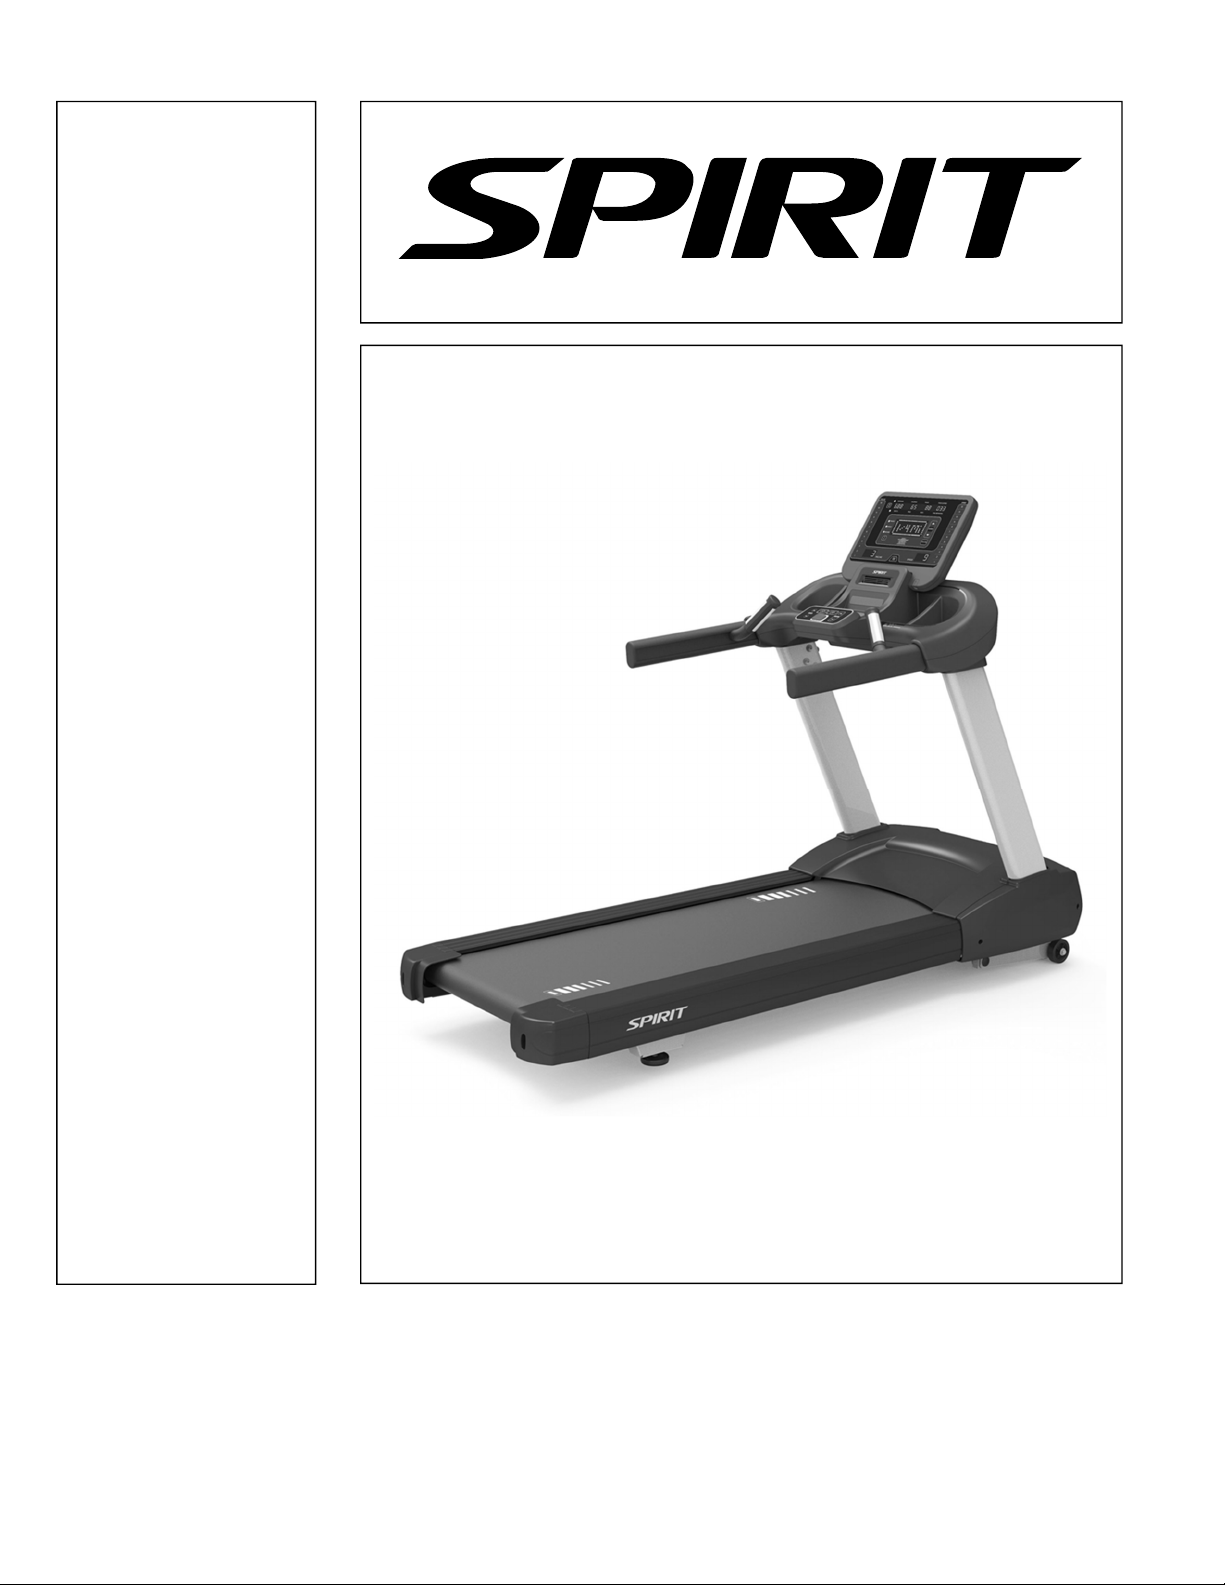
Customer Service 1-888-707-1880 Dyaco Canada Inc. 2020
Email: customerservice@dyaco.ca
5
IMPORTANT
SAFETY
INSTRUCTIONS
WARNING - Read all instructions before using this equipment.
DANGER - To reduce the risk of electric shock, always unplug this treadmill from the electrical outlet
prior to cleaning and/or service work.
WARNING - To reduce the risk of burns, fire, electric shock, or injury to persons, install the treadmill on
a flat level surface with access to a 120-volt, 20-amp grounded outlet.
WARNING - Heart rate monitoring systems may be inaccurate. Over exercising may result in serious
injury or death. If you feel faint stop exercising immediately.
The treadmill should be the only equipment in the circuit in which it is connected. DO NOT ATTEMPT TO
DISABLE THE GROUNDED PLUG BY USING IMPROPER ADAPTERS, OR IN ANY WAY MODIFY THE
CORD SET. A serious shock or fire hazard may result along with computer malfunctions.
ASTM F2115-05 Specifications 6.1.2.11 The recommended minimum clearance required around each treadmill
for access to, passage around, and emergency dismount shall be stated. The minimum dimensions are to be:
0.5 m (19.7 in.) on each side of the treadmill, and 1 m (39 in.) behind the machine.
Do not operate treadmill on deeply padded, plush or shag carpet. Damage to both carpet and treadmill
may result.
Keep children under the age of 13 away from the treadmill. There are obvious pinch points and other
caution areas that can cause harm.
Keep hands away from all moving parts.
Never operate the treadmill if it has a damaged cord or plug. If the treadmill is not working properly, call
your dealer.
Keep the cord away from heated surfaces.
Do not operate where aerosol spray products are being used or where oxygen is being administered.
Sparks from the motor may ignite a highly gaseous environment.
Never drop or insert any object into any openings.
Do not use outdoors.
To disconnect, turn all controls to the off position and then remove the plug from the outlet.
Do not attempt to use your treadmill for any purpose other than for the purpose it is intended.
The hand pulse sensors are not medical devices. Various factors, including the user’s movement, may
affect the accuracy of heart rate readings. The pulse sensors are intended only as exercise aids in
determining heart rate trends in general.
Wear proper shoes. High heels, dress shoes, sandals or bare feet are not suitable for use on your
treadmill. Quality athletic shoes are recommended to avoid leg fatigue.
Children should be supervised to ensure that they do not play with the equipment.
Remove tether cord after use to prevent unauthorized treadmill operation.
Connect this treadmill to a properly grounded outlet only. See Grounding Instructions.
Please make sure that power-supply cord and adapter placed in dry area and kept away from heat
This exercise equipment is not intended for use by persons with reduced physical, sensory or mental
capabilities, or lack of experience and knowledge.
Before beginning this or any exercise program, consult a physician. This is especially important for persons
over the age of 35 or persons with pre-existing health conditions.
Close supervision is necessary when this exercise equipment is used by, on, or near children, invalids, or
disabled persons.
User weight should not exceed 450 lbs (204 kgs).
SAVE THESE INSTRUCTIONS - THINK SAFETY!