5
malletKAT Quick Start Guide
note. There’s a long list of cool things that these pedals can do. Of course, the full manual
will get into the details of these functions.
MIDI IN
You can attach a MIDI cable to this input, when you want to have some other MIDI device
“share” your malletKAT sounds so that they can be played by an external sequencer or
your keyboard player.
MIDI OUT
Plug a MIDI cable into this output when you want to connect the malletKAT to another
sound module like the Kurzweil PC2r, to a sequencer, or to a data storage device. Make
sure that you plug the other end of the cable into the MIDI IN jack on the receiving device.
EXPANDER INPUTS
These input jacks are for connecting your expander octaves. You can connect up to two
expanders on a malletKAT. Expander ONE is the closet expander to the malletKAT itself.
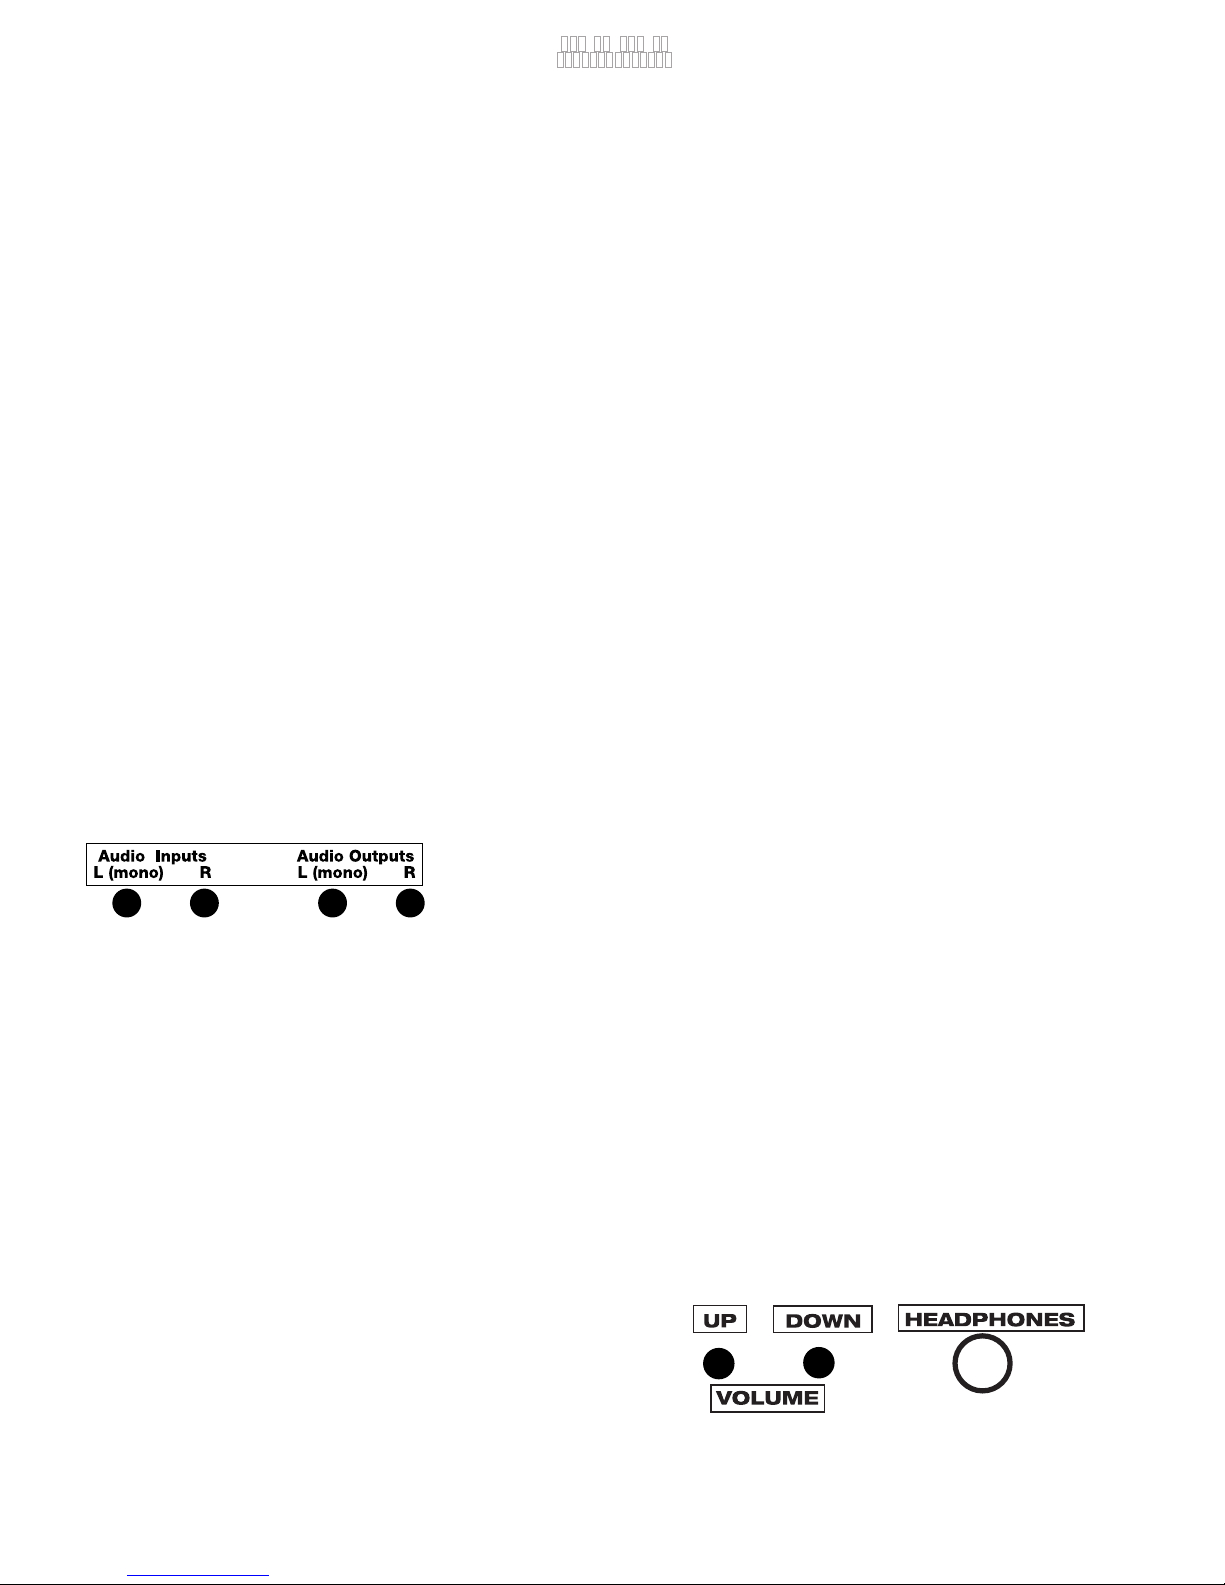
AUDIO INPUT / AUDIO OUT JACKS (For the malletKAT KS only)
The malletKAT KS has 2 audio input and 2 audio output jacks. It also has a headphone jack
plus two buttons for volume up and down. Looking from the rear view, on the right side of
the malletKAT are four audio jacks. The two holes on the LEFT are INPUT jacks. You can
plug your CD player into these jacks and play along with
it. The audio coming from these inputs automatically gets
routed to the headphones and the audio out jacks.
Next the input jacks on the RIGHT are the AUDIO OUT jacks. Take two ¼’ audio cables and
plug them into your amplifier. If you only have one input on your amp, just use the jack that
says MONO. The malletKAT automatically takes both the left and right audio signals and
puts them on the one mono jack.
BUTTONS
There are two small buttons on the FRONT side of the malletKAT. These are the volume
controls. UP raises the volume, DOWN lowers the volume.
HEADPHONE JACK
You guessed it. This is where you plug in your
headphones.
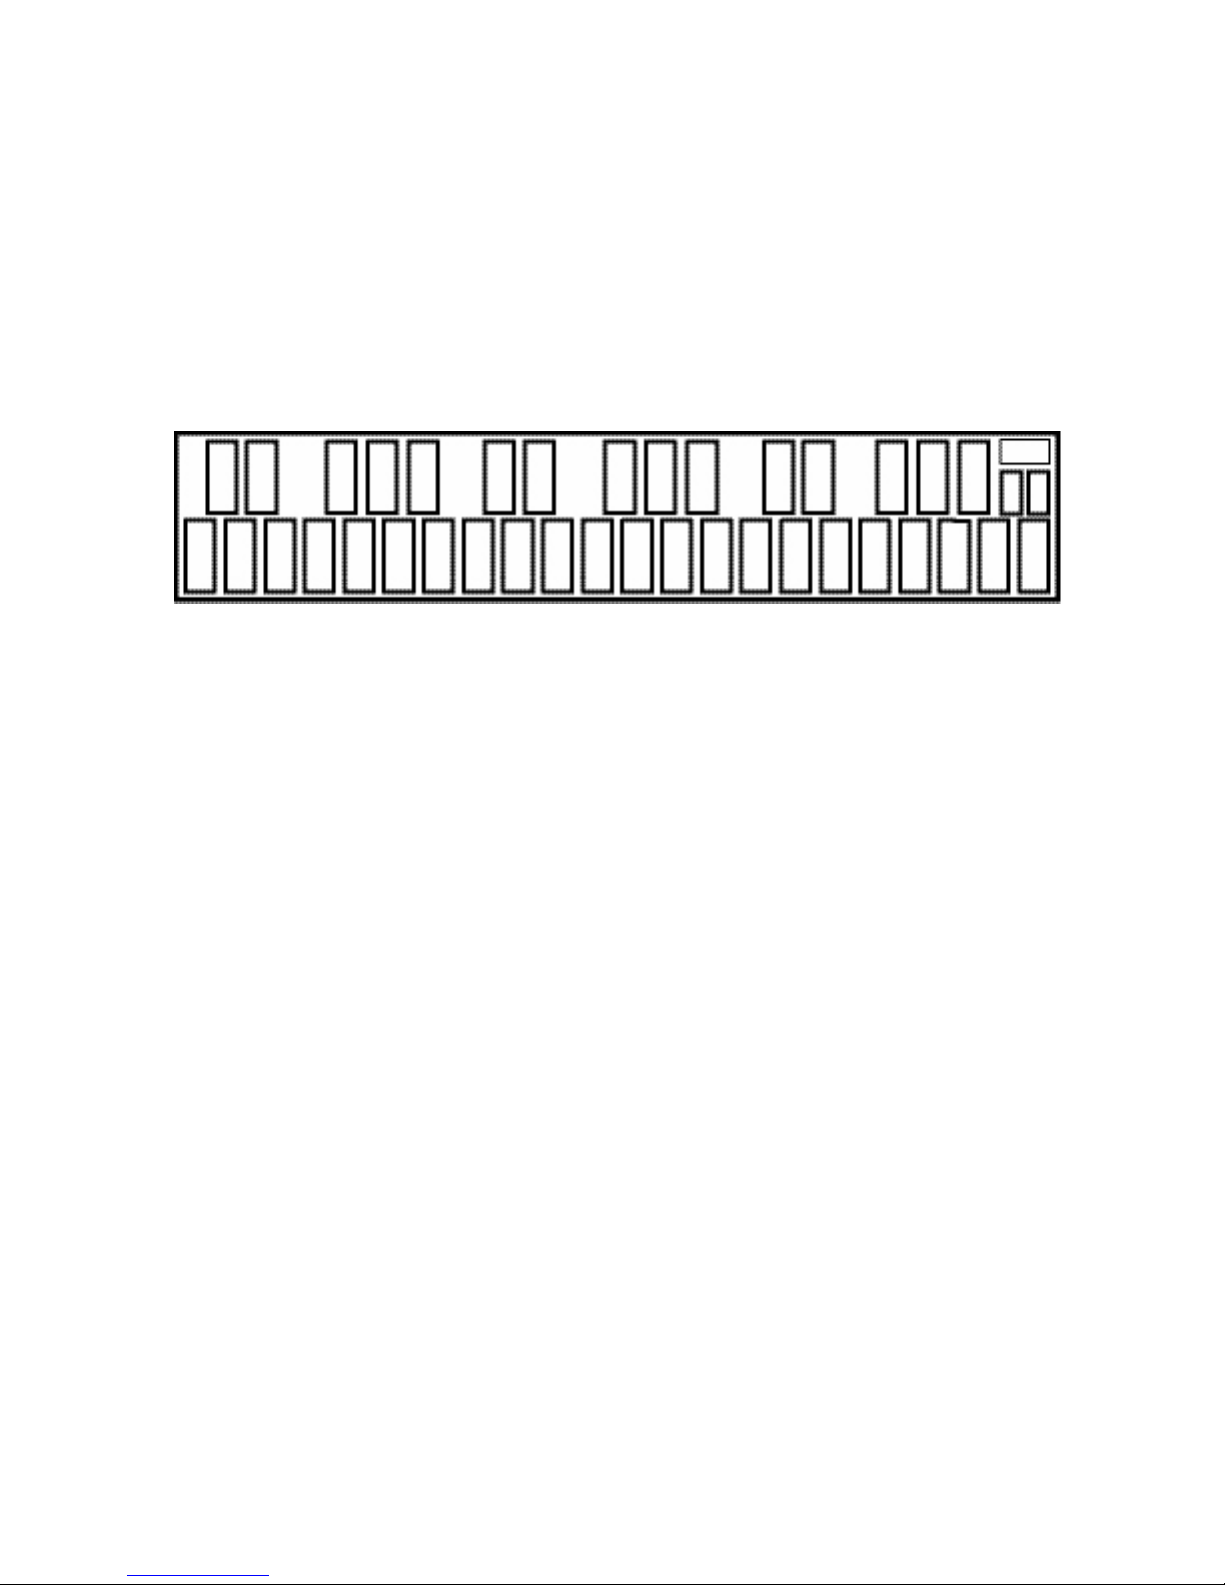
KEYBOARD MODE
Poly, Mono, MOverlap, MHSmoothing
PolyCount, RTC, PTW, CTLA
CANCEL
COPY
SETUP
DEFAULT
DEC INC
1
FORWARD
(edit FS) Groove ON/OFF
BKWARD
/Tap Tempo
V WHEEL 2
V WHEEL 1
PRESSURE
Normal Sustain, Dampen, DeadStroke
NOTE ARRANGE
Pitch Conf, Octave, Transpose
2
3
4
5
VELOCITY
Min/Max Velocity, Curve
6
7
8
9
10
11
12
13
14
15
16
17
18
19
20
21
22
23
24
25
26
27
28
30
29
PROGRAM CNTL
Bank Change, Program Change
GATE CONTROL
Gate Time, Velocity Gate, Roll Mode,
Latch Mode, Auto Gate, Gate Overlap,
Foot Control Gate 1&2
VOLUME
ALL NOTE OFF
All Note Off, Indiv All Note Off
KIT BANK
Factory, User, Chains
KIT NAME
LAYER MODE
Hang, Double, Melody Chord123
Alternate Mode, Velocity Shift,
Velocity S. Point
FOOT CONTROL
FC1&2 Assign, Ch, Min/Max,
Curve, Trigger Note, Gate,
HiHat Assign, Open/Closed
FOOT SUSTAIN
Sustain FTSW1 & 2
WARP MODE
Warp Mode, Mode P,
Rep, Pattern
EFFECTS
Type, Amt, PitchBend Chan,
Pitch Bend Sensitivity
REASSIGNMENTS
Mode, Number, Poly, Oct. Offset
Transp, Gate, Chan, Bank
Prog. Change Vol,
Poly, Interface
CNTRL PRESET
Preset CC#, Channel, Value
Kit Auxiliary
Preset CC#, Channel, Value
GLOBAL AUXILLARY
CHANNEL
Groove Control
Start/Stop, Groove Enable, Pattern
Tempo, Vol, Interface, Note, CH
CHAINS
Chain#, Enable,Setup, Step
PAD TRAINING
All, Rings, IndivA-P, Results
DATA DUMP
All,Kits, Chains,
Global, 1-128
Label Positions
Back Panel:
Headphones/Volume: Audio Ins/Outs: