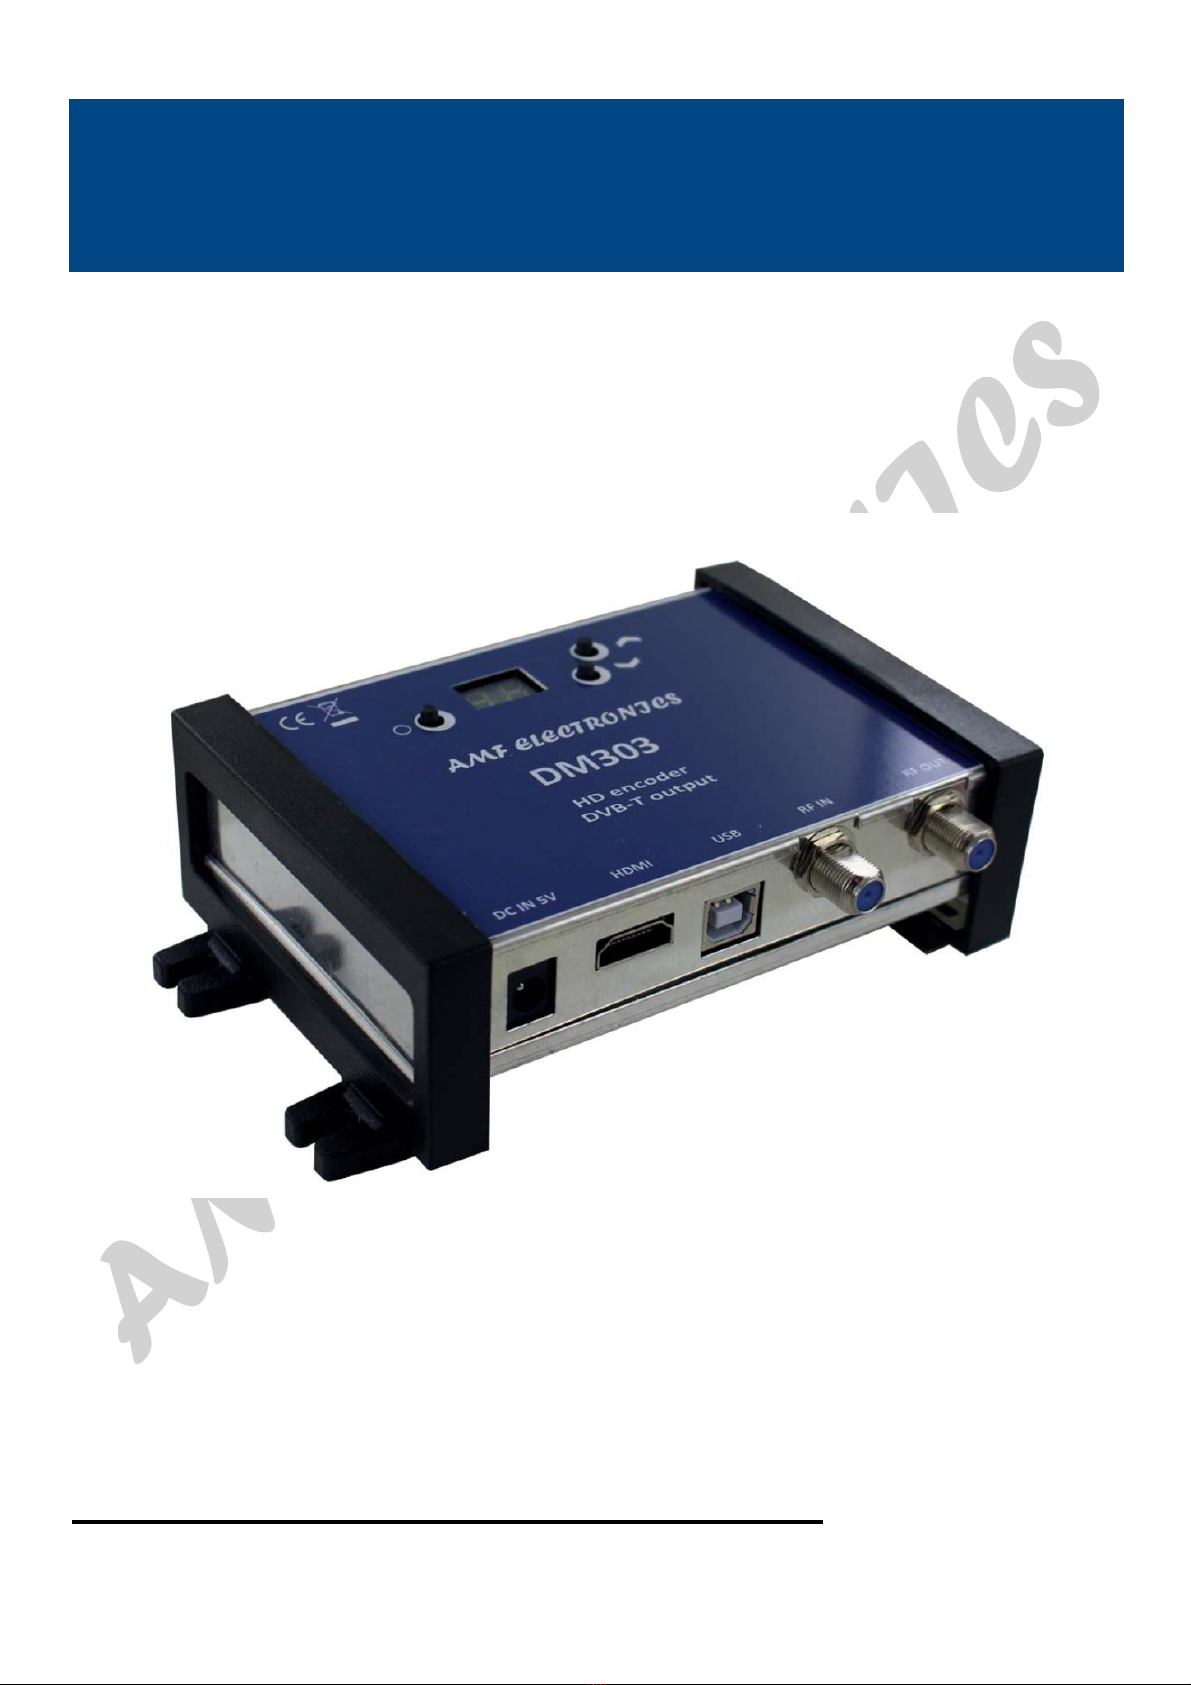
AMF ELECTRONICS DM303 User manual

DM303
HD encoder - DVB-T out
ΕΓΧΕΙΡΙΔΙΟ ΧΡΗΣΗΣ ΕΚΔΟΣΗ 1.0

DM303
ΕΓΧΕΙΡΙΔΙΟ ΧΡΗΣΗΣ
1 –ΘΕΜΑΤΑ ΑΣΦΑΛΕΙΑΣ
1.1 ΣΥΝΔΕΣΗ ΣΤΗΝ ΚΕΝΤΡΙΚΗ ΠΑΡΟΧΗ
Το προιόν πρέπει να είναι συνδεδεμένο σε κεντρική παροχή. Εάν υπάρχει η παραμικρή αμφιβολία σχετικά με τον
τύπο της σύνδεσης που διατίθεται με την εγκατάσταση, παρακαλώ επικοινωνήστε με τον πάροχο ηλετρικού
ρεύματός σας. Προτού πραγματοποιήσετε συντήρησης ή τροποποίηση της εγκατάστασης, ο διαμορφωτής θα
πρέπει να είναι αποσυνδεδεμένος. Παρατήρηση: να χρησιμοποιείται μόνο το προμηθευόμενο τροφοδοτικό.
1.2 ΥΠΕΡΤΑΣΗ
Μια υπέρταση στην κεντρική παροχή μπορεί να προκαλέσει βραχυκύκλωμα ή φωτιά. Ποτέ μην υπερφορτίζετε τις
γραμμές τροφοδοσίας.
1.3 ΥΓΡΑ
Αυτή η μονάδα θα πρέπει να είναι προστατευμένη από τη ρήψη υγρών. Παρακαλώ βεβαιωθείτε ότι δεν υπάρχουν
τοποθετημένα δοχεία που περιέχουν υγρά πάνω στην μονάδα. Επίσης, να είστε προσεχτικοί με άλλα πρόσωπα που
μπορεί να ρίξουν υγρά στη μονάδα.
1.4 ΚΑΘΑΡΙΟΤΗΤΑ
Αποσυνδέστε τη μονάδα πριν την καθαρίσετε. Χρησιμοποιήστε μόνο στεγνό πανί χωρίς διαλύτη.
1.5 ΕΞΑΕΡΙΣΜΟΣ
Προκειμένου να διασφαλίσετε έναν επαρκή εξαερισμό και να αποφύγετε την υπεθέρμανση, οι τρύπες του εξαερισμού
δεν πρέπει να εμποδίζονται. Αυτή η μονάδα δεν πρέπει να εγκαθιστάται σε ερμητικά κλειστό περιβάλλον. Άλλα
ηλεκτρονικά προιόντα ή αντικείμενα που παράγουν θερμότητα δεν πρέπει να τοποθετούνται επάνω ή κοντά στη
μονάδα.
1.6 ΠΑΡΕΛΚΟΜΕΝΑ
Η χρήση παρελκομένων που δεν είναι κατασκευασμένα από τον κατασκευαστή μπορεί να προκαλέσουν βλάβη στην
μονάδα.
1.7 ΕΓΚΑΤΑΣΤΑΣΗ ΤΗΣ ΜΟΝΑΔΑΣ
Η μονάδα πρέπει να εγκαθίσταται σε τοποθεσία καλά προστατευμένη από απευθείας έκθεση στην ηλική ακτινοβολία.
Πρέπει να λαμβάνονται όλα τα μέτρα για να αποφευχθεί η εγκατάσταση σε υγρή ή ηλιόλουστη τοποθεσία. Να μην
εγκαθιστάται κοντά σε θερμά αντικείμενα ή άλλες συσκευές που παράγουν θερμότητα. Βεβαιωθείτε ότι η μονάδα είναι
τοποθετημένη το λιγότερο 10εκ. μακρυά από άλλον εξοπλισμό που είναι επιρρεπής σε ηλεκτρομαγνητική ακτινοβολία.
Μην τοποθετείτε τη μονάδα σε ασταθή αντικείμενα. Μια πτώση μπορεί αν προκαλέσει βλάβη στη μονάδα.
2 –Τεχνικές Προδιαγραφές
Video input
Input
HDMI
Resolu on modes
480p -576p -720p - 1080i - 1080P
Compression
H.264 –bitrate 5-15 Mb/s
Audio input
Input
HDMI
Sample Rate
HDMI (32kHz / 44.1 kHz / 48 kHz)
Compression
AAC-LC / MPEG1-L2–bitrate 128-384 Kb/s
DVB Processing
Table inser on
PAT, PMT, SDT, NIT
Confi gura on
Channel/network name, SID, LCN, TSID, ONID, NID, versions,
audio, video PIDs…
DVB-T output
Output frequency / level
170-230 MHz + 470-862 MHz / > 85 dBμV
Constella on - FEC
QPSK/16QAM/64QAM - 1/2, 2/3, 3/4, 5/6, 7/8
Guard interval
1/4, 1/8, 1/16, 1/32
Mode - MER
2K/8K - 31 dB
Power
DC 2.1 mm connector
+5V
Consumpion
10 Watts
Dimensions
LxWxH
150x130x35mm
Weight
0.45 kg
AMF ELECTRONICS©2018
ΣΕΛ 2

DM303
ΕΓΧΕΙΡΙΔΙΟ ΧΡΗΣΗΣ
3 –Περιγραφή των Επιμέρους Σημείων
C1 Τροφοδοσία (5V/2A)
C2 Σύνδεση USΒ (για προγραμματισμό του DM303 από Η/Υ)
C3 Είσοδος RF
C4 Έξοδος RF
C5 Είσοδος HDMI
A1 Αλφαριθμητική οθόνη
T1 πλήκτρο SELECT
T2 πλήκτρο (UP)
T3 πλήκτρο (DOWN)
4 –Εγκατάσταση και Γρήγορο Μενού
4.1 - Εγκατάσταση
Συνδέστε την πηγή ήχου και εικόνας χρησιμοποιώντας καλώδιο HDMI. Συνδέστε το καλώδιο εισόδου RF
(εάν υπάρχει) και το καλώδιο εξόδου RF. Εάν Η είσοδος RF δεν χρησιμοποιείται, παρακαλώ συνδέστε μια
τερματική αντίστση 75ohm σε αυτό. Όταν ο διαμορφωτής έχει εγκατασταθεί και τα καλώδια είναι
συνδεδεμένα, παρακαλώ προχωρήστε στη σύνδεση της τροφοδοσίας στο διαμορφωτή.
4.2 - Ενεργοποίηση και Γρήγορο Μενού
Συνδέστε το βύσμα του τροφοδοτικού. Η οθόνη θα δείξει μια κόκκινη τελεία στη πάνω αριστερή γωνία.
Όταν ο διαμορφωτής θα έχει τεθεί σωστά σε λειτουργία τότε η οθόνη θα δείξει:ch
Με τα πλήκτρα UP και DOWN, μπορείτε να αλλάξετε την ένδειξη ανάμεσα σε ch (κανάλι)AT (εξασθένηση) και ID
(program id) . Αφού επιλέξετε, πατήστε και κρατήστε το πλήτρο select.
Στη θέση καναλιού, η οθόνη θα σας δείξει το τρέχον κανάλι εξόδου. Για παράδειγμα 21
Με το πλήκτρο select πατημένο, χρησιμοποιήστε τα up και down πλήκτρα για να αλλάξετε το κανάλι.
AMF ELECTRONICS©2018
ΣΕΛ 3
T1
T2
T3
A1
C1
C2
C3
C4
C5

DM303
ΕΓΧΕΙΡΙΔΙΟ ΧΡΗΣΗΣ
Στην θέση εξασθένηση AT, με το πλήκτρο select, η οθόνη θα σας δείξει το τρέχον επίπεδο εξασθένισης εξόδου, για
παράδειγμα 00. Κρατήστε το πλήκτρο select πατημένο και χρησιμοποιήστε τα up ή down πλήκτρα για να αλλάξετε
την τιμή (00 - 15).
Στην τελευταία θέση μπορεί να αλλάξει το ID του προγράμμματος.
Οι επιλεγμένες τιμές είναι αυτόματα αποθηκευμένες στη μνήμη του DM 303.
Όταν γίνουν αυτές οι ρυθμίσεις, η οθόνη στο DM303 θα επανέλεθει σε κατάσταση αναμονής. Η οθόνη δείχνει μια ή
δύο τελείες. Μια τελεία που υποδεικνύει ότι η μονάδα τροφοδοτείται. Η δεύτερη τελεία στα δεξιά υποδεικνύει ότι μια
πηγή HDMI είναι συνδεδεμένη στη συσκευή.
4.3 –Επιστροφή σε εργοστασιακές ρυθμίσεις.
Για επαναφορά των εργοστασιακών ρυθμίσεων κλείστε τον διαμορφωτή. Μετά, με πατημένο το πλήκτρο UP
επαναφέρετε την τροφοδοσία στο διαμορφωτή. Συνεχίστε να κρατάτε πατημένο το πλήκτρο UP και περιμένετε
μέχρι να εμφανιστεί το μήνυμα r5 στην οθόνη. Ο διαμορφωτής έχει επανέλθει στις εργοστασιακές ρυθμίσεις
του.
5 –Προχωρημένες ρυθμίσεις χρησιμοποιώντας Η/Υ
Περισσότερες προχωρημένες ρυθμίσεις του DM303 μπορούν να αλλάξουν με τη χρήση Η/Υ.
Αρχικά εγκαταστείστε το λογισμικό TMHDIFace στον υπολογιστή σας. Μπορείτε να κατεβάσετε το
λογισμικό από τη σελίδα μας: https://www.amfelectronics.gr
Μετά την εγκατάσταση του λογισμικού συνδέστε το DM303 χρησιμοποιώντας USB καλώδιο (δεν περιέχεται) στον
προσωπικό σας υπολογιστή. Μετά εκκινήστε το πρόγραμμα TMHDIface.Στην οθόνη του DM303 θα εμφανιστεί
μήνυμα [ ] που θα υποδηλώνει ότι ο προγραμματισμός πραγματοποιείτε μέσω του υπολογιστή σας. Το παράθυρο
που ακολουθεί θα εμφανιστεί στην οθόνη σας.
Τώρα, περισσότερες παράμετροι μπορούν να επεξεργαστούν στο DM303.
AMF ELECTRONICS©2018
ΣΕΛ 4

DM303
HD encoder - DVB-T out
USER MANUAL VERSION 1.0

USER MANUAL
DM303
PAGE 2
AMF ELECTRONICS©2018
1 - Safety considerations
1.1 CONNECTING TO THE MAINS SUPPLY
This product has to be connected to the mains supply. If there is the slightest doubt concerning the
type of connection available on the installation, please contact your supplier of electricity. Before car-
rying out maintenance operation or modification of the installation, the modulator has to be discon-
nected. Remark : only use the supplied power adaptor.
1.2 OVERVOLTAGE
An overvoltage on the mains supply,can cause shortcircuits or fire. Never overload the power lines.
1.3 LIQUIDS
This module should be protected from splashes. Please assure yourself that no containers containing
liquids are placed on this module. Also be aware of other persons splashing liquids on the module.
1.4 CLEANING
Disconnect the module before cleaning. Use only a humid cloth without solvant.
1.5 VENTILATION
In order to assure an adequate air circulation and to prevent overheating, the ventilation holes should
not be obstructed. The module may not be installed in a hermetically sealed environment. Other elec-
tronic products or heat producing items may not be placed upon or near the module.
1.6 ACCESSORIES
The use of accessories not manufactured by the manufacturer can cause damage to the module.
1.7 INSTALLATION OF THE MODULE
The module must be installed in a place well protected from direct sunlight. All measures have to be
taken to avoid installation in humid or sunny place.Do not install near heating elements or other devic-
es producing heat. Assure yourself that the module is placed at least 10 cm from other equipment with
is susceptible to electromagnetic radiation. Do not install the module on instable items. A fall can cause
physical or material damage.
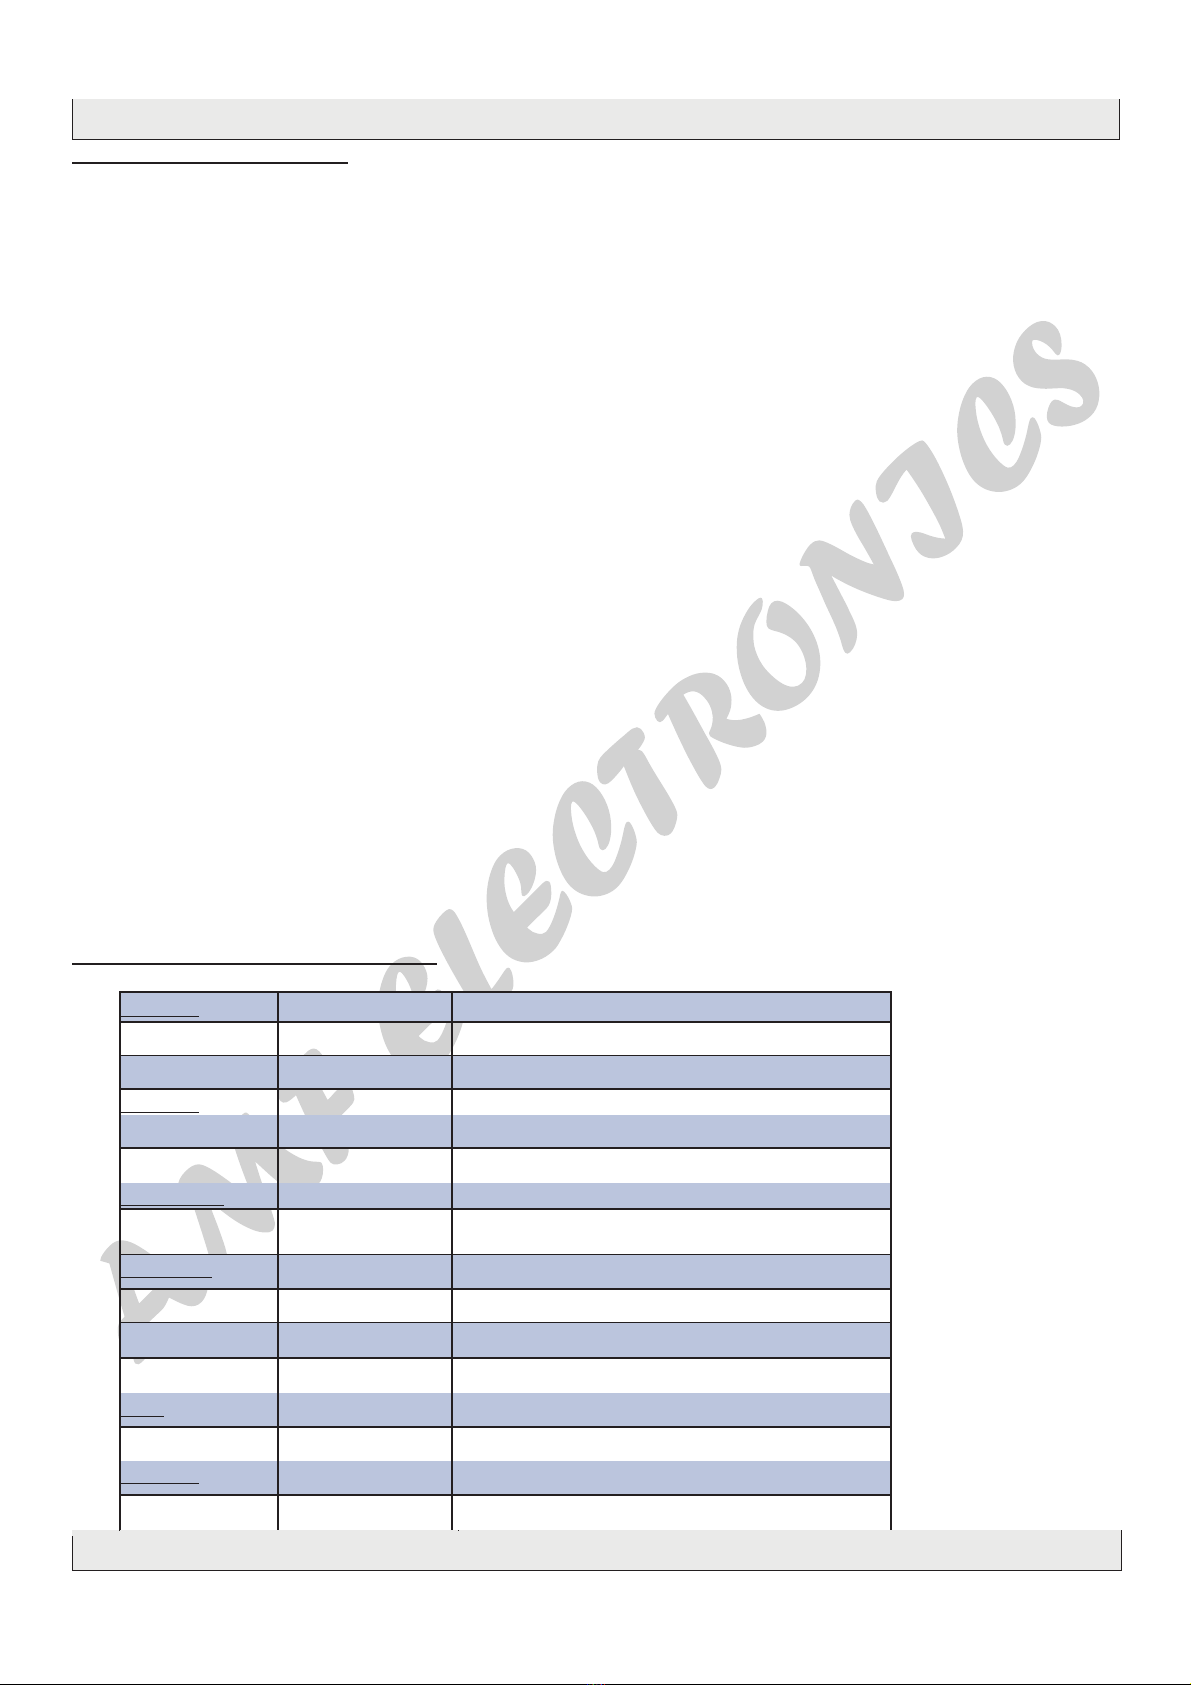
2 - Technical specifications
Video input Input HDMI
Resolu on modes 480p -576p -720p - 1080i - 1080P
Compression H.264 – bitrate 5-15 Mb/s
Audio input Input HDMI
Sample Rate HDMI (32kHz / 44.1 kHz / 48 kHz)
Compression AAC-LC / MPEG1-L2– bitrate 128-384 Kb/s
DVB Processing Table inser on PAT, PMT, SDT, NIT
Confi gura on Channel/network name, SID, LCN, TSID, ONID, NID, versions, audio, video PIDs…
DVB-T output Output frequency / level 170-230 MHz + 470-862 MHz / > 85 dBμV
Constella on - FEC QPSK/16QAM/64QAM - 1/2, 2/3, 3/4, 5/6, 7/8
Guard interval 1/4, 1/8, 1/16, 1/32
Mode - MER 2K/8K - 31 dB
Power DC 2.1 mm connector +5V
Consump on 10 Wa s
Dimensions LxWxH 150x130x35mm
Weight 0.45 kg
EAN code DM303 5420037691609

USER MANUAL
PAGE 3
DM303
3 - Description of the different elements
A1 Alphanumeric display
T1 SELECT button
T2 (UP) button
T3 (DOWN) button
T1 T2
T3
A1
C1 C2 C3 C4
C1 Power supply input (5V/2A)
C2 USB input (for programming the DM303 by PC)
C3 RF input
C4 RF output
C5 HDMI input
C5
4 - Installation and quick menu
4.1 - Installation
Connect the audio and video source using a HDMI cable. Connect the RF input cable (if present)
and the RF output cable. If the RF input is not used, please connect a 75 ohm terminating resistor
to it. Once the modulator installed and the cables connected, please proceed connecting the power
supply to the modulator.
4.2 - Powering up and quick menu
Plug in the connector of the power supply. The display will show a red dot in the left uppercorner.
Once the modulator has booted correctly the display will show : ch
With the buttons UP and DOWN, you can toggle between ch (channel) ,AT (attenuation) and ID
(program id) .
Once selected the right option, press and hold the select button.
In channel mode, the display will show you the actual output channel. For instance 21
With the select button pressed use the up and down buttons to change the output channel.
AMF ELECTRONICS©2018

USER MANUAL
PAGE 4
In attenuation mode, with the select button pressed, the display will show the actual level of at-
tenuation at the the output for instance 00 . Keep the select button pressed and use the up or
down buttons to change this value (00 - 15).
In the last mode the program ID can be changed.
The selected values are automatically saved in the memory of the DM303.
Once these settings made, the display on the DM303 will return to its standby state. The display
shows one or two dots. One dot to indicate that power is applied to the unit. The second dot to the
right indicating that a HDMI source is connected to the unit.
4.3 - Return to factory settings.
To return to factory settings, power down the modulator. Now, with the UP button pressed, put the
power again to the modulator. Keep the UP button pressed ands wait until the mesage r5 appears
on the display. The modulator has returned to its factory settings.
DM303
5 - Advanced settings using a PC
More, advanced settings of the DM303 can be changed using a PC.
First, please install the software TMHDIFace on your PC. You can download this software from our
internet site https://www.amfelectronics.gr
After installation of this software, connect the DM303 using a USB cable (not included) to your personal
computer. Then launch the program TMHDIface.
On the display of the DM303 the message ()appears, indicating that the programming is now per-
formed through your PC. The following window appears on your screen.
Now, further parameters can be edited in the DM303
AMF ELECTRONICS©2018
Table of contents
Languages:
Other AMF ELECTRONICS Media Converter manuals