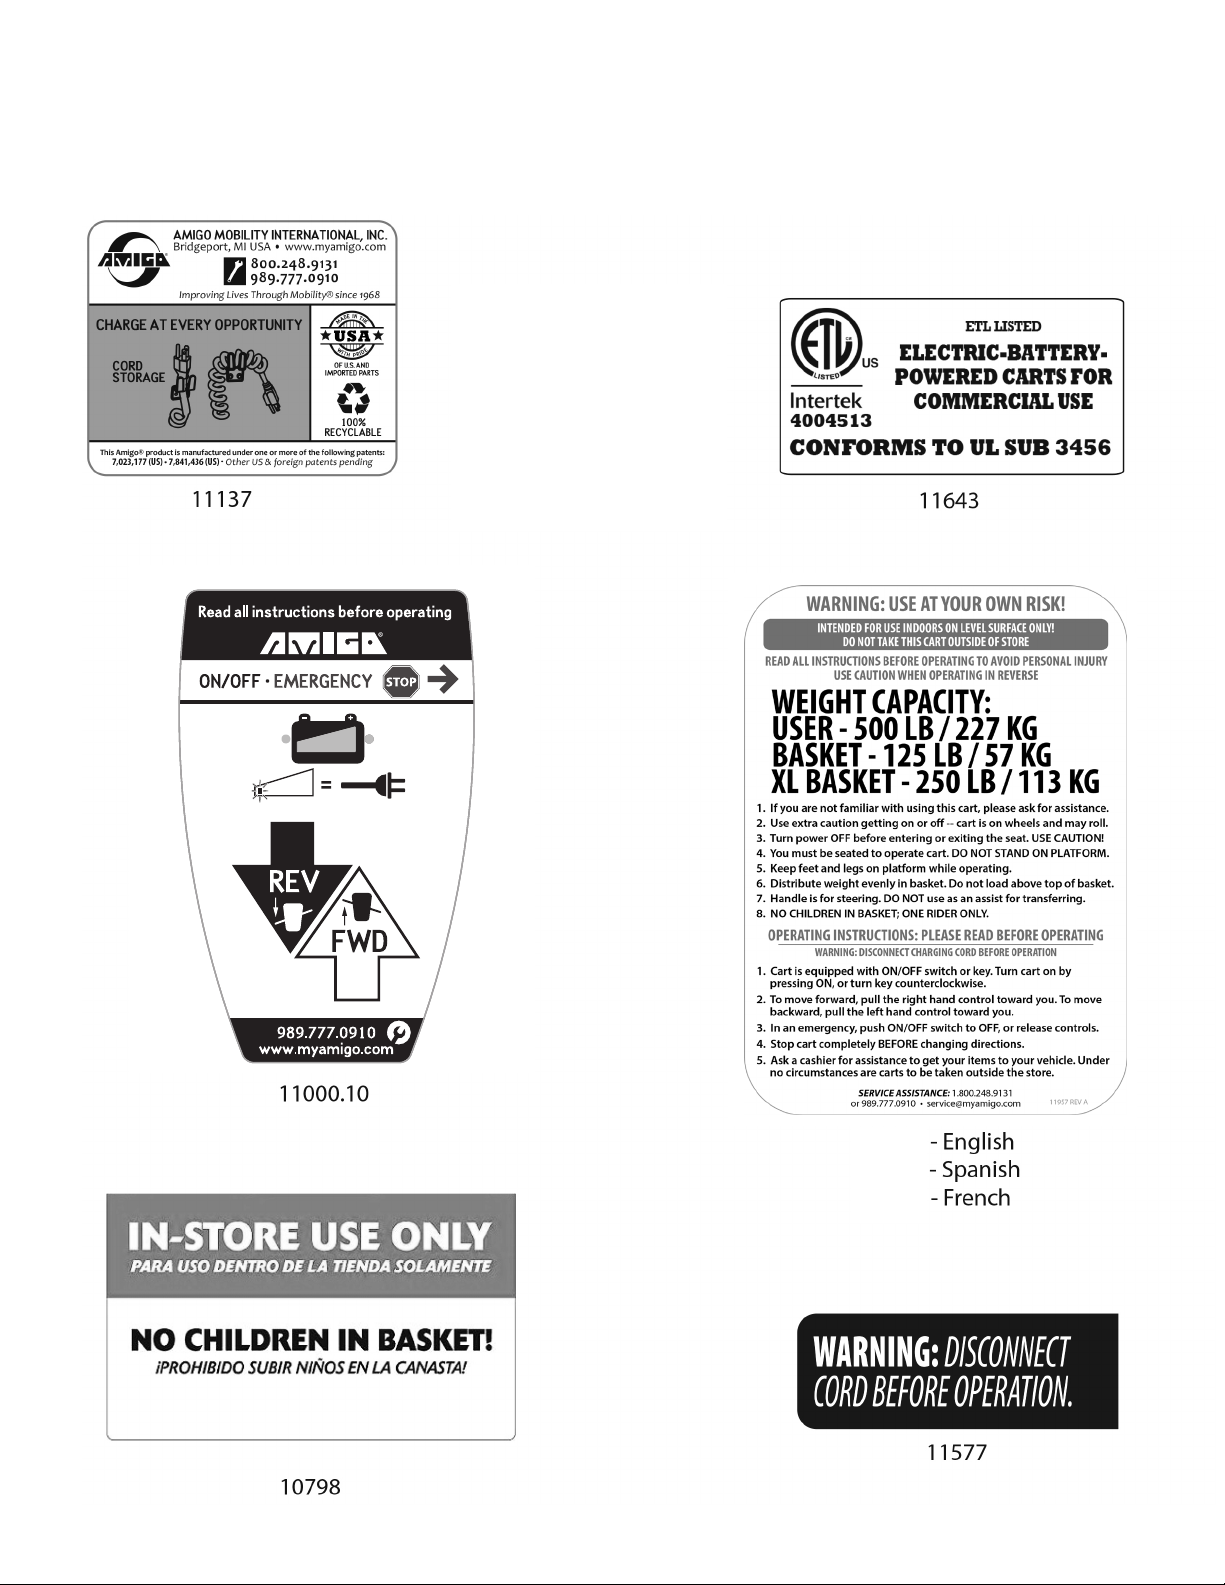
Models Carrying the ETL Listed Mark
If your Amigo ValueShopper or Amigo ValueShopper XL carries the ETL Listed Mark, it means it has been certied by
Intertek to meet UL Subject 3456. Intertek is a national safety testing laboratory recognized by OSHA.
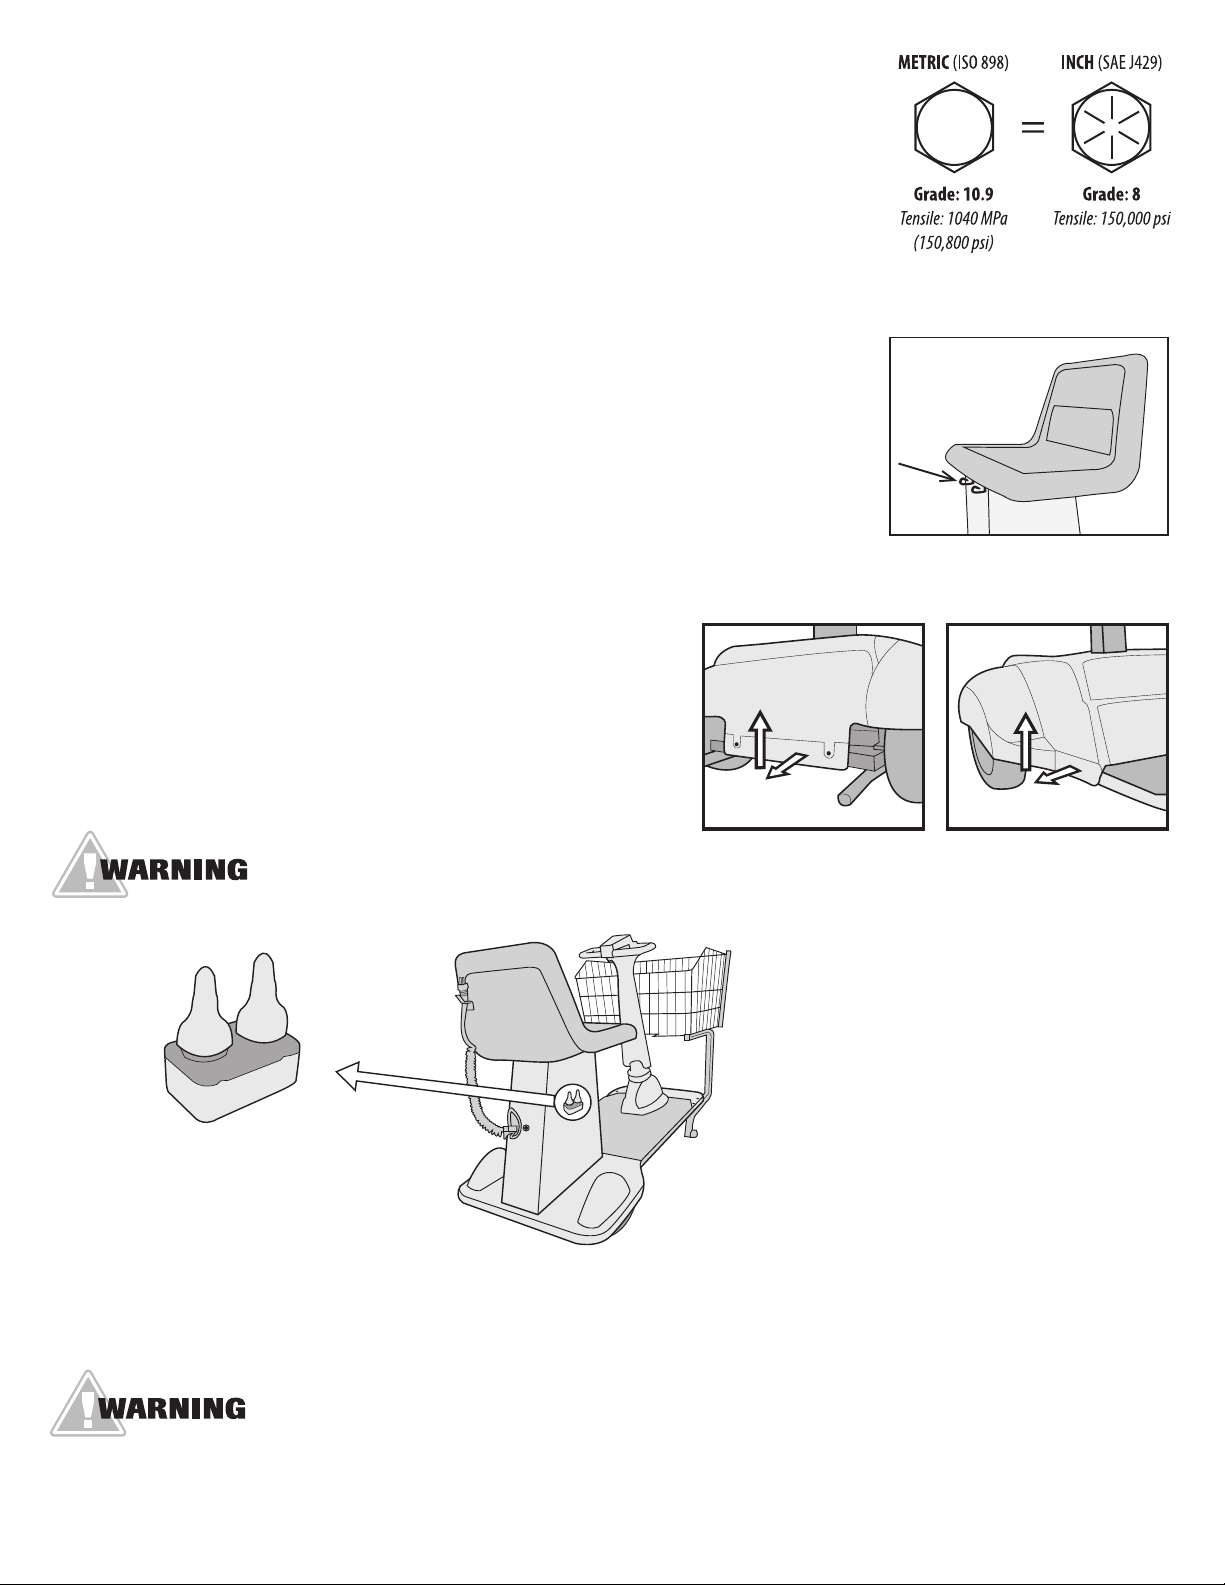
Opening the Pedestal Cover (ValueShopper and ValueShopper XL)
It is not necessary to remove the seat on a ValueShopper or ValueShopper XL unless the
seat needs to be replaced. Use tools to remove screw as shown in Figure 12. With two
hands, pull both release levers apart to open the cover.
COMPLETELY REMOVE BOLT FROM SEAT LATCH PRIOR TO OPENING. WHEN
REINSTALLING BOLT, TIGHTEN NUT UP TO SEAT LATCH. DO NOT OVERTIGHTEN.
Carts Equipped with Amigo
SmartSensor Technology
The Amigo SmartSensor offers an added layer of security for your
store and guests. A small sensor on the front of the cart uses ultrasonic
sound waves to determine if objects are in the path of the cart. When
driving forward, the cart may slow down and come to a controlled
stop if it gets too close to an obstacle. If the unit comes to a complete
stop, operator can reverse direction and take an obstacle-free path.
SmartSensor technology does not detect objects in the rear of the
cart and does not assist in obstacle detection when cart is operating
in reverse. To determine if your cart is equipped with SmartSensor
technology, look for the bracket and sensor assembly (Figure 15)
underneath the basket (Figure 16) featuring the Smart Technologies
sign (Figure 17).
ETL Listed Mark Location
ETL Listed Mark is located on right
side of pedestal directly under seat
(right side when operator in seated
position, see Figure 11).
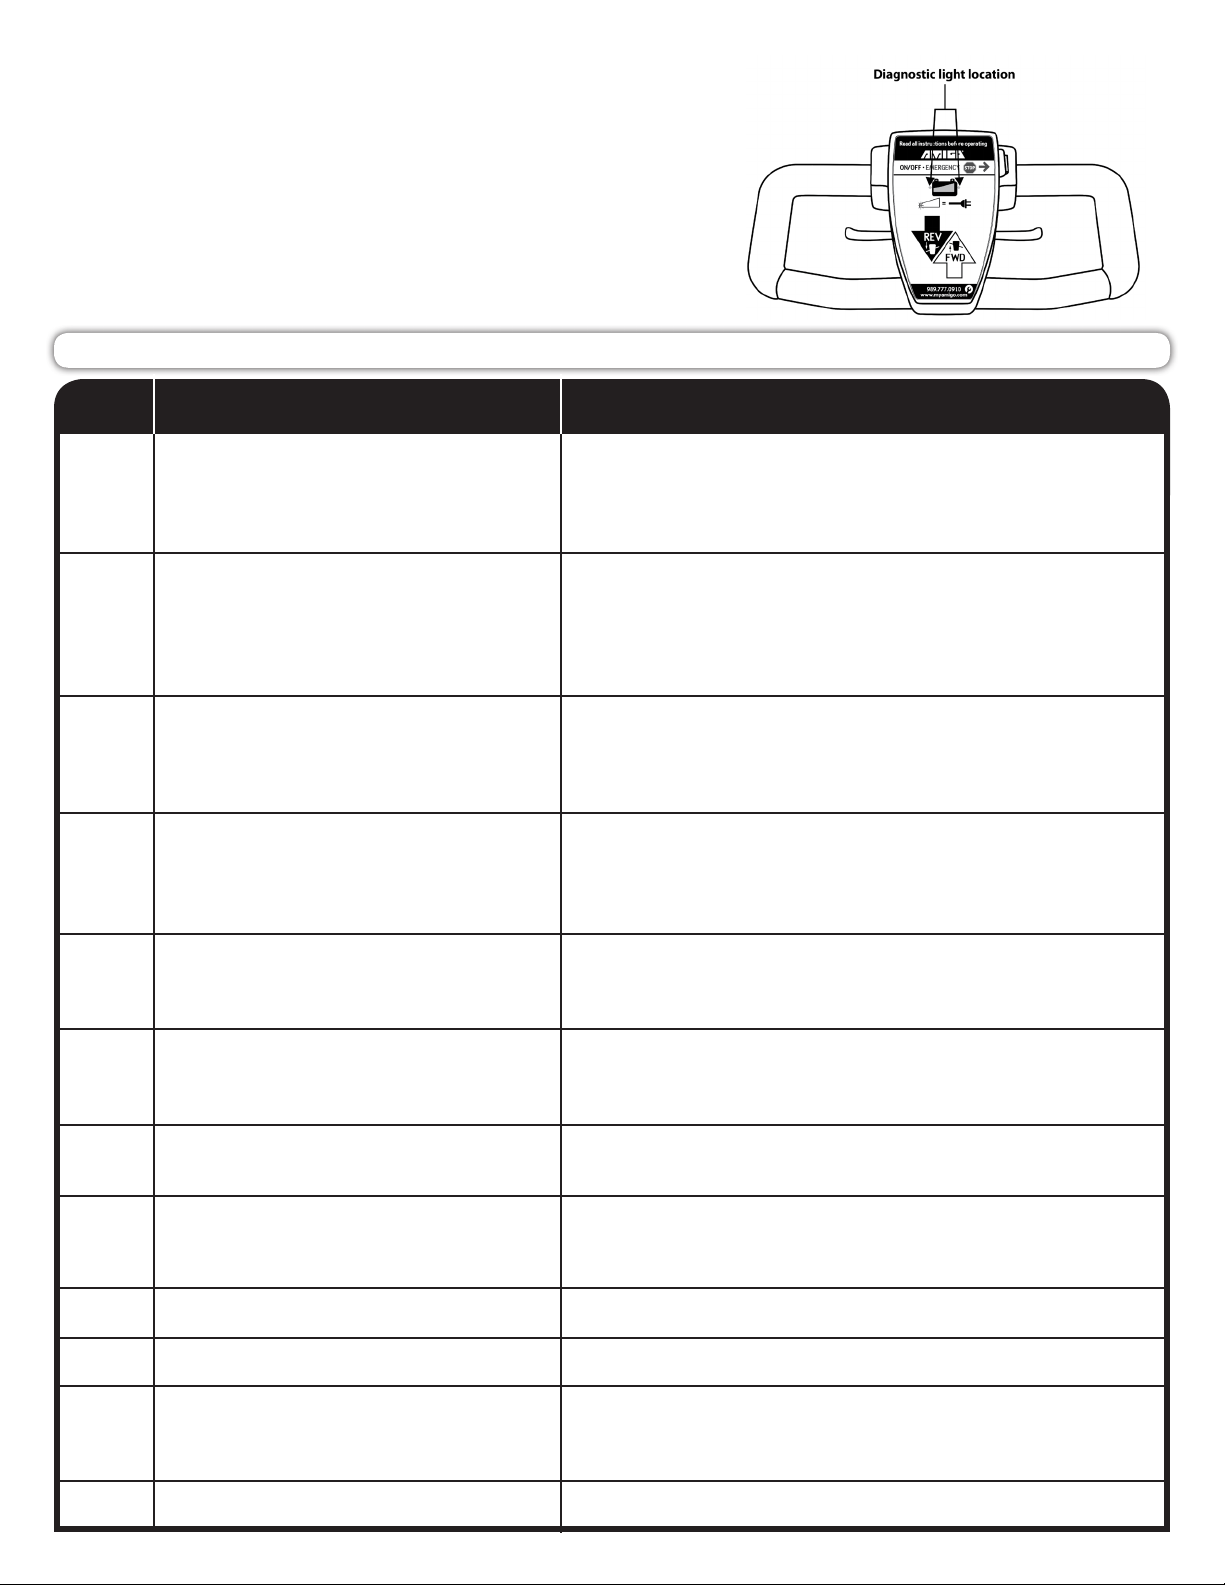
Circuit Breaker Instructions
A manual reset circuit breaker protects the wiring and battery in the event of a short circuit. It is
located on the backside of the pedestal (Figure 13). If the Amigo stops, check for tripped circuit
breaker, then check for overloads or short circuits before continuing to operate.
Figure 11
Figure 13
›
1-800-248-9131 8
If you have questions about your store's custom boundary or if you need to order a replacement basket sign, please contact the
Amigo service department at 1.800.248.9131 or service@myamigo.com.
Figure 17
Figure 16
Figure 15
.
.
HOW IT WORKS
. Amigo works with the store to establish a custom
boundary
. As the cart approaches the boundary, frequent
beeping warns the customer
. If the boundary is reached, the cart rolls to a stop
. Once stopped, the cart only drives in reverse until
back within approved boundary
Carts Equipped with Amigo
SmartTrack Technology
Amigo SmartTrack technology is an asset management system to
reduce risk of motorized cart theft. To determine if your carts are
equipped with Amigo SmartTrack technology, look for the label
(Figure 14) on the handle facing the customer or the sign (Figure
17) on the basket.
Figure 14
C
I
R
C
U
I
T
B
R
E
A
K
E
R
P
R
E
S
S
S
T
O
R
E
S
E
T
Figure 12