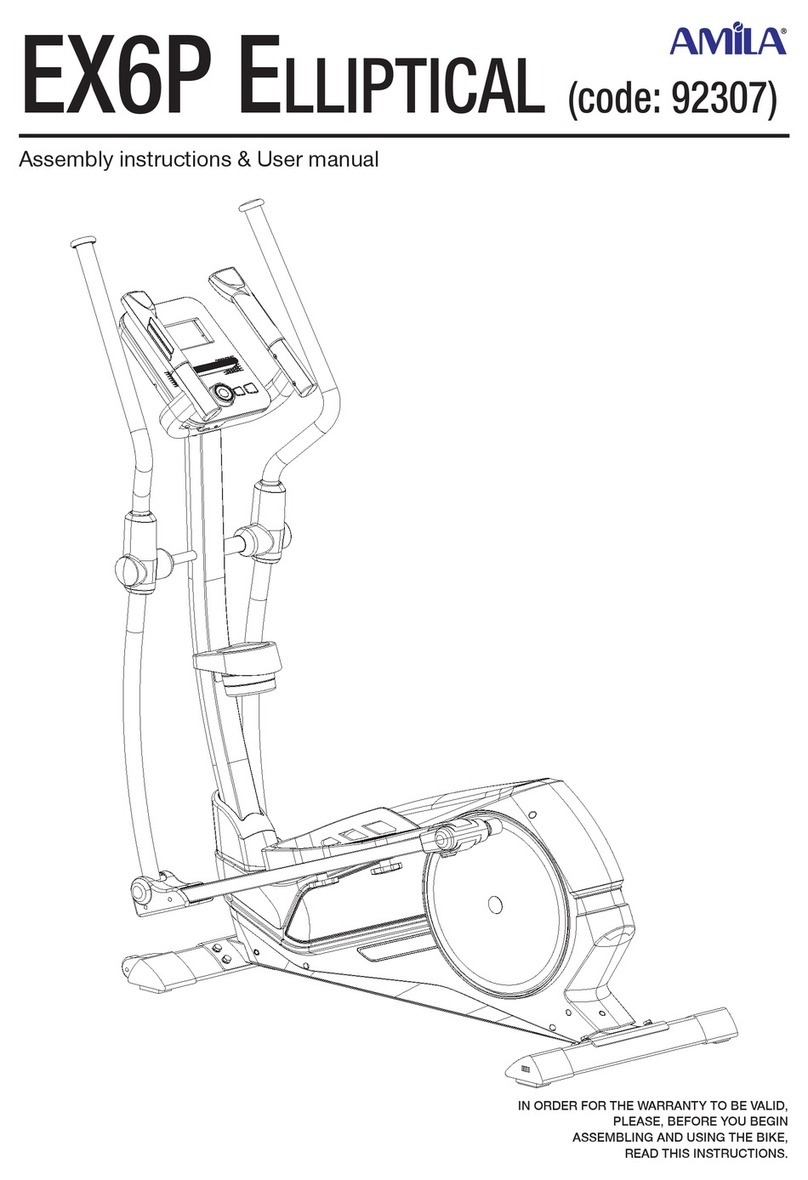
Amila SE578A User manual

SE578A Elliptical Service Manual
I. Plastic Parts
L Handle Bar Cover (F/R) Console R Handle Bar Cover (F/R)
L Pedal Arm Cover
L Side Case Console Mast Cover
L Pedal Handgrip Foam
Rear Bar Cove R Pedal Connecting Arm Cover B (L/R)
Inclinable Rail Cover Round Disk
Incline Cover. R Side Case Connecting Arm Cover A (L/R)
Slide Wheel Cover
Incline Bottom Cover Round Disk Cover Front Stabilizer Cover
M Stabilizer Cover R Pedal Arm Cover

II. Skeleton
L Pedal Arm L Swing Arm
L Connecting Arm
L Adjustable Pedal Console Mast
Flywheel
Locking Pin Assembly Gear Motor R Swing Arm
Incline Controller
Incline Motor Drive Pulley
R Pedal Arm Cross Bar
Rear Rail Assembly
Adjustable Pedal Bushing Housing
Rail Base Assembly. Main Frame
Incline Device. R Connecting Arm

Contents:
I. Replacing Parts
1. Console Assembly
2. Swing Arm Assembly
3. Connecting Arm Assembly
4. Pedal Arm Assembly
5. Console Mast
6. Side Cases
7. Cross Bar Assembly
8. Idler Wheel Assembly
9. Flywheel and Drive Belt
10. Rail Base Assembly
11. Rear Rail Assembly and Incline Motor
II.
Troubleshooting
1. Console Assembly
2. Side Cases and Round Disk
3. Flywheel
4. Drive Belt
5. Swing Arms
6. Connecting Arms
7. Incline Controller and Incline Motor
8. Gear Motor
III.
Q&A
1. Noises
2. Slippage
3. Resistance and Incline
4. Smoothness
5. Other Issues

Model SE578A Service Replacing Parts
Parts 1. Console Assembly Rev.
1
2
3
4
Procedures:
1. Use Phillips head screw driver to
release three M5x15mm Phillips head
screws and two 3.5x12 m/m Sheet
Metal Screws to take apart front and
rear Mast Covers as shown in figures
1 2 and 3.
2. Use Phillips head screw driver to
release four M5x10mm Phillips head
screws and disconnect Computer cable
Handle Resistance Wire Handle
Incline wire and Handpulse Cable to
take Console apart as shown in figure
4.
3. Reverse above steps to resume
console. (Be sure not to pinch wires)
4. Release 3.5x12 Sheet Metal Screws if
opening top and bottom console covers
is necessary. (To be opened by
professionals only)

Model SE578A Service Replacing Parts
Parts 2. Swing Arm Assembly Rev.
1
2
3
4
Procedures:
1. Use Phillips head screw driver to
release 3.5x12 Sheet Metal Screw
which secure front and rear
Handle Bar
Covers as shown in figure 1.
2. Disconnect upper and lower
Handle
Wires as shown in figure 2.
3. Use Phillips head screw driver to
release M5x15mm Phillips Head
Screws and 3.5x12 Sheet Metal Screw
s
which secure left and right Connecting
Arm Covers A as shown in figure 3.
4. Release M5x15mm Phillips Head
Screws and 3.5x12 Sheet Metal Screw
s
which secure left and right Connecting
Arm Covers B as shown in figure 4.

Model SE578A Service Replacing Parts
Parts 2. Swing Arm Assembly Rev.
5
6
7
Procedures:
5. Use 14mm wrench to release 3/8
"
x3/4
"
Hex Head Bolt together with
3/8
"
x30x1.5T Flat Washer which
secure Swing Arms as shown in figure
5.
6. Use 12mm and 13mm wrenches to
release 5/16
"
x1-1/4
"
Hex Head Bolt
5/16
"
x20x1.5T Flat Washer and
5/16
"
x7T Nyloc Nut which secure
Swing Arm and Rod End Bearing to
take apart the Swing Arm as showm in
figures 6 7.
7. Reverse above procedures to resume
Swing Arm.

Model SE578A Service Replacing Parts
Parts 3. Connecting Arm Assembly Rev.
1
2
3
4
Procedures:
1. Follow the procedures to disassemble
Swing Arms (if only to take apart
Connecting Arm then only releasing
Rod End Bearing is necessary.)
2. Use 12mm wrench to release
5/16
"
x15mm Hex Head Bolt together
with 5/16
"
x23 Flat Washer which
secure the Connecting Arm then pull
out Carriage Bolt under the Pedal as
shown in figures 1 2.
3. To disassemble Adjustable Pedal use
14mm wrench to release 3/8
"
x19 Hex
Head Bolt 3/8
"
x19x1.5T Flat Washer
and 3/8
"
x7T Nyloc Nut as shown in
figure 3. Then use Phillips head screw
driver to release M5x10mm Phillips
Head Screws and ψ19 × ψ14 × ψ
10
× (5+4)T_ Bushing as shown in
figures 4 5 and pull out Axle Of
Locking Pin. Use C-ring pliers to
release ψ10 C-ring and pull out
Locking Pin as shown in figures 6 7.

Model SE578A Service Replacing Parts
Parts 3. Connecting Arm Assembly Rev.
5
6
7
8
Procedures:
.
4. Use Phillips head screw driver to
release M5x10mm Phillips Head
Screws which secure the Pedal to take
it apart as shown in figure 8.
5.
Reverse above procedures to resume
Connecting Arm.

Model SE578A Service Replacing Parts
Parts 4. Pedal Arm Assembly Rev.
1
2
3
4
Procedures:
1. Disassemble Connecting Arm first and
use Phillips head screw driver to
release M5x10mm Phillips Head
Screw to take apart Pedal Arm Cover
as shown in figure 1.
2. Use 8mm Allen wrench and 14mm to
release 3/8
"
x2-1/4
"
Socket Head Cap
Bolt 3/8
"
x19x1.5T Flat Washer and
3/8
"
x11T Nyloc Nut which secure
Pedal Arm and Bushing Housing
together and take Pedal Arm apart as
shown in figure 2.
3. Use 12mm ope
n end wrench and Allen
wrench to release 5/16
"
x 15mm Hex
Head Bolt and 5/16
"
x35x1.5T Flat
Washer and take Bushing Housing
apart as shown in figure 3.
4. Use C-ring pliers to release ψ17
C-ring in order to take Slide Wheels
apart as shown in figure 4.
5. Reverse above procedures to resume
Pedal Arm.

Model SE578A Service Replacing Parts
Parts 5. Console Mast Rev.
1
2
3
4
Procedures:
1. Follow the procedure to disassemble
Swing Arm.
2.
Slap Console Mast Cover to separate it
from left and right Side Cases.
3. Use 14mm wrench to release 3/8
"
x3/4
"
Hex Head Bolt 3/8
"
x23 x2T Curved
Washer 3/8
"
x2-1/4
"
Hex Head Bolt
and 3/8
"
x2T
Split Washer which
secure Console Mast as shown in
figures 1 2.
4. Separate Console Mast and Mast
Cover from the Mainframe and pull
out Computer Cable and Incline
Controller Cable out of Console Mast.
Separate Mast Cover from Console
Mast as shown in figures 3 4.
5. Reverse above procedures to resume
Console Mast.

Model SE578A Service Replacing Parts
Parts 6. Side Cases Rev.
1
2
3
4
Procedures:
1. Follow procedures to Swing Arms and
Pedal Arms.
2. Use Phillips head screw driver to
release M5x15mm Phillips Head
Screws to take apart Front Stabilizer
Cover as shown in figure 1.
3. Use Phillips head screw driver to
release 4x19 Sheet Metal Screws and
5x 16 Tapping Screws which secure
left Side Case and take it apart as
shown in figures 2 3.
4. Again use Phillips head screw drive
r
to release 4x15 Sheet Metal Screws
1/4
"
x19 Flat Washers and 5x16
Tapping Screws as shown in figure 4
5 which secure right Side Case on the
Mainframe.

Model SE578A Service Replacing Parts
Parts 6. Side Cases Rev.
5
6
7
8
Procedures:
5. Disconnect Ground Wire and
Controller Connecting Wire from AC
power Switch and take right Side Case
apart as shown in figures 6 7.
6. Reverse above procedures to resume
left and right Side Cases. (remember to
put 5/16
"
x23x1.5T Flat Washer on
right Side Case as shown in figure 8.)

Model SE578A Service Replacing Parts
Parts 7. Cross Bar Assembly Rev.
1
2
3
4
Procedure:
1. Follow the procedures to left and right
Side Cases.
2. Take Round Disk Cover apart and use
12mm wrench and 6mm Allen wrench
to release 5/16
"
x15mm Hex Head
Bolts together with 5/16
"
x35x1.5T
Flat
Washers which secure the Cross Bar
as shown in figures 1 and 2.
3. Use 13mm wrench to loosen M8 x
6.3T nut at outside and use 13mm
wrench together with M6 All
en wrench
to loosen the nut at inside to take apart
the Cross Bar as shown in figures 3
and 4.
4.
To resume install the Cross Bar on the
Crank Axle and lock with
Woodruff
Key
then reverse above steps to return
all parts.

Model SE578A Service Replacing Parts
Parts 8. Idler Wheel Assembly Rev.
1
2
3
4
Procedures:
1. Follow procedures to take apart Cross
Bar.
2. Use 13mm wrench to loosen M8x9T
Nyloc Nut on the J Bolt until the Belt
can be taken off then use 13mm
wrench to release M8x20
Carriage
Bolt M8x7T Nyloc Nut and
5/16
"
x20x1.5T Flat Washer to take
Idler Wheel Assembly apart as shown
in figure 1 2.
3. Follow above procedures to resume
and tighten the M8x9T Nyloc Nut on
the J Bolt until the Belt generate sound
wave 190HZ(±10) as
shown in figures
3 4.

Model SE578A Service Replacing Parts
Parts 9. Flywheel and Drive Belt Rev.
1
2
3
4
Procedures:
1. Follow the procedures to take Idler
Wheel Assembly.
2. Adjust the resistance to 20 with
Console and release the steel cable as
shown in figure 1.
3. Use 15mm wrench to loosen
3/8
"
-UNF26x9T
nut which secures the
Flywheel on the Mainframe to take
apart the Flywheel and Drive Belt as
shown in figure 2 3
4. To resume parts reverse above
procedures and adjust the Belt in the
center of the Drive Pulley as shown in
figure 4.

Model SE578A Service Replacing Parts
Parts 10. Rail Base Assembly Rev.
1
2
3
4
Procedures:
1. Use Phillips head screw driver to
release M5x15mm Phillips Head
Screws and disconnect incline motor
power connecting wire and incline
motor connecting wire as shown in
figures 1 2.
2. Use two 14mm and a 12mm wrenches
to release 3/8
"
x1-1/2
"
Hex Head Bolts
3/8
"
x19x1.5T Flat Washers 3/8x7T
Nyloc Nuts 5/16x2-1/4 Hex Head
Bolts 5/16
"
x1.5T Split Washers 5/16
"
x20x1.5T Flat Washers and ψ5/16
Star Washer which secure Rail Base
Assembly
and pull it apart as shown in
figures 3 4.
3. Follow above procedures to resume
parts and make sure wires are properly
connected with color codes match.

Model SE578A Service Replacing Parts
Parts 11. Rear Rail Assembly and Incline Motor Rev.
1
2
3
4
Procedures:
1. Follow the procedures to take Rail
Base Assembly apart.
2. Use Phillips head screw driver to
release M5x15mm Phillips head
screws which secure Rear Bar Case
Inclinable Rail Cover and Incline
Cover as shown in figures 1 2 3.
3. Use two 14mm wrenches to release
3/8
"
x2-1/2
"
Hex Head Bolts
3/8
"
x19x1.5T Flat Washers and
3/8
"
x7T Nyloc Nuts which secure
Rear
Rail Assembly and Incline Motor
Holder as shown in figure 4.
4. Use 12mm wrench to release 5/16
"
x1
Hex Head Bolts and 5/16
"
x 35x2T
Flat
Washers which secure Rear Rail
Assembly to pull it apart as shown in
figure 5.

Model SE578A Service Replacing Parts
Parts 11. Rear Rail Assembly and Incline Motor Rev.
5
6
7
8
Procedures:
5. Use two 14mm wrenches to release
3/8
"
x2-1/2
"
Hex Head Bolts
3/8
"
x19x1.5T Flat Washers and
3/8
"
x7T Nyloc Nuts which secure
Incline Motor and Incline Device as
shown in figure 6.
6. Use Phillips head screw driver to
release 5x16 Tapping Screw and the
Ground wire and pull it out after
cutting the wire tie to take apart the
Incline Motor as shown in figures 7
and 8..

Model SE578A Service Replacing Parts
Parts 11. Rear Rail Assembly and Incline Motor Rev.
9
10
11
Procedures:
7. Use 12mm wrench to release 5/16
"
x1
Hex Head Bolt and 5/16
"
x 35x2T flat
washer which secure Rail Assembly.
Pull out Locking Tube Assembly and
take apart Rail Assembly as shown in
figure 9.
8. Release M5x15mm Phillips Head
Screw which secure aluminum rail to
take the rail apart if necessary as
shown in figure 10.
9. Use Phillips head screw driver to
release two M6x10m/m Phillips head
screws and two 1/4" x 19 x 1.5T flat
washers if replacing Slide Wheels is
necessary as shown in figure 11.
10. Reverse above steps to resume parts.

Model SE578A Service Troubleshooting
Parts 1. Console Assembly Rev.
1
2
3
4
Procedures:
1. If the display does not come on make
sure that AC power switch is turned
on as shown in figure 1.
2. Then check if the console connectors
are properly plugged in as shown in
figure 2.
3.
If necessary replace the fuse of the AC
power switch module as shown in
figure 3.
4. Check electric wire damages in the
console and inside of chain covers that
could cause the problem as shown in
figure 4.
Table of contents
Other Amila Elliptical Trainer manuals
Popular Elliptical Trainer manuals by other brands
SportsArt Fitness
SportsArt Fitness E880 Repair manual

SPORTSTECH
SPORTSTECH CX625 user manual

Trojan
Trojan ELLIPTI-PRO 300 Care instructions and assembly manual

Progear Fitness
Progear Fitness Air Elliptical owner's manual

Octane Fitness
Octane Fitness PRO3700 Product safety information

Spokey
Spokey VIGO II user guide