manuals.online logo
Brands
  1. Home
  2. •
  3. Brands
  4. •
  5. AMX
  6. •
  7. Switch
  8. •
  9. AMX NXA-PDU-1508-8 User manual

AMX NXA-PDU-1508-8 User manual

Other AMX Switch manuals

AMX NXA-ENET24 User manual

AMX

AMX NXA-ENET24 User manual

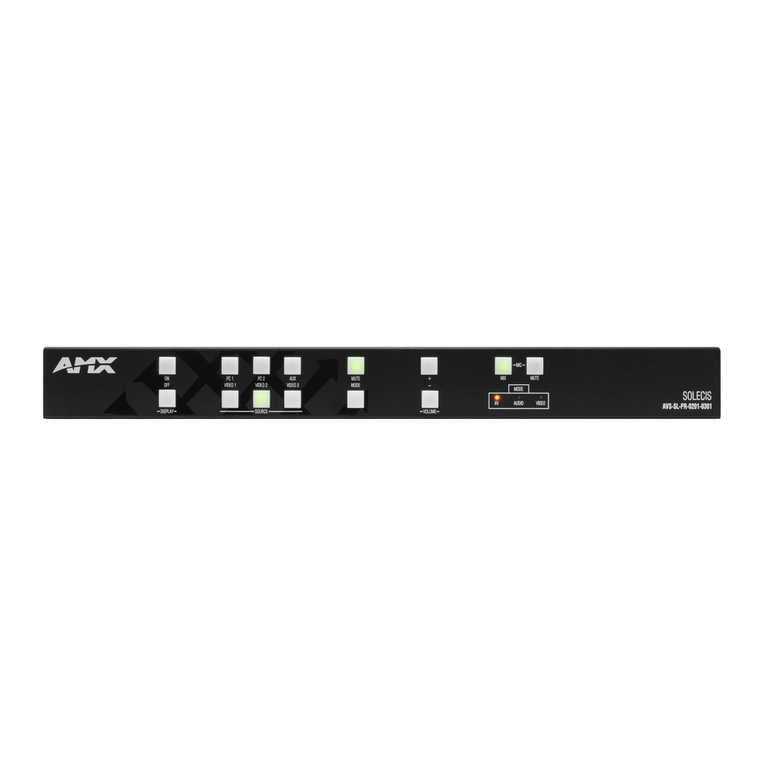
AMX Solecis AVS-SL-0401-838 User manual

AMX

AMX Solecis AVS-SL-0401-838 User manual

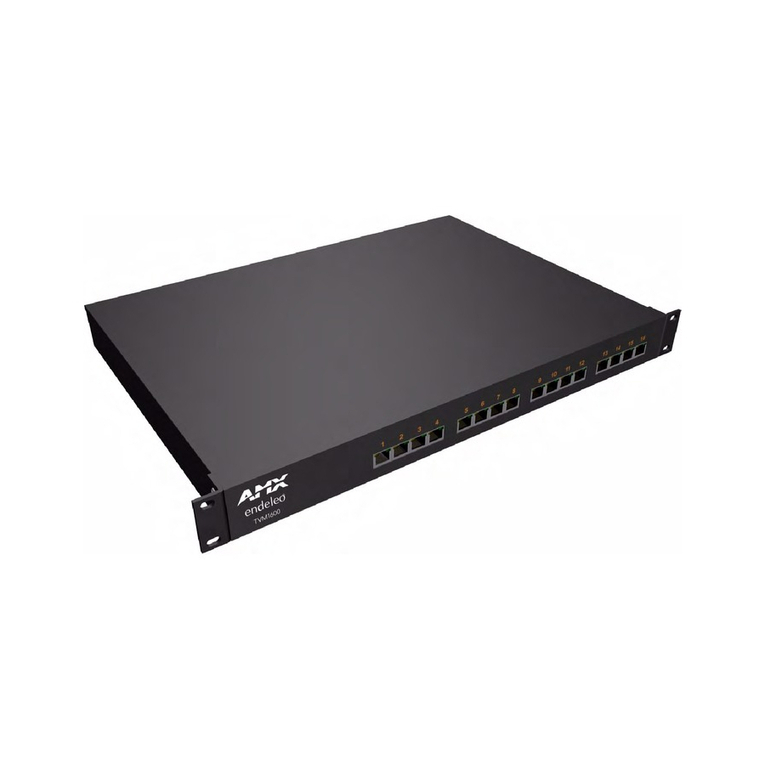
AMX Endeleo TVM-1600 Parts list manual

AMX

AMX Endeleo TVM-1600 Parts list manual

AMX NetLinx Hub Cards and Modules NXC-NH/HS/HE User manual

AMX

AMX NetLinx Hub Cards and Modules NXC-NH/HS/HE User manual

AMX UDM-0808-SIG Parts list manual

AMX

AMX UDM-0808-SIG Parts list manual

AMX endeleo UDM 1604 User manual

AMX

AMX endeleo UDM 1604 User manual

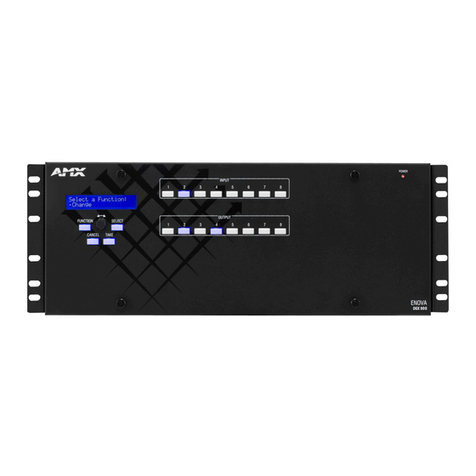
AMX Enova DGX User manual

AMX

AMX Enova DGX User manual

AMX RDM-2SWM DUAL SWITCH MODULE 20A Assembly instructions

AMX

AMX RDM-2SWM DUAL SWITCH MODULE 20A Assembly instructions

AMX VPX-1401 User manual

AMX

AMX VPX-1401 User manual

AMX DGX1600-ENC Quick user guide

AMX

AMX DGX1600-ENC Quick user guide

AMX PLB-AS16 User manual

AMX

AMX PLB-AS16 User manual

AMX RDM-3SWM Assembly instructions

AMX

AMX RDM-3SWM Assembly instructions

AMX Solecis AVS-SL-0601-848 User manual

AMX

AMX Solecis AVS-SL-0601-848 User manual

AMX Enova DVX-3156HD-SP User manual

AMX

AMX Enova DVX-3156HD-SP User manual

AMX RDM-3SWM Quick start guide

AMX

AMX RDM-3SWM Quick start guide

AMX Endeleo UDM-0404 Parts list manual

AMX

AMX Endeleo UDM-0404 Parts list manual

AMX RDM-2DC User manual

AMX

AMX RDM-2DC User manual

AMX Endeleo UDM-0102 User manual

AMX

AMX Endeleo UDM-0102 User manual

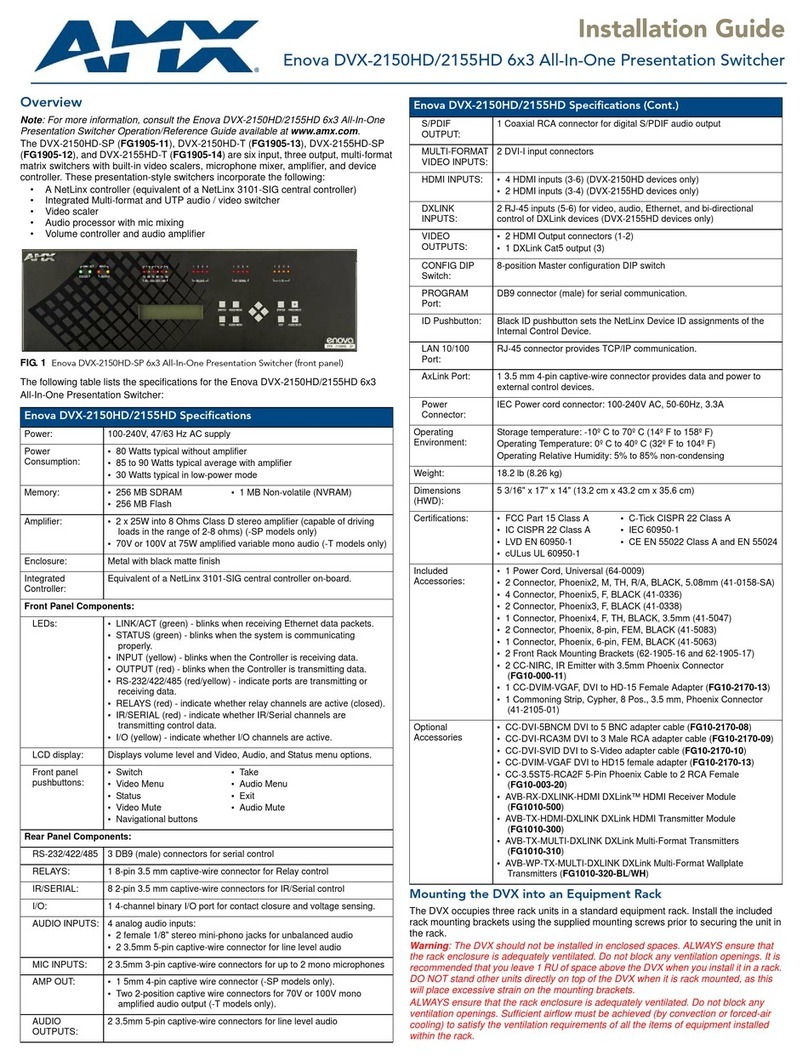
AMX DVX-2210HD-SP User manual

AMX

AMX DVX-2210HD-SP User manual

AMX UDM-1604C Parts list manual

AMX

AMX UDM-1604C Parts list manual

AMX AVS-OP-1515-840 Instructions and recipes

AMX

AMX AVS-OP-1515-840 Instructions and recipes

AMX UDM-0808-SIG User manual

AMX

AMX UDM-0808-SIG User manual

AMX DVX-2250HD-SP User manual

AMX

AMX DVX-2250HD-SP User manual

AMX Endeleo TVM-1600 User manual

AMX

AMX Endeleo TVM-1600 User manual

Popular Switch manuals by other brands

SMC Networks SMC6224M Technical specifications

SMC Networks

SMC Networks SMC6224M Technical specifications

Aeotec ZWA003-S operating manual

Aeotec

Aeotec ZWA003-S operating manual

TRENDnet TK-209i Quick installation guide

TRENDnet

TRENDnet TK-209i Quick installation guide

Planet FGSW-2022VHP user manual

Planet

Planet FGSW-2022VHP user manual

Avocent AutoView 2000  AV2000BC AV2000BC Installer/user guide

Avocent

Avocent AutoView 2000 AV2000BC AV2000BC Installer/user guide

Moxa Technologies PT-7728 Series user manual

Moxa Technologies

Moxa Technologies PT-7728 Series user manual

Intos Electronic inLine 35392I operating instructions

Intos Electronic

Intos Electronic inLine 35392I operating instructions

Cisco Catalyst 3560-X-24T Technical specifications

Cisco

Cisco Catalyst 3560-X-24T Technical specifications

Asante IntraCore IC3648 Specifications

Asante

Asante IntraCore IC3648 Specifications

Siemens SIRIUS 3SE7310-1AE Series Original operating instructions

Siemens

Siemens SIRIUS 3SE7310-1AE Series Original operating instructions

Edge-Core DCS520 quick start guide

Edge-Core

Edge-Core DCS520 quick start guide

RGBLE S00203 user manual

RGBLE

RGBLE S00203 user manual

Thrustmaster FLIGHT SIMULATOR X quick guide

Thrustmaster

Thrustmaster FLIGHT SIMULATOR X quick guide

Southwire SURGE GUARD 41390 RVC troubleshooting guide

Southwire

Southwire SURGE GUARD 41390 RVC troubleshooting guide

Buhler Nivotemp NT 61 Brief instructions

Buhler

Buhler Nivotemp NT 61 Brief instructions

Kramer VS-41HDCP user manual

Kramer

Kramer VS-41HDCP user manual

Techly IDATA AU-270 user manual

Techly

Techly IDATA AU-270 user manual

Belkin F1U109 user manual

Belkin

Belkin F1U109 user manual

manuals.online logo
manuals.online logoBrands
  • About & Mission
  • Contact us
  • Privacy Policy
  • Terms and Conditions

Copyright 2025 Manuals.Online. All Rights Reserved.

Installation Guide
NXA-PDU-1508-8 Power Distribution Unit (110V/220V)
Overview
The NXA-PDU-1508-8 Power Distribution Unit (FG673-01) provides switching of mains
power to each of eight ACRMS 2020 power outlets. The two built-in AxLink bus strips provide
connectivity (AxLink data / power) for up to eight AxLink connections.
Note: AMX recommends no more than 4 PDUs per master, due to AxLink addressing and
bus traffic.
Product Specifications
SAFETY INSTRUCTIONS
• There are NO user serviceable parts within the NXA-PDU-1508-8.
• The NXA-PDU-1508-8 is intended for indoor use only.
• DO NOT install or operate the NXA-PDU-1508-8 in an area where the ambient
temperature exceeds 40ºC (104ºF) or falls below 0ºC (32ºF).
• DO NOT install or operate the NXA-PDU-1508-8 in an area in which the ambient
relative humidity exceeds 85% or an area that is prone to condensation.
• DO NOT install or operate the NXA-PDU-1508-8 near water or in a location which may
be prone to water seepage, dripping or splashing.
• DO NOT place objects containing liquids on the NXA-PDU-1508-8.
Power Cord Requirements
The NXA-PDU-1508-8 ships with a power cord, except to those countries which prohibit the
shipment of the power cord selected. When selecting a power cord for use in Japan, please
consider the following:
The NXA-PDU-1508-8 requires a type VCTF or HVCTF and 1.25 or 2.0 sq.mm jacketed
power cord with connectors and plugs that are 125V-12A or 125V-15A rated should be used.
Rack-Mounting
Note: For safety, the PDU should be installed near the socket-outlet providing power (which
must be easily accessible by the PDU's power cord).
Before rack mounting the PDU, pay particular attention to the following factors:
•Temperature: Since the temperature within a rack assembly may be higher than the
ambient room temperature, check that the rack-environment temperature is within the
specified operating temperature range.
•Mechanical Loading: Do not place any equipment on top of a rack-mounted unit.
•Circuit Overloading: Be sure that the supply circuit to the rack assembly is not
overloaded.
•Grounding: Rack-mounted equipment should be properly grounded. Particular
attention should be given to supply connections other than direct connections to the
mains.
FIG. 1 NXA-PDU-1508-8
NXA-PDU-1508-8 Specifications
Power:
Note: The PDU auto-
senses the voltage of the
supplied power.
• Powered via 110-220 VAC, 50/60Hz mains power on an
IEC-320 C-14 connector
• Required voltage = 110 to 220 VAC, 50/60Hz
• Total Combined Current (including AxLink):
10A at 220V-240V
12A at 110V-120V
• Idle power draw: 1.0W max
AC Current: • 110-120VAC: Input: 15A Regulatory Derated Input Current
(North America)12A @ 110 VAC
10A Max Load Per Outlet @ 110VAC
12A Max Combined Load @ 110VAC
• 220-240VAC: Input: 10A @ 220 VAC
8A Max Load Per Outlet @ 220VAC
10A Max Combined Load @ 220VAC
Overcurrent
Notification:
• 110-120VAC: Single Outlet: 10A
Overall: 12A
• 220-240VAC: Single Outlet: 8A
Overall: 10A
Front Panel Components:
POWER LEDs
(1-8):
Eight green LEDs illuminate to indicate that the associated Power
Outlet (#1 - #8) is in use.
AXLINK Power Status
LEDs:
Two red LEDs illuminate to indicate when the associated AxLink Bus
Strips (Bank 1 or Bank 2) on the PDU are in use.
AXLINK STATUS LED: Green LED illuminates to indicate AxLink communication activity
between the PDU and the NetLinx Master:
• ON - power, no master connection
• OFF - no power
• Blink - powered, communicating with master
RESET pushbutton: The RESET pushbutton serves as a momentary reset switch for the
MASTER AxLink power connection, as well as a reset switch for the
PDU itself:
• Press/hold for 3 seconds: Resets the MASTER AxLink power
connection (minimum 0.5 second toggle). Note: A master powered
externally from the PDU will not be reset by the RESET pushbutton.
• Press/hold for 17 seconds: Resets the PDU (similar to a full power-
cycle of the unit).
Rear Panel Components:
AXLINK POWER
connectors (8):
A 13.5VDC, 6.5A power supply is provided for AxLink power.
Eight 3.5mm (4-pin) AxLink captive-wire connectors provide power
and data for up to eight AxLink connections.
• AxLink power is switched in two banks of four outputs each.
BANK 1 contains AxLink connectors 1-4
BANK 2 contains AxLink connectors 5-8
• The PDU provides up to 6.5A total across all AxLink outputs.
MASTER connector 3.5mm Phoenix (4-pin) AxLink connector provides connectivity to the
NetLinx Master (always on).
TEMP (RTS) input: 3.5mm Phoenix (2 pin) connector provides connection to a Remote
Temperature Sensor (RTS).
CONFIG DIP Switch: Eight-position DIP switch sets the AxLink device address.
RESET pushbutton
AxLink STATUS LED
AxLink BANK 1
POWER (Output 1-8 Status) LEDs
Power Status LED
AxLink BANK 2
Power Status LED
Power Inlet
AXLINK POWER Connectors
MASTER AxLink Connector (to NetLinx Master Controller)
TEMP (RTS) Input Connector
Power Outlets 1-8
CONFIG DIP Switch
top = BANK 1 (1-4)
bottom = BANK 2 (5-8)
12345678
NXA-PDU-1508-8 Specifications (Cont.)
Power Outlets (8): • Connector Type: IEC C-13, 12A/10A
• Maximum allowable current on a single high-voltage output:
10A@110VAC / 8A@220VAC
Power Inlet (1): • Connector Type: IEC C-14, 12A/10A
110-120VAC: 12A Input
220-240VAC: 10A Input
Dimensions (HWD): • 1 3/16" x 17" x 9 11/16" (2.97cm x 43.18cm x 24.54 cm)
•1RU
Weight: 9 lbs (4.08 kg)
Enclosure: Steel, black powder coated finish
Environmental: • Operating Environment: 0°C - 40°C (32°F - 104°F)
• Storage Environment: -10°C - 60°C (14°F - 140°F)
• Relative Humidity: 5% - 85%, non-condensing
Certifications: • CE
• CB Scheme
•UL
•FCC
•CSA
•C-Tick
Included Accessories: • Power Cord, NEMA 5-15P TO C13, 15A, 14/3, 6’ (64-0673-01)
Note: See Power Cord Requirements below for details.
• ENV-VST-TSO, Temperature Sensor (FG2050-22)
• (2) Removable mounting brackets
• (9) 4-pin, 3.5mm captive-wire connectors (41-5047)
• (1) 2-pin captive-wire connector (41-5026)
Other AMX Equipment: • ENV-VST-TSF, Flush Mount Temperature Sensor (FG2050-21)
• CC-C13-C14: C13 to C14 Power Cable (FG10-673-01)
• CC-C14-NEMA: C14 to NEMA Power Cable (FG10-673-02)
FIG. 2 SAFETY INSTRUCTIONS
FIG. 3 CLASS A NOTIFICATION
For full warranty information, refer to the AMX Instruction Manual(s) associated with your Product(s).
1/12
©2012 AMX. All rights reserved. AMX and the AMX logo are registered trademarks of AMX.
AMX reserves the right to alter specifications without notice at any time.
3000 RESEARCH DRIVE, RICHARDSON, TX 75082 • 800.222.0193 • fax 469.624.7153 • technical support 800.932.6993 • www.amx.com
93-0673-01 REV: C
The NXA-PDU-1508-8 can be mounted in a standard 19-inch equipment rack:
1. Attach the brackets to the PDU using the bracket screws provided in the Bracket
Mounting Kit (FIG. 4).
2. Mount the PDU in the rack, using 4 rack-mounting screws (not provided, see FIG. 5).
Front Panel Components
The front panel components of the NXA-PDU-1508-8 (see FIG. 1) are described below. See
the Specifications table for descriptions of the LEDs on the front panel.
RESET Pushbutton
The RESET pushbutton serves as a momentary reset switch for the MASTER AxLink power
connection, as well as a reset switch for the PDU itself:
• Press/hold for 3 seconds: Resets the MASTER AxLink power connection
(minimum 0.5 second toggle).
Note: A master powered externally from the PDU will not be reset by the RESET
pushbutton.
• Press/hold for 17 seconds: Resets the PDU (similar to a full power-cycle of the unit).
Rear Panel Components
The rear panel components of the NXA-PDU-1508-8 (see FIG. 1) are described below:
AXLINK POWER Connectors 1-8
The eight AxLink connectors (labelled “AXLINK POWER”) are standard 4-pin AxLink captive-
wire connectors that provide data and power for up to 8 AxLink connections.
The AxLink device connectors are separated into two Banks:
• BANK 1 (top) includes AxLink connectors 1-4, numbered from right-to-left (see FIG. 1)
• BANK 2 (bottom) contains AxLink connectors 5-8, numbered from right-to-left (see
FIG. 1)
The PDU provides switched power to banks 1 and 2.
Note: The AxLink bus strip does not provide switching on AxLink data lines.
MASTER Connector
The 3.5mm 4-pin captive-wire AxLink connector labelled “MASTER” provides AxLink
connectivity between the PDU and the NetLinx Master (see FIG. 1).
Note: This connector is always ON.
TEMP Connector
The 3.5mm 2-pin captive-wire connector labelled “TEMP” (see FIG. 1) provides the option to
connect a Remote Temperature Sensor (RTS). The NXA-PDU-1508-8 comes with one
ENV-VST-TSO Temperature Sensor (FG2050-22).
Connect either wire from the RTS to either pin on the TEMP connector (FIG. 6).
Note: The NXA-PDU-1508-8 is also compatible with the ENV-VST-TSF Indoor Flush Mount
Temperature Sensor (FG2050-21 - not included).
Preparing Captive Wires
1. Strip 0.25 inch (6.35 mm) of wire insulation off all wires.
2. Insert each wire into the appropriate opening on the connector according to the wiring
diagrams and connector types described in this section.
3. Turn the flat-head screws clockwise to secure the wires in the connector.
Note: Do not over-torque the screws; doing so can bend the seating pins and damage the
connector.
AxLink Data and Power Connections
Connect the AxLink device’s AxLink connector to one of the AxLink connectors (1-8) on the
rear panel of the PDU for data and 12 VDC power as shown in FIG. 7.
Note: If the PDU is connected to a NetLinx Master that is self-powered (powered by a stand-
alone power supply other than the PDU, or the DVX-2100HD which features an internal
power supply), do not use the AxLink Power connection between the PDU and the NetLinx
Master.
AxLink Wiring Guidelines
AxLink devices require 12 VDC power to operate properly. The necessary power is supplied
via the AxLink cable. The maximum AxLink wiring distance is determined by power
consumption, supplied voltage, and the wire gauge used for the cable.
Use the 3-step formula below to calculate the maximum wiring lengths allowable between
the PDU and connected AxLink devices.
1. <Total current consumption of all connected AxLink devices> x <Resistance/Foot> x 2 =
<voltage drop per foot>(see table below for Resistance/Foot values.)
2. <Power supply voltage> - 12 VDC = <surplus voltage dissipation for cable run>.
3. <surplus voltage dissipation for cable run>/<voltage drop per foot>=Max. distance.
The following table lists the resistance factors used in the formula.
CONFIG DIP Switch
The NXA-PDU-1508-8 uses an 8-position DIP Switch (labelled “CONFIG”) to specify a
unique device address for itself in a NetLinx Control System (FIG. 8).
Setting the Device Address of the PDU
The NXA-PDU-1508-8 firmware implements 8 AxLink device IDs, starting from the device ID
denoted by the DIP switch. The device IDs used by the NXA-PDU-1508-8 are as follows:
•Dev 1: (Power Outlet 1) + (AxLink-Bank 1 Power) + (Input Voltage) + (Temp)
•Dev 2: (Power Outlet 2) + (AxLink-Bank 2 Power)
•Dev 3-8: (Power Outlets 3-8)
Note: AxLink devices IDs are always in the range of 1-255. However, the PDU requires
seven open device numbers above the PDU device number setting to accommodate its
sub-devices. Therefore, device addresses 249-255 are not valid for the PDU.
To set the Device Address:
1. If connected, disconnect the power supply.
2. Set the CONFIG DIP switch according to the values shown below:
The device number is set by the total value of DIP switch positions that are in the ON
position. Note that the ON position is indicated on the DIP Switch.
If you later change the device number, remove and reconnect the power connector to enter
the new device number into memory.
Note: Use the "Dip Switch2" software application to calculate dip switch position values
(available to download from www.amx.com).
Power Outlets 1-8
The eight 110-220VAC 50/60Hz, IEC C-13, 15A AC Power Outlet Connectors provide AC
power to connected devices (see FIG. 1).
Note: Maximum load on a single outlet = 10A @ 110-120 VAC / 8A @ 220-240VAC.
Power Inlet
The IEC C-14, 15A power inlet connector provides 110-220VAC, 50/60Hz mains power to the
PDU.
Powering Up The NXA-PDU-1508-8
When power is applied to the PDU for the first time, the outlets are powered in sequence
(1-8), with a delay of 0.5 second between outlets.
By default, the state of all outlets upon initial power-up is ON.
Initial Response Time
Allow the PDU approximately ten seconds after it appears online to register internal
processes before attempting to turn on a channel.
Persistence of On/Off States for All Outlets
By default, Persistence for all outlets is set to ON.
Persistence can be turned off via the PERSIST Send_Command (see the NXA-PDU-1508-8
Operation/Reference Guide for programming information).
For subsequent power-ups (from a power off state or on system reset), the PDU will restore
the last recorded state of any outlet in a sequenced fashion, starting from outlet 1 in
numerical order, with a delay of 0.5 second between energizing any two outlets, assuming
the default Persistence setting of ON has not been changed.
NetLinx Programming
The NXA-PDU-1508-8 is controlled via NetLinx Programming, primarily through the use of
Channels and Levels. Refer to the NXA-PDU-1508-8 Operation/Reference Guide for
programming information.
Additional Documentation
Refer to the NXA-PDU-1508-8 Operation/Reference Guide for programming information and
instructions on upgrading Firmware on the PDU.
FIG. 4 Attaching the Brackets
FIG. 5 Installing the PDU in a Rack
FIG. 6 TEMP Connector
FIG. 7 AxLink straight-thru wiring
Mounting bracket
PDU Bracket screws
Mounting bracket on PDU
Rail on equipment rack
NXA-PDU-1508-8
RTS
ENV-VST-TSO
(remote temperature sensor)
PWR
AXP
AXM
GND
AxLink DeviceNXA-PDU-1508-8
PWR
AXP
AXM
GND
(see note below)
Cable Gauge/Resistance Factors
Solid Copper Wiring Stranded Copper Wiring
Wire gauge Resistance/Foot Resistance/Foot
18 AWG .00639 .00692
20 AWG .0101 .01090
22 AWG .0162 .01690
24 AWG .0257 .02770
FIG. 8 CONFIG DIP Switch
Switch 1 2 3 4 5 6 7 8
Value 1248 16 32 64 128
12345678