2
WARNUNG
Lesen Sie die Bedienungsanleitung vor Inbetriebnahme sorgfältig durch und beachten Sie alle
Sicherheitshinweise!
Nichtbeachtung kann zu Personenschäden, Schäden am Gerät oder Ihrem Eigentum führen!
Bewahren Sie die Originalverpackung, den Kaufbeleg sowie diese Anleitung zum späteren
Nachschlagen auf! Bei der Weitergabe des Produkts geben Sie auch diese Anleitung weiter.
Prüfen Sie vor Inbetriebnahme den Inhalt der Verpackung auf Unversehrtheit und Vollständigkeit!
1. Bestimmungsgemäßer Gebrauch
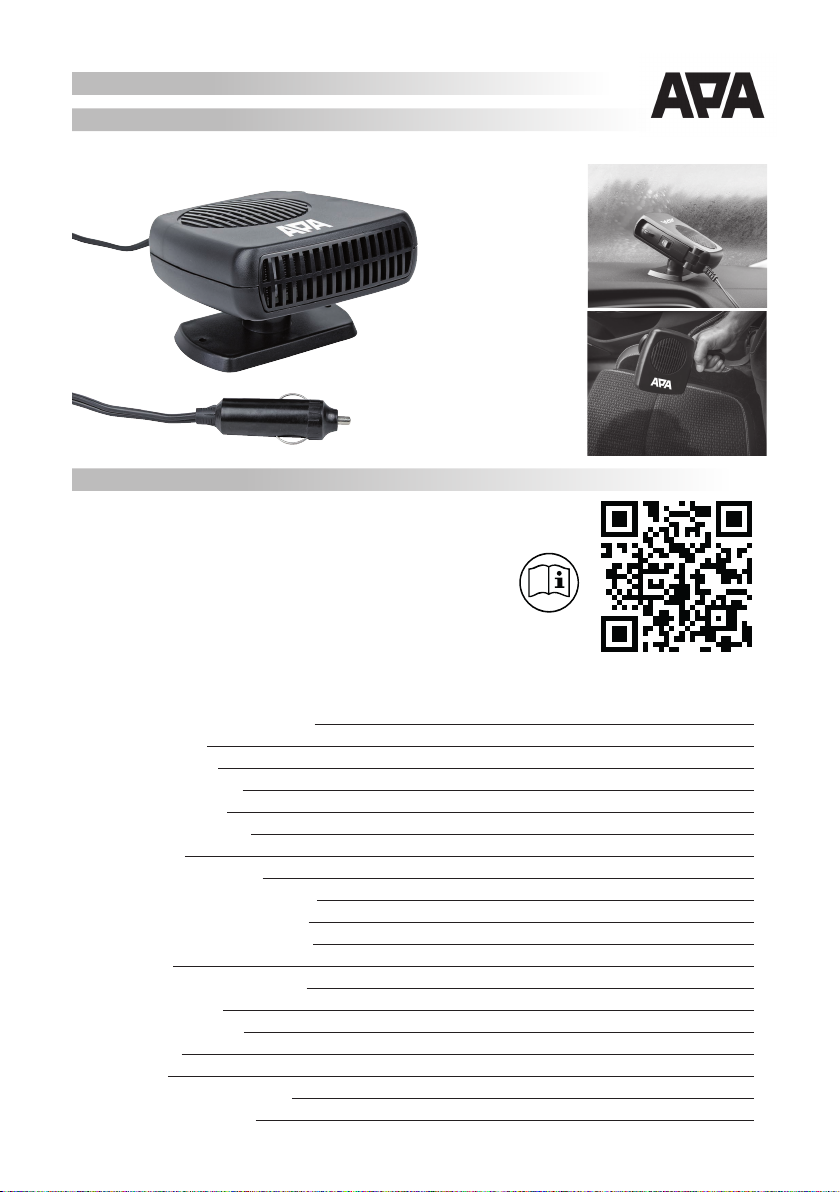
Der Heiß-Kaltlüfter dient zum Heizen von Kraftfahrzeugen im Winter und als kühlender Lüfter im Sommer. Der Heiß-Kaltlüfter
wird an eine 12 V – Kfz-Steckdose angeschlossen. Durch den ausklappbaren Handgri kann das Gerät handgeführt eingesetzt
werden, und so gezielt eine einzelne Stelle aufgeheizt oder abgekühlt werden.
Dieses Gerät ist nicht dafür bestimmt, durch Kinder und Personen mit eingeschränkten geistigen Fähigkeiten oder ohne
erforderliches Fachwissen benutzt zu werden. Kinder sind von dem Gerät fernzuhalten.
Das Gerät ist nicht für den gewerblichen Einsatz bestimmt.
Zum bestimmungsgemäßem Gebrauch gehört auch die Beachtung aller Informationen in dieser Anleitung, insbesondere
die Beachtung der Sicherheitshinweise. Jede andere Verwendung gilt als nicht bestimmungsgemäß und kann zu Sach- oder
Personenschäden führen. Die EAL GmbH übernimmt keine Haftung für Schäden, die durch nicht bestimmungsgemäßen
Gebrauch entstehen.
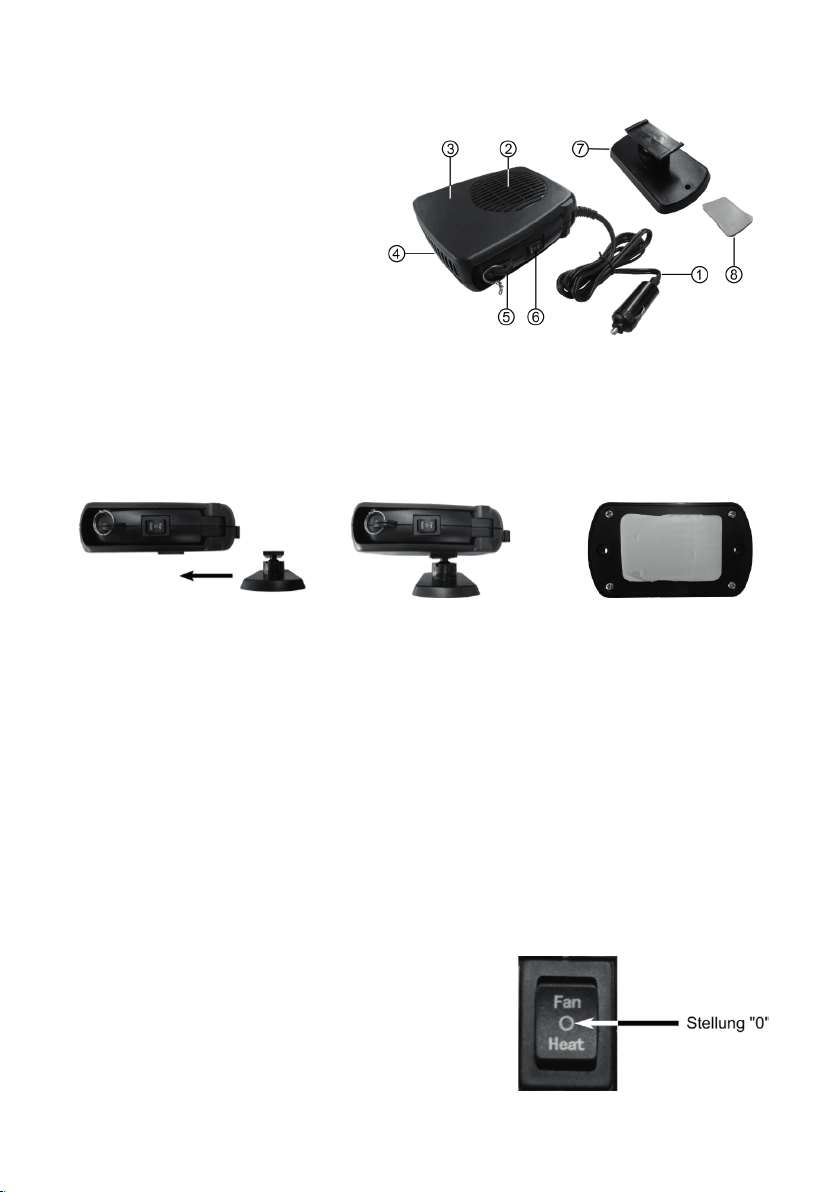
2. Lieferumfang
1x Heiß-Kaltlüfter 1x Befestigungssockel 1x Klebekissen, 2 x Schraube 1x Gebrauchsanleitung
3. Spezikationen
Betriebsspannung: 12V DC Leistung: 150W Länge des Anschlusskabels: 1,30 m
Dimensionen: 135 x 115 x 75 [mm] Gewicht: 0,340 kg Befestigung: Schrauben, Kleben
4. Sicherheitshinweise
• DasWarndreieck kennzeichnet alle für die Sicherheit wichtigen Anweisungen. Befolgen Sie diese immer,
anderenfalls könnten Sie sich verletzen oder das Gerät könnte beschädigt werden.
• Kinder dürfen nicht mit dem Gerät spielen.
• Reinigung und Benutzerwartung dürfen nicht von Kindern ohne Beaufsichtigung durchgeführt werden.
• Lassen Sie dasVerpackungsmaterial nicht achtlos liegen. Dieses kann für Kinder zu einem gefährlichen Spiel-
zeug werden!
• Benutzen Sie dieses Produkt nur für die dafür vorgeseheneVerwendung!
• Manipulieren oder zerlegen Sie das Gerät nicht!
• Verwenden Sie zu Ihrer eigenen Sicherheit ausschließlich Zubehör oder Ersatzteile, die in der Anleitung an-
gegeben sind, oder derenVerwendung durch den Hersteller empfohlen wird!
• Benutzen Sie den Heiß-Kaltlüfter nur in einem Fahrzeug, niemals im Freien.
• Schließen Sie den Heiß-Kaltlüfter nur an eine 12V Steckdose an, andere Spannungen können das Gerät zer-
stören oder zu einem Brand führen.
• Lassen Sie den Heiß-Kaltlüfter während des Betriebs niemals unbeaufsichtigt.
• Befestigen Sie den Heiß-Kaltlüfter so, dass er bei einem Unfall oder einer Notbremsung sich nicht lösen kann
und keine Gefahr für die Insassen darstellt.
• Der Heiß-Kaltlüfter darf nicht im Bereich von Airbags oder in Kopfaufprallzonen montiert werden.
• Montieren Sie den Heiß-Kaltlüfter so, dass er Ihre Sicht während der Fahrt nicht beeinträchtigt.
• Verlegen Sie das Anschlusskabel so, dass es Sie beim Fahren nicht behindert.
• Verlegen Sie das Kabel lose und oen.Verlegen Sie das Kabel nicht zwischen Sitzpolstern oder unter Fußmat-
ten. Decken Sie es nicht ab, z. B. durch Kleidungsstücke, Decken oder Sitzbezüge. Es besteht dann Brandgefahr.
• Ziehen Sie immer das Anschlusskabel aus der Steckdose, wenn Sie den Heiß-Kaltlüfter nicht benutzen. Ziehen