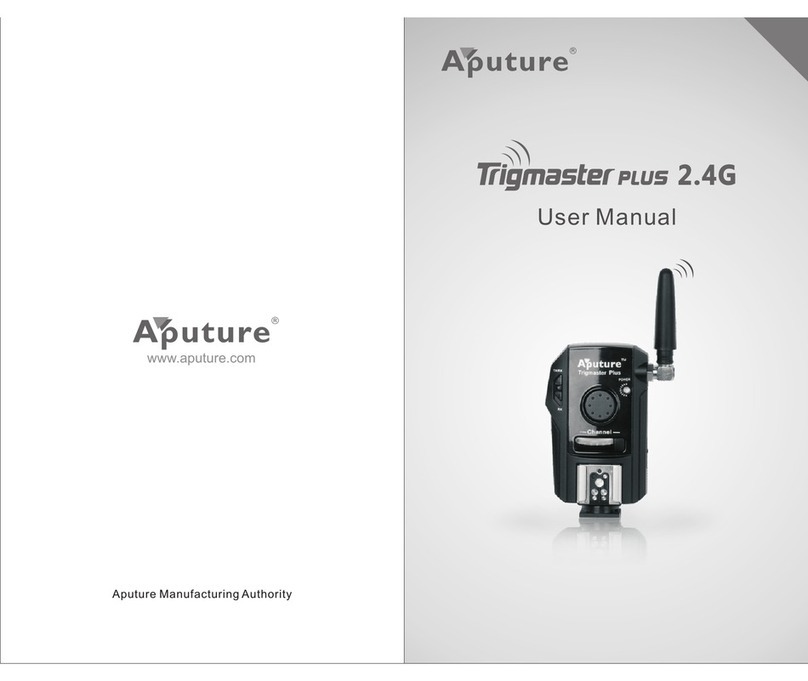
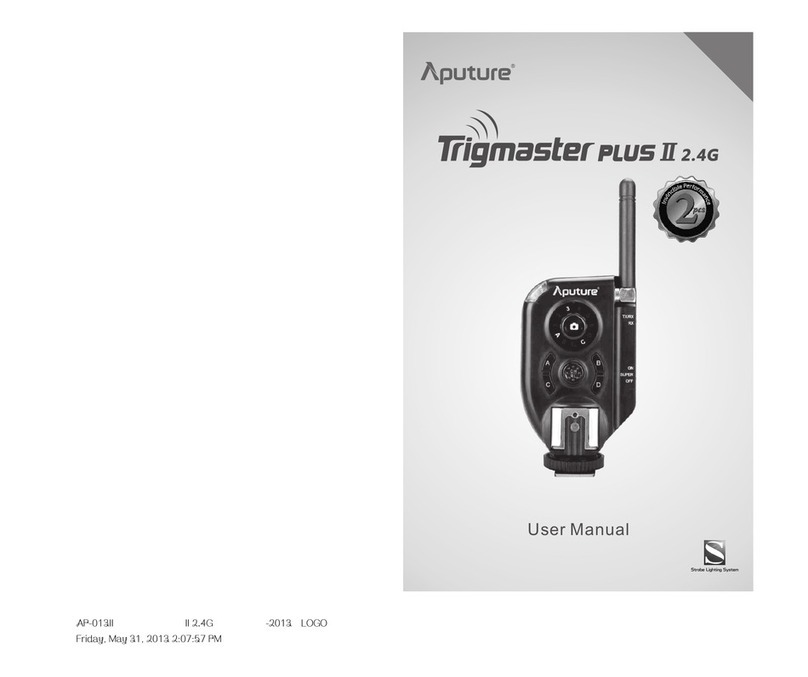
Aputure Array Trans User manual

Wireless Video Transceiver Set
Product Manual
English

The user has read the instructions of this Product manual.
The user is using the products within the operating conditions and limitations described in this
product manual.
“Improper use” means using the products other than as described in these instructions or under
operating conditions which dier from those described herein.
Please read this product manual carefully.
Keep this product manual. Always include this product manual when passing the products on to
third parties.
Heed all warnings and follow all instructions in this product manual.
WARNING: Do not touch the product’s electrical contacts with your ngers. This is to
prevent the contacts from corroding. Corroded contacts can cause the product
to malfunction.
Use only a microber and dry cloth for cleaning the product.
Operate carefully to not cause any damage by dropping or physical shocking it.
Do not leave the product near anything that has a strong magnetic eld such as a magnet or
electric motor. Also avoid using or leaving the product near anything emitting strong radio waves
such as a large antenna. Strong magnetic elds can cause the product malfunction or destroy data
transferring.
Do not leave the product in excessive heat such as in a car with direct sunlight. High temperatures
can cause the product to malfunction.
To reduce the risk of re or electric shock, do not use the product near water and do not expose it
to rain or moisture.
Keep the product stored in a cool and dry place.
It is not allowed to disassemble the product yourself. Please have the product checked by the
authorized service or agent if your product has some problems. Please note that this warranty
does not apply to repair arising out of the malfunction of unauthorized disassembly, although you
may request such repairs on a chargeable basis.
Use of original Aputure cable accessories is recommended. Please note that this warranty does
not apply to repair arising out of the malfunction of non-original Aputure accessories, although
you may request such repairs on a chargeable basis.
The product is certicated by RoHS, CE, FCC and HDMI. Please operate the product in compliance
with the operation standards. Please note that this warranty does not apply to repair arising out
of the malfunction, although you may request such repairs on a chargeable basis.
The instructions and information in this manual are based on thorough, controlled company
testing procedures. Further notice will not be given if the design and specications change.
Thank you for purchasing the Aputure Array Trans
Foreword
Aputure Array Trans is a high-denition video wireless transmission equipment, using the latest
60GHZ wireless transmission technology, special- through HDMI digital interface that can transmit
audio and video signals clearly and synchronously, with uncompressed and zero latency
transmission features.
Instructions
Intended use
Intended use of the Aputure Array Trans includes:
Detailed product manual for Array Trans can be found on the movie solution page on www.aputure.com .
-1-

Before starting, please check that all the following items have been included with Aputure Array
Trans. If anything is missing, contact your dealer immediately.
Item check list
Warranty cardHandy case
Product manual
Charger
Battery (x2)
Power adapter cable (x2)
ReceiverTransmitter
HDMI cable (A type to C type)
HDMI cable (A type to D type)
HDMI cable (A type to A type) Plug
-2-

1. Power supply
2
4
5
6
7
8
9
11
10
3
1
1 Battery cover push button
2 Battery compartment
3 Indicator light
4 Pairing switch
5 Reset button
6 HDMI interface
7 DC power interface
8 Mini USB rmware upgrade interface
9 Array antenna
10 Locking wheel
11 Cold shoe (1/4”slot)
1) Using the power adapter cable connected to the Anton battery (14.8V / 160Wh, sold separately)
power supply.
Only to illustrate the component names with the transmitter because of the transmitter and the
receiver have the same Component names.
DC OUT
Components
Operations
-3-

2) Using Li-ion batteries SONY NP-FM500H Model power supply
Video equipment can be a HDTV, a monitor, a projector etc. Note that according to the HDMI
interface of dierent video device, use the dierent interface HDMI cable to connect the video
equipment and receiver.
3. Connecting the video equipment and receiver
* 1> When installing the battery, please push away the battery buckle and insert the battery by following the
arrow direction above picture (left).
2> When the battery voltage is low , the indicator will show a red light warning. Then you should charge the
battery by using the supplied charger and plug.
3>When removing the battery, please push the battery buckle by following the arrow direction above
picture (right), then the battery pops out.
2. The fixation of transmitter and receiver
In use, with the help of locking wheel, cold shoe and 1/4"slot, the transmitter and receiver can be
xed to the camera, camcorder, tripod and so on.
HDTV
monitor
projector
-4-

4. Connecting the transmitting terminal device and transmitter
Transmitting terminal device can be a shooting or playback device, such as a camera, a camcorder,
a computer etc. Note that according to the HDMI interface of dierent device, use the dierent
interface HDMI cable to connect the device and transmitter.
1) After the receiver and the transmitter are connected to the external device respectively, push their
pairing switches to “ON” at the same time, then the blue indicator lights ash slowly and begin to
pair automatically;
2) The indicator lights blink faster, showing that the receiver and the transmitter have paired
successfully;
3) During normal operation ( need to start the external devices) , the indicator lights stop ashing;
4) Push the pairing switches to “OFF”, then stop working.
5. Wireless pairing
camera
camcorder
computer
-5-

6. Reset pairing
Tips and trouble setting
1. Please charge the battery within 5 minutes after the low battery warning appeared in case of
unstable work.
2. In order to obtain the best use eect, we recommend that the antenna corresponding angle of
the transmitter and the receiver is less than 15°.
3. When the distance between the transmitter and the receiver is about 38M, the signal will be
automatically disconnected because of the blind transmission, then you can make it connected
automatically by increasing or decreasing the distance.
4. This product supports mini USB rmware upgrading, you can update rmware according to the
direction on our ocial updating website: http://www.aputure.com/array-trans/update
15℃
Press the reset button for about 10s, you can clear the pairing addresses stored, and pair again by
repeating the above fth operations.
-6-

DC5-16.8V
RX:0.35A~0.45A (DC-5V),TX:0.35A~0.45A(DC-5V);
SONY Li-ion Battery NP-FM500H
7.4V
1500mAh
>4H
1080i@50/59.94/60Hz, 720p@50/59.94/60Hz, 576p@50Hz,
-20℃~60℃
-10℃~50℃
<85%
60GHz
Barrier-free environment 80M
Zero latency (<1ms)
92.4*96.75*49.8mm
HDMI Interface (A type), Mini USB rmware upgrade interface,
DC power interface
Working Voltage
Working Current
Battery Type
Battery Voltage
Battery Capacity
Battery Duration
Signal Compatibility
Temperature
Operation
Storage
Humidity
Transmission Frequency
Interface
Transmission Range
Transmission Delay
Product Dimension
Specifications
Trademarks:
Sony is a trademark or registered trademark of Sony Corporation in the P.R.C. and other countries.
All other corporate and product names and trademarks mentioned in this manual are the property
of their.
-7-
Table of contents
Other Aputure Transceiver manuals