6
ENGLISH
Cleaner Specications
General Specications
The general specications for the cleaner are
as follows:
Control box
supply voltage
100-240 VAC, 50-60 Hz
Output voltage 30 V DC
Installed load 100 W max
Cable length
Above Ground - 45ft (14m)
In Ground - 54ft (16.4m)
Cleaner size
(WxDxH)
14.5 x 11.4 x 11.8 in. (37 x 29 x 30 cm)
Cleaner Weight 15.4 lbs (7 kg)
Filtration
All-purpose filter canister
Cycle lengths
2 hours for Above-Ground pool
cycle
2.5 hours for In-Ground pool cycle
The cleaner is a double-insulated product. A
double-insulated electrical appliance is one
which has been designed in such a way that it
does not require a safety connection to ground.
The basic requirement for double-insulation is
that no single failure can result in dangerous
voltage becoming exposed so that it might
cause an electric shock and that this is achieved
without relying on an earthed (grounded) metal
casing. This is achieved by having two (2) layers
of insulating material surrounding live parts or
by using reinforced insulation. Therefore, devices
having double-insulated construction, such as this
cleaner, do not use a grounded (three-prong) cord.
Assembly
Contents
The packaging should contain the following
items:
• Robotic cleaner and oating cable
• Control unit
• Control unit base
To protect the control unit from possible
damage (which could lead to injury or
property damage), always secure the control
unit to the control unit base during operation
and storage.
When unpacking the cleaner and its
components:
• Check to make sure each component is in the
box.
• Check cleaner and components for damage
during transport.
• If there are any missing parts or damage,
contact Technical Support at 1-800-822-7933
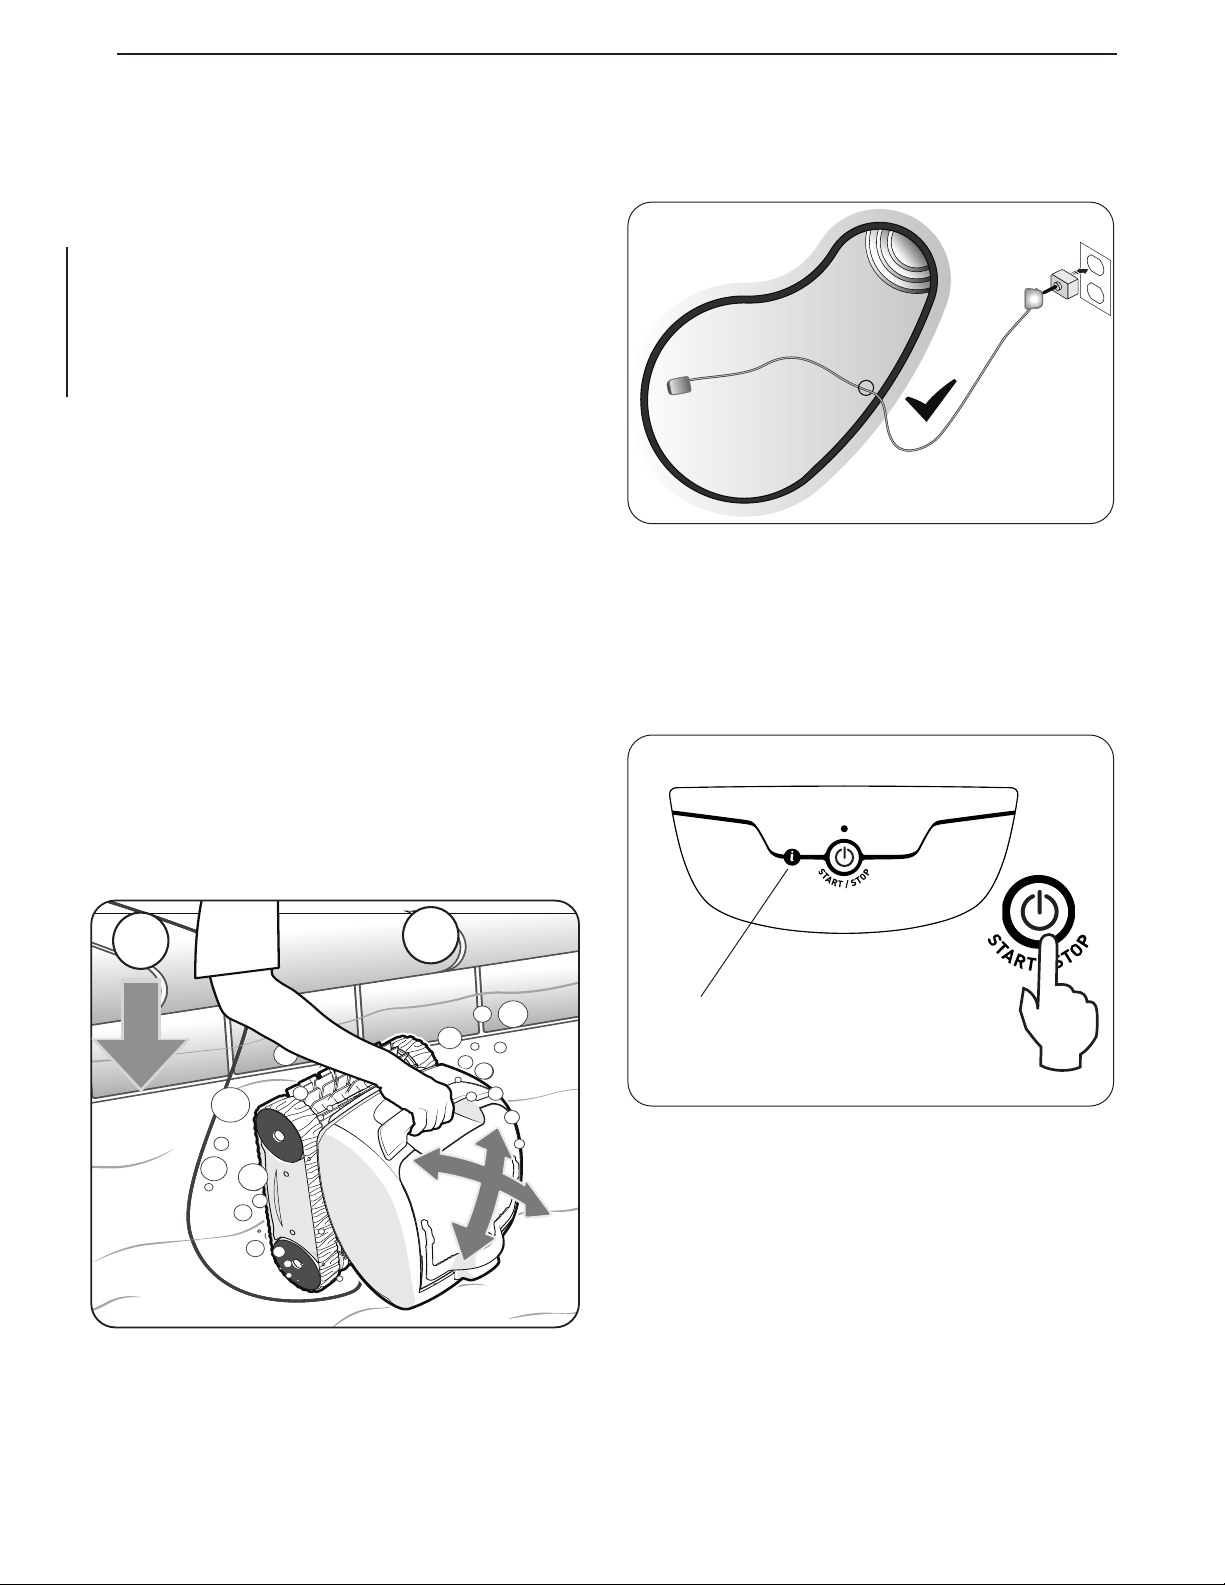
Connect to a Power Source
WARNING
• Failure to comply with the following warnings
can result in permanent injury, electrocution or
drowning.
• Prevent Electrical Shock
• U.S.: Per NEC® requirements, keep the control
unit at least ve (5) ft. (1.5 m) from the edge of
the pool. CANADA: Per CEC requirements, keep
the control unit at least three (3) m (10 ft.) from
the edge of the pool.
• Only connect the control unit to a receptacle
protected by a ground fault circuit interrupter
(GFCI). Contact a certied electrician if you
cannot verify that the receptacle is protected by
a GFCI.
• Do not use an extension cord to connect the
control unit.
• Do not allow anyone to swim while the cleaner
is in the pool.
• The control unit is water-resistant, not
waterproof. In order to prevent electrocution,
never submerge the control unit or leave
exposed to inclement weather.