Aquaporin ZERO User manual

TROUBLESHOOTING
GUIDE

ZERO Troubleshooting guide 2
The intention with this troubleshooting guide is to nd a quick solution to problems with
ZERO machines. If you are not able to nd the answer to your question, please reach out
The following checks are made for common abnormalities. If the problem cannot be
repair it yourself to avoid danger or damage to the product.
Troubleshooting
I have just installed ZERO, but no water comes out when I open the tap. 3
The quality of the water coming out of ZERO is not as expected 3
The flow of water to the drain does not stop. 4
I cannot change the pre- and post-treatment filters. 4
I just installed ZERO and no water comes out of the drain. 4
As soon as the cartridges have been installed or changed,
I hear noise coming from ZERO 5
I just installed ZERO and I experience water leakage. 5
I taste chlorine in the purified water. 5
Installation and maintenance 6

ZERO Troubleshooting guide 3
I have just installed ZERO, but no
water comes out when I open the tap.
Check that you have not reversed the input
and output pipes.
If the system does not supply water, check if the
inlet and outlet pipes (both white 8 mm pipes) have
been installed correctly. A sticker on the ZERO
clearly indicates where to insert the IN and where
to insert the OUT.
If the system has been commissioned with inverted
tubes, remember that the supply pipe is under
pressure, thus making the operation of detaching
the pipe more difcult.
Check that the pre- and post-cartridges
are in place.
The labels on the pre- and post-cartridges must
be facing upwards when correctly installed. If one
of the two is not fully rotated at 45°, the respective
safety check valves will not open, preventing the
passage of water.
Check the input line to the ZERO.
Check that there is hydraulic power supply to
the ZERO and that the dynamic input pressure is
greater than 2 bar. If it is not possible to carry out
the pressure check, call a specialized technician.
The quality of the water coming out
of ZERO is not as expected
Check whether the flow restrictor in the drain
line is used in accordance with the hardness of
the instruction manual.
It is not recommended to use the ow restrictor,
which came in the box with ZERO, if the conditions
of the incoming water do not comply with the
recommendations in the installation guide, as this
may cause fast clogging of the lters.
Check that ZERO has not been installed on the
hot water line.
ZERO should never be installed on the hot water
line, as neither the structural seal of the system nor
the optimal functionality of the lters and osmotic
membranes can be guaranteed.
Check the quality of the water entering ZERO.
Do not use ZERO to lter water unless declared
drinkable by the National Health Service. The
quality of the ltered water cannot be guaranteed if
the incoming water is not drinkable.
Check that routine/annual maintenance has
been carried out on ZERO.
Do not use the cartridges for more than one
year from the moment the water enters for the
rst time, otherwise the quality of the pre- and
post-treatment cannot be guaranteed. Poor
pre-treatment would signicantly affect the
durability and functionality of the reverse osmosis
membranes. For each change or a cartridge, it is
strongly recommended to sanitize the equipment.
This must be done by a specialized technician.
Check that the sanitizing procedure has been
carried out correctly.
The system must be sanitized with non-
chlorine-based products only, as chlorine can
cause a quicker deterioration of the reverse
osmosis membranes. It is recommended to use
SANI:CLEAN for sanitizing.
min.
2 bar

38°C
4°C
POST FILTER
PRE FILTER
Smaller Larger
min.
2 bar
ZERO Troubleshooting guide 4
The flow of water to the drain
does not stop.
Check that you have followed ZERO’s
operating logic.
ZERO works through an airless dynamic
storage tank to ensure a high instant ow during
dispensing. Therefore, the tank requires a longer
time to rell the 3 liters. The minimum relling time
will be about 10 minutes and will be affected by the
pressure and temperature of the incoming water
to ZERO. In unfavorable conditions (use at the
extreme end of the minimum conditions for use)
the lling of the tank can take up to 45 minutes. If
you do not know the installation conditions, close
the tap where the puried water comes out and
wait for the drain to stop without operating any
other component of ZERO in any way.
Check the temperature and pressure of
the incoming water.
Check that the temperature of the incoming water
is within the acceptable range (4-38°C) and that
the pressure of the inlet water is a minimum of
2 bar. The operating conditions are also provided
in the installation guide. We recommend calling a
professional technician if you are not able to verify
these conditions yourself.
I cannot change the pre- and
post-treatment filters.
Do not reverse the pre-filter and post-filter.
When changing the lters, it is important not to
reverse their positioning and not to force the
tightening to avoid causing damage to the system.
The two lters have different beaks, so it is
important to insert them in the correct place.
I just installed ZERO and no water
comes out of the drain.
If less than 1 minute has passed, keep waiting.
This might be caused by the presence of air
inside the ZERO circuit, which must be pushed
out through the drain line or puried water line
within the rst phase of installation. If less than
one minute has passed after the opening of the
hydraulic supply, wait a few more minutes.
Check that you have removed the cap from the
output drain.
During installation, ensure that you have removed
the cap from the drain and have connected the
pipe correctly. Additionally, if the drain is clogged,
the membranes will not work properly and will
deteriorate very quickly.

ZERO Troubleshooting guide 5
As soon as the cartridges have been
installed or changed, I hear noise
coming from ZERO
Please follow the procedure described in the
installation manual to eliminate air inside the
system.
There may be air inside the circuit that must be
expelled through the ltered water line or the
drain line. To facilitate its exit, initially position the
machine vertically (with the attachments upwards)
and perform three complete cycles of tank
emptying and lling. It may also be necessary to
repeat this operation after replacing the pre- and
post-cartridges. As the cartridges are new, they
reintroduce air into the circuit. It will still take a
period of 24-48 hours to completely eliminate the
noise in ZERO, as the pre- and post-cartridges
contain carbon block lters, which requires time to
activate.
Check that the mix pin is not excessively loose.
Keeping the mix pin too loose runs the risk of
its detachment with consequent water leaks.
The opening of the mix pin must be carried out
exclusively by hand and no tool of any kind should
be used for any reason.
I just installed ZERO and I experience
water leakage.
Check that there is an actual leak.
Check that the presence of water inside or outside
ZERO is not due to the movement of the pipes
during installation or the modication of the
existing water outlet.
Check the seal of the fittings.
Check the presence of the gaskets in ZERO’s inlet
and output white threaded ttings and the correct
tightening of the same.
Check that the frame of ZERO has not been
compromised.
Check that the internal part in black plastic has not
been damaged or broken during transport due to
incorrect handling.
Check the incoming pressure to ZERO.
If the incoming pressure to ZERO exceeds 6 bar,
you run the risk of irreversibly breaking the frame
of the equipment. Therefore, it is necessary and
prudent to check the operating pressure before
installation and check for the possible presence
of water hammers in the hydraulic circuit at
the installation site since they too could cause
irreversible breakages.
max.
6 bar
I taste chlorine in the purified water.
Chlorine taste in the purified water can have
two possible causes. (1) Your bypass valve is
open and chlorinated inlet water is mixed with
purified water and/or (2) the chlorine level of the
inlet water is very high.
To resolve the issue, it is recommended to keep
the bypass valve shut. Check that the chlorine level
of the inlet water is not more than 0.2 ppm. If you
do not know your inlet water chlorine level, call
your water supplier or a specialized technician for
analysis. If the level of Chlorine in the inlet water
is higher than 0.2 ppm it is necessary to install
additional pre-treatment to ensure a good taste of
the puried water and avoid damages to the RO
membranes.

38°C
4°C
min.
2 bar
ZERO Troubleshooting guide 6
Installation and
maintenance
Make sure that there are no water hammers in
the hydraulic circuit where ZERO is installed.
If the hydraulic system where ZERO is installed
can cause water hammers, it is necessary to
install a pressure reducer before ZERO. It is also
recommended to consider its origin and solving
the problem with your own home maintenance
technician.
Check the condition of the incoming water.
If the quality of the incoming water makes it
possible, install the ow restrictor on the drain line
to improve ZERO’s performance. Please follow
the recommendations in the ow restrictor guide
before installation. The ow restrictor guide can be
found in the installation guide
Check that the drain is cleaned.
Check that the drain line is always unclogged
and free of obstructions. To avoid malfunction,
please ensure that the drain to which the system
is connected is in a condition to receive the water
discarded from the system.
Sanitizing the sampling tap.
Carefully sanitize the tap for the treated water
supply periodically. This serves to ensure that there
is no bacterial contamination and that no bacterial
colonies collect in the system.
Maintenance tip.
When changing cartridges, sanitizing or any other
routine or extraordinary maintenance operation,
it is necessary to use disposable gloves to avoid
possible bacterial contamination of the system
and to ensure that the abovementioned tasks are
carried out under suitable hygienic conditions. For
maintenance other than pre- and post-cartridge
change, it is always advisable to contact a
specialized technician.
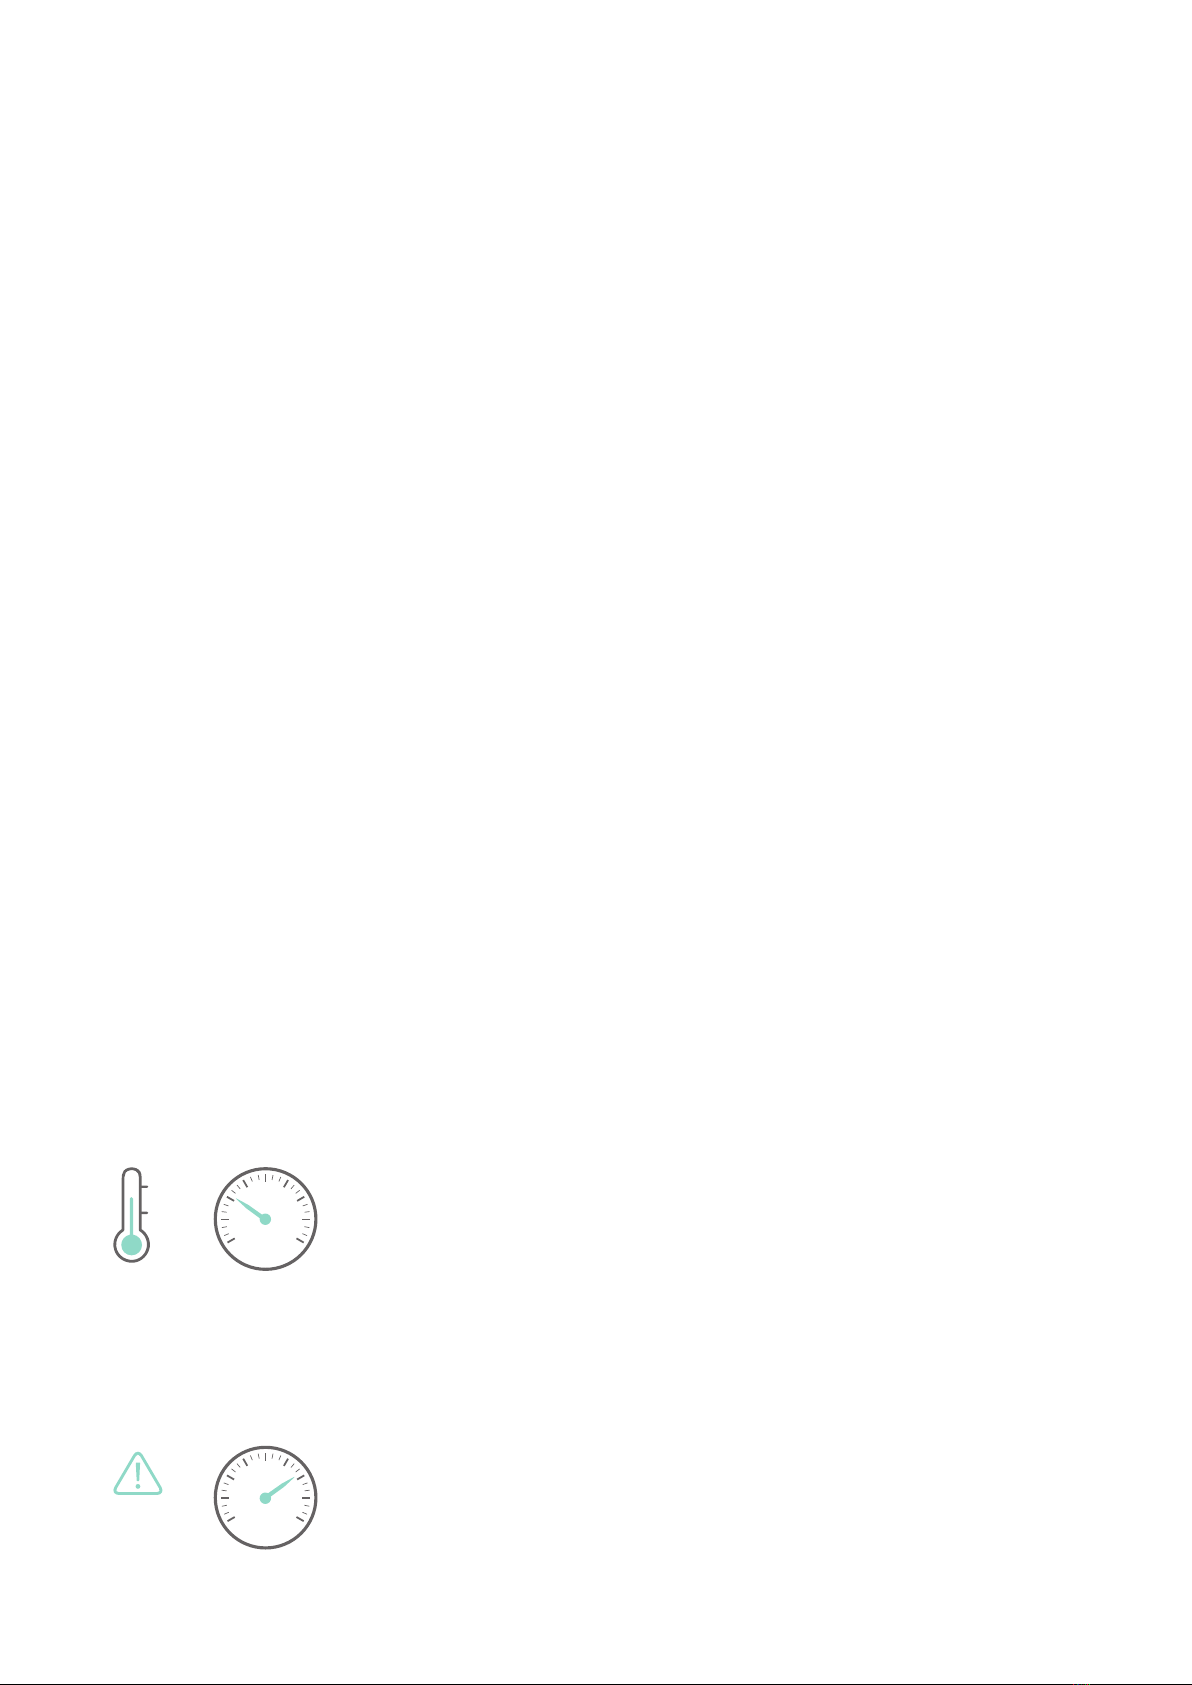
Check the need to install a pressure reducer.
If the pressure of the incoming water exceeds
6 bar, it is strongly recommended to install a
pressure reducer before the inlet water to ZERO to
avoid damage to the frame.
max.
6 bar
During installation, keep the pipe curves wide.
During installation, keep the pipe curves wide
to prevent bottlenecks or pinching that could
compromise the normal operation of ZERO.
Change the cartridges and sanitizing on an
annual basis.
Change the cartridges and sanitize on an annual
basis to preserve the functional level of the system
and the quality level of the water produced.
Reset the LED circuit at every filter change.
When changing cartridges, reset the LED circuit of
the faucet and replace the battery. If the tap LED
has a solid red light, just change the battery. The
battery model is: 2032.
Check the pressure and temperature of the
incoming water.
Check the pressure and the temperature of the
incoming water to ZERO to evaluate the lling
times of the tank and check its correct operation.
The ll time of the 3-litre tank can vary from a
minimum of 10 minutes to max. 45 minutes in
extreme operating conditions. The dynamic
pressure and temperature of the incoming water
must always be within the ranges described in the
installation manual.

Learn more at
aquaporin.com/zero
ABOUT
AQUAPORIN
Aquaporin is a global water technology
company dedicated to revolutionizing water
purication, by merging biotechnological
techniques and state-of-the-art engineering.
We are the only company that incorporates
aquaporins into water purication membranes.
Aquaporin A/S
Nymøllevej 78
2800 Kongens Lyngby
Denmark
VAT No.: DK28315694
Phone: +45 82 30 30 82
aquaporin.com
Images and data used are indicative only.
Aquaporin-ZERO-Troubleshooting-guide | Revised: April 6, 2021
Other manuals for ZERO
2
Table of contents
Other Aquaporin Household Appliance manuals
Popular Household Appliance manuals by other brands

Bluworld
Bluworld CLASSIC QUARRY NOJOQUI FALLS installation instructions

Samsung
Samsung MA-TK3080CK/AA installation instructions

CatGenie
CatGenie A.I. Setup manual

Fagor
Fagor driron Installation and user manual

STIEBEL ELTRON
STIEBEL ELTRON HSBB 200 S Operation and installation

Sharper Image
Sharper Image SI632 instructions

Clas Ohlson
Clas Ohlson TX009LD2 instruction manual

Chandler And Me
Chandler And Me CM4718UO instruction manual

CraftBilt Materials
CraftBilt Materials RETRACTABLE PLEATED SCREENST instructions

Mesko
Mesko MS 9614 user manual

Saddlemen
Saddlemen BR 1800 User's guide & installation instructions

Samsung
Samsung AWT24A7ME Owner's instructions