Aquatic NHL-SPO-01 User manual

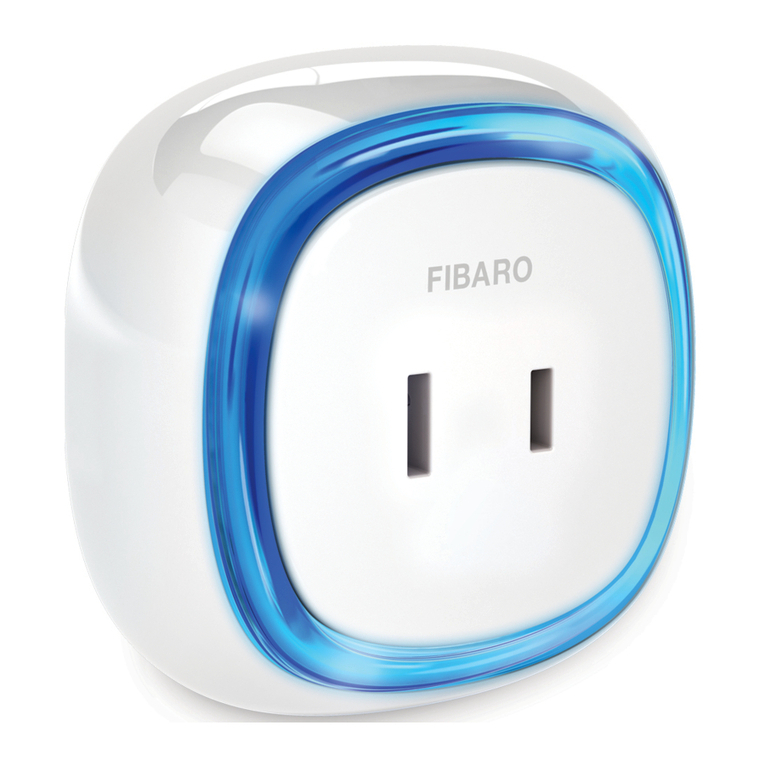
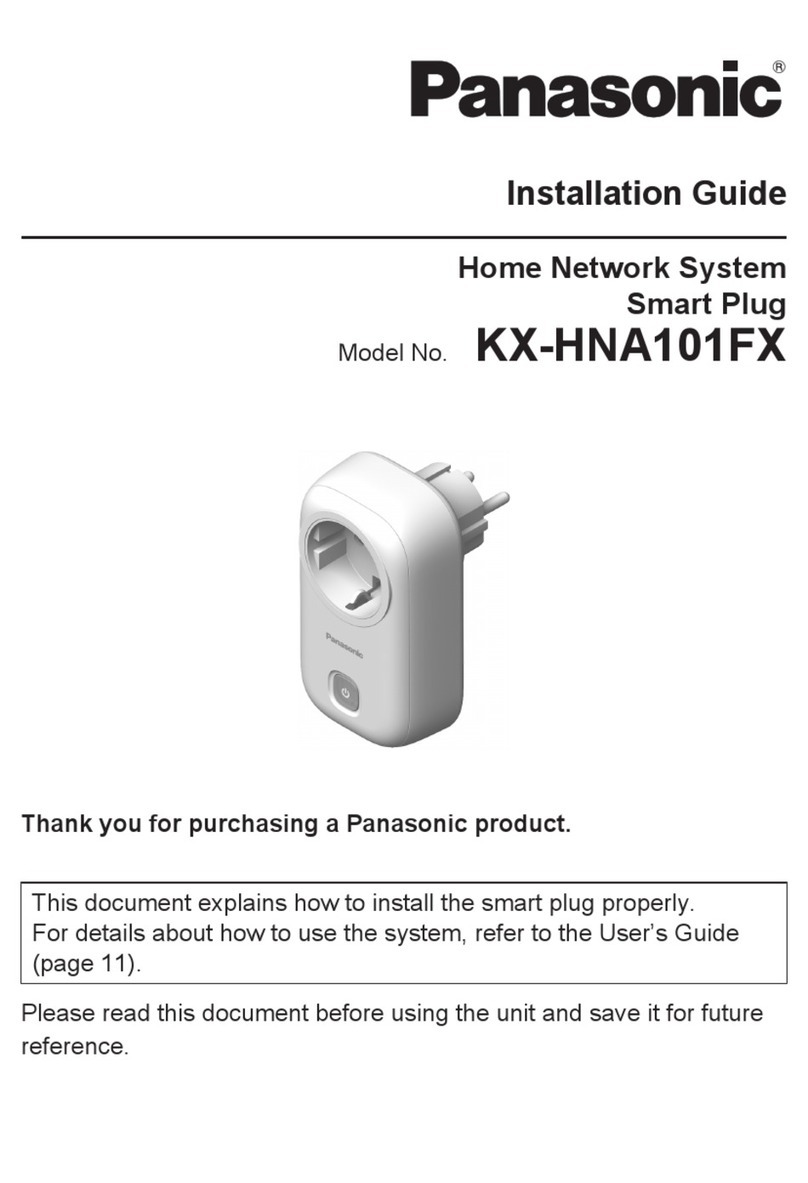
Product: Smart Plug
Model: NHL-SPO-01
NHL Home Automation Starter Kit.Follow the simple step by step instructions below and within
minutes,you will be able to control the lights in your home through your smartphone and be on
your way to enjoy mood-enhancing scenes.
In order to ensure proper setup,please refer to following step-by-step guide & keep these
instructions in a safe place for future reference.
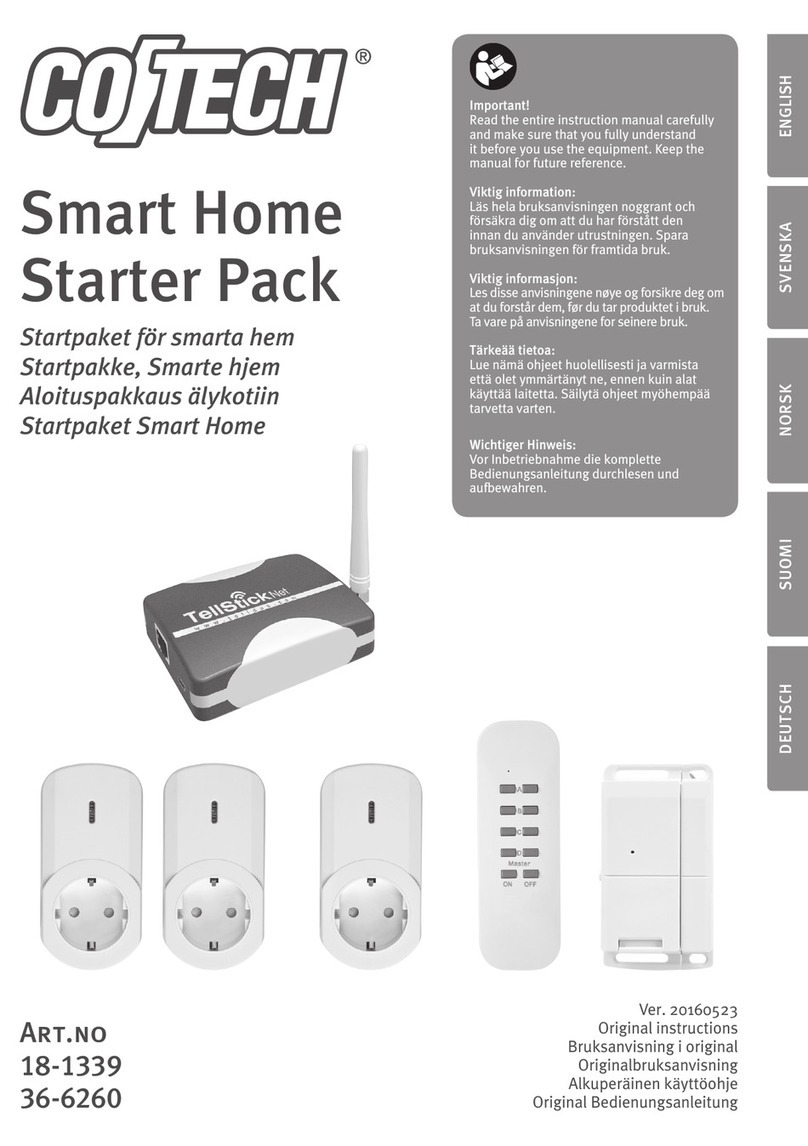
What’s included:
*1 hub
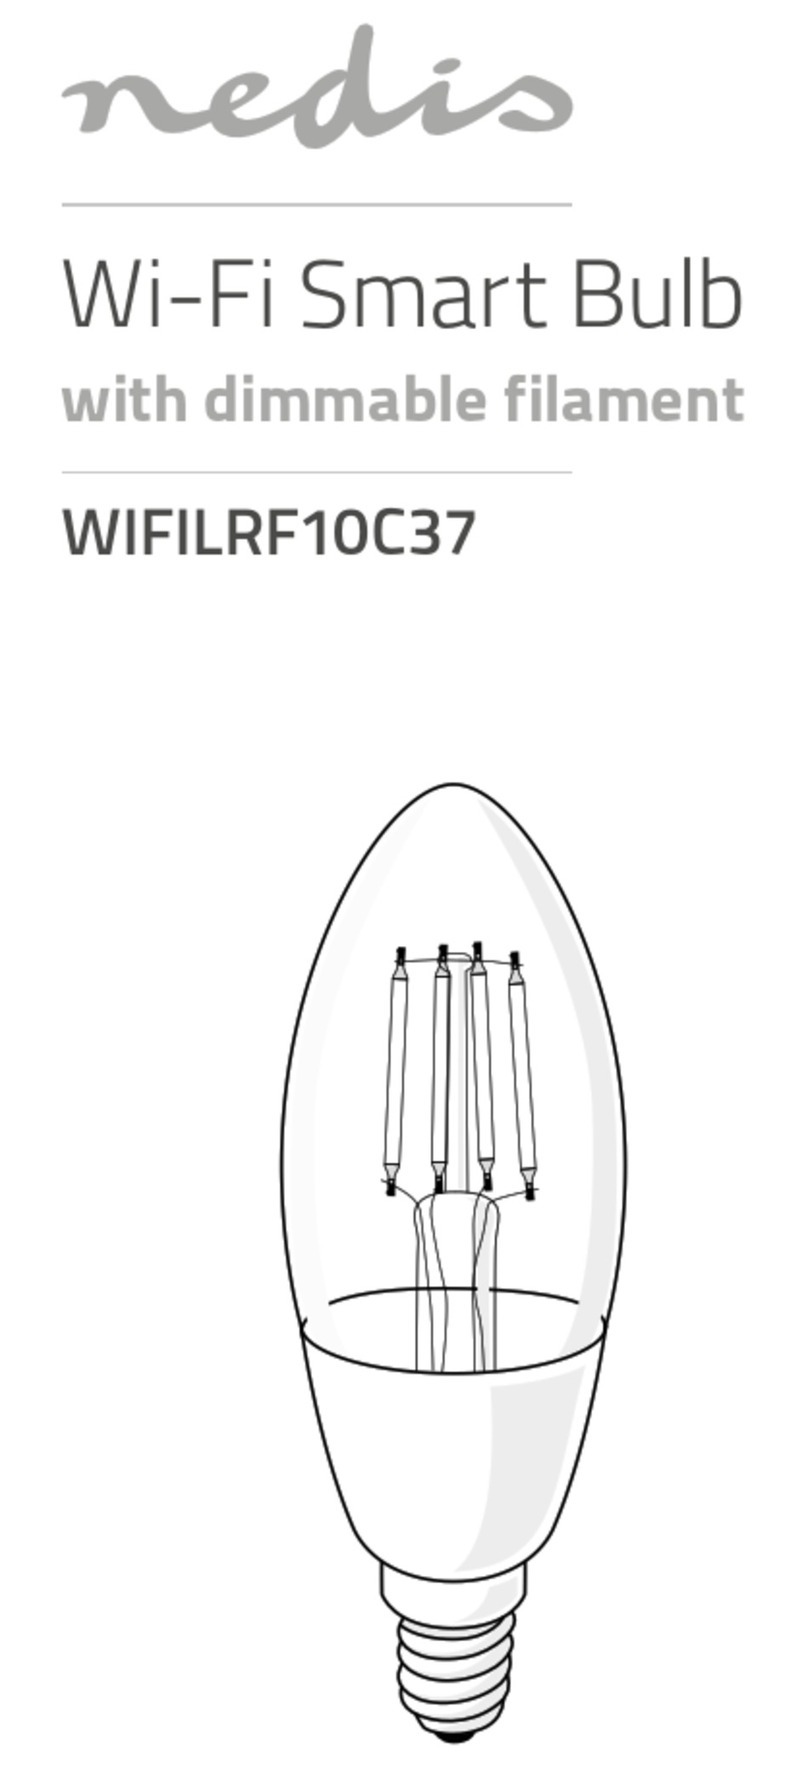
*2 RGB color-changing LED light bulb
*1 plug-in power outlet
*1 21-button keypad
1.Connecting your Phone & the NHL Hub to your home network
Step 1
Connect the included power supply to the NHL Hub.(Note:The green LED light will begin
flashing.If it does not,press & hold the SL button until you see the green LED light flashing.)
Step 2
Connect your Smarphone to your home’s wifi network
Step 3
On your smartphone ,open the ‘iHome Kits’ app and press the ‘SmartLink’ button
Step4
In the ‘Router Pass’ field,input your wifi password.In the ‘Host Pass’,you can change the unique
password for the hub to login for cloud control.Once you have connected your NHL hub to your
home wifi router using the SmartLink option,you will see the yellow,green & blue light stay on the
hub.You will also see the unique mac address & password from the ‘login’ option that you can use
to control the connected devices from anywhere you are .(Note:To change the hub login
password ,please press the reset button first,and then follow the steps listed above.)
Adding Rooms to Control
2.Adding Rooms to Control
Step 1
Press the ‘Add’ button to add a room.On the next page,you will be able to add the name of the
room.You can add a picture to the room using one of the available images or you can take a photo
of your own by pressing the ‘camera’ button.
Step 2
Enter the room that you would like to control and press on the ‘Add’ button.The app
Will then ask you to power the device off and back on again(any device connected to the LED
bulb or the NHL Power Outlet).Once you have done that,the app will find the device
automatically.You may then proceed to change the ID name and or photo.
Note:Please add only one device at a time.

3.Controlling the light bulbs or power outlets using the NHL 21-Button Keypad
There are 21 buttons on the keypad.The top 9 scene buttons will correspond to the 9 preset
scenes that you have created in the iHome Kits app.The other 12 buttons can be set to control
the dimmable LED lignt bulbs and the plug-in power outlet.
To pair the LED Bulb or Power Outlet with the keypad,set the ‘On’ switch on the keypad.The LED
indicator will blink red.
Hold any of the 12 control buttons until the light begins to flash.
Once the light begins to flash,power off the bulb and power it back on again.
Once the red light begins to blink again,release the button on the keypad.
Test the functionality.If the paring is unsuccessful,please repeat the steps listed above.
Note:Please add only one device at a time.
4.Creating Scenes
Enter the room that you would like to control.
Using the ‘iHome Kits’ app,proceed to the scenes page.
Press and hold the scene button to save your current scene.You can also rename the current
scene.
5.Accessing the Device List
The device list will give you access to each of the devices connected to your home network.
Press the ‘Option’ button in the ‘iHome Kits’ app and select ‘Device List’ .
View the device list and click on the desired device in the control panel.
6.Adding Files for Backup & Recovery
For Android Users
1.Press the ‘Option’ button in the ‘iHome Kits’ app and select ‘Backup’ to save the current
settings.
2.There are 2 files in Document/Devices Storage/iHome,’ihome_db’& data.xml
3.Copy the 2 files to another Android phone and replace the previous ones,then press the
‘Option’ button in the ‘iHome Kits’ app and select ‘Recovery’ to show all of the presets.
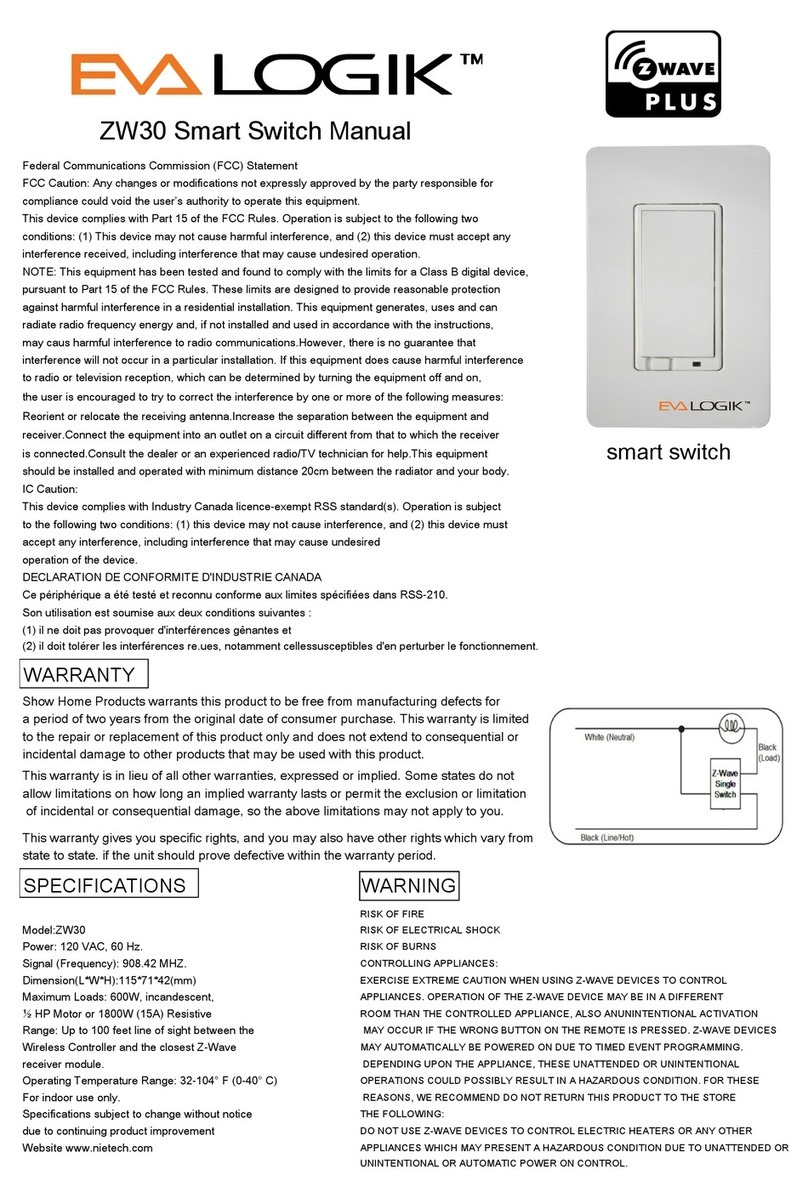
This device complies with part 15 of the FCC Rules. Operation is subject to the following two
conditions: (1) This device may not cause harmful interference, and (2) this device must accept
any interference received, including interference that may cause undesired operation. This
equipment has been tested and found to comply with the limits for a Class B digital device,
pursuant to part 15 of the FCC Rules. These limits are designed to provide reasonable protection
against harmful interference in a residential installation. This equipment generates, uses and can
radiate radio frequency energy and, if not installed and used in accordance with the instructions,
may cause harmful interference to radio communications. However, there is no guarantee that

interference will not occur in a particular installation. If this equipment does cause harmful
interference to radio or television reception, which can be determined by turning the equipment
off and on, the user is encouraged to try to correct the interference by one or more of the
following measures:
—Reorient or relocate the receiving antenna.
—Increase the separation between the equipment and receiver.
—Connect the equipment into an outlet on a circuit different from that to which the
receiver is connected.
—Consult the dealer or an experienced radio/TV technician for help.
Changes or modifications not expressly approved by the party responsible for compliance could
void the user's authority to operate the equipment.
Table of contents
