Page 9 Arada Farringdon
GENERAL PRECAUTIONS
Note : All local regulations, including those
referring to National and European standards need
to be complied with, when installing the appliance.
The Building Regulations for England and Wales
2000 ref Approved Document J 2002 edition
(issued by the DTLR).
The Building Standards (Scotland) (Consolidation)
Regulations.
Detailed recommendations for installation of
appliances, chimneys and flues are outlined in the
current issue of the following British Standards :
BS6461, BS8303 & BS4543.
Any Manufacturer’s Instructions must not
be taken as overriding statutory
requirements.
Before any installation work is undertaken
consideration must be given to the Health
and Safety at Work Act 1974. Safe working
practices should be followed at all times.
During installation ensure that adequate
precautions are taken to avoid unnecessary risk to
yourself or any householder. In particular the
danger from caustic nature of the fire cement
should be avoided by using these accepted
methods :
Wear gloves when handling fire cement
Wear goggles when chiselling or looking up
chimneys.
Make sure that Building Regulations are adhered
to during installation along with any local by-laws.
In the case of heating systems make sure that the
pipe work is correctly bonded to ensure electrical
earth continuity.
ASBESTOS
All Arada stoves contain no asbestos in their man-
ufacture or construction. If there is a possibility of
disturbing any asbestos in the course of
installation, then please seek specialist guidance
and use appropriate protective equipment.
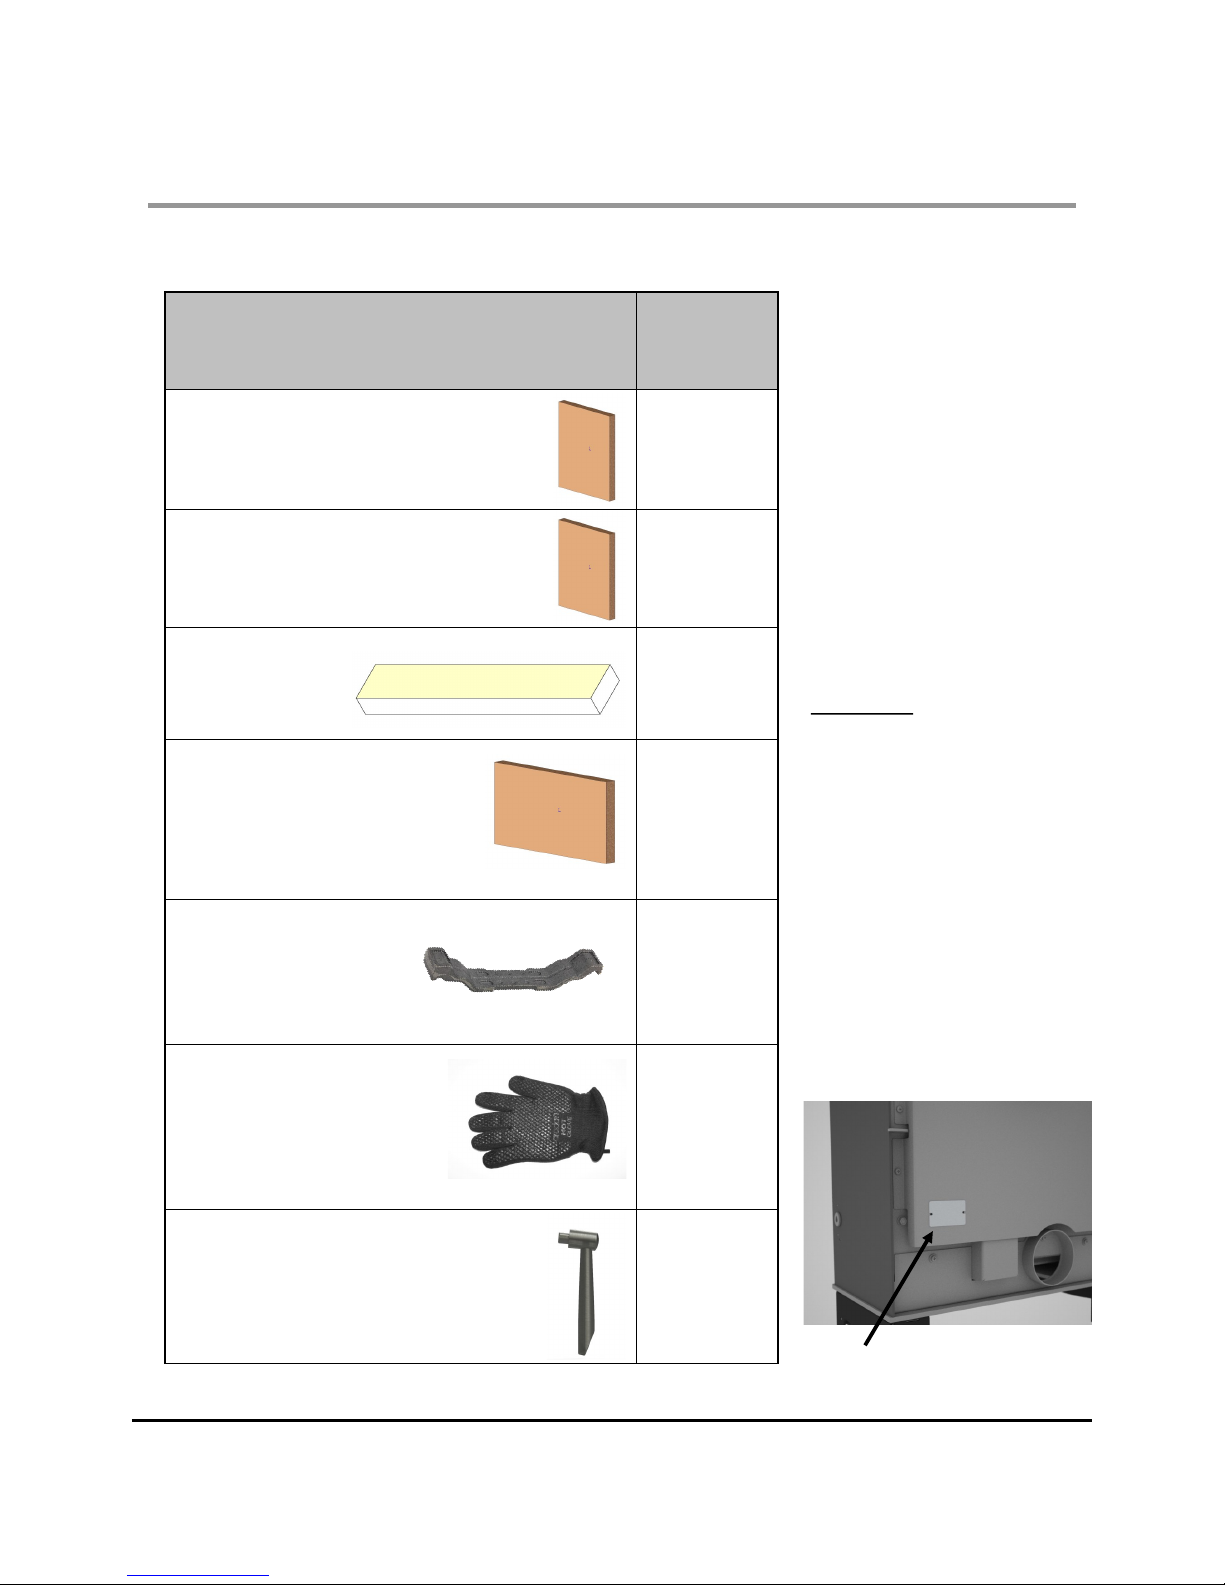
HANDLING
The safe handling guidelines are set out on page 5
of this manual, to make movement easier, internal
fittings, fuel retainers, grates, firebox liners, flue
outlets, hot plates, throat plates etc, can be
removed. Care should be taken to make sure that
HEARTH
The stove shall be installed on a floor with
adequate load bearing capacity. If the existing
construction does not meet this prerequisite,
suitable measures (e.g.: load distributing plate)
should be taken to achieve it.
Ideally, the appliance should stand on a
constructional hearth of non-combustible
materials not less than 125mm thick
conforming to Building Regulations.
Dimensions of the hearth should project at least
300mm forward of the front of the appliance and
150mm at the sides.
The surface of the hearth should be free of
combustible materials. In most buildings with solid
concrete or stone floors, the requirement will be
met by the floor itself, but mark the hearth to
ensure floor coverings are kept well away or use
different levels to mark the hearth perimeter.
COMBUSTIBLE MATERIALS
Please view the technical data (See page 8) and
observe the minimum distance to combustible
materials, which is applicable to your stove model.
Ideally, adjacent walls should be of suitable non
combustible construction, preferably brickwork. In
large fireplaces take care that any supporting
beam is protected by a 13mm sheet of
Masterboard or Superlux spaced 13mm off the
surface with strips of non combustible material.
Make sure that there is a gap between an
un-insulated flue system and any combustible
material. This gap must be at least 3 x the outside
diameter of the flue pipe, or 1.5 x the flue diameter
to non combustible surfaces.
AIR FOR COMBUSTION
There must always be a permanent means of
providing air for combustion into the room in which
the stove is installed. A permanent vent with a total
free area of at least 550mm² for every KW rated
above 5KW should be connected directly to the
outside air or to an adjacent room which itself has
a permanent vent of the same size direct to the
outside air. The positioning of any air vent must be
so that it cannot be liable to blockage or
obstruction. Please note : The fitting of an
extractor fan to either of these rooms is not
recommended.
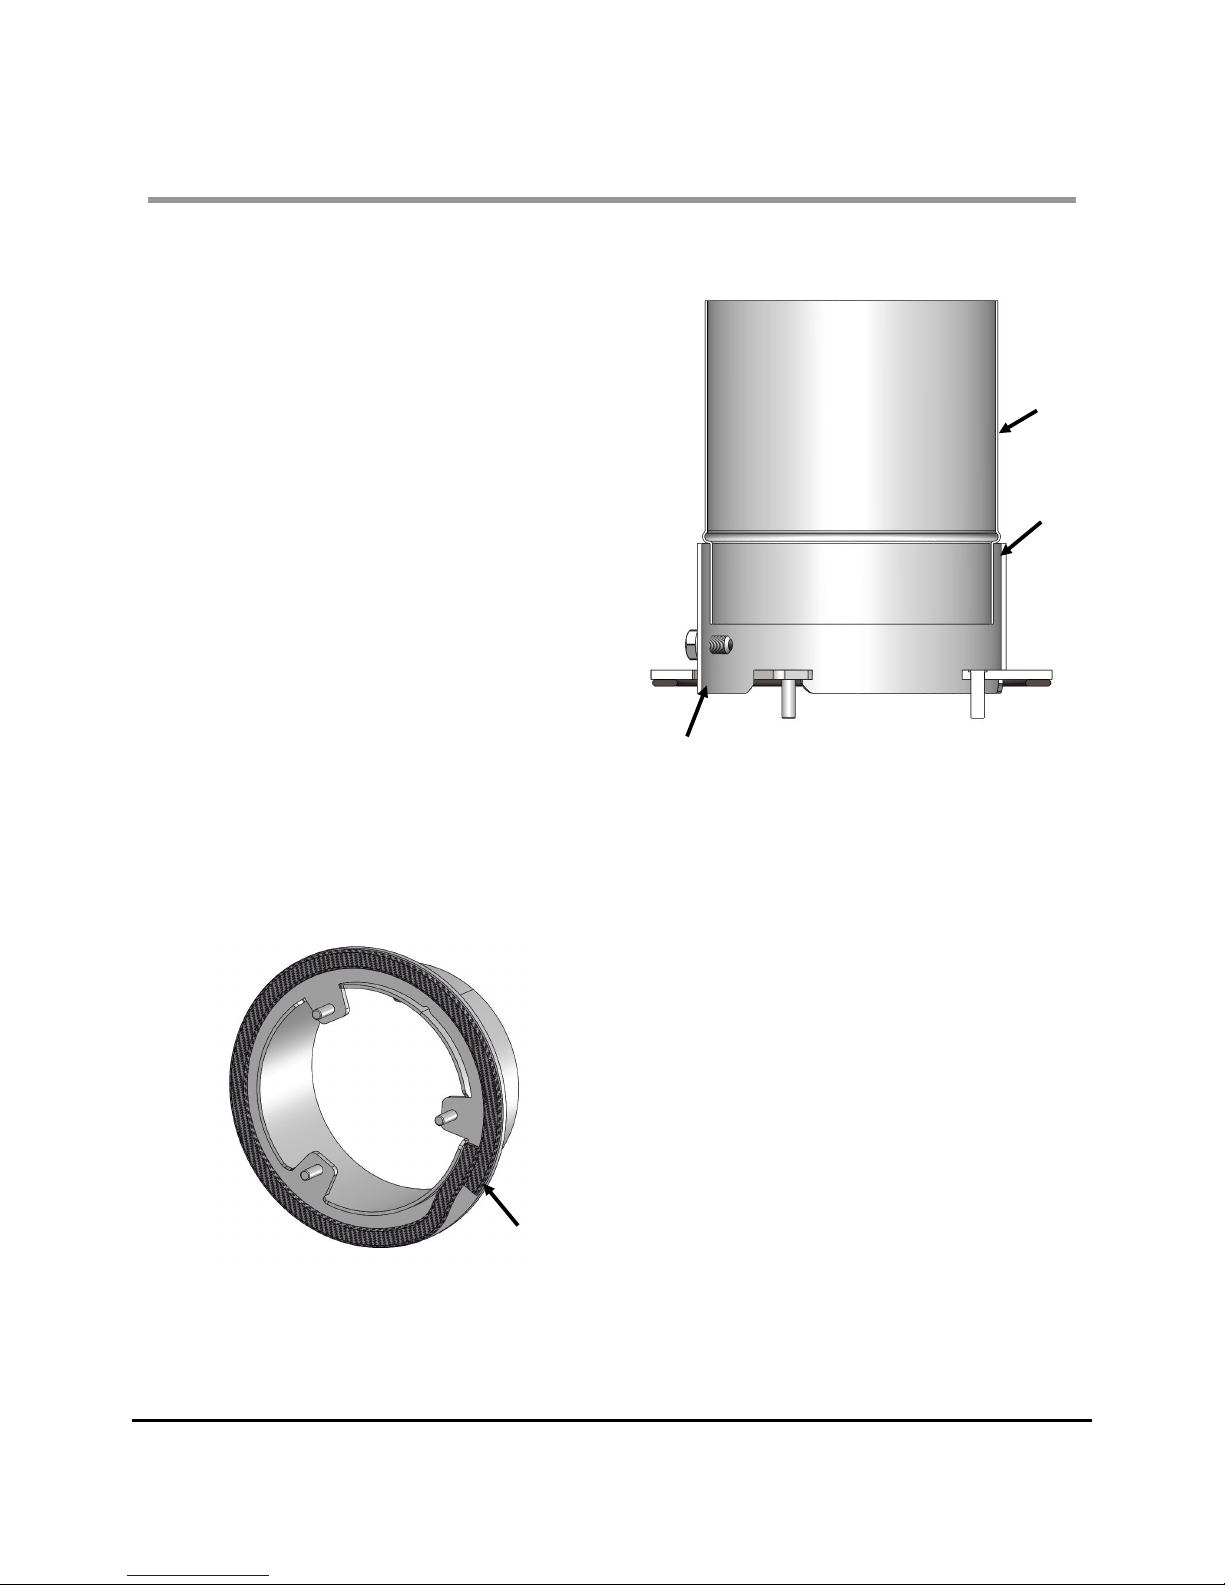
INSTALLATION