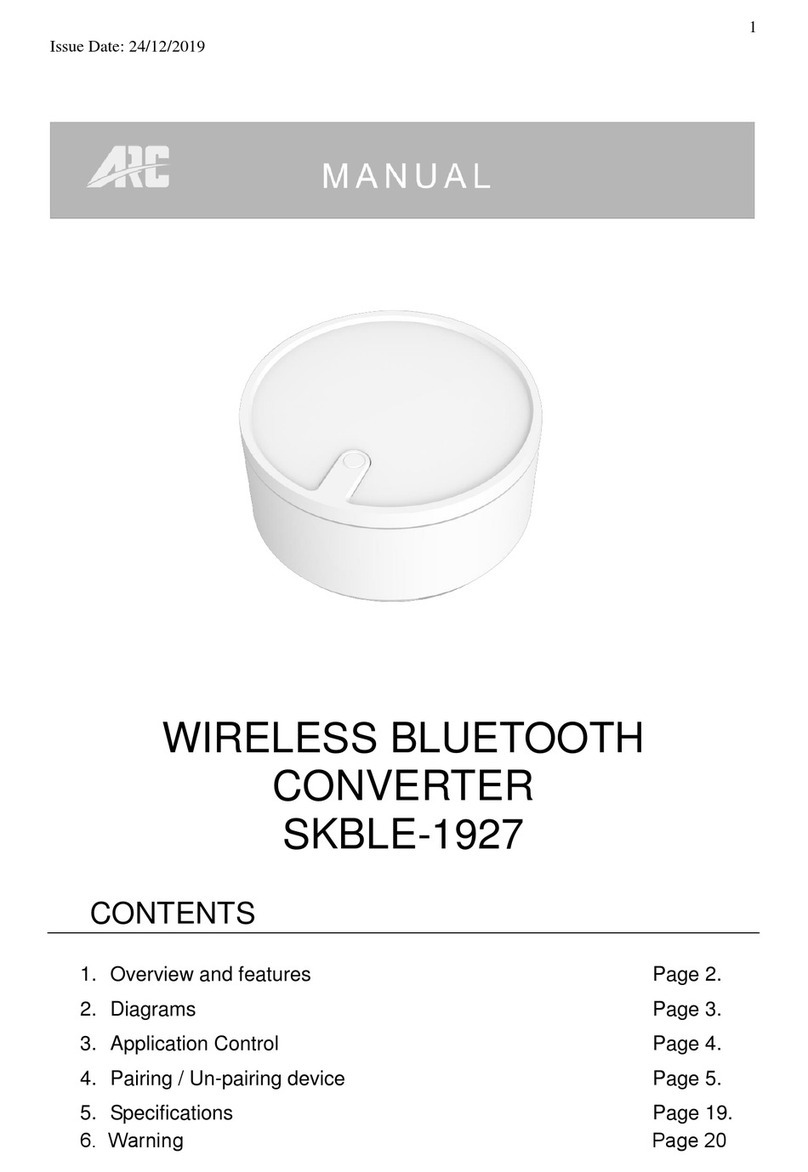
ARC BLE-1915 User manual

1
Issue Date: 30/11/2019
WIRELESS BLUETOOTH
CONVERTER
BLE-1915
CONTENTS
1. Overview and features Page 2.
2. Diagrams Page 3.
3. Application Control Page 4.
4. Pairing / Un-pairing device Page 5.
5. Specifications Page 23.

2
Issue Date: 30/11/2019
1.Overview and features
Compact wireless battery operated BLE converter enables you to control from
any Smartphone / tablets via Bluetooth and converts into 433Mhz RF to control
ARC Home Automation System.
Simple App set up to manage up to 64 individual devices, create 16 timers,
sharing configurations to unlimited Smartphone and control unlimited BLE
converter within one app.
Main features of BLE-1915;
•Free standing on table
•BLE 5.0 & 433MHz
•1.5V (AAA) alkaline battery *2
•Red LED indicator
•Create timer features straight from the App.
•Control individual device via App. (On/Off/Dimmer/Open/Close)
•Consists 16 set of timers.
•Each timer can store up to 8 devices and each device can set different
status.
•Maximum 64 devices can be stored within one smart timer BLE.
•Timer based on weekly repeat setup.
•Replacement of TMT-918.
•OTA software update feature
Why via app?
1. User friendly interface and easy to set up.
2. Manage or change timer setting anytime.
3. Control multiple timer BLE converter with one app.
Cloud Support?
Yes, user data settings will be backed up onto Amazon Web Service (AWS) free
of charge.
OVERVIEW AND FEATURES

3
Issue Date: 30/11/2019
2.Diagrams
Notes for the diagrams:
DIAGRAMS
Red LED
Link
button
Battery
Compartmen
t

4
Issue Date: 30/11/2019
3.Application Control
App Name: Smart Timer+
Free app download.
Available in Apple App Store or Google Play.
No registration needed.
No annual fees.
App Control
Bluetooth
⚫Please ensure Bluetooth is enabled from your Smartphone setting.
⚫Only one Smartphone can control one BLE converter at one time.
Launch Smart Timer+ App
1. Allow Bluetooth to connect to and control Smart Timer devices.
2. Press “Scan”to search for surrounding BLE device and select the smallest
-DB number. (the smaller the decibel number the closer the BLE device is)
In this example, select -69DB “ARC TIMER”
APPLICATION CONTROL

5
Issue Date: 30/11/2019
3. Connection in process….. (animation progress wheel)
4. First time connect, the app needs to link with the BLE device.
During linking process, the red LED on BLE device will flash until you press
the “Link”button or within the 13 seconds limitation.
Linking process will exit and resume to the list of BLE device page after 13
seconds limitation count down
APPLICATION CONTROL

6
Issue Date: 30/11/2019
Once linking process is complete, the app will direct you to the “Device”page,
this is when you start pairing all the receiver devices that you wish to individually
control or use them in creating timers.
Greyish font below the app indicates the page that you are currently in.
Pairing Receiver Device
In this page, you can pair up to 64 devices.
1. Press the + button to pair device.
2. Select the device type. (On/Off, Dimmable, Shutter)
APPLICATION CONTROL

7
Issue Date: 30/11/2019
3. Enter ‘pairing mode’on receiver device and press the “✓”button to confirm
pairing.
4. Once paired, receiver device will appear in the device list.
Control Receiver Device
1. To control individual device, tap once on the device slot to turn On, Off, open,
close or last dim level.
2. Or you can press and release device button to enter the device page to
control further.
3. Rename device by press the device name
Control On or OFF
Unpair device, remember to enter ‘un pairing
mode on receiver device then press “unpair
device”button

8
Issue Date: 30/11/2019
4. Rename Device
5. Unpair Device
6. Control dim level. Slide the bar to set dim level or press the Off button to turn
off device. Dim level will indicate inside the spirograph
7. Control shutter Open or Close. Press to open or stop, to close or stop.
APPLICATION CONTROL

9
Issue Date: 30/11/2019
Status of each device will be shown as below;
OFF –White font black background
ON –Black font white background
APPLICATION CONTROL

10
Issue Date: 30/11/2019
Timer Setup
In this page, you can pair up to 16 timers.
1. Press the + button to create a new timer.
2. Once you press the + button, a new timer slot will appear.
Tap anywhere to enter set up page.
3. First rename your timer.
For example rename as “Welcome”
Press “Select times”
APPLICATION CONTROL

11
Issue Date: 30/11/2019
4. With the slide bar choose the start and finish time then press “Close”
Start & Finish time will appear here
APPLICATION CONTROL

12
Issue Date: 30/11/2019
5. Press the icon to select the device(s) for this timer.
6. Press the + button to proceed device selection.
APPLICATION CONTROL

13
Issue Date: 30/11/2019
7. Select the device(s) and ensure the box is ticked then press ‘SET’.
8. Press the icon again to set up the device(s) status.
APPLICATION CONTROL

14
Issue Date: 30/11/2019
9. Click on device box to change the desired status.
⚫For On / Off device, press the ‘On’button and press ‘Save’
⚫For Dimmer device, press the slide the bar to choose dim level and
press ‘Save’
APPLICATION CONTROL

15
Issue Date: 30/11/2019
10.Once status is set, you will see the status information below the device
name.
11.Next, select the day(s) of the timer to be active and press ‘Set’button to
store timer setting to BLE device.
APPLICATION CONTROL

16
Issue Date: 30/11/2019
12.After setting are stored, the selected time and date will be shown below.
13.To preview the selected device(s) status, press the icon.
APPLICATION CONTROL

17
Issue Date: 30/11/2019
14.After timer is set, you will need to activate the timer by pressing the ‘OFF’
icon and change the status to ‘ON’. (this means the timer is ON)
15.To deactivate the timer, press the ‘ON’icon and change the status to ‘OFF’.
(this means the timer is OFF)
APPLICATION CONTROL

18
Issue Date: 30/11/2019
(For your information, the app is written this way. Once user presses
‘SET’, it only sends the setting command packet to BLE device.
Then if user presses On or Off button the app then sends the
command to start or stop the timer. So, this means user can save
settings and choose when to activate/deactivate timer at the desired
time)
Timer Specification
When activating a specific timer with a past date and time, device(s) will
immediately turn On and Off to warn user that the timer is set.
For example:
‘Piano Lesson’timer is set to turn On / Off between 3pm and Off on Tuesday
and Wednesday.
1. When activating ‘Piano Lesson’timer on Monday, the device will turn On /
Off between 3pm~5pm on Tuesday and Wednesday.
2. When activating ‘Piano Lesson’timer on Tuesday at 1pm, the device will
turn On / Off between 3pm~5pm on Tuesday and Wednesday.
3. When activating ‘Piano Lesson’timer on Tuesday at 4pm, the device will
immediately turn On and Off at 5pm and then Wednesday between 3~5pm.
4. When activating ‘Piano Lesson’timer on Tuesday at 5:01pm, the device will
immediately turn On and Off and then Wednesday between 3~5pm.
5. When activating ‘Piano Lesson’timer on Sunday, the device will
immediately turn On and Off and then turn On / Off between 3pm~5pm on
Tuesday and Wednesday.
APPLICATION CONTROL

19
Issue Date: 30/11/2019
Delete Timer
1. Press the bin icon to delete the whole timer.
APPLICATION CONTROL

20
Issue Date: 30/11/2019
Setting
In the setting page, you can switch between 2 or more BLE timer devices,
rename BLE device or synchronize configuration to AWS cloud service.
1. Switch BLE device.
If you have another BLE timer device, you may switch within the one app
and control the 2nd BLE device.
APPLICATION CONTROL
Other ARC Media Converter manuals
Popular Media Converter manuals by other brands

SecurityMan
SecurityMan SM-401 instruction manual

Omnitron Systems Technology
Omnitron Systems Technology iConverter 10T/2 user manual

Sencore
Sencore Impulse 300D user manual

YOKOGAWA
YOKOGAWA JUXTA VJQ8 user manual

Ensemble Designs
Ensemble Designs Brighteye 10 user guide

Moxa Technologies
Moxa Technologies NE-4100 Series Quick installation guide