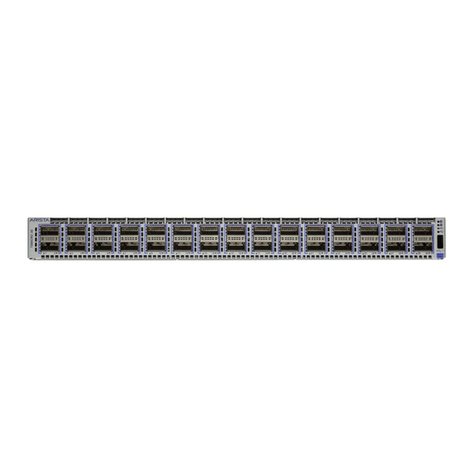
Quick S ta rt Guide : 7000 S e rie s 1 RU-Ge n 2 Da ta Cente r S witche s iii
Table of Contents
Chapter: 1 Overview .............................................................................................................1
1.1 Scope ....................................................................................................................................................... 1
1.2 Receiving and Inspecting the Equipment................................................................................................. 1
1.3 Installation Process .................................................................................................................................. 1
1.4 Safety Information.................................................................................................................................... 2
1.5 Obtaining Technical Assistance ............................................................................................................... 2
1.6 Specifications ........................................................................................................................................... 2
Chapter: 2 Preparation..........................................................................................................5
2.1 Site Selection ........................................................................................................................................... 5
2.2 Tools Required for Installation ................................................................................................................. 6
2.3 Electrostatic Discharge (ESD) Precautions ............................................................................................. 6
Chapter: 3 Rack Mounting the Switch.................................................................................7
3.1 Two-Post Rack Mount.............................................................................................................................. 8
3.1.1 Attaching Mounting Brackets to the Chassis .............................................................................. 9
3.1.2 Inserting the Switch into the Rack............................................................................................... 9
3.2 Four-Post Rack Mount........................................................................................................................... 10
3.2.1 Attaching Mounting Brackets to the Chassis ............................................................................ 10
3.2.2 Assembling the Rails onto the Equipment Rack....................................................................... 11
3.2.3 Attaching the Switch to the Rack .............................................................................................. 12
Chapter: 4 Cabling the Switch ...........................................................................................15
4.1 Connecting Power Cables ..................................................................................................................... 15
4.1.1 AC Power Supply...................................................................................................................... 15
4.1.2 DC Power Supply...................................................................................................................... 16
4.2 Connecting Serial and Management Cables ......................................................................................... 17
Chapter: 5 Configuring the Switch ....................................................................................19
Appendix: A Status Indicators .......................................................................................... 21
A.1 Front Indicators ...................................................................................................................................... 21
A.1.1 Switch Indicators ....................................................................................................................... 21
A.1.2 Port Indicators ........................................................................................................................... 22
A.2 Rear Status Indicators ........................................................................................................................... 23
