4
ARISTON DISHWASHER - Instructions for installation and use
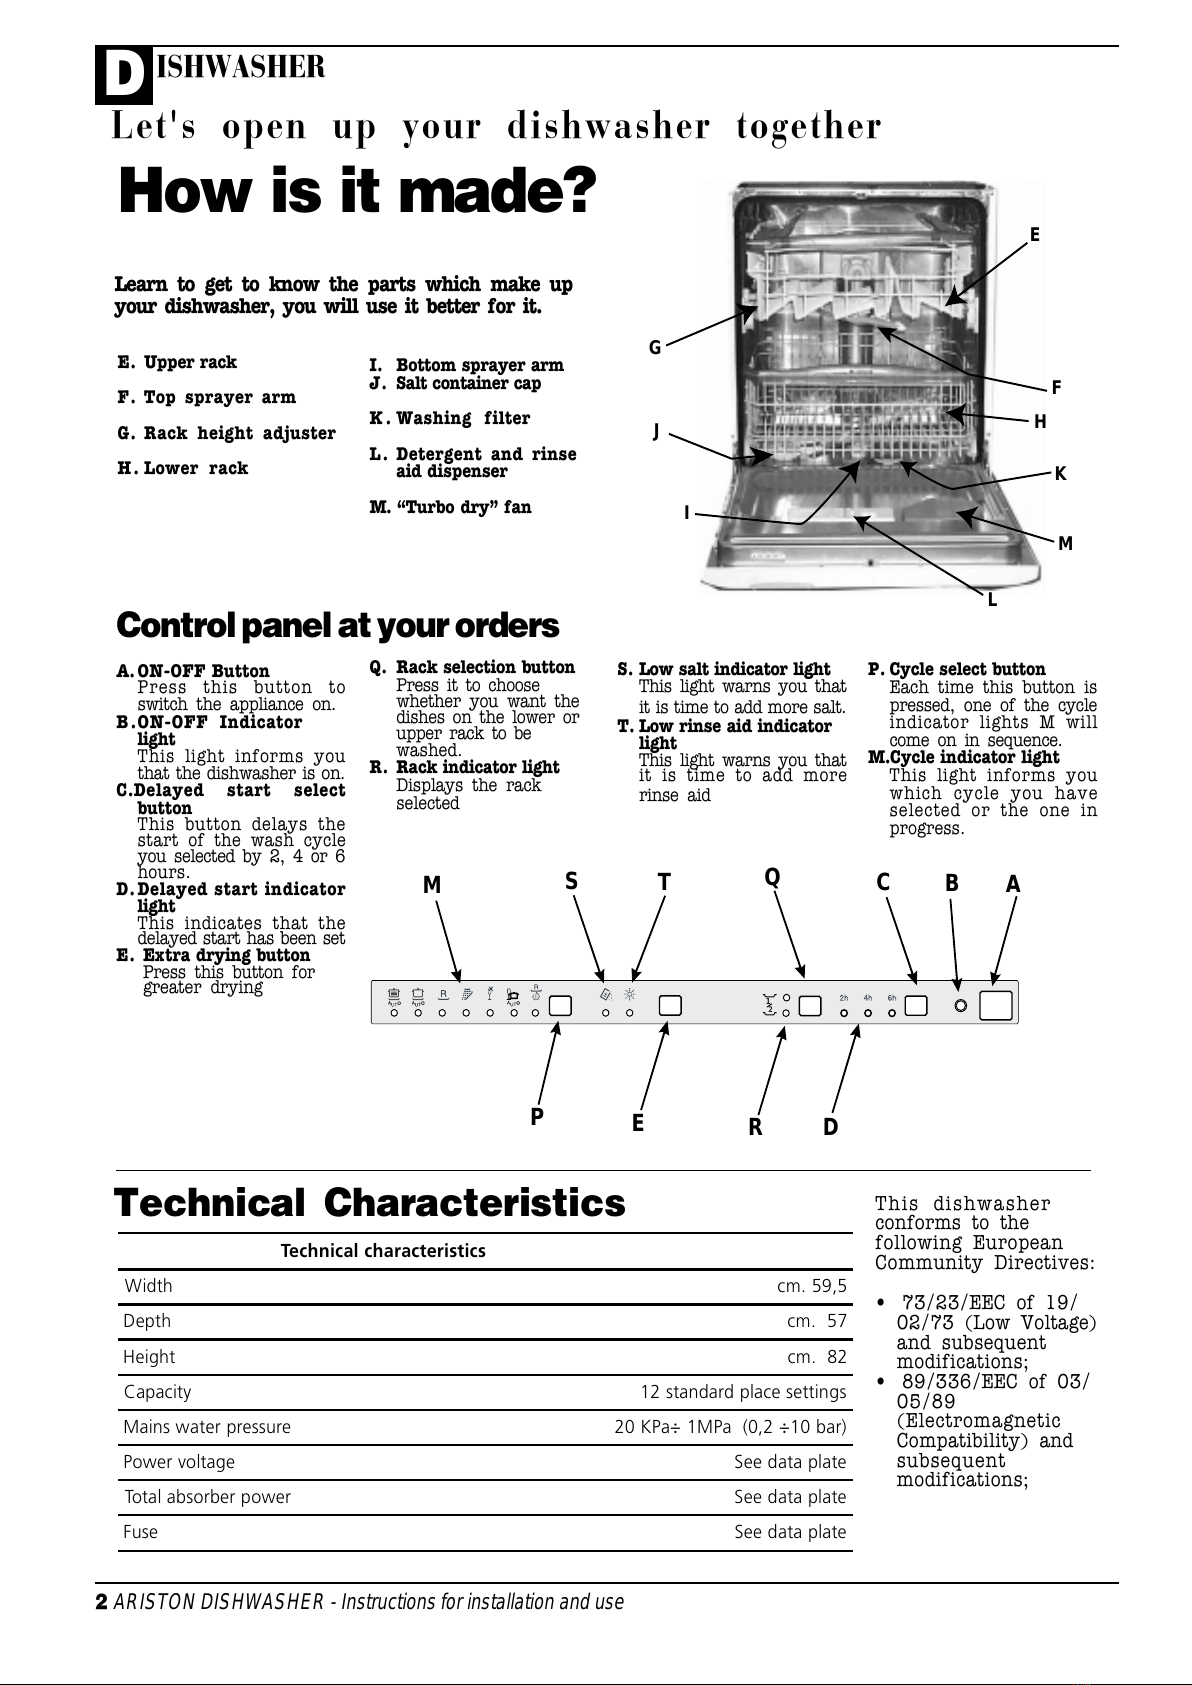
DISHWASHER
First of all.
Afterperforming all theoperations
described in the previous para-
graphs,turnthewatertaponcom-
pletely,opentheappliancedoorand
press ON-OFF button "A": indica-
tor light "B" comes on. Your appli-
anceisnowonandawaitinginstruc-
tions.
Selecting the wash
cycle.
Select the wash cycle by pressing
button"P".Each time this buttonis
pressed,oneoftheindicatorlights
"M" will come on in sequence, se-
lectthe wash cycleyou deem most
suitable for the type of dishes to
wash(takea look at page 6, where
youwillfindthewash cycle table).
Closetheappliance door and after
afewseconds,you willhear ashort
beep: the wash cycle has begun.
Modifying a wash cycle in
progress.
But if you have chosen the wrong
cycle,not toworry!Youcanmodify
thewashcycle in progress, if it has
only just started. Open the appli-
ance door carefully to avoid any
hotwatersplashes,thenkeep but-
ton "P" pressed for approximately
5 seconds, until you hear 3 short
beeps.Indicator light"M"will come
offandat this point, all the settings
will have been cancelled. You are
nowfree to re-set the correct wash
cycle.
You've left out a dish?
Well,ithappenstoeveryone. Inter-
ruptthe wash cycle byopeningthe
appliance door with the utmost
care, as usual, then insert the dish
youhad forgotten. When you shut
the appliance door, the cycle will
startupfromwhereyouinterrupted
it.
Finished?
The end of the wash cycle is indi-
catedbyadoublebeepandtheflash-
ingof thewashcycle indicatorlight
"M". Open the dishwasher door,
press the ON-OFF button as well,
thus cutting off the electricity sup-
ply to the appliance.
Turn off the water tap.
Waitafewminutesbeforeunload-
ing the dishes: they are very hot! If
you wait a little while, they dry
betterthanksto the steam. Empty
the lower rack first.
There's been a power
failure? Have you
opened the dishwasher
door?
The wash cycle stops and then
restartswhentheelectricity comes
backonorwhenyouclosethedoor.
Everythingis under control!
You decide when it
starts.
Whenyouhaveloadedthe dishes,
youcan choose when to start your
dishwasherbeforesettingthewash
cycledesired.
Press button "C" to delay the start
ofthe wash cycleby 2, 4or6 hours.
Each time you press it, you will
hearashortbeep andindicatorlight
"D"corresponding to the selected
delay will come on.
Now you can select the desired
wash cycle.
Closethe appliancedoorand, after
youhear the beep, the countdown
to the delayed start will begin.
If, for example, you have set the
delayedstart to 6 hours, the 6 hour
indicatorlightwillflash,then the 4
hour indicator light will flash, and
finally the 2 hour indicator light. A
quick look at the indicator lights
will keep you informed of the
countdownprogressatalltimes.
Oncethis time is up, indicator light
"D"will stop flashing and the wash
cycle will begin.
Have you changed your
mind?
If you change your mind and you
wish to set a different delay, just
open the appliance door, press
button"C"and repeatthe selection.
If on the other hand you want to
cancel the delay set and you wish
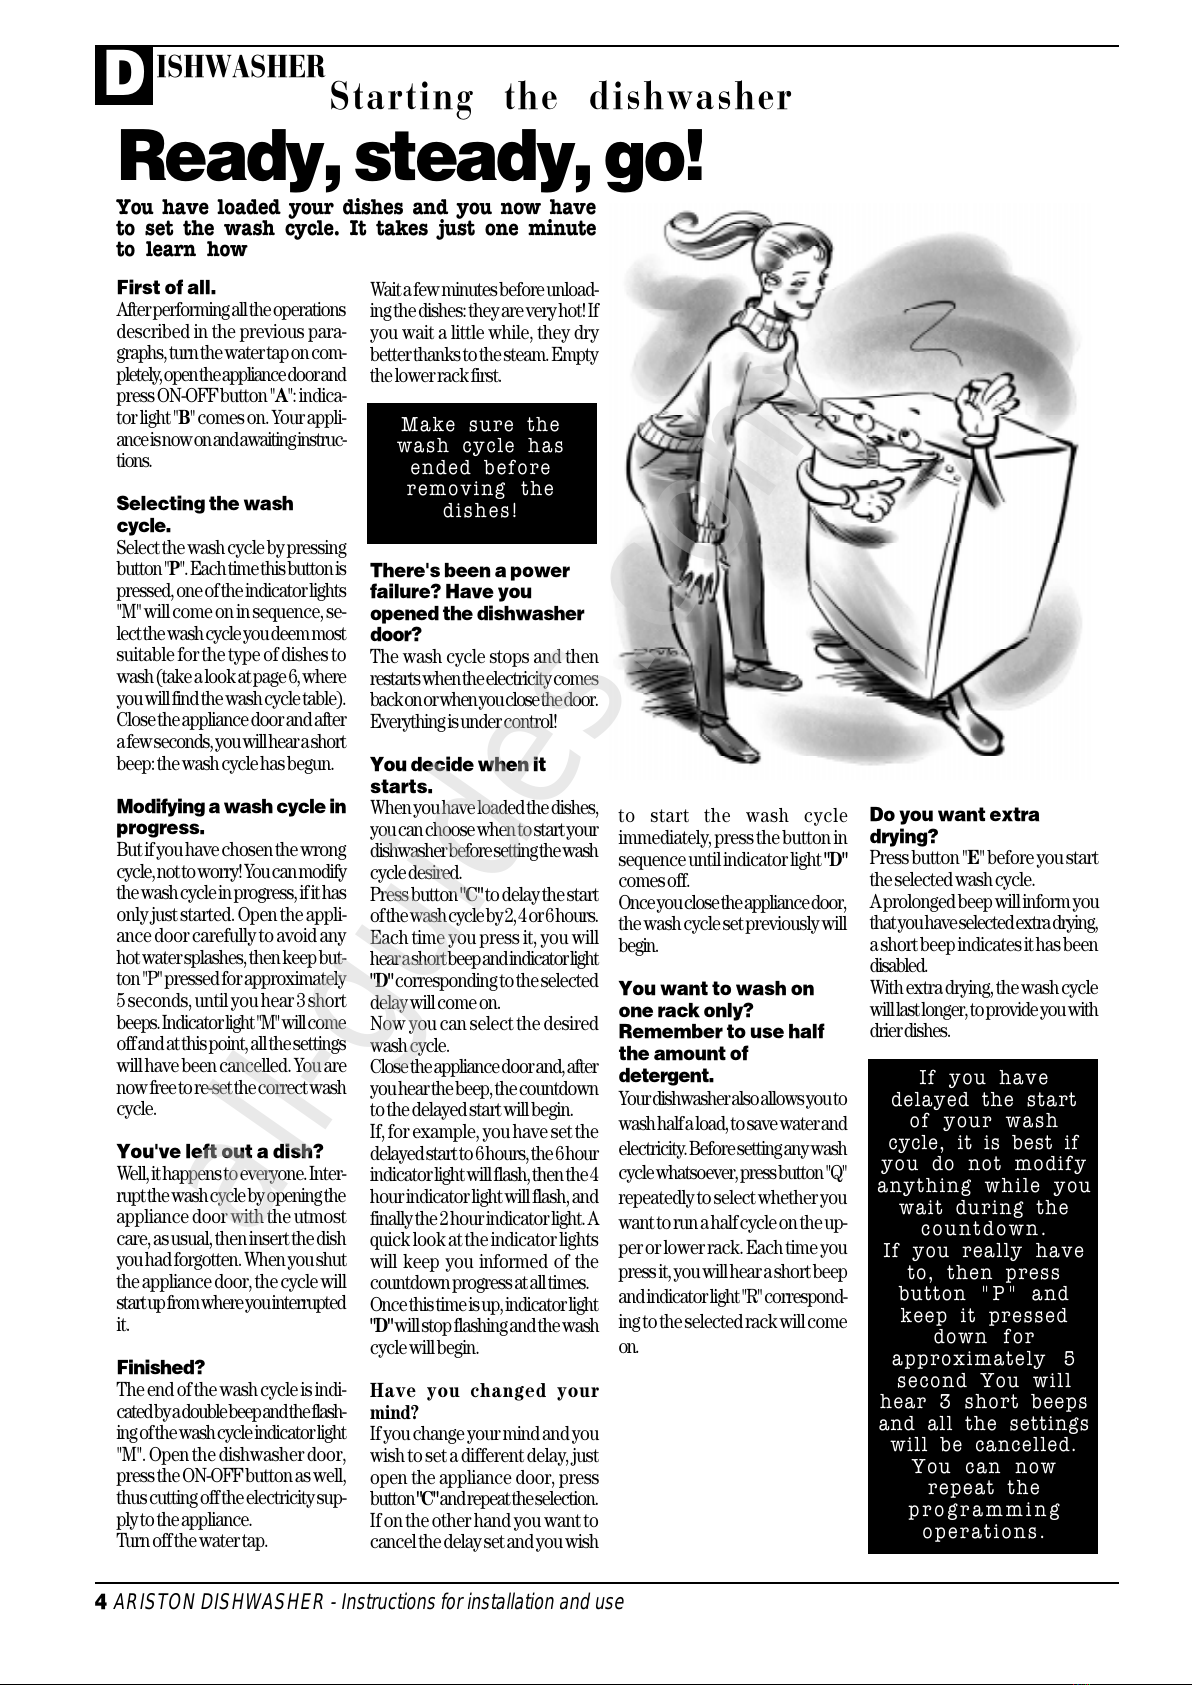
You have loaded your dishes and you now have
to set the wash cycle. It takes just one minute
to learn how
Starting the dishwasher
Make sure the
wash cycle has
ended before
removing the
dishes!
to start the wash cycle
immediately, press the button in
sequence until indicator light "D"
comesoff.
Onceyouclosetheappliancedoor,
the wash cycle set previously will
begin.
You want to wash on
one rack only?
Remember to use half
the amount of
detergent.
Yourdishwasheralso allowsyou to
washhalf a load, to savewaterand
electricity.Beforesetting any wash
cyclewhatsoever, pressbutton"Q"
repeatedly to select whether you
want to run a half cycle on the up-
per or lower rack. Each time you
press it, you will hear a short beep
andindicator light "R" correspond-
ing to the selected rack will come
on.
Ready, steady, go!
If you have
delayed the start
of your wash
cycle, it is best if
you do not modify
anything while you
wait during the
countdown.
If you really have
to, then press
button "P" and
keep it pressed
down for
approximately 5
second You will
hear 3 short beeps
and all the settings
will be cancelled.
You can now
repeat the
programming
operations.
Do you want extra
drying?
Press button "E" before you start
the selected wash cycle.
A prolonged beep will inform you
thatyouhave selectedextradrying,
a short beep indicates it has been
disabled.
With extra drying, the wash cycle
willlast longer,toprovide youwith
drierdishes.