43
5. Secure the back plate of Push Button unit to mounting unit.
6. Clip Push Button unit to back plate.
Alternatively the Push Button unit can be attached to smooth
mounting surfaces such as painted wood, glass and plastic
using Self-Adhesive Pad (supplied).
Door Chime Operation
Once the Push Button and Chime units have been installed in
their desired locations, the system is ready for use.
Depress button on Push Button unit momentarily, and chime
should sound. Press button again to repeat. Continual pressing
of the button will not repeat the chime.
If chime fails to sound, check batteries in push button and
check power is on to Chime Unit.
Tone Selection
The Wireless Door Chime is supplied with 8 built-in chimes
Westminster Chime Twinkle Twinkle
Double Ding-Dong It’s a Small World
Circus Theme Dog Barking
Banjo on My Knee Telephone Ring
To change the chime tune, remove the Push
Button Unit’s rear cover (Ref. Fig2)
Inside the Push Button Unit locate the small
Tune Selector push button marked ‘S’
(Ref. Fig 2). Each time that this Tune Selector
push button is pressed, the next of the
8 melodies will be played. You can step
through and listen to each in turn. When you hear the melody
you wish to choose,
do not press the tune selector again.
The chime will play the selected melody each time the bell
press is pushed.
At any time you can select another melody by repeating the
tune selector button process.
Refit the Push Button Unit rear cover. Whenever the Push
Button Unit battery is fitted or replaced, the chime tune may
default to the Westminster Chime.
Code Selection
The push button unit generates random code sequences
to which the chime unit is able to learn. Should your door
chime unit activate intermittently for no apparent reason, the
uncontrolled activation may be caused by another unit nearby
or from a device operating on the same frequency.
To solve this problem, select a different Melody Tone or reset
the unit.
Resetting the Unit
To avoid uncontrolled activation:
1. Unplug the Chime Unit from the power point for at least
30 seconds.
2. Plug into power point.
A double beep should be heard indicating that the unit is in
learning mode.
3. Press the Push Button.
The chime should sound to indicate code selection.
Important Notes
1. The operation and range of your Wireless Door Chime
depends on location, temperature and battery condition.
2. Try different locations in your home, ideally more than
1 metre from the floor. Move Chime unit closer to
Push Button unit to improve operation.
3. Do not expose either unit to rain or immerse in water.
4. Avoid locations where the Push Button unit is exposed to
direct summer sunlight.
5. Do not leave exhausted batteries in Push Button unit.
6. Clean only with a damp cloth and mild detergent.
Do not use solvents.
Security
When you are away from home for long periods you may wish
to leave your Chime Unit with one of your neighbours so that
they can monitor callers to your house during your absence.
2
Push Button
1. Push Button unit is operated by 1 x 3 volt Lithium battery
(CR2032 - included).
2. Remove the bottom transparent name plate cover, then the
back of case by pushing in the tab on the bottom with a small,
flat screwdriver.
3. The 3 volt Lithium battery (CR2032) is already installed.
Simply pull off the isolation strip which will allow the battery to
make electrical contact.
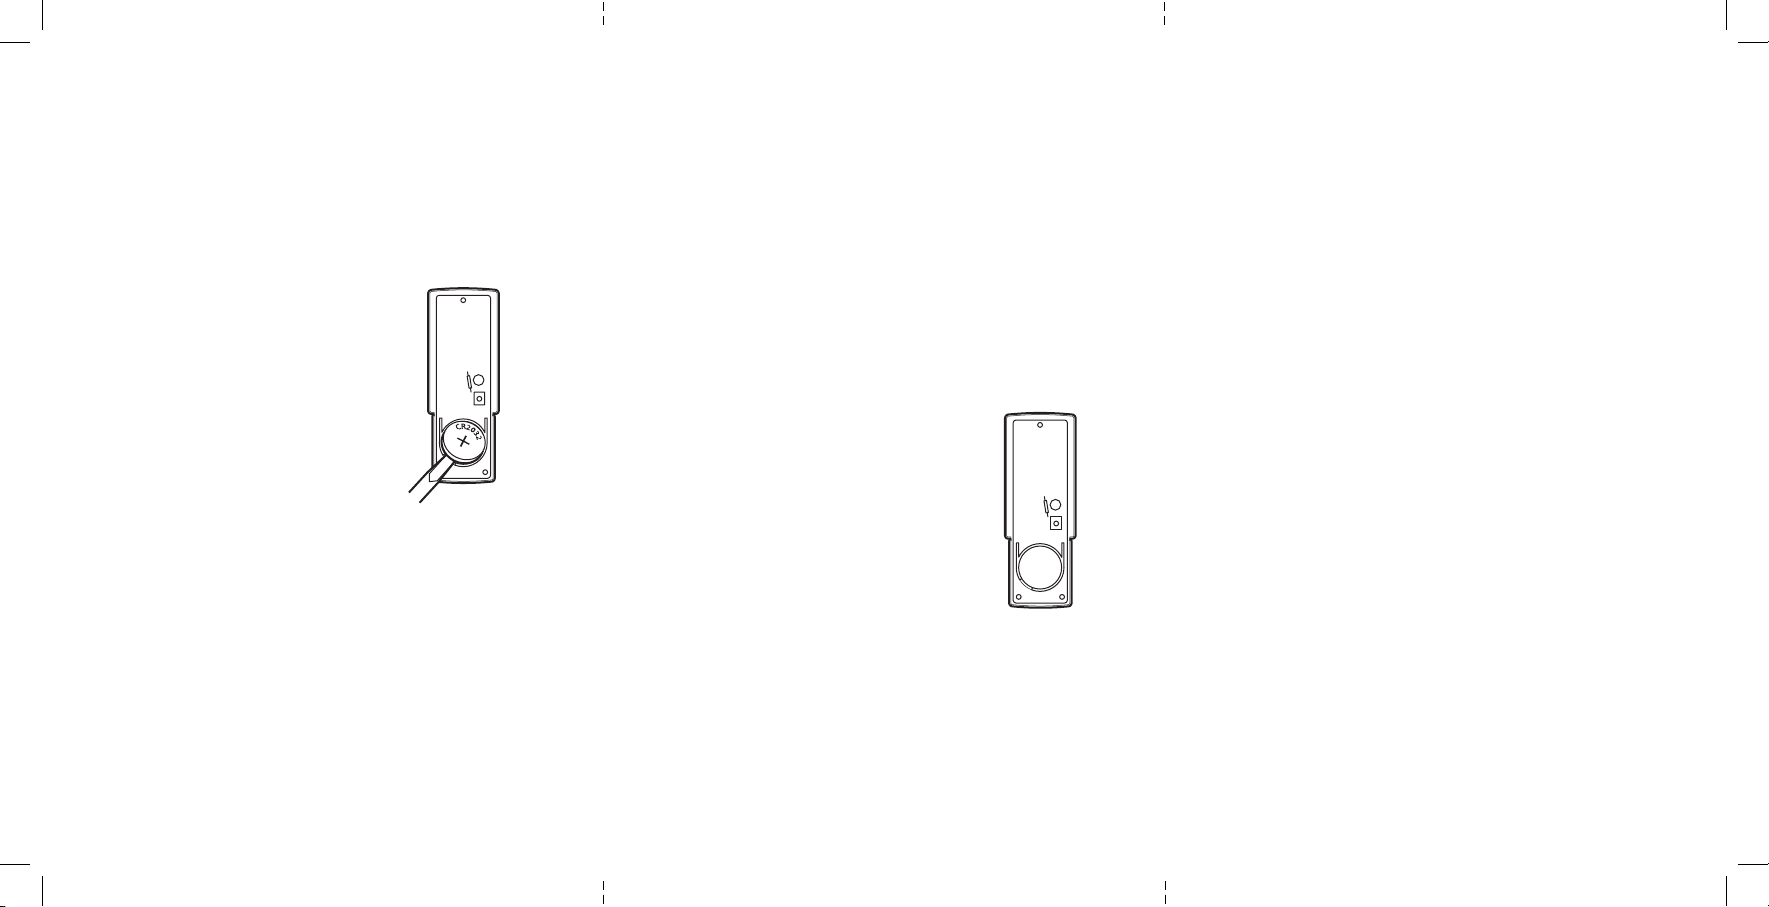
To Replace the Battery
Remove the locking screw from the
battery holder clip and remove old battery.
Insert 1 x 3 volt Lithium battery (type
CR2032) in the battery compartment,
ensuring the battery polarity is correct as
in Fig. 1. Replace clip and tighten locking
screw to hold battery firmly in place.
Chime Unit
The Chime Unit is powered by 240 volt and
should be plugged into any convenient
household power point.
INSTALLATION
Chime Unit
Plug the Chime Unit into any household power point and switch
power on. The Chime Unit indicator lamp will glow and it will
beep twice to indicate it is ready. Press the push button unit to
test the chime.
Push Button Unit
The Push Button unit has two mounting holes on rear plate of
unit that must be pushed through before unit can be mounted.
1. Remove rear plate of unit (see battery installation).
2. Push through tabs in mounting holes.
3. Using the back plate of the Push Button unit as a guide, mark
the position of holes onto mounting surface.
4. Drill appropriately sized holes and insert wall plugs if
required.
Fig 1.
C
R
2
0
3
2
+
s
Fig 2.
DC650 Instructions.indd 4-6 21/03/11 4:20 PM