It is important that the selected location for the equipment is suitable and
can adequately accommodate the unit physical size, the unit weight and
has safe and suitable access for correct operation and future maintenance
requirements.
Location of Equipment
Minimum Access Requirements
for Maintenance
• The unit must be mounted so that sufcient space is
allowed for installation and service access.
• Maintenance personnel need to gain access to all
parts of the unit and be able to remove components
such as fans and lters via access doors as required.
• Unless otherwise specied the following minimum
access should be available:
• 800mm clearance for electrical connections
• 1200mm for all access doors on the unit or if no
access door is provided 1200mm from the front of the
unit. Be very mindful that internal lters need to be
accessed regularly for cleaning.
• Every proposed installation must be subject to
an engineered design by a mechanical services
consultant. Armcor Air Solutions is not responsible
for installation of equipment in situations for which
the equipment was not designed or specied.
Noise Levels
• Do not locate equipment adjacent to sleeping
quarters unless background noise levels have been
checked and permitted by the appropriate authority.
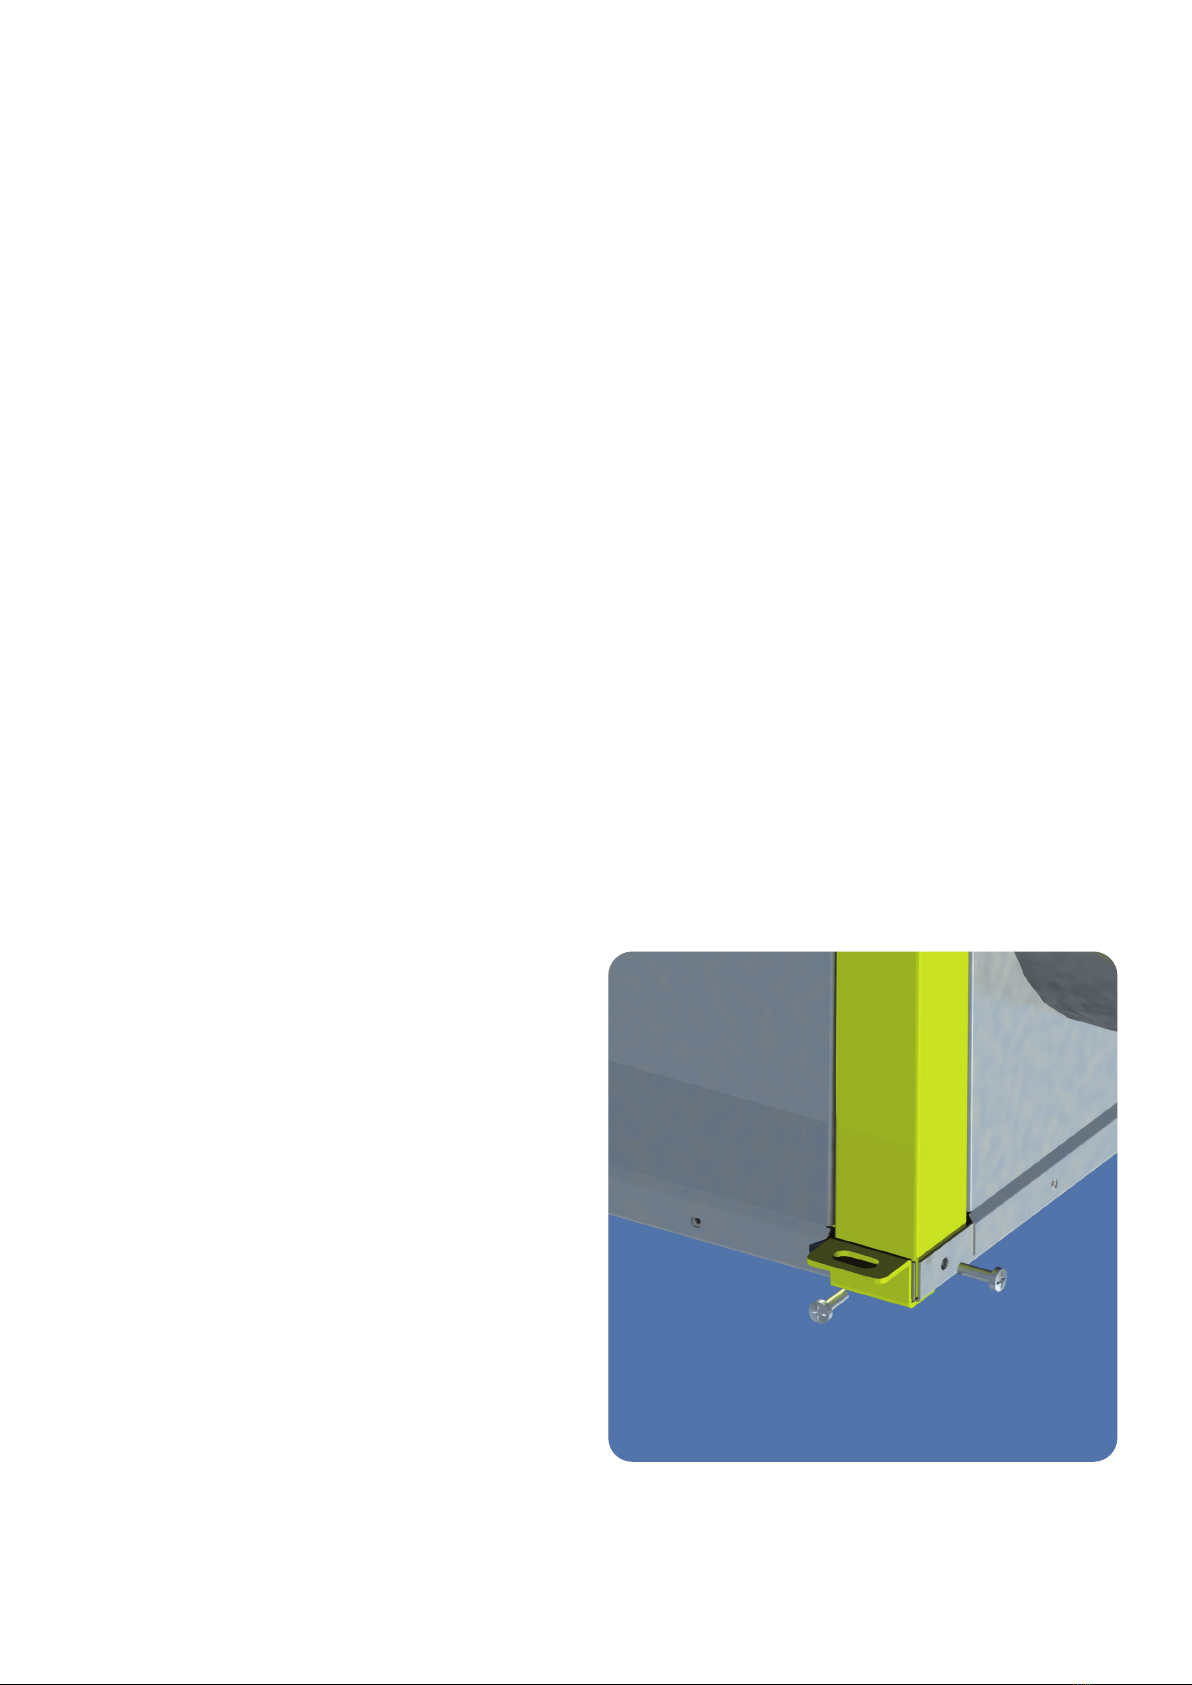
• It is recommended that rubber supporting or
vibration absorbing pads be used to support the unit
to minimise any vibration being transmitted into the
building structure. We recommend wafe pad to be
used under the base frame and exible couplings be
tted to the supply and return ducts to reduce any
vibration transfer.
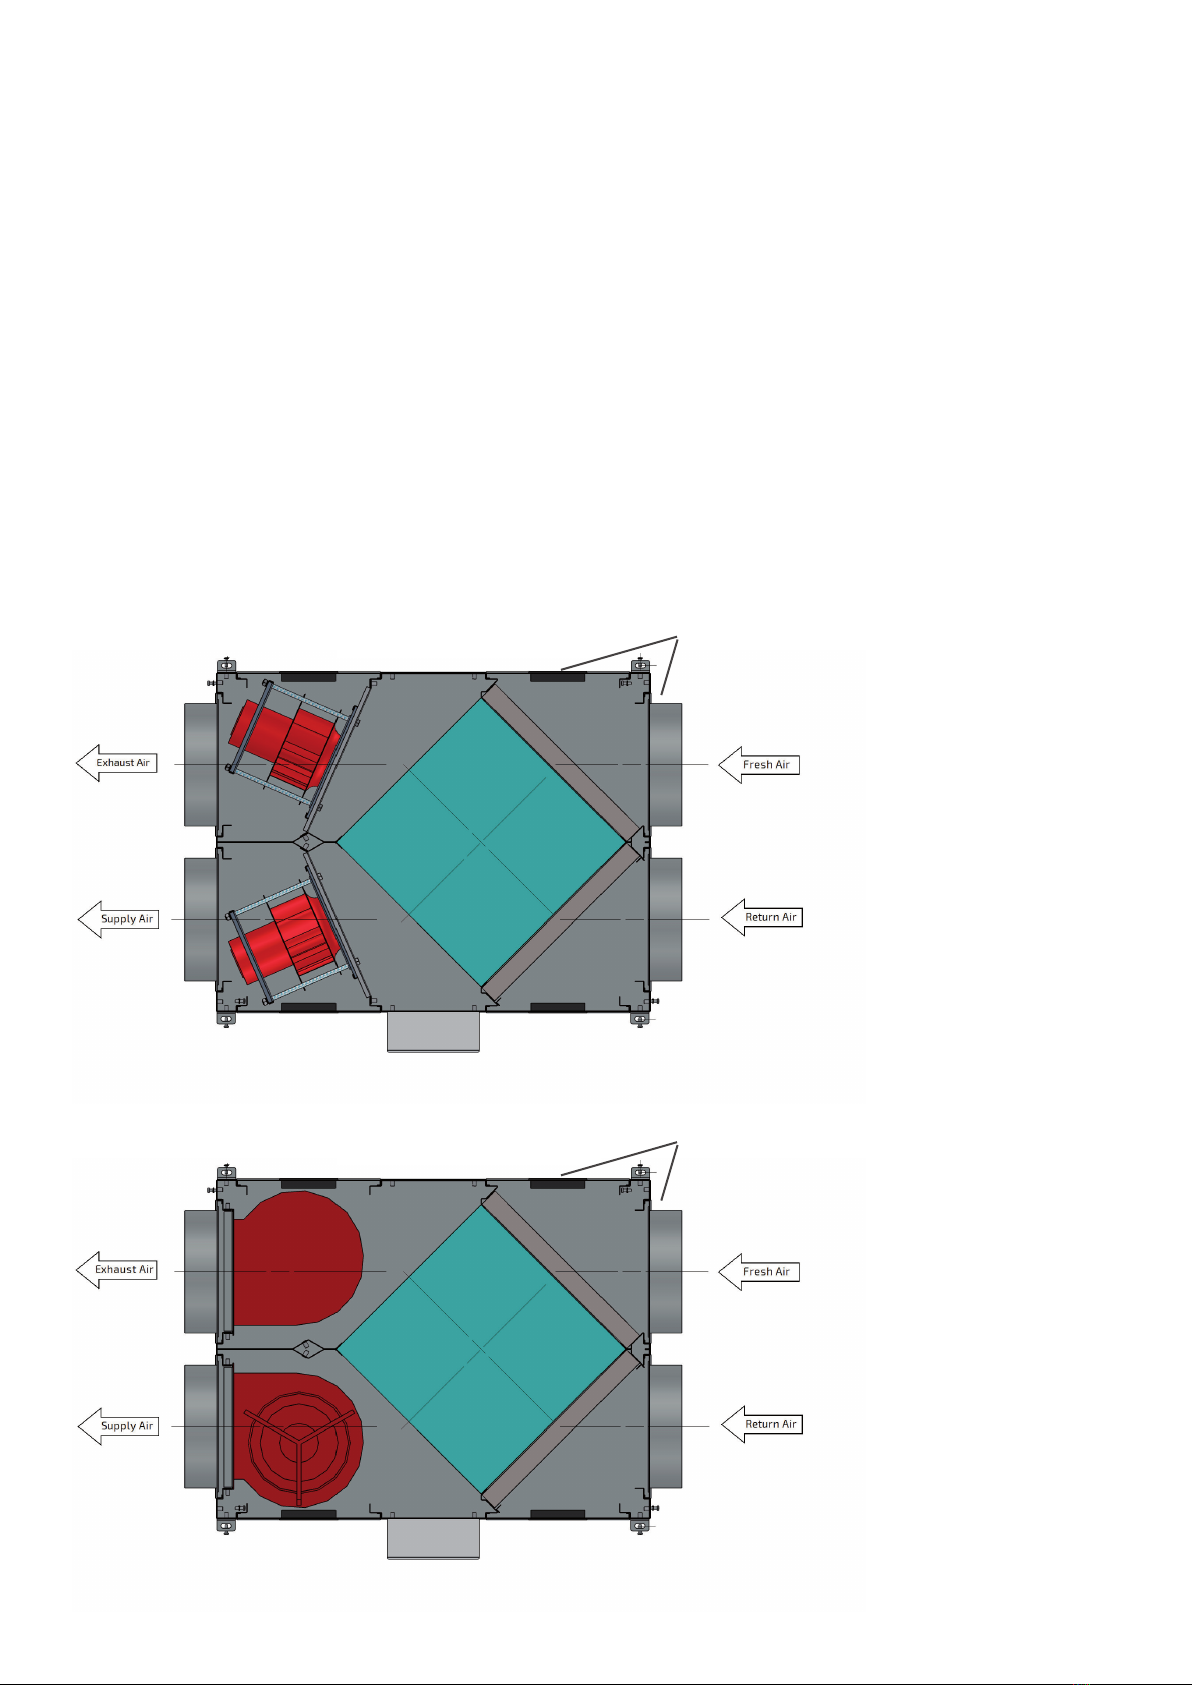
Fresh Air Inlet and Exhaust Air
Outlet
• The location of the fresh air inlets must adhere to the
Australian Standards 1668.2.
• The fresh air intake should be positioned clear of
any objects which could obstruct the airow and be
a minimum distance of 6 metres from any exhaust
discharge ducts from this unit or any other adjacent
equipment. Refer to Australian Standards AS 1668.2.
• The fresh air inlet and exhaust air outlet should
be tted with a cowl or other suitable means of
weatherproong.
• The exhaust discharge should be directed away from
any openable windows.
Drainage
Due to different moisture content levels of incoming
fresh air, heat exchange equipment can be subject
to some condensation. It is recommended that units
located in ceiling spaces or plant rooms are installed
with external drain trays under the complete unit.
Where an internal drain tray is tted, the condensate
drain outlet must be tted with a ‘P-Trap’ and have a
minimum ll of 20mm per metre length.
• Equipment should be installed with a positive fall
to ensure water drains away freely through drain
outlets. Drain lines must be as large as or larger than
the tting to which the line is being connected.
• All condensate drains must have a ‘P” Trap Fitted and
have a minimum fall of 20mm per metre length.
• If drain lines are to be extended from the inside to
the outside of the building, they must be extended
beyond walls of the building to eliminate the
possibility of damage caused by drain water running
down the exterior surface of the building wall.
• When a drain is exposed to freezing temperatures or
subject to the formation of condensation, the drain
should be insulated.
IMPORTANT: ALL UNITS LOCATED INDOORS MUST HAVE
DRAIN TRAYS UNDER THE COMPLETE UNIT.
Armcor_XCM–Compact Multiow ERV Installation and Operation Manual 2021 5