ARPEGE SECURITY AS 5500 User manual

TECH. MANUAL
AS 5500
BANKNOTE COUNTER
TECH. MANUAL
2022.09 Version

TECH. MANUAL
1
CONTENTS
§ SPECIFICATIONS OF THE BANKNOTE COUNTER...........................1
§ FUNCTION OF THE BANKNOTE COUNTER......................................2
§ HOW TO OPERATE THE BANKNOTE COUNTER..............................5
§ THE OPTIONAL FEATURE..................................................................8
§ HOW TO USE THE FEATURE OF UV-DETECTION............................9
§ PRECAUTIONS ..................................................................................11
§ REGULAR MAINTENANCE ...............................................................11
§TROUBLE SHOOTING........................................................................12
§ TECHNICAL DRAWING .....................................................................17
§ PARTS LIST........................................................................................27
§SPECIFICATIONS OF THE BANKNOTE COUNTER
MODEL TC-5500 (Desktop) / TC-5500S (Floor Stand)
※Features
1) Check Mode : Counting of 100 Notes Batched
2) Free Mode : Free Counting
3) Preset Mode : Counting for Batched Number
4) Manual Mode : Start Counting by Manual
5) ACC Mode : Accumulate the Total Notes Counted
ARPEGE SECURITY
359 rue Vanderkindere,1180Bruxelles,Belgique
Email: [email protected]
www .arpege-security.com

TECH. MANUAL
2
6) UV-Detection(Optional) : Detect & Select Out the Counterfeit Banknote
※Specification
TC-5500
(Desktop)
TC-5500S
(Floor Stand)
1) Dimensions(mm) WxDxH
374 x 374 x 260
374 x 374 x 830
2) Net Weight (kg)
25
37
3) Power Supply
110V,AC10% 60Hz or 220V,AC10% 50Hz
4) Power Consumption
330W
5) Temperature Limits in Use
10to 40C
6) Counting Speed
Approx. 100 Notes per 4 Sec
7) LED Display
2 Displays
Count - 3 digit / ACC - 5 digit
8) Hopper Capacity (Notes)
Approx. 200
9) Document Feed Mechanism
Vacuum Type
※Options
TC-5500
(Desktop)
TC-5500S
(Floor Stand)
ED- External Display
Option
Option
OK- Band Stamping Device
Option
Option
UV- UV-Detection Device
Option
Option
Specifications are subject to change without notice.
§ FUNCTION OF THE BANKNOTE COUNTER
※The Control Panel & Function Keys

TECH. MANUAL
3
※The Display Number
The counting result will show on the LED screen. The lowers part was the
accumulated number, it will show counting result when the user selecting this ACC
function
※The Check Function Key
This function is designed for counting the banknote for 100 pieces preset. The
detector will alarm when the counting result is more or less than 100 pieces after
the counting process.
※The Free Function Key
This function is designed for free of counting. So no matter what’s the counting
result, it will finish the counting process & open the Banknote Clipping Plate
automatically.

TECH. MANUAL
4
※The Preset Function Key
This function is designed to fix the number of banknote which be counted. It will
count the correct piece as you set. The preset number will be showed at the display
screen of the control panel.
※The Manual Function Key
This function is designed for human hand operation. Users have to push the
function key to make it work.
※The ACC & Clean Function Key
This ACC function is designed for accumulating the total notes counted and it
should be effective when ACC selected. Clean Key is for the deleting of counting
result in present process and it should be effective when ACC selected.
※The ✱Function Key
This function key is designed for UV-Detection. Select this function then this
machine can detect counterfeit note. There are 8 different UV band of sensibility for
you to select.

TECH. MANUAL
5
§ HOW TO OPERATE THE BANKNOTE COUNTER
※The Check Function:
Step 1: Turn on the power switch and the machine will come into the status of
Check Mode automatically. The buzzer will alarm and open the banknote holder.
The LED display will show the number of “0” for starting the counting processing.
Step 2: Putting the banknotes into the banknote holder and forwarding the banknote
to touch the starting sensor.
Step 3: The machine will count automatically and the counting result will be showed
on the LED display.
Step 4: The banknote holder will release automatically if the counting number is
correct (100).
Step 5: The buzzer will alarm if the number is less or more than 100. That means
ERROR and the banknote holder will not release. The user should press the button
of Reset for resetting and release the banknote holder.
※The Free Function:
Step 1: Press the button of Free to select this function then the buzzer will alarm
with the opening of banknote holder. The machine is ready for using now.
Step 2: The maximum banknote capacity approx. 200 pieces and you can count in
one time. Putting the banknotes into the banknote holder and forwarding the
banknote to touch the starting sensor.
Step 3: The machine will counting automatically and showed on the LED.
Step 4: The banknote holder will release after this counting process.
※The Preset Function :
Step 1: Press the button of Preset to select this function then the buzzer will alarm
with the opening of banknote holder. The machine is ready for using now (The LED
display will show the number of “0” for starting the counting processing).
Step 2: Select the preset number that you need and this preset number will be
showed on the LED display.

TECH. MANUAL
6
Step 3: Putting the banknotes into the banknote holder and forwarding the banknote
to touch the starting sensor.
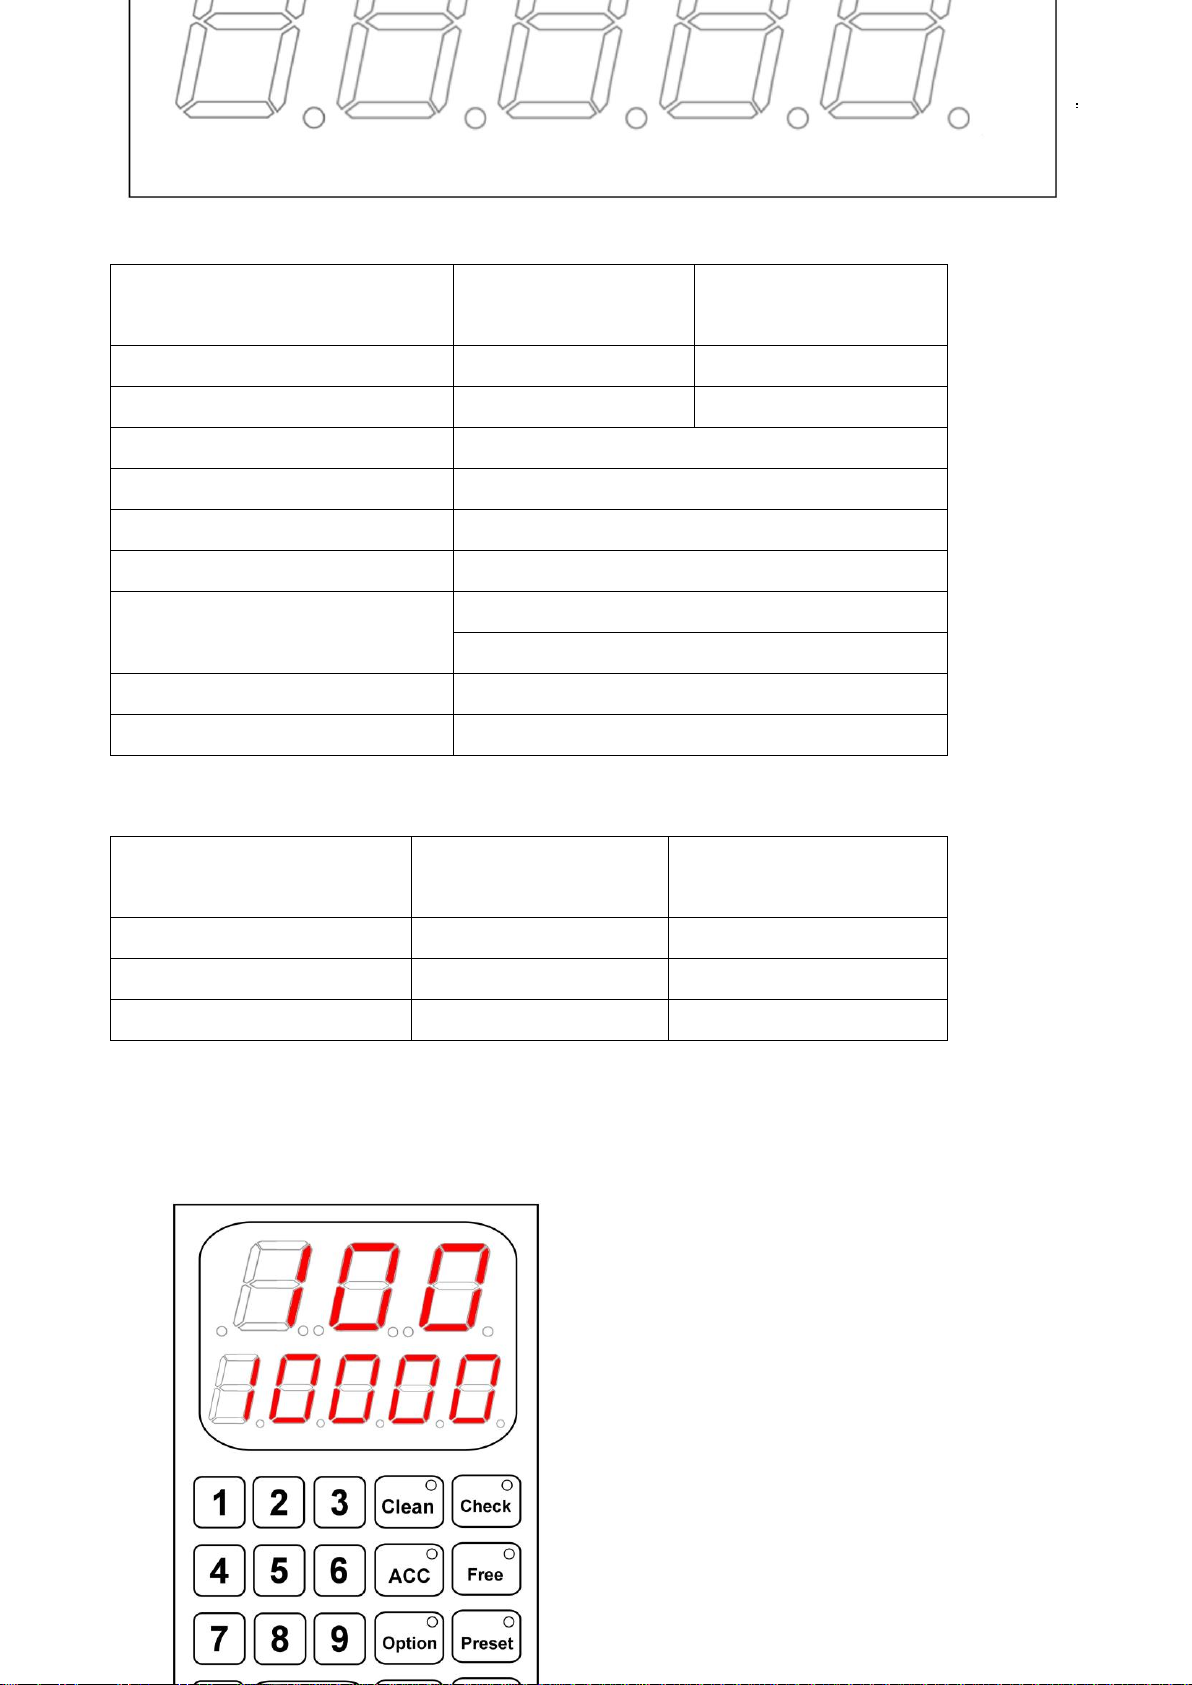
Step 4: The machine will count automatically. The counting result should be correct
as user preset on the LED display.
Step 5: The banknote holder will release automatically (wait about 3 sec) after this
counting process if this operation is correct.
Step 6: The buzzer will alarm if the counting number is less than the preset number.
That means ERROR and the banknote holder will not release. The user should
press the button of Reset for resetting banknote holder.
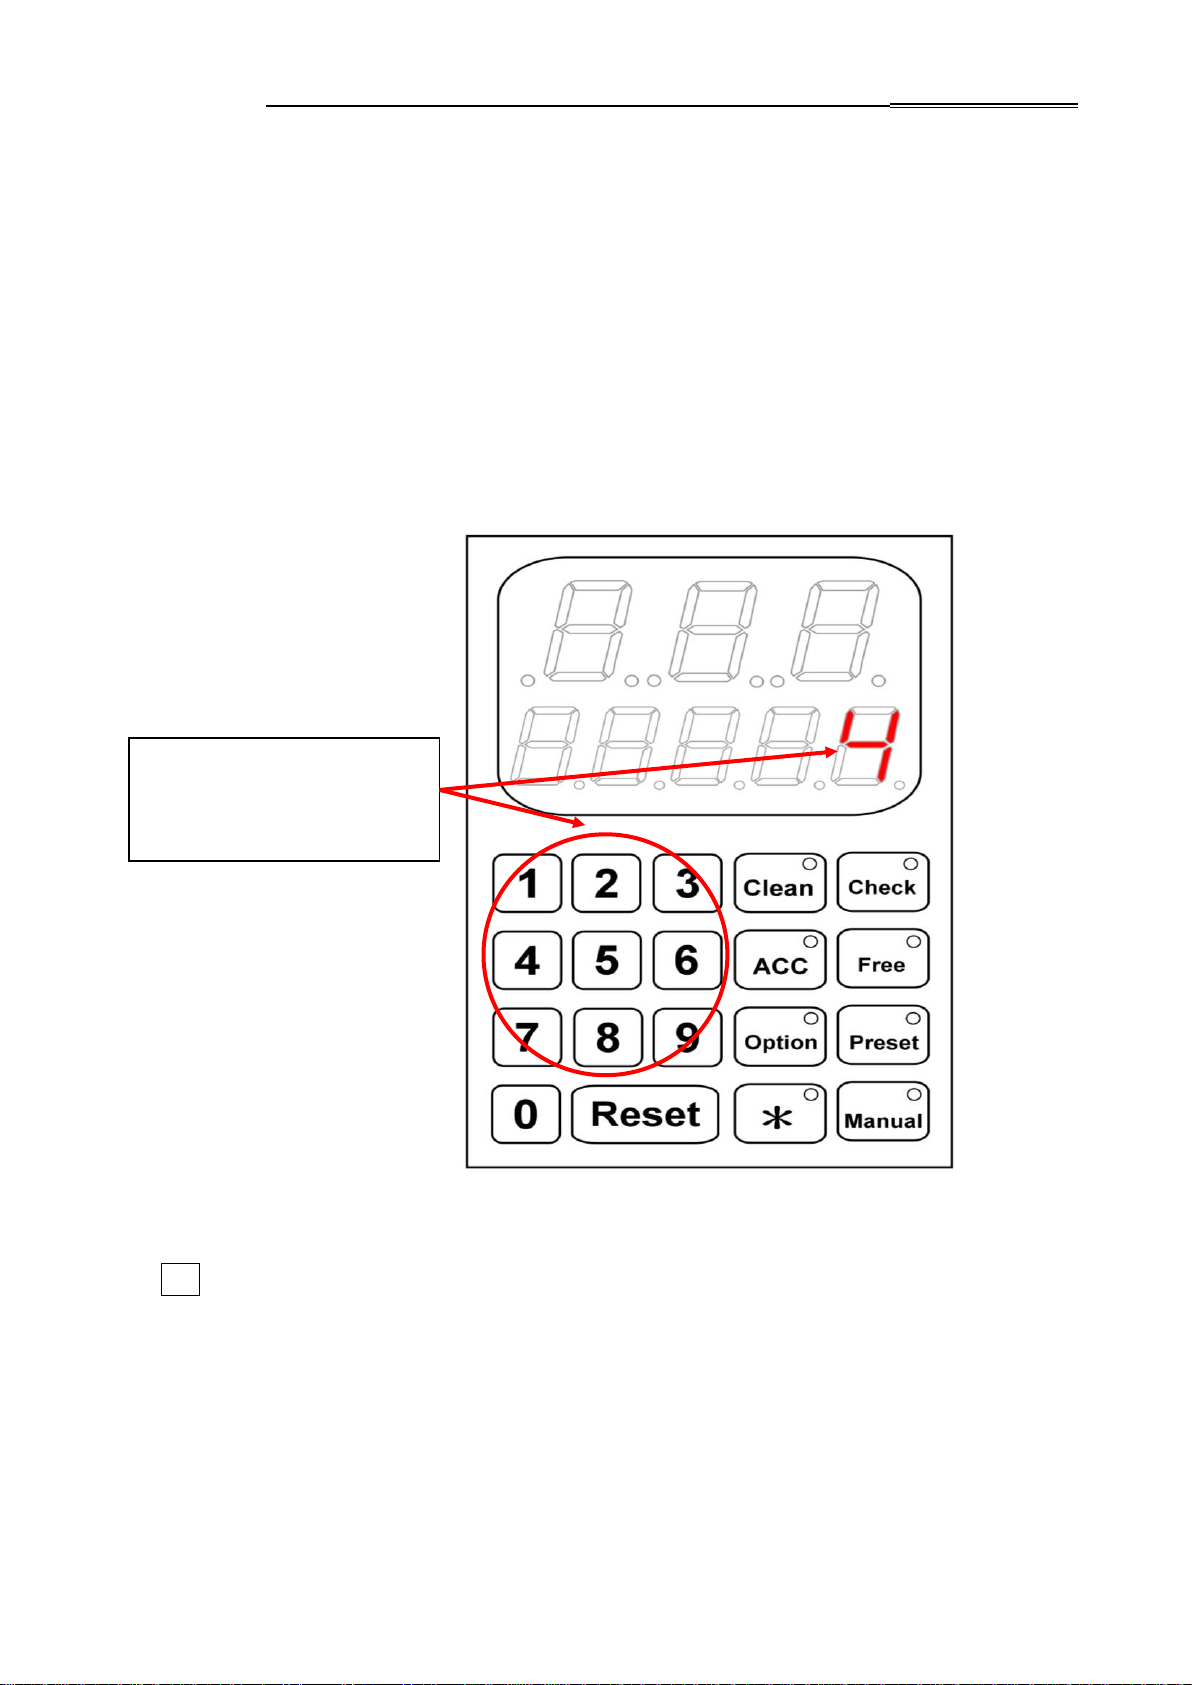
※The Manual Function :
Step 1: Press the button of Manual to select this function then the buzzer will alarm
with the opening of banknote holder. The machine is ready for using now
Step 2: Putting the banknotes into the banknote holder and forwarding the banknote.
It will not count automatically, you have to press one more time then the function of
starting sensor will be released.
Step 3: Press this button again for starting the counting process.
Step 4: the counting number will be showed on the LED display after this process.
※The ACC & Clean Function :
Step 1: Press the button of Check, Free, Preset or Manual to select the counting
mode.
Step 2: Re-press the ACC button after the counting mode selected. (The lower part
of LED display will show the number of “0” for starting the counting processing. ) It
will also show the accumulating number in the LED.
Step 3: The ACC feature is using automatically if the counting process is correct. It
will not operate if the counting process is incorrect. The Clean key is used to delete
the present counting result if the user doesn’t want it to be added to the ACC.
Step 4: Press again for releasing ACC.

TECH. MANUAL
7
※The Self-Diagnosis Test Function :
Function:This function is designed for checking the system's: 1) Vacuum Pressure,
2) LED display, 3) Spindle Sets, 4) Counter Sets, 5) Motors banknote
counting and feeding process.
Step 1: User need to block the holes of Spindle Sets by adhesive plastic tape. And
selecting the function key of 0after power on. The Self-Diagnosis Test will operate
automatically. User can push the same key again to turn off this function.
Step 2: During testing mode, user can check by following five parts:
1) The Vacuum Pressure: For counting banknotes’ air pressure can not be lesser
than 480 cmHg. If lesser than this data, then this machine probably will loose air
pressure. User need to check the vacuum system included: Vacuum Pump, Pipe
System and Filters. Most of time the operator just needs to clean the filters of
Pump (E010) and Suction Head (A002.1) only.
2) The LED Displays: The LED's numbers will show number from 1 to 999
alternately. If the numbers can’t show properly then replace a new one to correct
it.
3) The Spindle Sets: It can be swirled by the motors and starting vacuum suction
counting method.
4) The Counter Sets: User need block the hole of Spindle Sets by adhesive plastic
tape. Then can see the LED's numbers will show number from 1 to 999. It means
Counter Sets is operated normally.
5) The Motors: It can detect Motor1 & Banknote Holder is working or not; Motor 2 &
Spindle Sets working or not.

TECH. MANUAL
8
§ THE OPTIONAL FEATURE
※The Stamping Function :
Function:This function is designed for checking the batched banknote of 100 pieces.
It will punch a stamping mark (OK) on first banknote if the number of
banknote is exactly 100 pieces.
Step 1: Select the function key of Option and the function small red light will turn on.
That means stamping function now is ready.
Step 2: In the same process as Check mode (Please see the previous explanation).
The stamping mark will be punched if the process of counting number is 100 pieces.
Otherwise, it would not do anything.
Step 3: Release this stamping function, please press the button again and the small
red light will turn off. That means this stamping function is canceled.
※The External Display:
Function: This function is designed to check the counting result in the remote display.
The wire of remote display can be more than 3~6m. It is the helpful tool for
customer to monitor the counting result.
※The UV-Detection Function :
Function:This function is designed for detecting the counterfeit banknote. It can be
used with the feature of Check; Free; Preset, Manual Mode and ACC
feature together.
This is simply started by push the button of ✱before counting process.

TECH. MANUAL
9
§ How to Use the Feature of UV-Detection
The vast majority of the world’s bank notes are printed a high quality, linen-based
paper, which has low fluorescence characteristics. Because the majority if counterfeit
notes are printed on normal quality papers, which have been bleached and therefore
fluoresce, UV detection is normally the most useful method of helping to find forged bills at
the speed at which a currency counter operate. This function is designed for checking
suspect counterfeit note during counting process.
P.S: Verify function can work with other counting mode: Check, Free, Batch, Manual,
Stamp or ADD.
Step 1: Turn on the machine and select the UV-Detection feature by push the key of
✱. The UV-detection band will be made on the band 4 automatically and user can
count and test the UV-feature by genuine notes and counterfeit notes.
Step 2: Then user can select the band by push the Number Key 1, 2, 3, …,8. The
most sensibility program was No. 1; and consequently, the most insensibility was
program was No. 8.
There are eight (1 ~ 8)
different UV-Detecting
bands can be selected.

TECH. MANUAL
10
Step 3: If the perfectly band, for example band 1 can count genuine note and catch
the counterfeit note perfectly then you can use this band for this particular note.
Otherwise you must change the band to 2 … 8. (That means the user has eight bands
to find the best suitable band for each particular note.)
Note:
Following information was for Technicians Only. Please check the part of previous PC
board & UV board graphic chart together.
If this machine can’t find out the counterfeit note or miss detect in geniuses banknote.
And user also can’t find out the suitable sensitivity in 8 different sensibility levels from
keypad. Please inform your service engineer to do in following countermeasure.
Step : When technician count this bundle of note, please adjust VR3 at the same time.
Turn clockwise (CCW) make the UV sensitivity higher;turn counter clockwise (CW) to
low down the UV sensitivity. User can see the change of parameter in the display after
they adjust VR3.
Adjust the VR3 (Voltage
Resistant) to change the voltage
for suitable UV sensitivity.
1. Clockwise for a higher
sensitivity
2. Counter Clockwise for a
lower sensitivity.

TECH. MANUAL
11
§ PRECAUTIONS
(1) Please check your AC Voltage; it should be the same as the Voltage specification
showed on the back sticker of our Banknote Counting Machine.
(2) Disconnect the AC cord and inform the qualified engineers for repairing our
banknote counter if there is any technical trouble or damage on our machine.
(3) Do not use the system in places, which are extremely hot, cold, dusty or humid.
(4) When you are not going to use the system for a long period of time, please
disconnect the AC cord.
(5) If the AC cord is broken or damaged, or if the wires are exposed, contact your local
agent to replaced or repaired.
§ REGULAR MAINTENANCE
To clean the cabinet
Use a soft cloth lightly moistened with mild detergent solution. Do not use strong
solvents, such as alcohol, benzene or thinner.
Regular filters cleaning
There are two different models of filters in the machine. One is the filters of
compressor, which are fixed in front of inlet, and outlet of compressor. The other one
is the filters of spindle which are fixed on the top of spindle.
Regular cleaning for the filters of compressor should be every 6 months once and for
the filters of spindle is every two months.

TECH. MANUAL
12
§TROUBLE SHOOTING
1. No power enter into the machine
(1) Power supply (B041) was damaged.
Check power supply (B041) and plug.
(2) Fuse was damaged (Fuse is hidden in the 2-in-1 Power Switch D026).
Replace a new fuse.
(3) The cable between pump and power supply was damaged.
Check the plug and cable
(4) Main control board (D031) was damaged.
Check or replace the board.
2. Display screen shows nothing after turn on the machine
(1) The cable of TQU-28 (B006) / TQU-32 (B026.1) / TQU-33 (B027) was damaged.
Check or replacement a new cable.
(2) The Front display board (B005.2) / Rear display board (B024.2) was damaged.
Check or replacement the board.
(3) Main control board (D031) was damaged.
Check or replace the board.
3. The machine didn’t function in the process of counting.
(1) Micro switch (C028) was damaged.
Adjust it or replace a new one.
(2) Micro switch set (B013) was damaged.
Adjust it or replace a new one.
(3) Main control board (D031) was damaged.
Check or replace the board.
(4) Proximity sensor set (A034) was damaged.
Adjust it or replace a new one.
(5) PU Belt (A027.1) was loosed or broken.
Replace a new one.
(6) The hole of spindles (A003 / A009) was jam.
Using air compressor to blow out the dust from the spindle filter mesh and clean
suction hole; replace a new spindle filter mesh.

TECH. MANUAL
13
(7) Pump (E001) stuck.
Turn off the machine, and use screw driver to troll the pump’s fan.
If it still stuck, take off the pump’s cup and swirl the pump’s fan by tools.
4. Pump does not run or lack of pressure.
(1) Pump (E001) stuck.
Turn off the machine, and use screw driver to troll the pump’s fan.
If it still stuck, take off the pump’s cup and swirl the pump’s fan by tools.
(2) There were too much dust blocked the spindle filter (A002.1).
Using air compressor to blow out the dust from the filter (A002.1); replace a new
filter.
(3) Pump filter mesh (E010) blocked.
Clean filter or replace a new filter.
(4) Fitting (A023) much dust blocked
Clean the fitting.
5. Suction head does not move or move too slow
(1) PU Belt (A027.1) was loosed or broken.
Replace a new one..
(2) Pump (E001) stuck.
Turn off the machine, and use screw driver to troll the pump’s fan.
If it still stuck, take off the pump’s cup and swirl the pump’s fan by tools.
(3) Lack of power voltage.
Check your electric voltage was match to our machine.
Check power supply (B041).
6. Membrane keyboard’s function key can’t work
(1) Membrane keyboard (B003) was damaged.
Replace a new membrane keyboard.
(2) Data cable TQU-28 (B006) was damaged.
Check or replacement a new cable.
(3) Main control board (D031) was damaged.
Check or replace the board.

TECH. MANUAL
14
7. Inaccuracy in counting process
(1) Counter Set (A035) didn’t in a perfect adjustment condition.
Micro adjustment: adjust counter set screw in counter clock wise (CCW) for
lower sensitivity to resolve “more counting” problem or clock wise for higher
sensitivity to resolve “miss counting”.
Macro adjustment: adjust counter set screw (A024) in counter clock wise for
quarter circle or less. (Use the oscilloscope or replace a counter)
(2) Fitting (A023) was much dust blocked.
Clean the fitting.
(3) There were too much dust blocked the spindle filter (A002.1).
Using air compressor to blow out the dust from the filter (A002.1); replace a new
filter.
(4) Lack of power voltage.
Check your electric voltage was match to our machine.
Check power supply (B041).
(5) Banknote lifting spring (Small extension spring C006) was loosed.
Replace a new banknote lifting spring
(6) The incorrect distance between suction head and banknote blocker (B012).
Adjust the distance between suction head and banknote blocker.
a.Switch off the power, the distance from the position of banknote blocker right
side edge to banknote holder edge is 2.5 ± 0.5mm.
b.Switch on the power, the distance from the position of banknote blocker left size
edge to banknote holder edge is 1.5 ± 0.5mm.
c. Switch off the power; main roller spindle set face to banknote holder. The
distance from main roller spindle set hole edge to banknote blocker right edge is
15~16mm.
Adjust Counter Set VR503 (Voltage
Resistant) to change the voltage for
suitable sensitivity of pressure sensor.
1. Counter Clockwise for a lower
sensitivity resolve “more counting”
problem.
2. Clockwise for a higher sensitivity
resolve “miss counting”.

TECH. MANUAL
15
d.Check the air blow pipe position should between its second hole and the
banknote holder.
e.Check the banknote flipping plate position. To keep away from the main roller
spindle set holes be vertically lined up.
(7) The incorrect air blowing direction.
Adjust blowing pine to blow up at least 1 to 5 banknotes.
a. Putting the bundle of banknotes into banknote holder and forwarding it the limit
to touch the starting sensor set. Turn off the power and the banknote holder will
clip the banknote automatically.
b.Pull up the J39 socket on main board and connect direct supply power to
vacuum pump. The pump will start running now.
c. Getting loose the screw of center shaft by screw driver and fixing the screw by a
wretch then do micro adjustment on the air pressure. The Center shaft unit
should 90~95 degree with banknote holder.

TECH. MANUAL
16
8. Banknote holder does not open after turn on power.
(1) Micro switch (C028) was damaged.
Adjust it or replace a new one.
(2) Main control board (D031) was damaged.
Check or replace the board.
(3) Extension spring (C007) was loosed.
Replace a new spring
(4) L Plate (C011 / C012) was damaged.
Replace a new plate.
(5) Pulley (C045) was loosed.
Check and adjust it.
9. The UV detecting function fail to catch counterfeit
(1) User didn’t turn on UV function.
Please turn on this function by press ✱function key. (Wait about 60sec)
(2) The UV tube was too obscure or broken
Replace a new one.
(3) Receiving sensor didn’t in a perfect position.
Adjust the position of receiving sensor by well train professional engineers.
(4) The current UV detecting level is not sensitivity enough to catch counterfeit.
User can select suitable sensitivity from 1 ~ 8 by push the Numeric Key 1 , 2,
3, …,8 to catch this counterfeit note.
Adjust variable resistance at the main board.
(5) The geniuses note had blur of fluorescence, so it assumed as fake note.
Pick out the strength notes and continuous counting process.

TECH. MANUAL
17
§ TECHNICAL DRAWING

TECH. MANUAL
18

TECH. MANUAL
19
Table of contents
Other ARPEGE SECURITY Cash Counter manuals