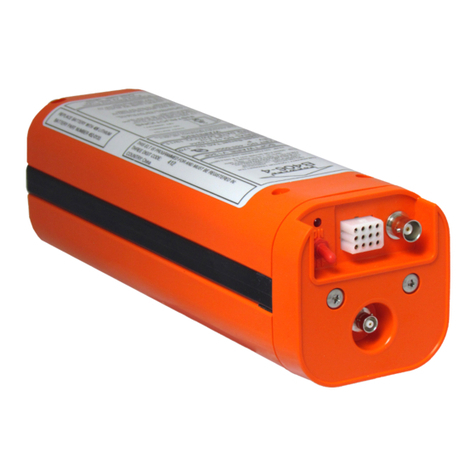
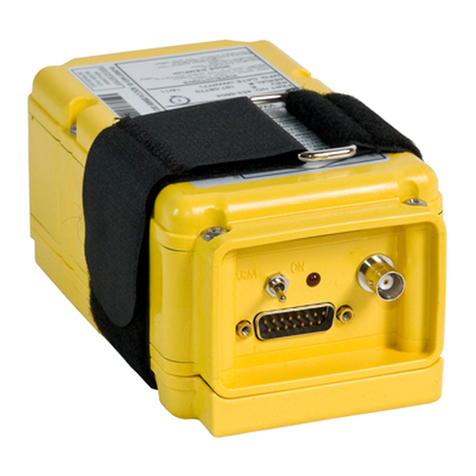
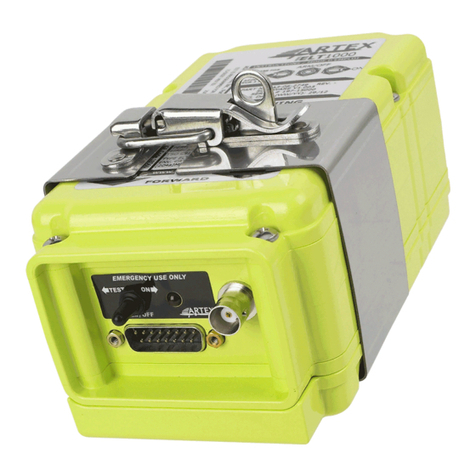
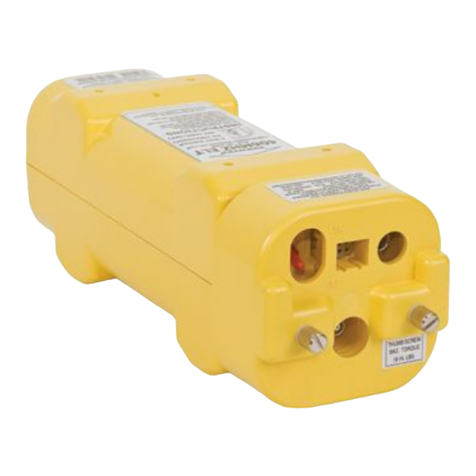
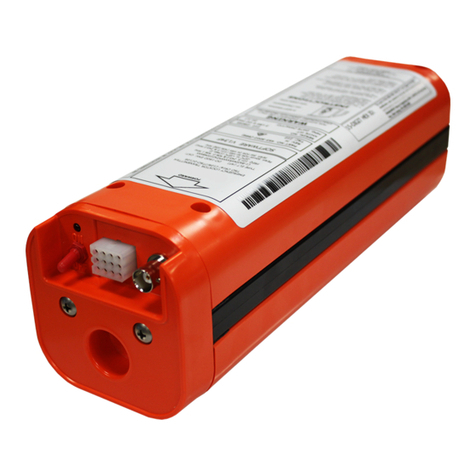
ARTEX ELT 1000 Owner's manual

P/N 13772-156 1 of 6
Cirrus Design Section 9
SR22 / SR22T Supplements
Pilot’s Operating Handbook and
FAA Approved Airplane Flight Manual
Supplement
for
Artex ELT 1000 406 MHz ELT System
When Artex ELT 1000 406 MHz ELT System is installed on the aircraft,
this POH Supplement is applicable and must be inserted in the
Supplements section (Section 9) of the Pilot’s Operating Handbook.
This document must be carried in the airplane at all times. Information
in this supplement adds to, supersedes, or deletes information in the
basic Pilot’s Operating Handbook.
Original Issue: 11-20-14

2 of 6 P/N 13772-156
Section 9 Cirrus Design
Supplements SR22 / SR22T
Section 1 - General
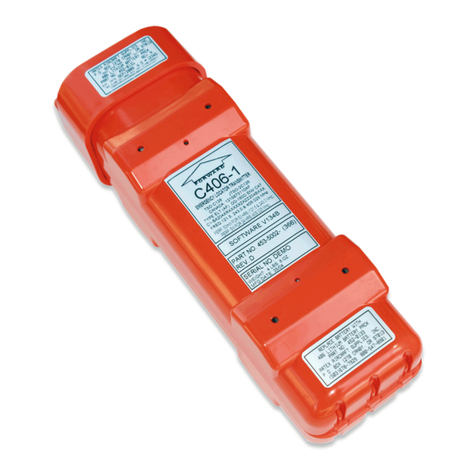
The 406 MHz emergency locator transmitter (ELT) is a radio-frequency
transmitter that generates a signal to assist in search and rescue for
missing aircraft. The ELT automatically transmits the standard sweep
tone on 121.5 MHz if rapid deceleration is detected or the Cirrus
Airframe Parachute System (CAPS) is deployed.
4
5
8
CENTER
CONSOLE
(REF)
ELT SHELF
(REF)
SR22_FM09_3681
LEGEND
1. LED Annunciator
2. Remote Switch
3. Antenna
4 Remote Cable
5. Main Control Switch
6. Antenna Jack
7. Attach Straps
8. Artex ELT
1000
1
2
3
7
6
1
WA
R
N
ING
F
ORWA
RD
Artex ELT 1000 System
Original Issue: 11-20-14
Figure - 1

P/N 13772-156 3 of 6
Cirrus Design Section 9
SR22 / SR22T Supplements
Section 2 - Limitations
No Change.
Section 3 - Emergency Procedures
Portable use of ELT
The ELT transmitter can be removed from the airplane and used as a
personal locating device if it is necessary to leave the airplane after an
accident. Access the unit as described below and set the ELT
transmitter control switch to the ON position.
1. Remove avionics bay access panel along aft portion of RH
fuselage or lower aft center access panel of baggage
compartment.
2. Disconnect fixed antenna lead from front of unit.
3. Disconnect lead from remote switch and indicator unit.
4. Disconnect antenna from mounting tray.
5. Loosen attach straps and remove transmitter unit.
6. Attach antenna to antenna jack on front of unit.
7. Set main control switch to ON position.
8. Hold antenna upright as much as possible.
Section 4 - Normal Procedures
No Change.
Section 5 - Performance
No Change.
Section 6 - Weight & Balance
Installation of the subject propeller adds the following optional (Sym =
O) equipment at the weight and arm shown in the following table.
ATA /
Item Description Sym Qty Part Number
Unit
Weight
LB
Arm
Inches
25-01 Artex ELT 1000 and Batteries O 1 33940-001 3.4 229.5
Original Issue: 11-20-14

4 of 6 P/N 13772-156
Section 9 Cirrus Design
Supplements SR22 / SR22T
Section 7 - Systems Description
The airplane is equipped with a self-contained Artex ELT 1000 406
MHz emergency locator transmitter (ELT) system. The transmitter unit
is automatically activated upon sensing a change of velocity along its
longitudinal axis exceeding 4 to 5 feet per second, or upon sensing
deployment of the Cirrus Airframe Parachute System (CAPS). Once
activated, the ELT transmits VHF band audio sweeps at 121.5 MHz
until battery power is gone.
In addition, for the first 24 hours of operation, a 406 MHz signal is
transmitted at 50-second intervals. This transmission lasts 440
milliseconds and contains aircraft-specific information and GPS
position data provided by the Garmin avionics. The transmitted data is
referenced in a database maintained by the national authority
responsible for ELT registration to identify the beacon and owner.
The ELT transmitter is installed immediately behind the aft cabin
bulkhead, slightly to the right of the airplane centerline. The transmitter
and antenna are accessible through the avionics bay access panel
along the aft portion of the RH fuselage or the lower aft center access
panel of baggage compartment.
The main transmitter control switch is labeled “ON” - “ARM/OFF” -
“TEST”. The transmitter is in the armed position for normal operations.
A red LED annunciator flashes when the ELT is transmitting.
A battery pack consisting of two “D” cell lithium batteries mounts to a
cover assembly within the transmitter to provide power to the
transmitter. The expiration date of the batteries is indicated on the
outside of the ELT battery case and recorded in the aircraft logs.
A warning buzzer is mounted to the ELT shelf. When the ELT is
activated, the buzzer “beeps” periodically. This buzzer operates in
tandem with the ELT panel indicator and serves as a redundant
annunciation. Power to the buzzer is supplied by the ELT batteries.
ELT Remote Switch and Indicator Panel
The Artex ELT 1000 Remote Switch and Control Panel Indicator
(RCPI) is located below the Alternate Induction Air Control knob near
the pilot’s right knee. The RCPI provides test and monitoring functions
for the transmitter. The panel contains a two-wire switch labeled “ON” -
Original Issue: 11-20-14

P/N 13772-156 5 of 6
Cirrus Design Section 9
SR22 / SR22T Supplements
“ARM/OFF” - “TEST”, and a red LED annunciator. The red LED
annunciator flashes when the ELT is transmitting.
Section 8 - Handling, Servicing & Maintenance
The ELT batteries must be inspected in accordance with the Airplane
Maintenance Manual, 5-20 - Scheduled Maintenance Checks.
The ELT batteries must be replaced upon reaching the date stamped
on the batteries, after an inadvertent activation of unknown duration,
or whenever the batteries have been in use for one cumulative hour.
Inspection / Test
After setting transmitter switch to TEST position, the ELT automatically
enters a self-test mode. The self-test transmits a 406 MHz test coded
pulse that monitors certain system functions before shutting off. The
test pulse is ignored by any satellite that receives the signal, but the
ELT uses this pulse to check output power and frequency. Other
parameters of the ELT are checked and a set of error codes is
generated if a problem is found. The error codes are indicated by a
series of pulses on the transmitter LED, the Remote Switch and
Control Panel Indicator (RCPI) LED, and alert buzzer.
• Note •
FAA regulations require that transmitter tests only be done
during the first 5 minutes of each hour and must not last for
more than 3 audio sweeps (1.5 seconds). If you are at a
location where there is an FAA control tower or other
monitoring facility, notify the facility before beginning the tests.
Never activate the ELT while airborne for any reason.
Operators may wish to use a low quality AM broadcast
receiver to determine if energy is being transmitted from the
antenna. When the antenna of the radio (tuning dial on any
setting) is held about 6 inches from the activated ELT antenna,
the ELT aural tone will be heard on the AM broadcast receiver.
This is not a measured check, but it does provide confidence
that the antenna is radiating sufficient power to aid search and
rescue. The aircraft’s VHF receiver, tuned to 121.5 MHz, may
also be used. This receiver, however, is more sensitive and
could pick up a weak signal even if the radiating ELT’s antenna
Original Issue: 11-20-14
6 of 6 P/N 13772-156
Section 9 Cirrus Design
Supplements SR22 / SR22T
is disconnected. Therefore, it does not check the integrity of
the ELT system or provide the same level of confidence as
does an AM radio.
1. Tune aircraft receiver to 121.5 MHz.
2. Push switch lever to TEST position for approximately 1 second,
then release.
3. Results of the test are displayed by a series of indications (flash
codes), where the local LED, remote switch LED and buzzer(s)
activate for ½ second ON, followed by ½ second OFF. Error codes,
indicated by multiple flashes separated by 1-second periods, will
begin to display after approximately 1 second.
4. Flash Codes displayed with the associated conditions are as
follows:
a. 1-Flash: Indicates that the system is operational and that no
error conditions were found.
b. 2-Flashes: Not used. If displayed, correct condition before
further flight.
c. 3-Flashes: Not used. If displayed, correct condition before
further flight.
d. 4-Flashes: Indicates low output power. If displayed, correct
condition before further flight.
e. 5-Flashes: Indicates no position data present. If displayed,
correct condition before further flight.
f. 6-Flashes: Indicates G-switch loop is not present. If displayed,
correct condition before further flight.
g. 7-Flashes: Battery check. If displayed, correct condition before
further flight.
h. 8-Flashes: Indicates programming data missing. If displayed,
correct condition before further flight.
Section 10 - Safety Information
No Change.
Original Issue: 11-20-14
Table of contents
Other ARTEX Transmitter manuals

ARTEX
ARTEX G406-4 Instruction Manual

ARTEX
ARTEX C406-1 Series Instruction Manual

ARTEX
ARTEX C406-2 Series Instruction Manual

ARTEX
ARTEX ELT 4000S Instruction Manual

ARTEX
ARTEX ME406 Instruction Manual

ARTEX
ARTEX ELT 1000 Instruction Manual

ARTEX
ARTEX ME406 User manual

ARTEX
ARTEX G406-4 Instruction Manual

ARTEX
ARTEX ELT C406-N Instruction Manual

ARTEX
ARTEX ME406P Instruction Manual
Popular Transmitter manuals by other brands

Craig
Craig CBT3348A owner's manual

Williams Sound
Williams Sound Personal PA PPA T36 Specifications

Hyundai
Hyundai H-FMT12 instruction manual

Dwyer Instruments
Dwyer Instruments HT Series operating instructions

SMAR
SMAR TP301 Operation, maintenance and instructions manual

MSA
MSA General Monitors S4100T instruction manual