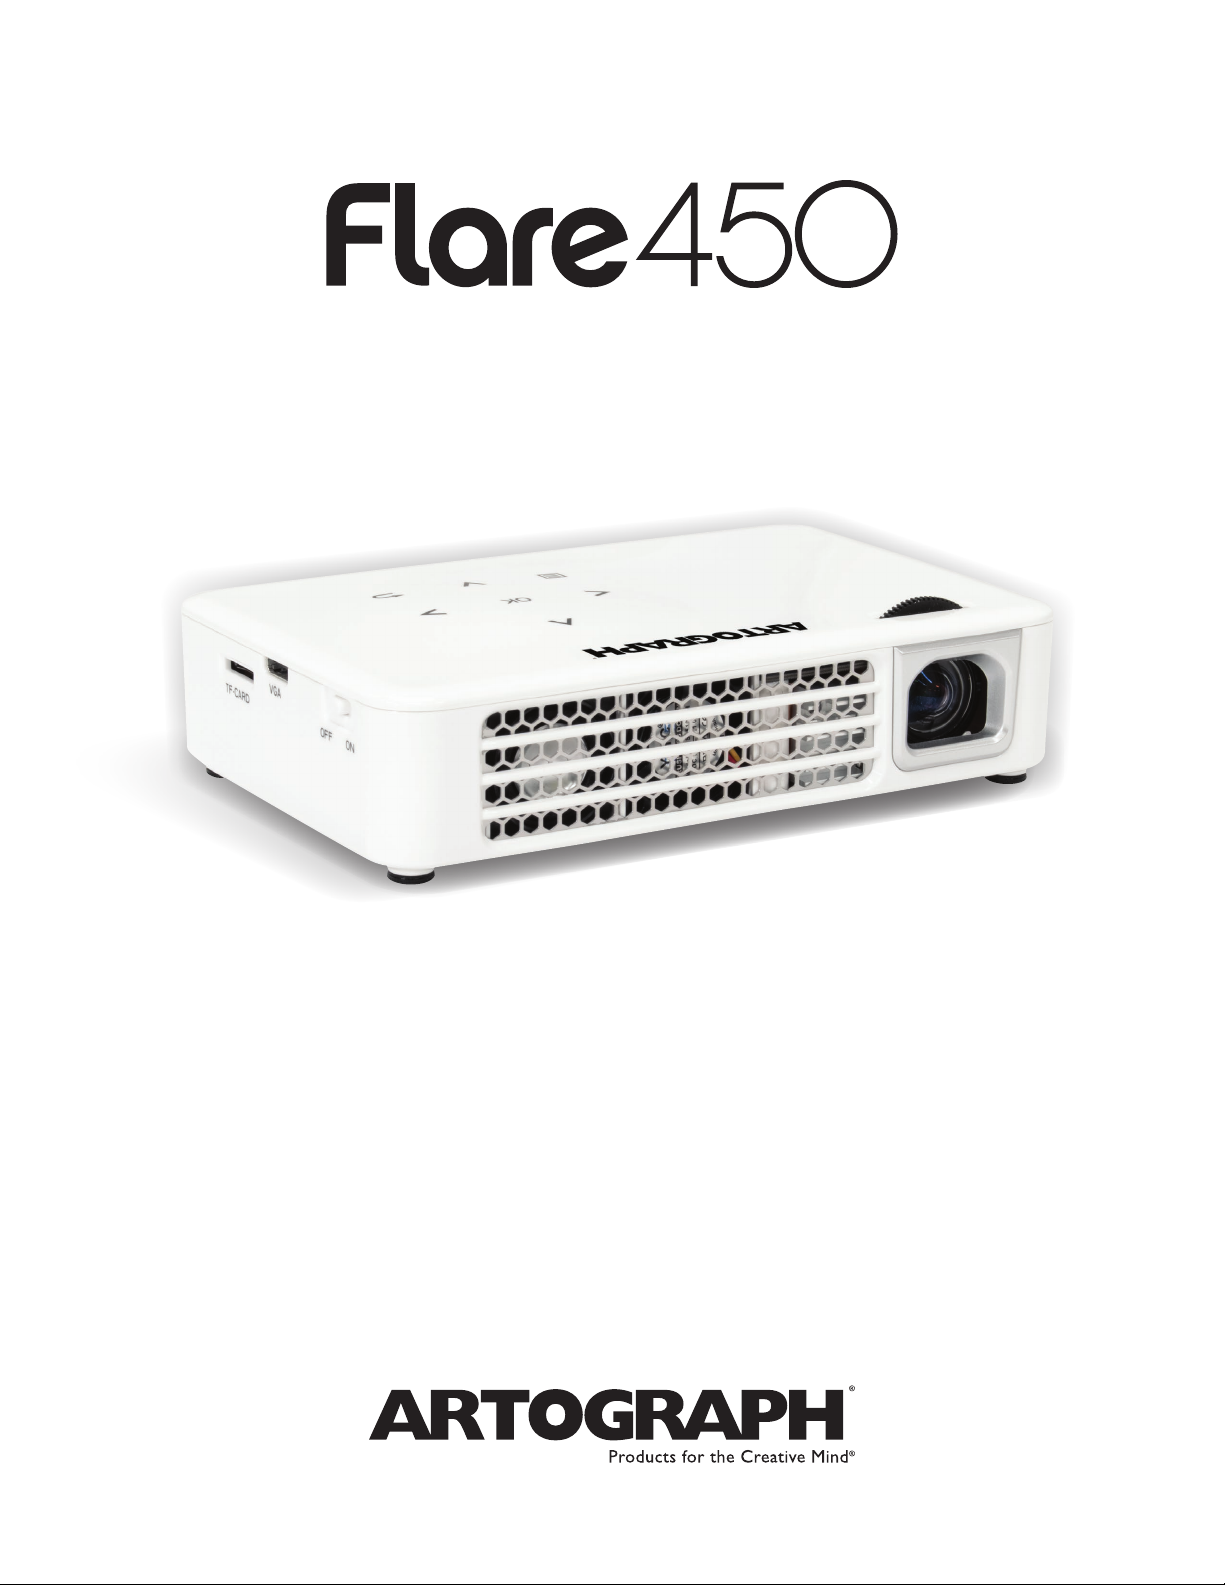
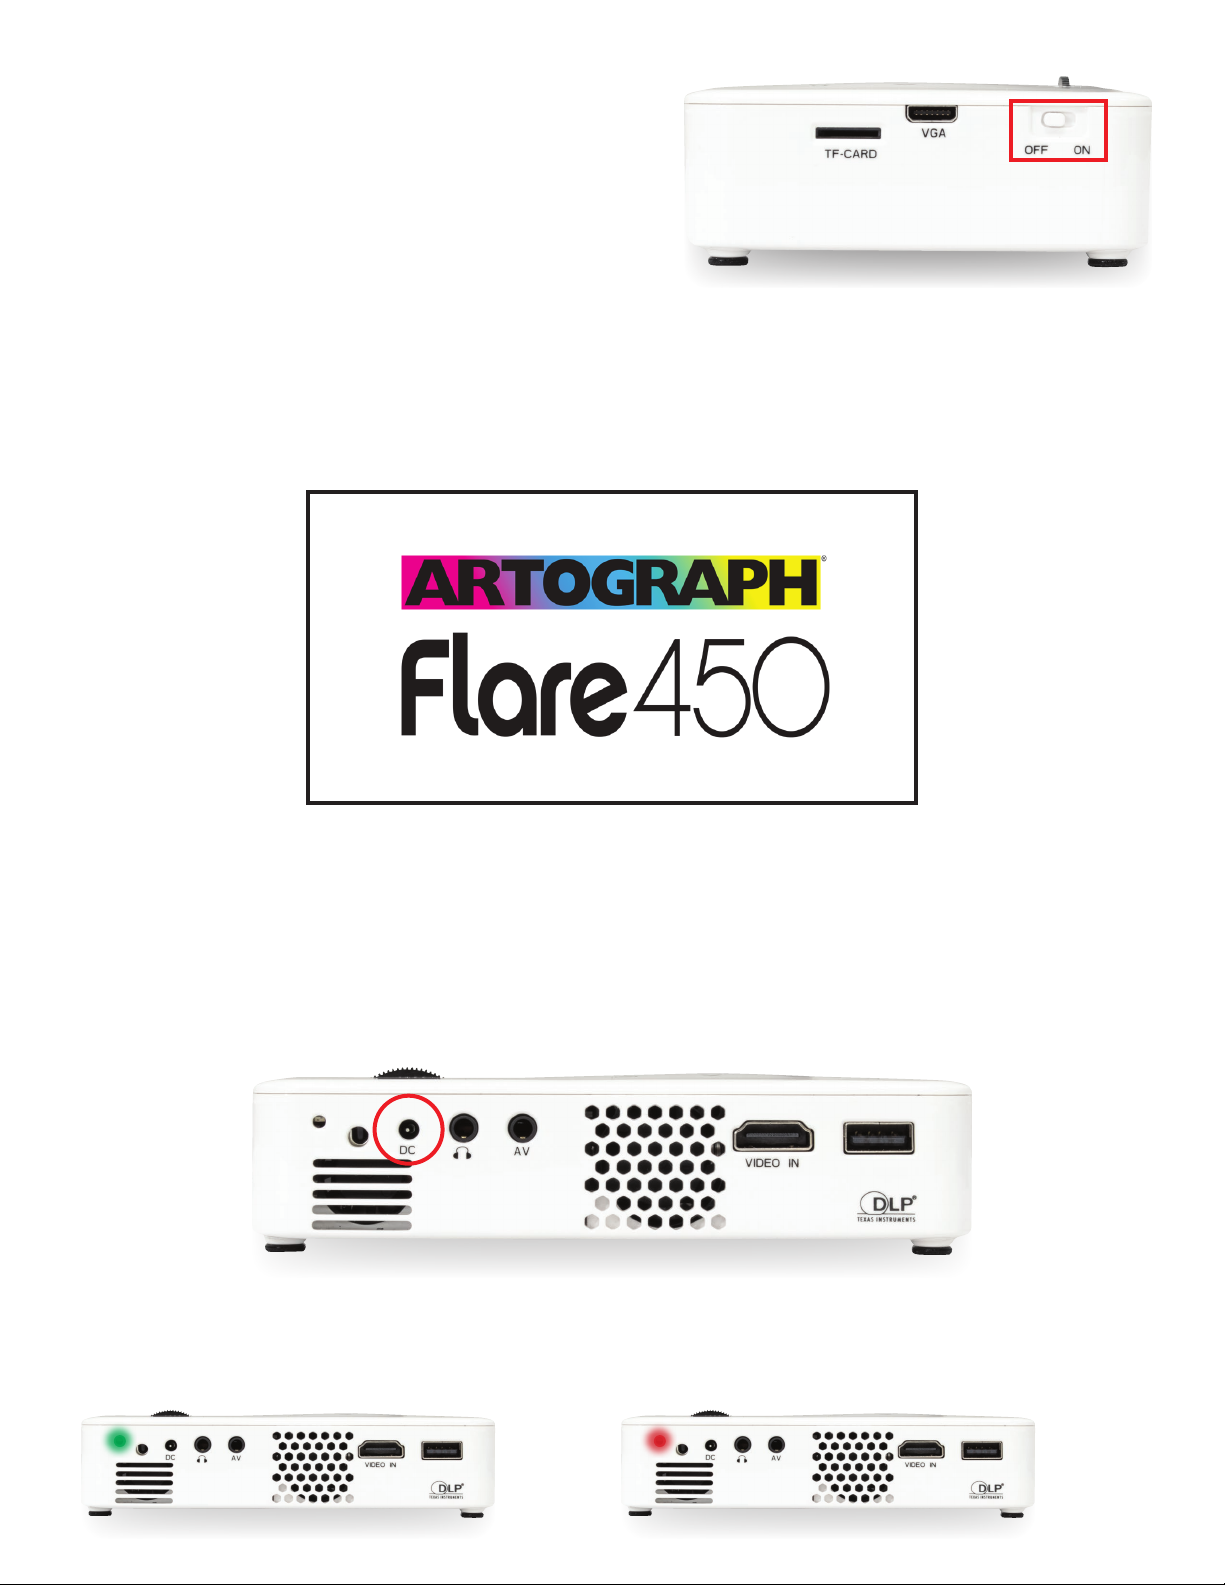
6027 Bandini Blvd., Commerce, CA 90040 | www.artograph.com
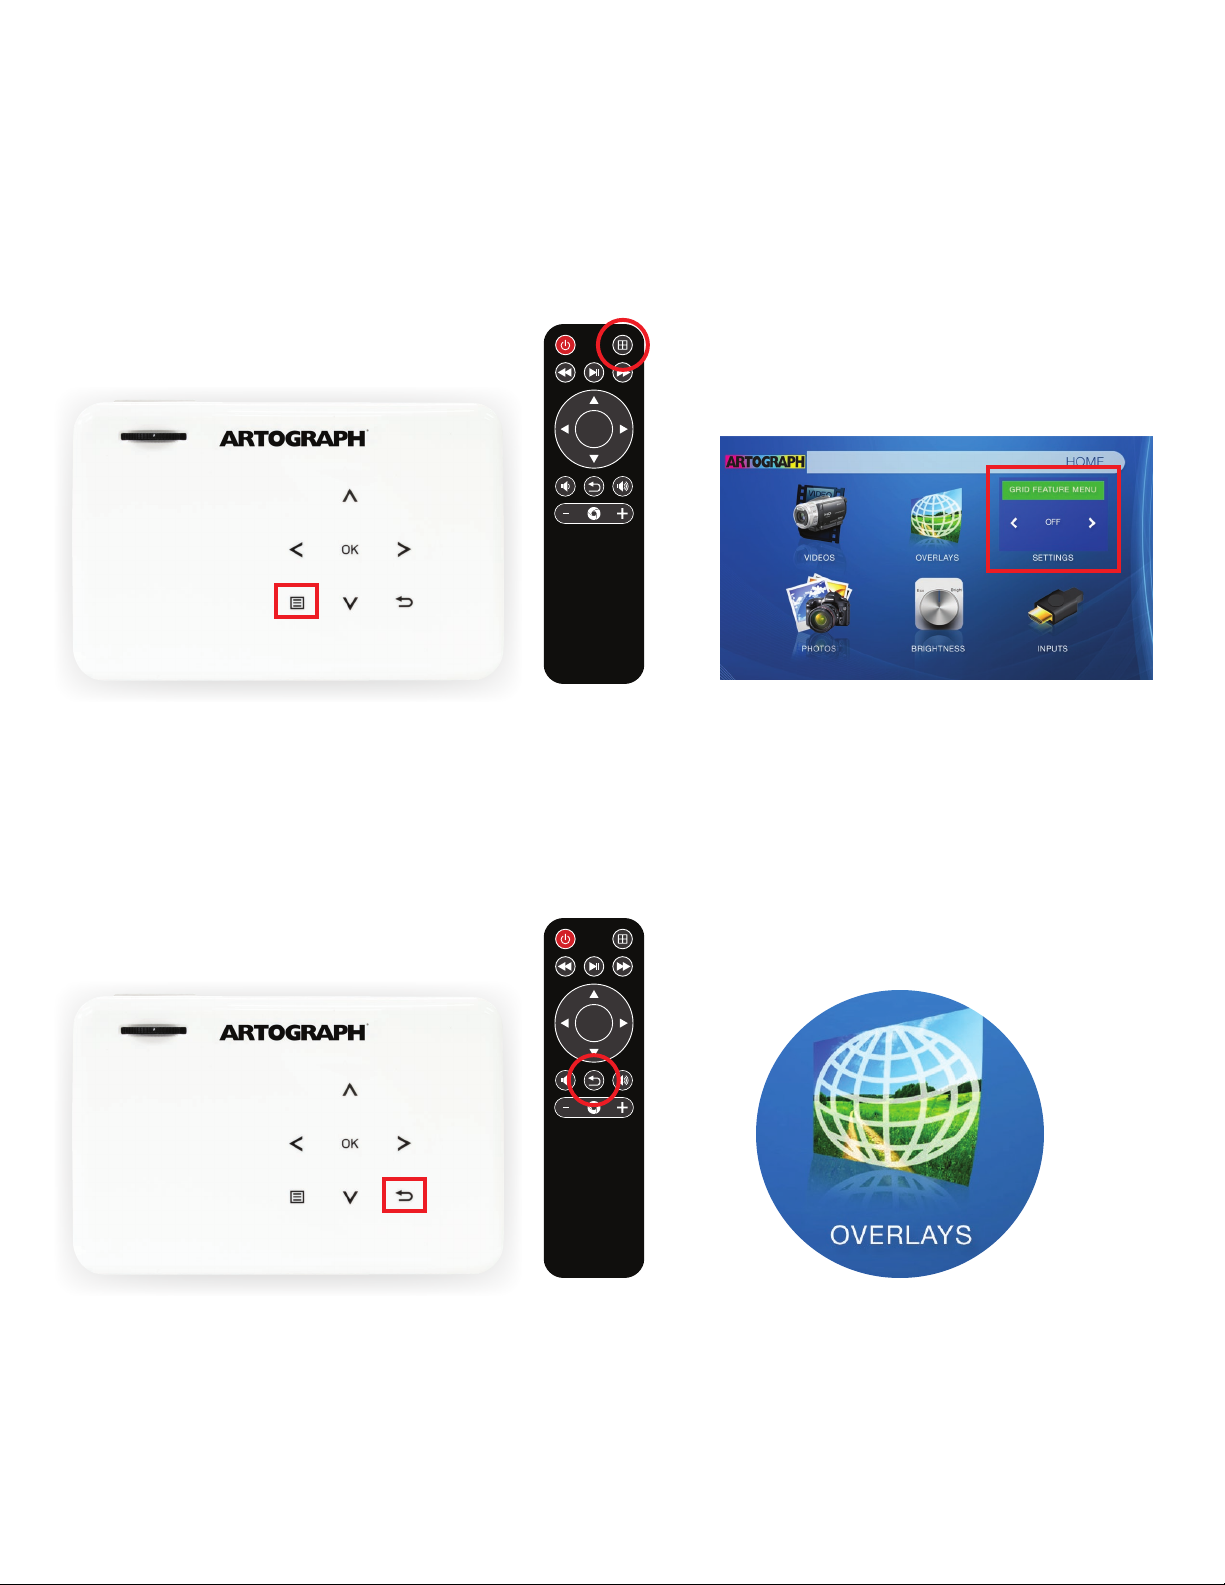
5. Using the keystone feature:
The keystone feature is available in photo or video
mode, and can be accessed with the Up/Down
buttons on the projector. In photo mode, pause
the slideshow, wait for the submenu selection to
disappear, then adjust the keystone.
You also have the option to adjust the keystone
before selecting your photo. To do this, hover over
the keystone icon in the main menu and press
“OK”. Then, use the “up” or “down” arrows to
adjust the keystone angle to the desired setting.
Then, follow step 3 of this Quick Start Guide to
select your photo.
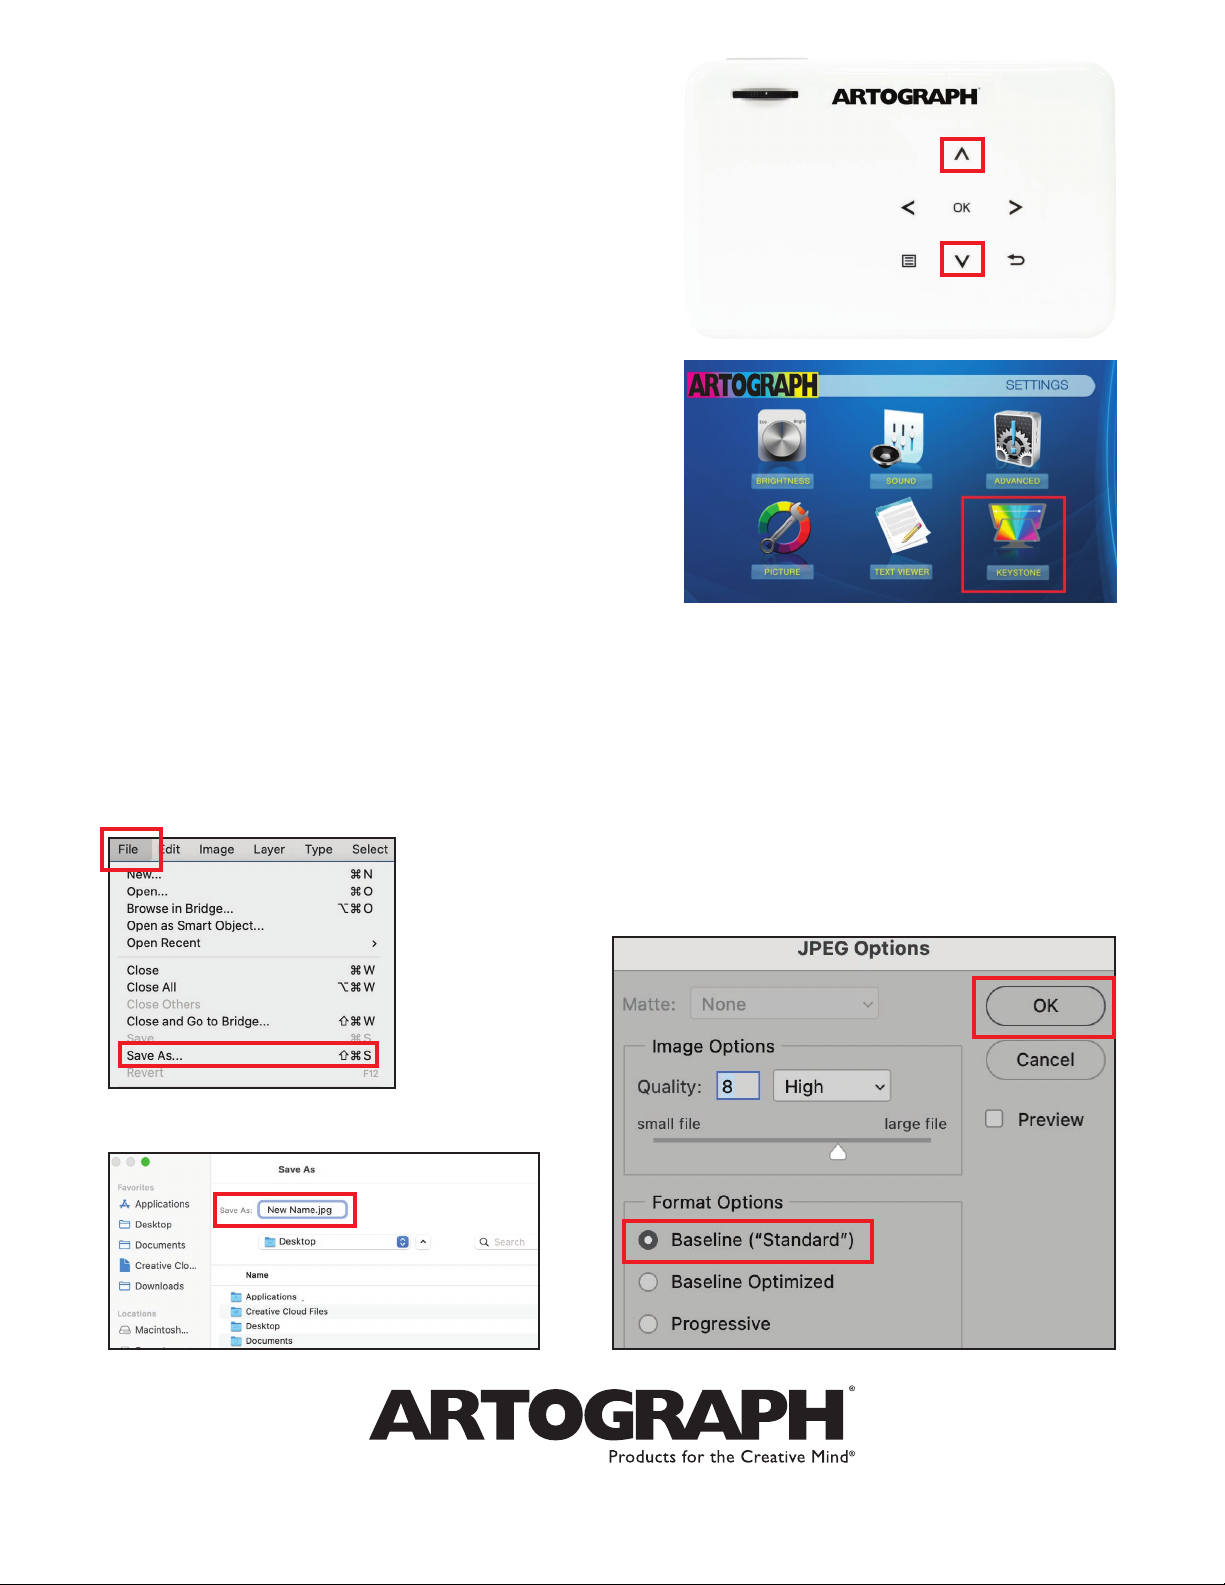
6. Troubleshooting file formats:
A note about JPG/JPEG configurations: Not all JPG/JPEG are the same. The Flare 450
cannot read JPG/JPEG that have been altered from Baseline JPG/JPEGs to Progressive
JPG/JPEG in a photo editing program like Photoshop. To change the image back to a
baseline JPG, follow these steps:
b. Rename the file and click “Save”.
a. Select “File” and “Save as”. c. Once you click “Save”, the JPEG
Options box will appear. Click “Baseline”
or “Standard” and then “OK.” Your new
file is now compatible with the Flare 450.