manuals.online logo
Brands
  1. Home
  2. •
  3. Brands
  4. •
  5. ARX
  6. •
  7. Recording Equipment
  8. •
  9. ARX Quadcomp II User manual

ARX Quadcomp II User manual

Quadcomp ®II Owner's Manual v 3.3 CE ©2006 ARX® Quadcomp ®II Owner's Manual v 3.3 CE ©2006 ARX®8
Quadcomp®II
OWNER’S
MANUAL
INTERNATIONAL LIMITED WARRANTY
ARX Systems (ARX) warrants to the first purchaser of any ARX equipment that it is free
from defects in materials and workmanship under normal use and service. ARX’s sole
obligation under this warranty shall be to provide, without charge, parts and labour
necessary to remedy defects, if any, which appear within twelve (12) months from date
of purchase, and for a further twelve (12) months supply parts only.
This is our only warranty. It does not cover finish or appearance items, burned voice
coils, or if the equipment has been, in ARX’s sole judgement:
•Subjected to misuse, abuse, negligence or accident;
•Repaired, worked on, or altered by persons not authorized by ARX;
•Connected, installed, adjusted or used for a purpose other than that for which it was
designed. This includes running a speaker system with the ISC leads disconnected, or
with a non-ARX crossover, or with the wrong processor.
This warranty gives you and us specific legal rights and you may also have other rights
which may apply.
Warranty Service Procedure
Should it become necessary to have your equipment serviced under the
terms of the warranty, please follow these steps:
1. Call your ARX distributor for a Return Authorization (RA) number;
2. Carefully repack the unit, in its original packaging where possible,
including a note with a description of the problem, and a copy of
the receipt showing date of purchase. Attach these to the actual unit
itself. Don’t forget to write your name and address clearly, and
include a phone number where you can be contacted during
normal business hours. Make it easy for our service technicians to
contact you if they have a question. Also, use plenty of packing
material - better to be safe than sorry.
3. Send the unit freight prepaid to ARX Systems, at the address given
you with your RA number. We will pay the return freight when the
serviced unit is returned to you.
4. We strongly recommend you insure the package. We can’t fix it if it
gets lost! Send it by UPS, Fedex, or any similar service that can
track the package. Parcel Post is not recommended
If Warranty Registration Card is missing, please write to ARX in the country of
purchase, stating model and where purchased, or to ARX, PO Box 15, Moorabbin,
Victoria 3189, Australia.
Or you can Email us at: [email protected]
ARX Systems Pty Ltd, PO Box 15,
Moorabbin, Victoria 3189, Australia
Phone: (03) 9555 7859 Fax: (03) 9555 6747
International Fax: +61-3 -9555 6747
On the Web: www.arx.com.au
Email: [email protected]
Quadcomp ®II Owner's Manual v 3.3 CE ©2006 ARX® Quadcomp ®II Owner's Manual v 3.3 CE ©2006 ARX®
27
This symbol indicates that a Slow Blow fuse is used in this equip-
ment. Replace with same type and value only
This symbol is intended to alert you to the presence of uninsulated
dangerous voltage within the product's enclosure that may be of
sufficient magnitude to constitute a risk of electric shock.
This symbol is intended to alert you to the presence of important
operating instructions contained in this owner's manual
WARNING SYMBOLS USED ON THIS EQUIPMENT
IMPORTANT - PLEASE READ THIS FIRST
This is a dual voltage unit. It is essential that you check that the voltage on
the fuseholder cover below the AC connector on the rear of the chassis is
set correctly before connecting it to AC power.
To change, pull fuseholder out and rotate 180o, then push in again. Do not
insert power cable into unit until voltage has been correctly set. Do not plug
power cable into AC power until voltage has been correctly set
THIS IS SET FOR
100 V AC TO 120 V
AC OPERATION
THIS IS SET FOR
220 V AC TO 240 V
AC OPERATION
Complies with 89/336/EEC EMC Directive,
amended by 92/31/EEC and 93/68/EEC and
meets the following standards:EN 55013 :
1990, Sections 3.2 and 3.5 EN 55020 :
1988, Sections 4.3, 5.4, 6.2, 7.0, 8.0.
Complies with Australian Standard AS/N25
1053
Quadcompª II Specifications
Input Impedance Balanced 20 Kohms
Unbalanced 10 Kohms
Input Headroom + 20 dB
CMRR >50 dB, 20 Hx - 20 KHz
Output Impedance Balanced 300 ohms
Unbalanced 150 ohms
Output Level (Max) + 22 dB
Attack and Release Times Program dependent
Frequency Response 20 Hz to 20 KHz, ± 0.5 dB
Signal to Noise ratio -93 dB Unweighted
-961 dB ‘A’ weighted
Distortion .0054% THD @ 0 dB,1KHz
Dynamic Range 113 dB
Variable Gain Cell Full Class A VCA, with true 2 pole
averaging RMS/DC converter
Power Requirements 100/120 V AC 220/240 V AC
50-60 Hz, 8 Watts, (8 VA)
Weight 5 lbs/2.2Kg
Dimensions 19"W x 1¾H x 6"D
482 x 44 x 155mm
Input Connector type Balanced XLR
Output Connector type Balanced XLR
Sidechain Insert Connector Jack (TRS)
Quadcomp ®II Owner's Manual v 3.3 CE ©2006 ARX® Quadcomp ®II Owner's Manual v 3.3 CE ©2006 ARX®45
Application Notes - Compressors and Limiters
A compressor is a variable gain amplifier whose output voltage compared
to input voltage decreases as its input level increases past a set threshold.
A limiter is essentially a compressor with a high compression ratio, thus
maintaining an essentially constant output level despite any increase in
input level past the threshold.
So, let’s look at this in non-technical terms. Basically, what this type of
device does is keep an eye (or ear?) on signal levels, stopping them from
getting any louder than the level you set (the Threshold). A compressor puts
a gentle ‘squeeze’ on the excess level, whereas a limiter hits excess level on
the head with a hammer!
Each channel of the QuadcompII can act as either compressor or limiter,
since its Ratio control is infinitely variable, from 1:1 right through to oo:1.
So you can have low compression (1.5:1 to 3:1), medium compression (3:1 to
6:1), heavy compression (6:1 to 10:1) and limiting (10:1 to oo:1). These
numbers refer to the amount of input signal in dB that will produce an
increase of 1 dB at the output.
A lot of compressor/limiters use some form of peak detection, with response
characteristics that are definitely audible. However, each channel of the
Quadcomp II features a true RMS detector that closely follows the response
of the human ear to level changes, making it as natural sounding as possible
while still retaining full audio control. Plus, the ARX ‘Auto Soft’TM circuitry
Front Panel Controls
• Hardwire bypass compressor IN/OUT switch.
• Numbered marker panel for labelling compressor assigns. Use a grease pencil,
Chinagraph or something similar. Please don’t use a felt tip marker as these may
permanently stain the panel.
•Threshold control. This varies the level at which the compressor will start to
modify the signal dynamics. Variable from -40dB to +20 dB.
• 7 segment LED display Gain Reduction meter; from 0dB to -24dB.
• Ratio control. This determines how much the signal is compressed when it
reaches the Threshold. It is totally variable from 1:1 to infinity:1.
• Output gain. Variable from -20dB to +20dB.
Rear Panel Connectors
• Balanced XLR Input socket. Pin 3 –, Pin 2 +, Pin 1 Ground
• Sidechain Insert TRS socket. Tip IN, Ring OUT, Sleeve GROUND
• Balanced XLR Output socket (wiring same as Input)
• Stereo link switches for Channels 1 and 2, 3 and 4 Master/Slave configuration. When
switched IN, Channels 1 and 3 are the Masters and control all functions except Output gain.
When switched OUT, all four Quadcomp channels are totally independent.
• IEC 3 pin AC connector and integral fuseholder. Replace fuse with correct value
only: 100 - 120 V AC 1 amp, 220-240 V AC 0.5 amp. Please also refer to voltage
details on Page 2
Quadcomp ®II Owner's Manual v 3.3 CE ©2006 ARX® Quadcomp ®II Owner's Manual v 3.3 CE ©2006 ARX®63
Quadcomp is a Registered Trade Mark ® of ARX Systems Pty Ltd.
gives soft knee transfer characteristics at low to medium compression,
changing to hard knee around 8:1. This gives virtually inaudible subtle
compression where needed, but maximum output before limiting when
used as an overall level controller.
Where to use the Quadcomp II
The QuadcompII gives you 4 independent compressor/limiters, each of
which can be inserted virtually anywhere in the line level audio path.
However, it is not designed to have a microphone or an instrument plugged
directly into it.
Popular uses are: As a desk insert on four channels; on four subgroups; on
the Left and Right console sends AND on two channels, maybe lead vocal
and Kick drum or Bass; as Pre or Post House EQ limiters, as limiters on the
outputs of crossovers, both main and monitor; on four sends of a monitor
desk; the list goes on. We think you’ll find the QuadcompII an invaluable
audio tool.
Application Notes - Sidechain Insert
On each channel of the QuadcompII there is an extra jack socket, coloured
RED, and marked SIDECHAIN INSERT. This jack socket is a Tip Ring
Sleeve type, wired Tip IN, Ring OUT, Sleeve EARTH/GROUND. This
Sidechain Insert is an access point for the control circuitry of the compres-
sor. By modifying the audio signal via this point you can change the way
the compressor ‘hears’ signals, and, consequently, the way it reacts to them.
The most popular use of this feature is as a ‘de-esser’; in other words, a
device to remove excess sibilance ( a “SSSSSSS” sound).
To set this up you’ll need an IN/OUT pair of leads wired to a stereo jack
plug, and an equalizer, either parametric or graphic. Plug the stereo jack
into the Sidechain Insert, and the OUT lead from there to the Input of the
EQ, and the IN lead to the Output of the EQ. Now you’re wired into the
Quadcomp’s sidechain.
Sibilance usually occurs in the 4 KHz to 8 KHz range, so if you push up the
6 KHz slider by 3 dB, you increase the threshold sensitivity of the Quad-
comp by 3 dB relative to 6 KHz. In other words you make the compressor
more sensitive to 6 KHz. Sounds complicated, but sit down with a micro-
phone, mixing console and this set up and you’ll soon hear what we’re
talking about.
For best results this technique should be used as a desk channel insert, so
that you only affect the excess sibilance in a particular vocal line.
As with anything new, some time spent experimenting will prove invalua-
ble. Frequency sensitive compression, as all this is called, has many audio
applications, so just experiment and see which ones work for you.
Introduction
Thank you for choosing this ARX Quadcomp®II. We hope you enjoy using
it as much as we enjoyed creating it. As with all ARX equipment, it has
undergone extensive alignment and ‘burn in’ before shipping. To ensure
continued trouble free use, please familiarise yourself with the contents of
this manual before using.
About the Quadcomp® II
The sheer amount of effects and signal processors necessary for today’s
standards of audio production puts a great strain on the available space in
equipment racks, both in the studio and on the road.
To put it in a nutshell, space is money.
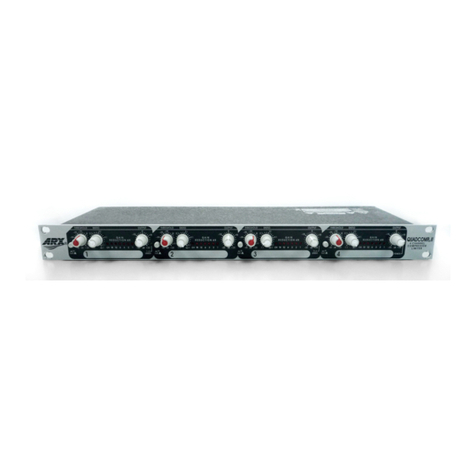
Recognising this fact, ARX design engineers have developed the Quad-
compII, a Four channel Compressor/Limiter in a single rack unit. This
unique and versatile signal processor gives no less than Four independent
channels of precise audio control in the space normally taken up by a single
channel unit.
Despite its compact size, the QuadcompII is not short of features. Each
channel has an IN/OUT switch, individual controls for Threshold, Ratio and
Output, and a 7 LED gain reduction meter display. In addition to this, as on
all ARX single rack unit equipment, there is a numbered marker panel that
you can write on for easy confirmation of your compressor assigns.
All Inputs and Outputs are electronically balanced on XLR connectors, and
full access to each compressor sidechain is provided through insert points
on the rear panel.
Channels 1 and 2, and channels 3 and 4 also feature a stereo link switch,
located on the rear panel. When switched IN, Channel 3 becomes the master
and controls all the functions of Channel 4 except Output gain. LED indica-
tors on the front panel confirm these settings.
Other ARX Recording Equipment manuals

ARX Audibox USB-DI VC User manual

ARX

ARX Audibox USB-DI VC User manual

ARX DI-1 User manual

ARX

ARX DI-1 User manual

ARX Audibox USB-DI User manual

ARX

ARX Audibox USB-DI User manual

ARX DI-6S User manual

ARX

ARX DI-6S User manual

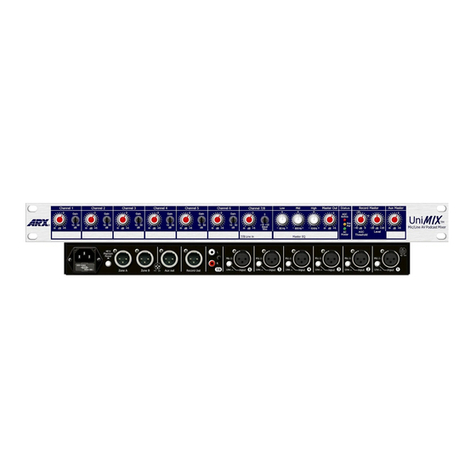
ARX UniMIX User manual

ARX

ARX UniMIX User manual

ARX DI-PLUS2-RC User manual

ARX

ARX DI-PLUS2-RC User manual

ARX Audibox USB-I/O User manual

ARX

ARX Audibox USB-I/O User manual

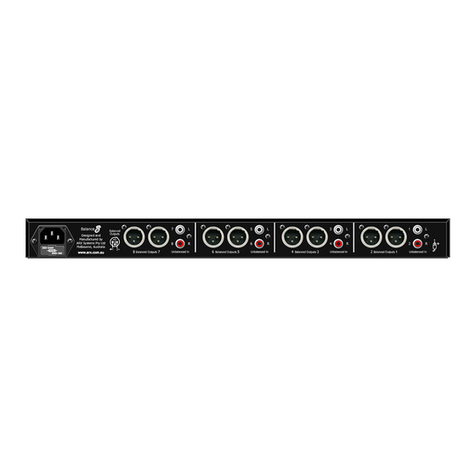
ARX Balance 8 User manual

ARX

ARX Balance 8 User manual

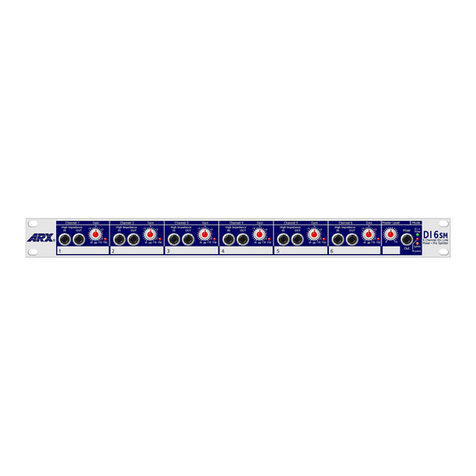
ARX DI-6SM User manual

ARX

ARX DI-6SM User manual

ARX UniFace User manual

ARX

ARX UniFace User manual

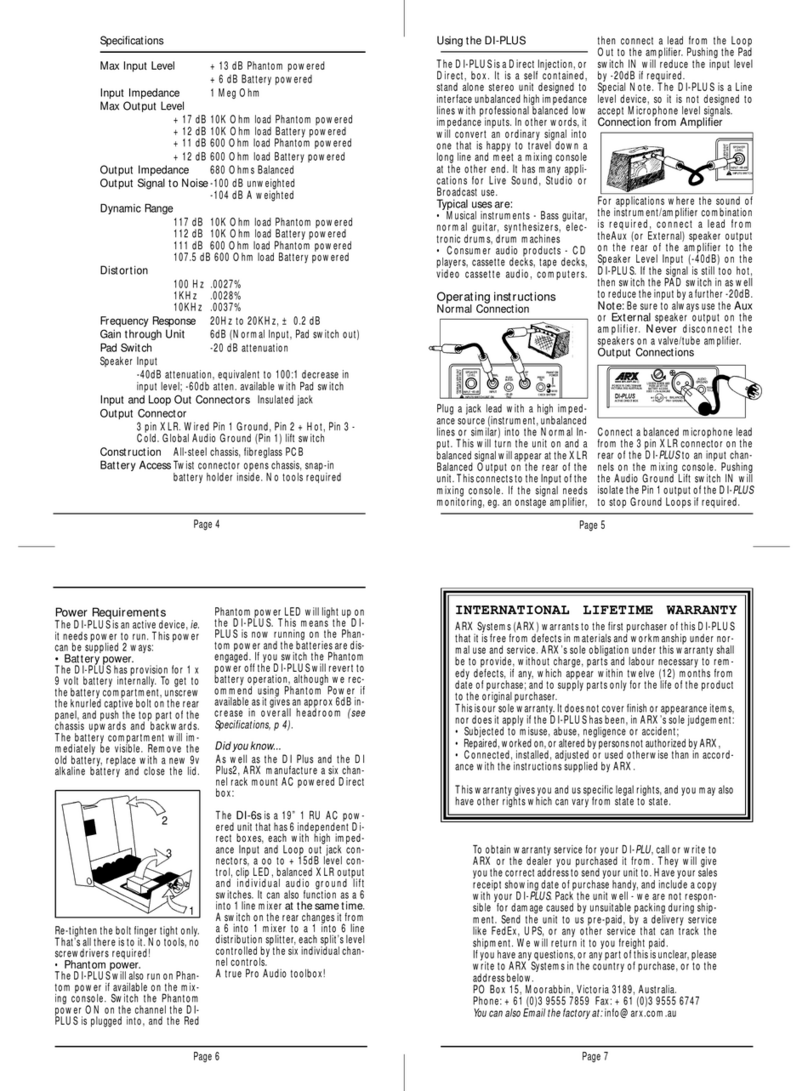
ARX DI-PLUS User manual

ARX

ARX DI-PLUS User manual

ARX DI-PLUS 2 User manual

ARX

ARX DI-PLUS 2 User manual

ARX SIXGATE User manual

ARX

ARX SIXGATE User manual

ARX EQ60 User manual

ARX

ARX EQ60 User manual

ARX DI-PLUS-RC User manual

ARX

ARX DI-PLUS-RC User manual

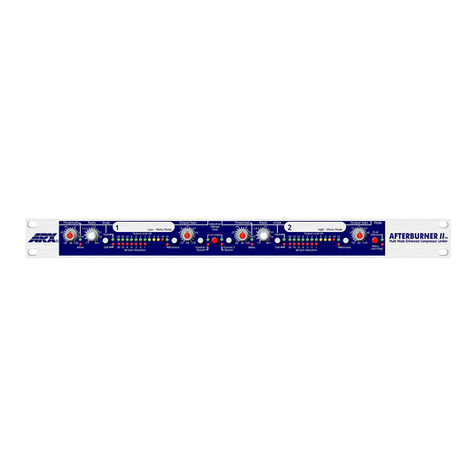
ARX Afterburner II User manual

ARX

ARX Afterburner II User manual

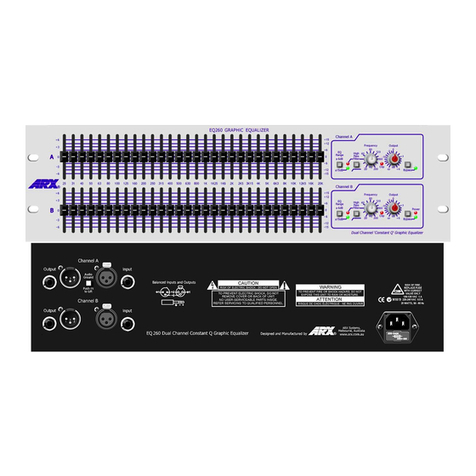
ARX EQ260 User manual

ARX

ARX EQ260 User manual

ARX Quadcomp II User manual

ARX

ARX Quadcomp II User manual

ARX DeBalance 8 User manual

ARX

ARX DeBalance 8 User manual

ARX Audibox USB-DI User manual

ARX

ARX Audibox USB-DI User manual

Popular Recording Equipment manuals by other brands

ICON PLATFORM M Plus user manual

ICON

ICON PLATFORM M Plus user manual

Elektron Analog heat quick guide

Elektron

Elektron Analog heat quick guide

foc.us Firestore FS-100 user guide

foc.us

foc.us Firestore FS-100 user guide

Data Video DVK-100 Mk II instruction manual

Data Video

Data Video DVK-100 Mk II instruction manual

One Audio ONEbox.micro Audio setup guide

One Audio

One Audio ONEbox.micro Audio setup guide

SignalFire Sentinel-FS-3BIS manual

SignalFire

SignalFire Sentinel-FS-3BIS manual

HIK VISION DS-96NI-ST user manual

HIK VISION

HIK VISION DS-96NI-ST user manual

B meters RFM-C3 user manual

B meters

B meters RFM-C3 user manual

Korg A5 Guitar owner's manual

Korg

Korg A5 Guitar owner's manual

BOSSCO RC-20XL owner's manual

BOSSCO

BOSSCO RC-20XL owner's manual

BOSSCO ME-25 owner's manual

BOSSCO

BOSSCO ME-25 owner's manual

AER SmartPlate Series Application guide

AER

AER SmartPlate Series Application guide

Delta 5CN-550L instructions

Delta

Delta 5CN-550L instructions

Sunfire THEATER GRAND PROCESSOR II user manual

Sunfire

Sunfire THEATER GRAND PROCESSOR II user manual

IMG STAGE LINE DMX-1216 instruction manual

IMG STAGE LINE

IMG STAGE LINE DMX-1216 instruction manual

Data Video GO KMU-100 STUDIO instruction manual

Data Video

Data Video GO KMU-100 STUDIO instruction manual

FrontRow CM900 Installer's guide

FrontRow

FrontRow CM900 Installer's guide

Audiopole CDR 5 user manual

Audiopole

Audiopole CDR 5 user manual

manuals.online logo
manuals.online logoBrands
  • About & Mission
  • Contact us
  • Privacy Policy
  • Terms and Conditions

Copyright 2025 Manuals.Online. All Rights Reserved.